This post contains affiliate links. Purchases made from these links may result in a small commission to me at no additional cost to you. Affiliate links are one way we are able to continue to provide content at no or low cost to our readers.
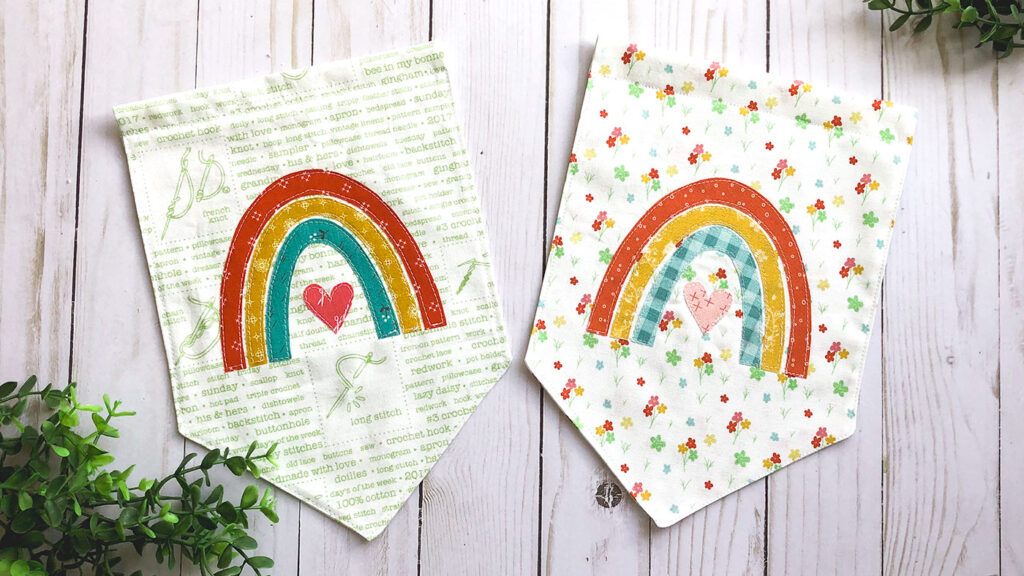
Looking for a cute decoration to brighten a dorm room? Want a place to display your enamel pin collection? Perhaps a sweet addition to a gallery wall is what you’re looking for? The answer for me is always banners and rainbows! And today, I have the free pattern you to sew your own colorful Rainbow Banner.
This project is part of my Summer Sewing Series and I have created a PDF pattern that includes all the sewing directions as well as the rainbow pattern ready to be sent to your inbox just for signing up for my newsletter. Fill out the form below and confirm your subscription, then an email with links, not just to this project, but all 5 weeks of the summer sewing series will be sent right to you. Print off the projects you want and get sewing!
Colorful Rainbow Banner Tutorial
Sometimes a picture is worth a thousand words, but sometimes a video is even better! If you would like to watch the full project tutorial here:
But, if pictures are more your speed, keep scrolling to get all the instructions to make your own!
Fabric Banner Supplies
- Fabric- one fat quarter will give you enough fabric for the banner, then just scraps for the rainbow
- Sewable fusible adhesive, such as ThermoWeb HeatnBond Lite
- sewing supplies, especially an acrylic ruler, rotary cutter and sewing machine.
- Dowel for hanging- I usually purchase mine from a box store that come 12″ long and cut it down to 9 1/2″ to 10″ using a cutting blade.
- Ribbon, twine or yarn for hanging.
- optional: embellishments such as tassels or felt poms.
Prepare the banner
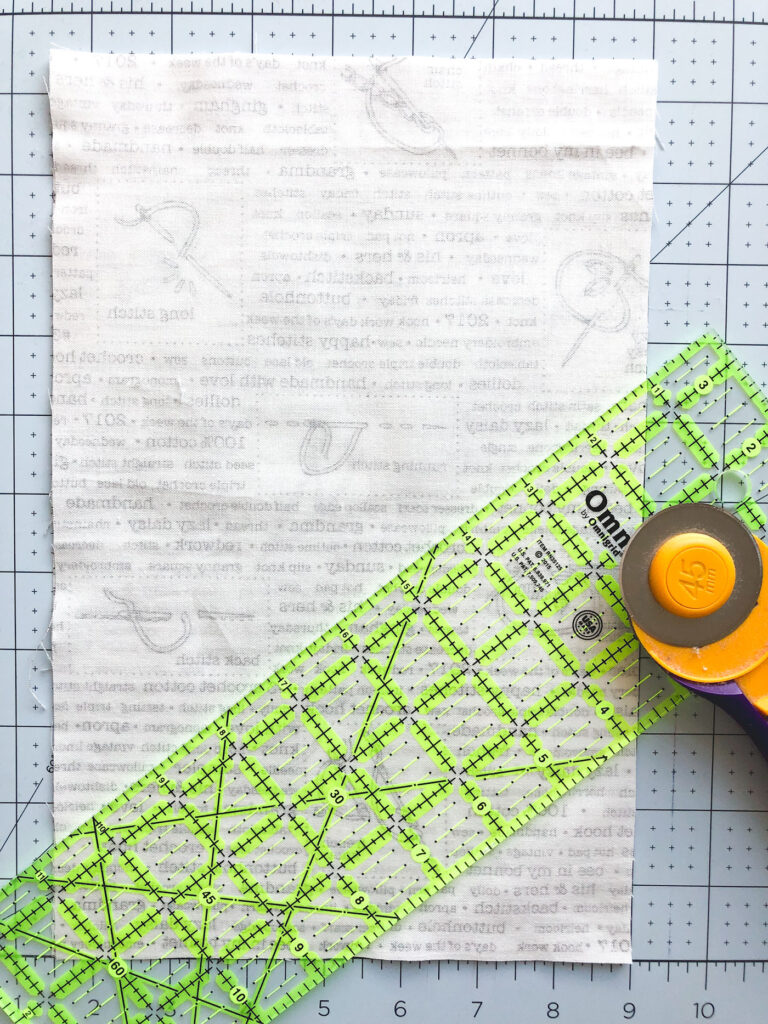
- Begin by cutting two rectangles that measure 7 1/2″ (w) X 11 1/2″ (h).
- Second, place the two rectangles right sides together on your cutting surface.
- Measure up 3″ from the bottom of one short side and mark.
- Make a line from the mark 3″ up the side to the center of the bottom short side.
- Cut along this line.
- Repeat for the second side, measuring up 3″ and cutting a line from that mark to the bottom center to create a point in the bottom of your banner.
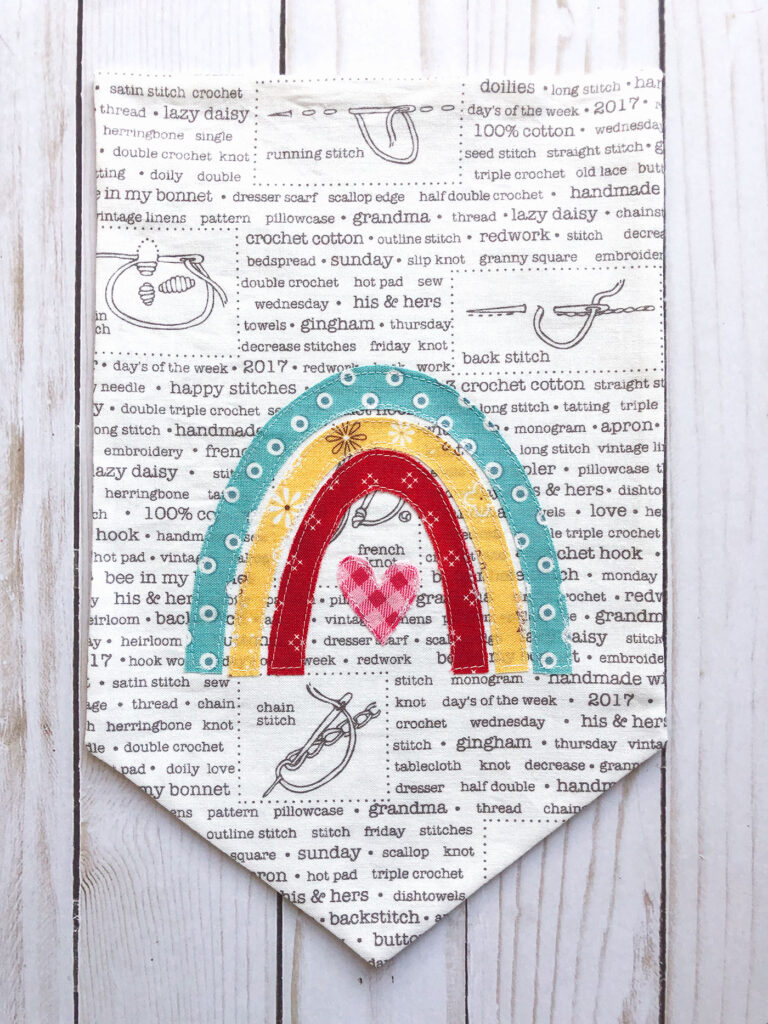
Add Applique to your Rainbow banner
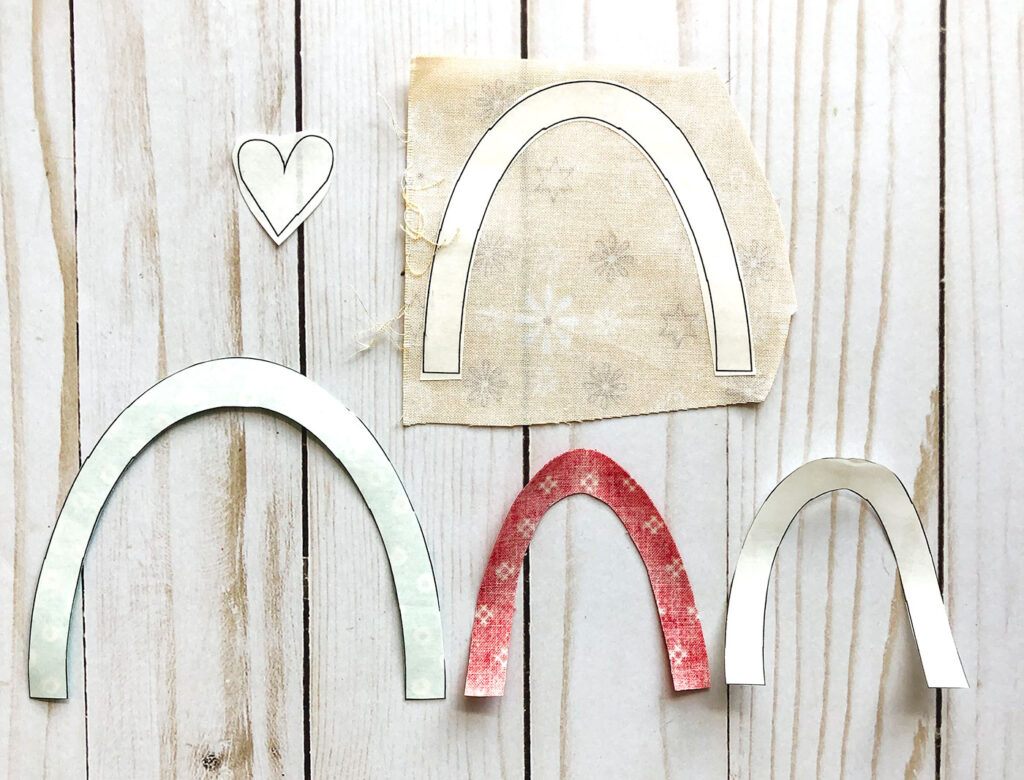
- Start by tracing or printing your rainbow applique pattern onto the paper side of your fusible adhesive.
- Cut around each piece, leaving a slight margin around each one.
- Follow the manufacturers’ instructions and fuse the applique pieces to the wrong side of the fabric scraps for each color.
- Next, cut out each pattern piece along the drawn/ printed line.
- Remove the paper backing from the applique pieces.
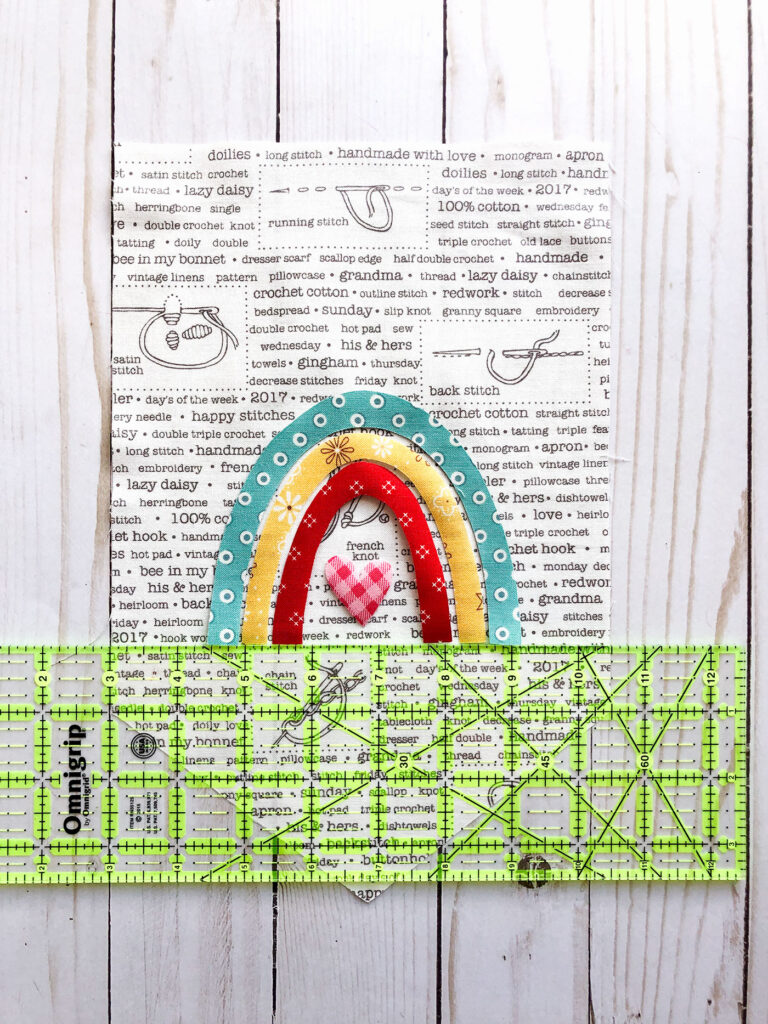
- Use your acrylic ruler to line up the colors of your rainbow so the bottoms are straight. You will want to do this on your pressing surface.
- Depending on how you intend to finish your banner you may want to adjust the position of the rainbow up or down. I place mine anywhere from 1/2″ to 1″ above the angled point.
- Again, follow the package instructions to fuse the applique pieces into place.
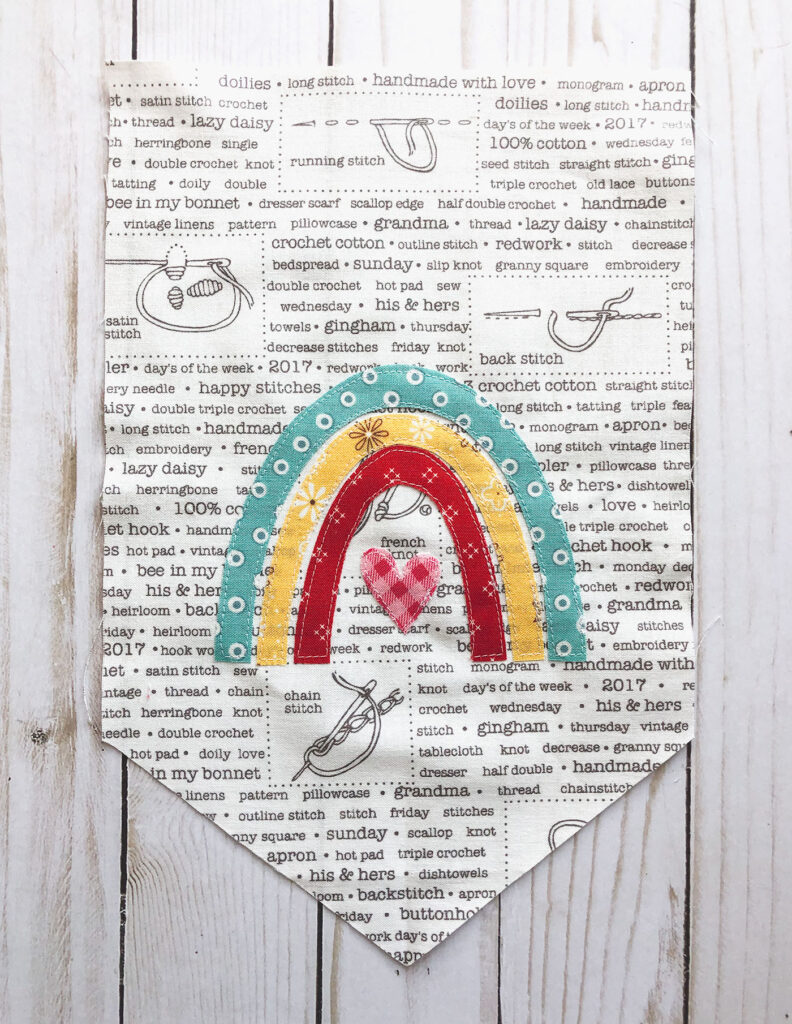
- Sew around each applique piece using a straight stitch or a narrow zig zag stitch.
Finish your Colorful Rainbow Banner

- To finish your banner, place your two fabric pieces right sides together.
- Sew around the entire banner using a 1/4″ seam allowance. Leave a 2-3″ opening on the top edge for turning.
- Back stitch at the beginning and ending of your stitching.
- Clip the seam allowances at each of the corners, including the points of the banner.
- Turn the banner right side out through the opening left for turning.
- Push out the corners and seams well.
- Press, turning under the seam allowance of the opening as you go.
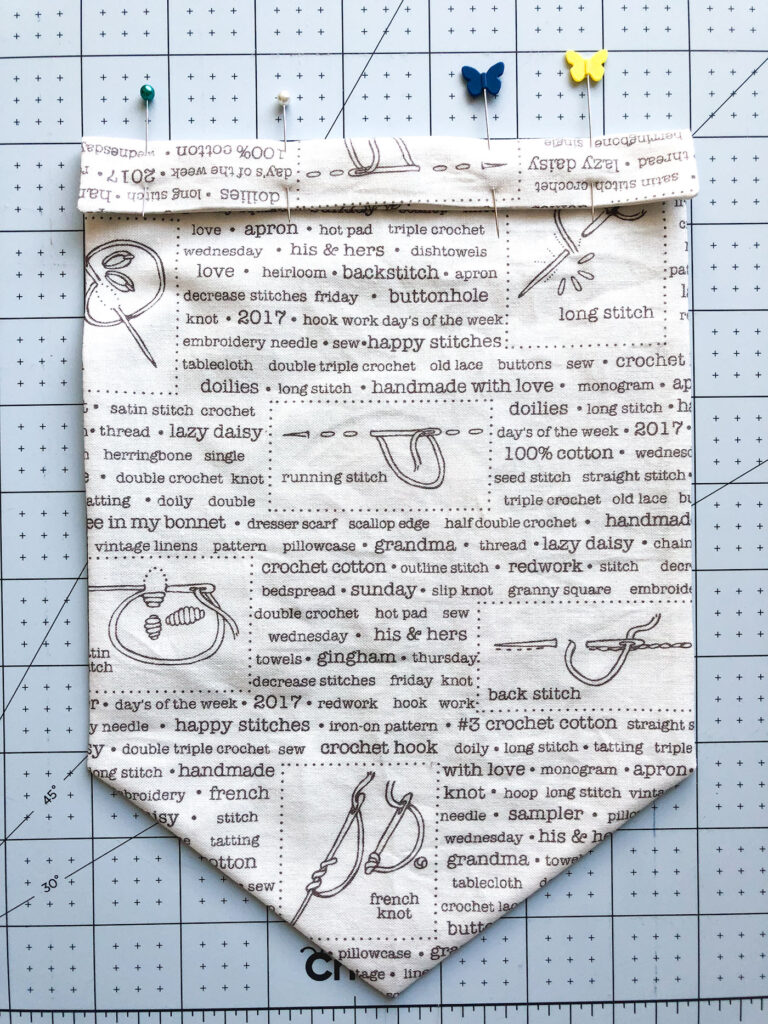
- Fold the top of the banner toward the back of the banner 1″. Pin well.
- Finally, begin sewing across the top of the banner using a 3/4″ seam allowance. When you get to the long side, use an edge stitch to top stitch around the sides and bottom point of the banner.
- Back stitch at the beginning and ending of your stitching.

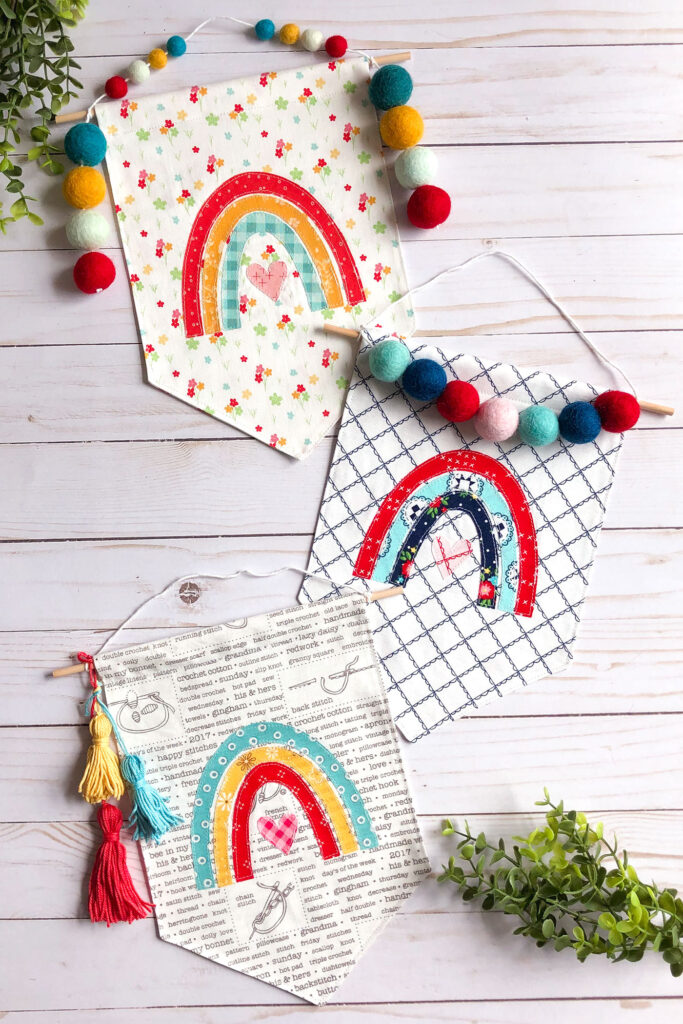
Now all that is left is to add your dowel for hanging and embellish as desired. I had fun adding tassels and large and small felt pom poms to mine. I have a video tutorial for making yarn tassels on my YouTube channel here. Make the loops larger for this project, using four fingers instead of three, and then make the piece of yarn you tie the loops together with longer so you can tie them to your dowel to embellish the banner.
These are such a quick and easy project to make- I hope you love sewing up your own mini Colorful Rainbow Banner! Happy sewing, friends! Amy


Bricolage frais et tendance à faire ce week-end – magasin d'artisanat
August 6, 2021 at 3:17 pm[…] Utilisez ce modèle gratuit pour coudre votre propre bannière arc-en-ciel colorée – Dessins d’améroonie […]