*This post is another in a series of posts detailing projects in my Girls’ Room Makeover as part of my entry in the Cricut Design Space Star finals.

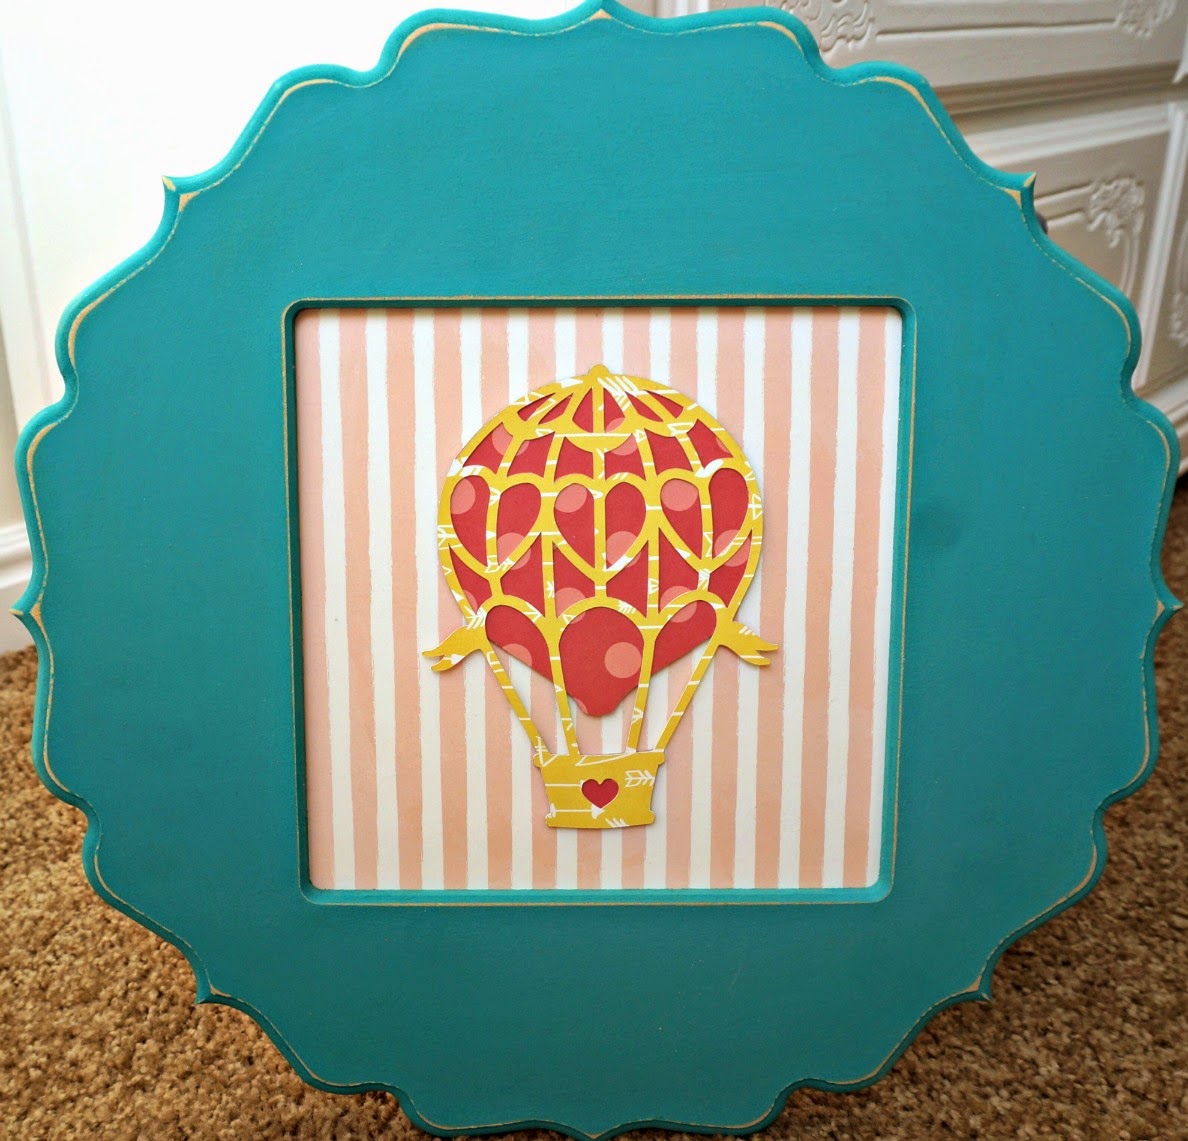
Today I wanted to share with you the details on how I created the art to go in the reading nook. I started by looking for a quote to put in the large frame. I chose one from “Oh The Places You’ll Go” by Dr. Seuss. So, to keep with the theme of going places I decided to do transportation themed art pieces to go on the neighboring wall next to the window.
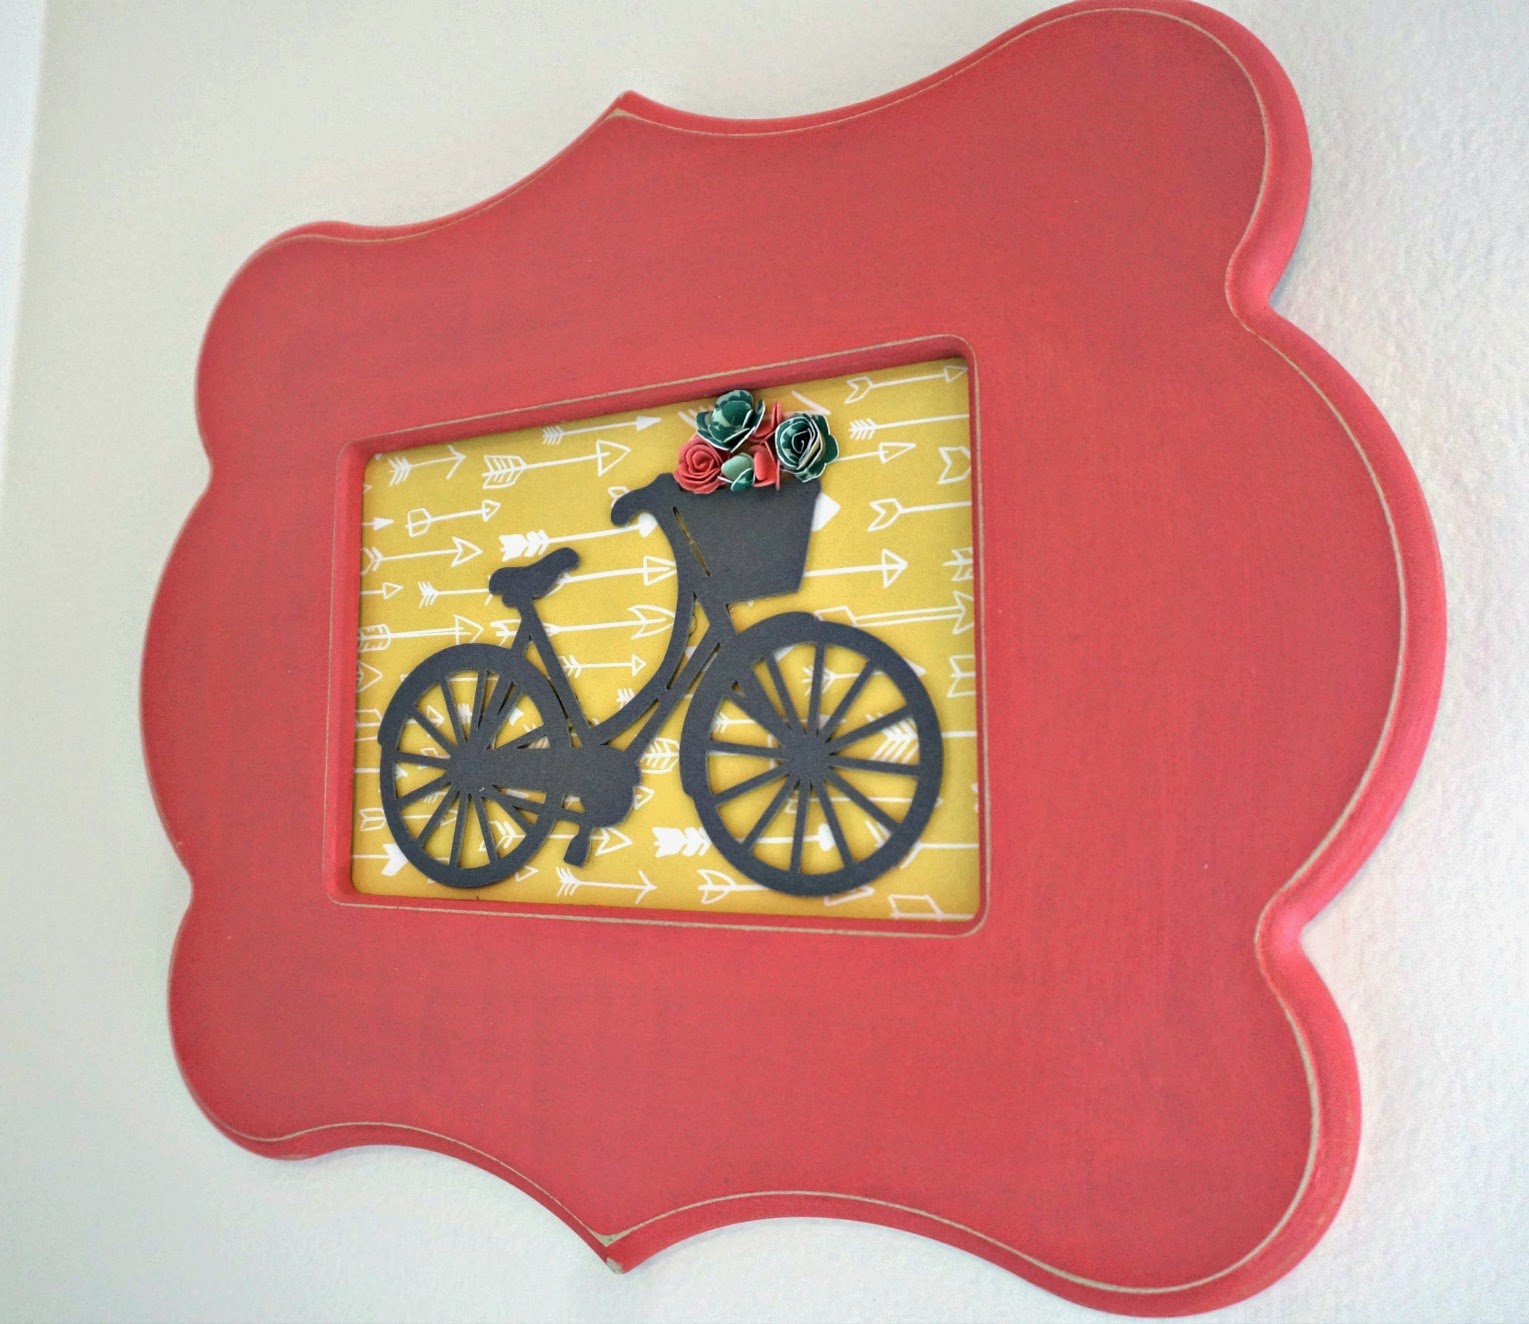
I didn’t want the pieces to be completely flat, though so I used a trick I learned earlier when I created my Custom Word Art and made a fake chipboard backing for the pieces to elevate them a bit.
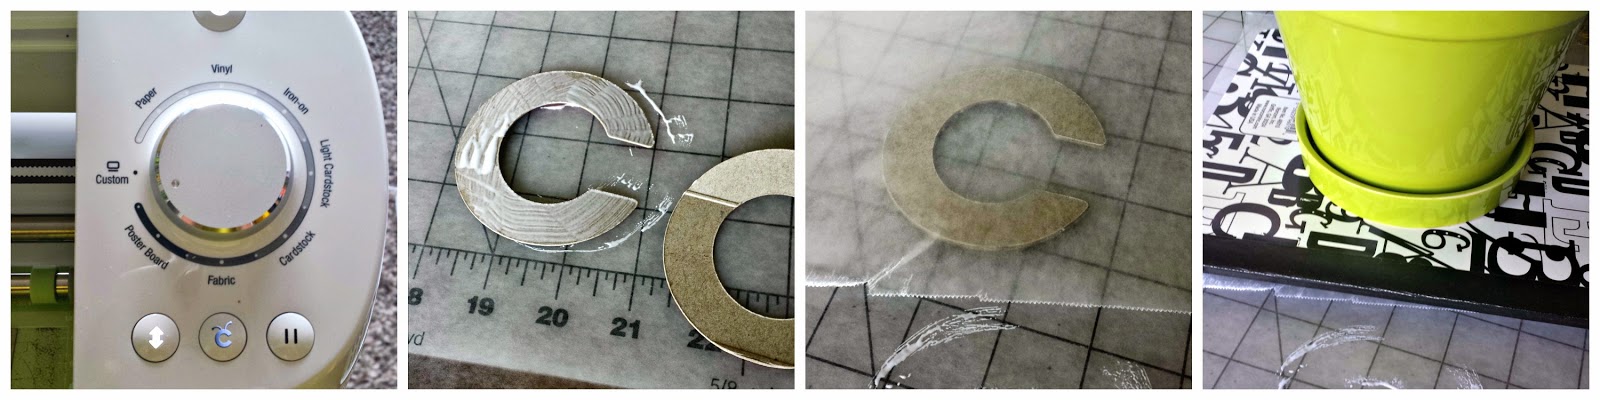
This is the collage from the other tutorial, but it gives you the basic steps.
1- Cut your shape out of cereal boxes. Cut 2 of each shape. (on the hot air balloon, I only did the background shapes out of cereal boxes, I didn’t want the overlay to be thick as well) *I use the posterboard+ setting for this.
2- Cut your shape out of cardstock.
3- use a thin layer of glue to put the two layers of cereal boxes together. Glue the cardstock on top- lining everything up carefully.
4- I like to place the object between layers of wax paper while it dries to keep it from sticking where I don’t want it to.
5- Place a weighted object on top to help seal all the layers together- I usually give them a couple of hours.
After they are dried, they are ready to be placed in the frame and embellished. I love how the cereal boxes give them some dimension.
This is a really simple way to add some fun art to a room without breaking the bank- and you can totally change to mood of the piece by changing out paper and shapes- Think geometric, seasonal, kitchen objects- almost anything would look fabulous.
So, what art are you going to whip up next?
🙂
xoxo
Amy

