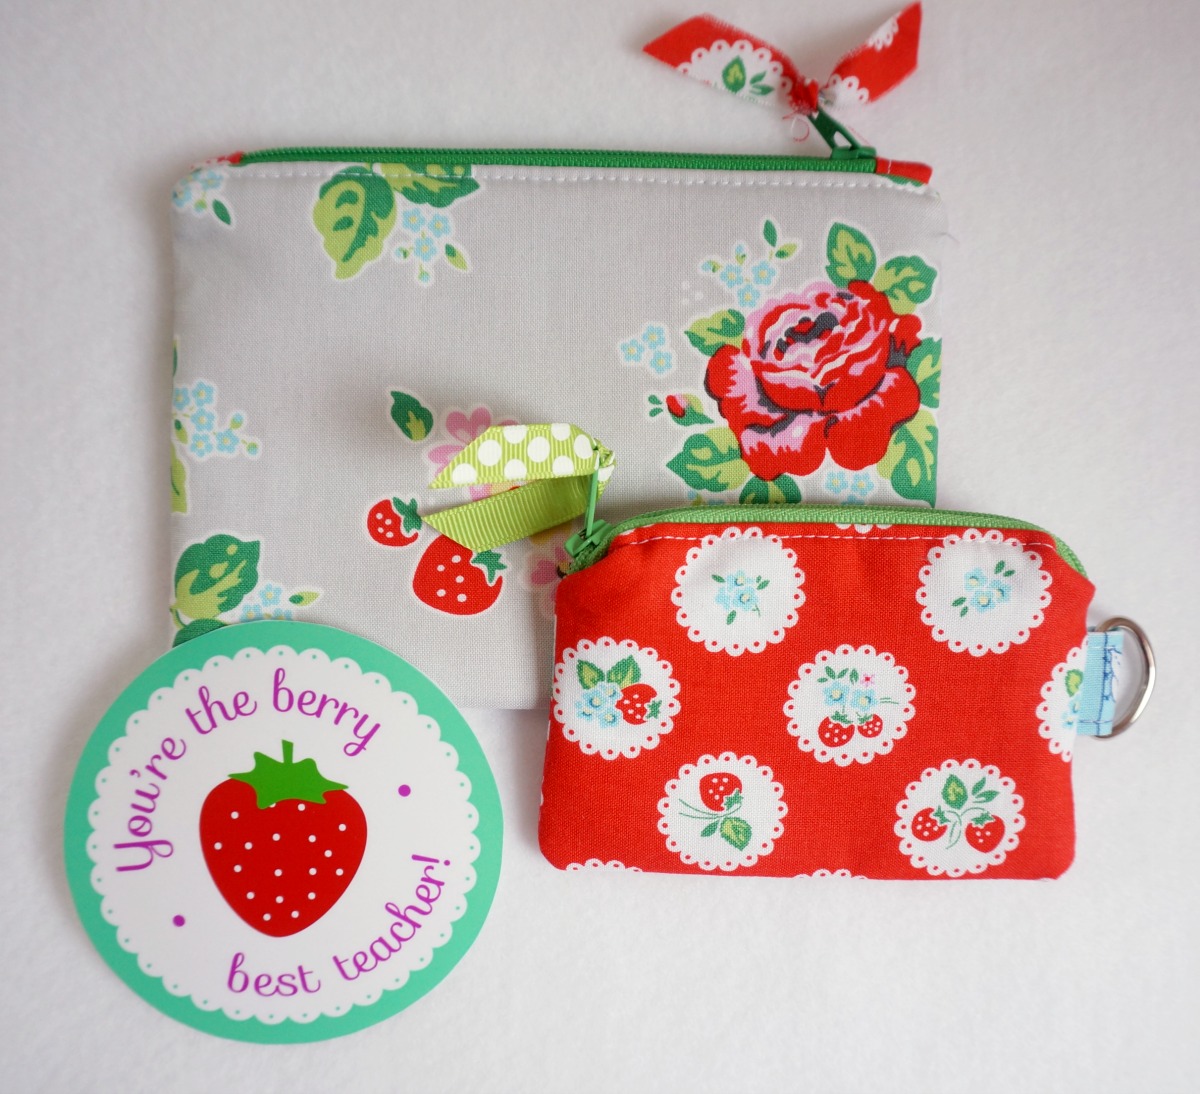
Hi friends! I’m so excited to be here today with a fun and fast zipper pouch tutorial. I’m guest posting today over on Skip To My Lou and sharing some fun ideas using this darling gift tag set made by my amazingly talented friend Gwen from Littler Design. One of the ideas was to make something for your teacher using fun strawberry fabric- like this fabric from the Strawberry Biscuit line designed by Elea Lutz for Penny Rose Fabrics. (*I was given this fabric to sew with, but the project and love for the fabric is all mine)
These little pouches are perfect for holding gift cards, money, library cards, chap stick or anything small you need to tote around. I’m thinking I’ll use mine to hold my ear buds for when I go to the gym. They are fast to make up, so you can do a bunch at a time.

Ready? Here we go:
Supplies:
- fabric- you need 3 1/2″ X 5″ pieces, so you can probably just use scraps
- fusible fleece- again scraps are great
- zipper- you need at least a 5″ zipper, but longer ones are good too
- d-ring (optional- but I love the idea of adding a wrist strap so it doesn’t get lost)
- sewing machine and supplies
Cutting:

- 4- 3 1/2″ X 5″ pieces of fabric (2 exterior fabric, 2 lining fabric)
- 1- 3 1/2″ X 2 1/2″ piece of fabric (accent fabric- for d-ring, if desired)
- 2- 3″ X 4 1/2″ pieces of fusible fleece (you can use another interfacing if desired- medium to light weight would be best)
Assembly:
- Fuse the fusible fleece to the wrong side of the exterior fabric

- Prep the fabric for the d-ring- press in half along the long side (folded piece will measure 3 1/2″ X 1 1/4″)
- Open up the pressed piece and bring the sides into the fold and press

- Fold again with raw sides in the center (piece should measure approx. 3 1/2″ X 3/4″)
- Top stitch both sides of the folded strip
- set aside

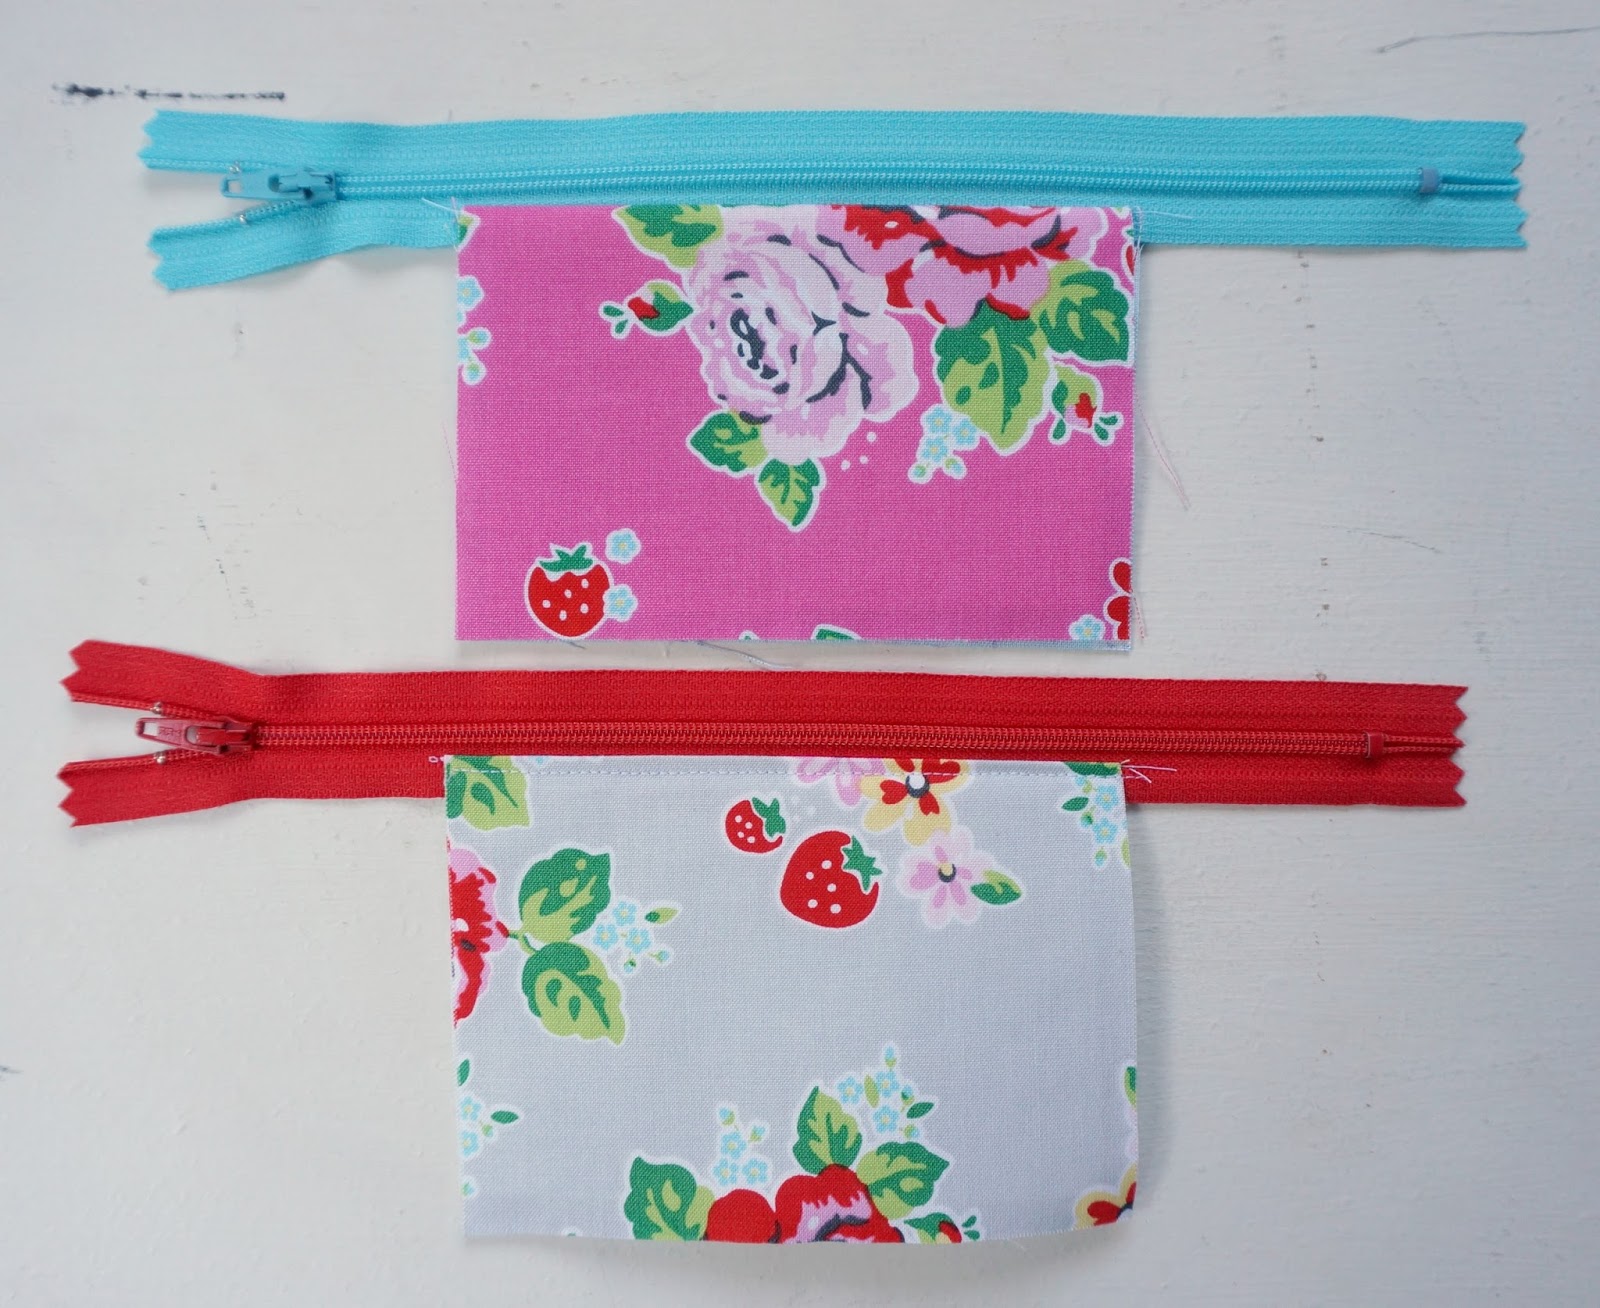
- Place front exterior piece right side up on your work surface
- Line the zipper- pull side down- along the top of the piece
- Place the lining fabric wrong side up with the top edge aligned with the zipper and the sides lined up with the exterior piece
- Pin in place and sew using a 1/4″ seam allowance (you can change to a zipper foot if you like, but I find it isn’t really necessary)
- Press both the lining and the exterior fabric away from the zipper
- Top stitch the first side
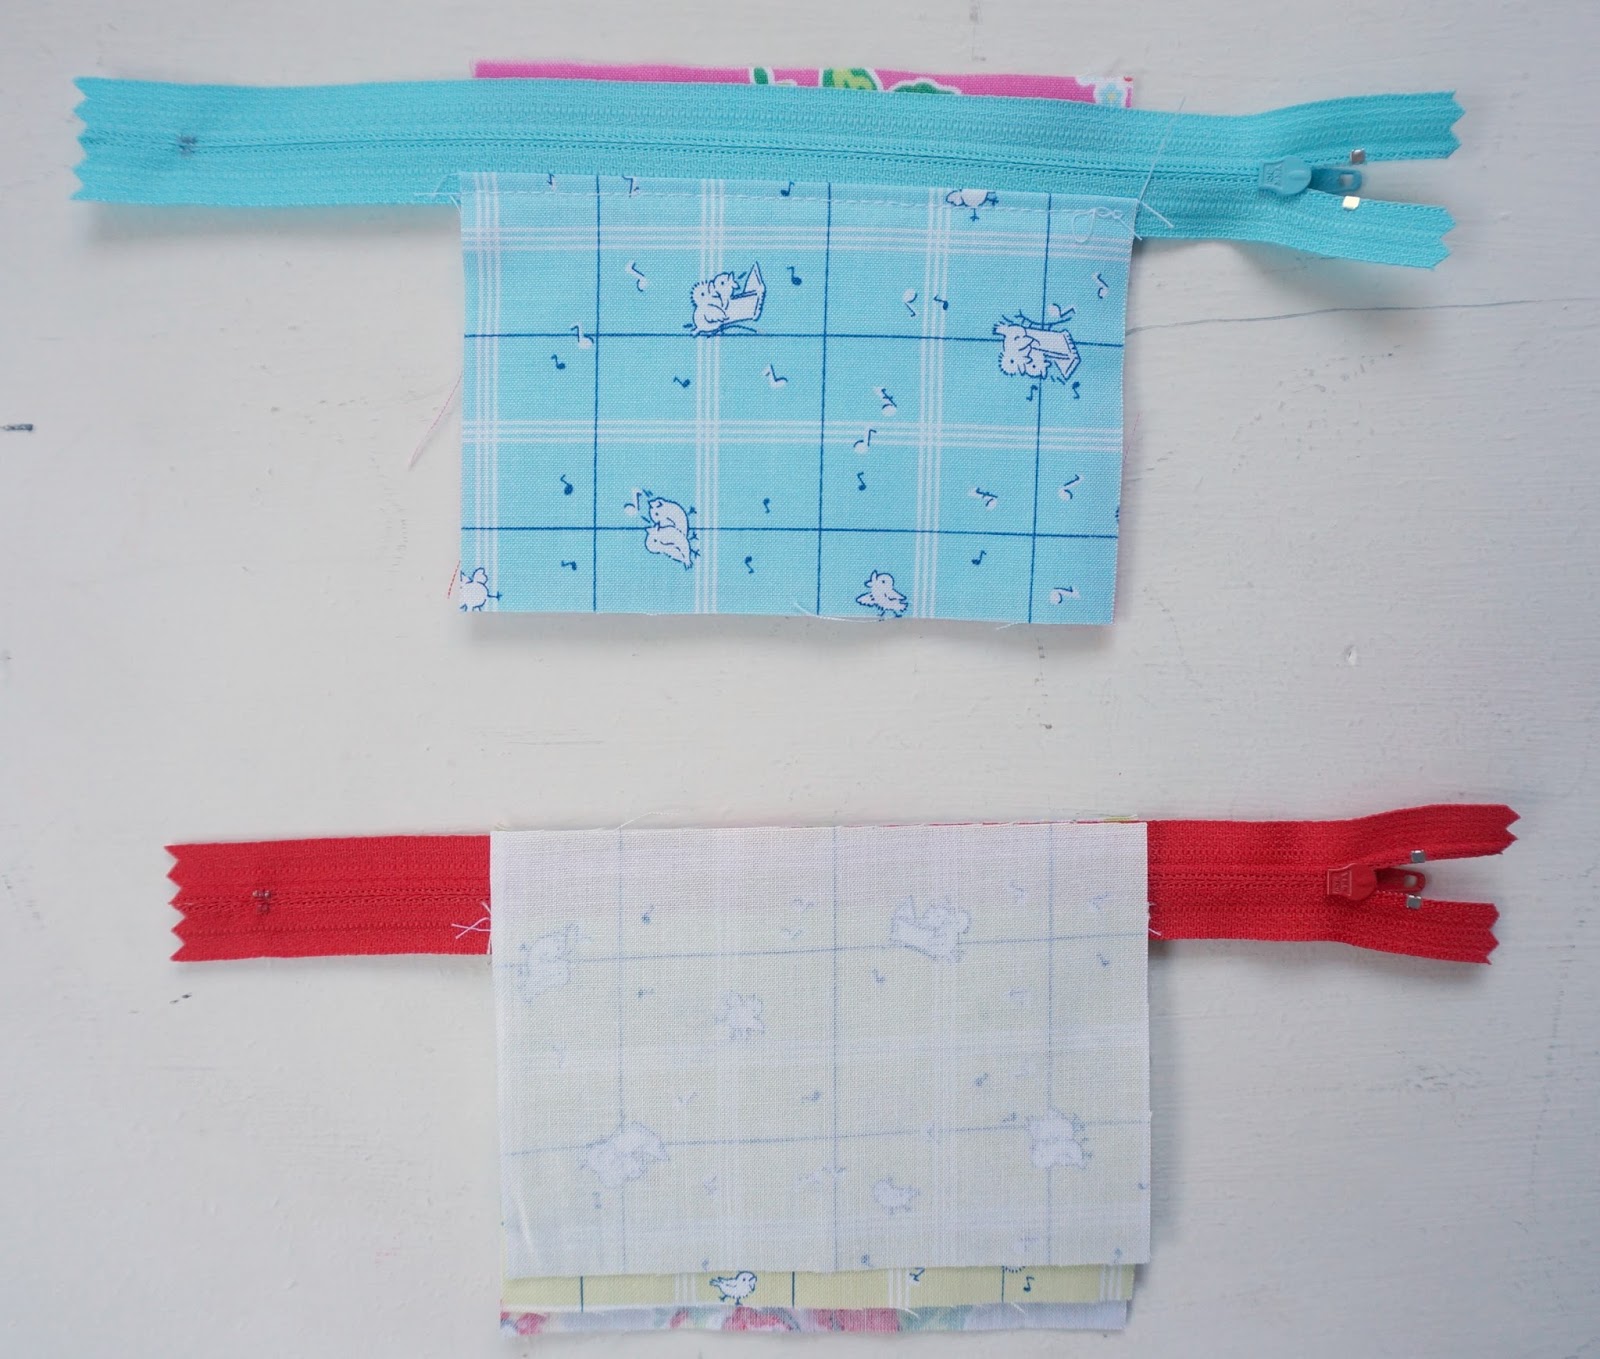
- Place the back exterior piece of fabric right side up on your work surface
- Line up the zipper with the top edge, making sure the sewn side of the pouch lines up with the sides of your back piece. (I had it peek through a little on this picture so you can see that the back side of the pouch is hiding under there)
- Place the lining fabric wrong side up on the pile, making sure the sides match up with the other fabrics, and the top is lined up with the zipper
- Sew using a 1/4″ seam allowance, press away from the zipper and top stitch.

- If you are adding the d-ring, now is the best time to place it. I like it to line up on the pull side of the zipper.
- Thread your small strip of fabric through the d-ring and fold in half.
- Place on the zipper side of the front fabric piece 1 1/2″ from the bottom (just a suggestion- you can put it anywhere you want)- the d-ring should be on the fabric and the tails should extend beyond the side of the fabric.
- Pin in place- just to the exterior piece of fabric!

- Bring the two exterior pieces and the two lining pieces right sides together.
- Line up the bottom edges and pin
- some notes on this step:
- 1. Fold the zipper toward the exterior fabric, you’ll have to turn the seam allowances, when you get it lined up correctly, pin in place
- 2. You will need to leave an opening for turning in the bottom of the lining- I like to use two similarly colored pins to help me remember to start and stop here.
- 3. Make sure you open up the zipper! And whatever you do- don’t cut off this end of the zipper with the pull still on it- while you CAN fix this mistake, it’s easier not to make it in the first place.

- Sew around the whole piece, starting and stopping on the lining- leaving your opening for turning. ( use 1/4″ seam allowance)
- The piece will look like the picture above.
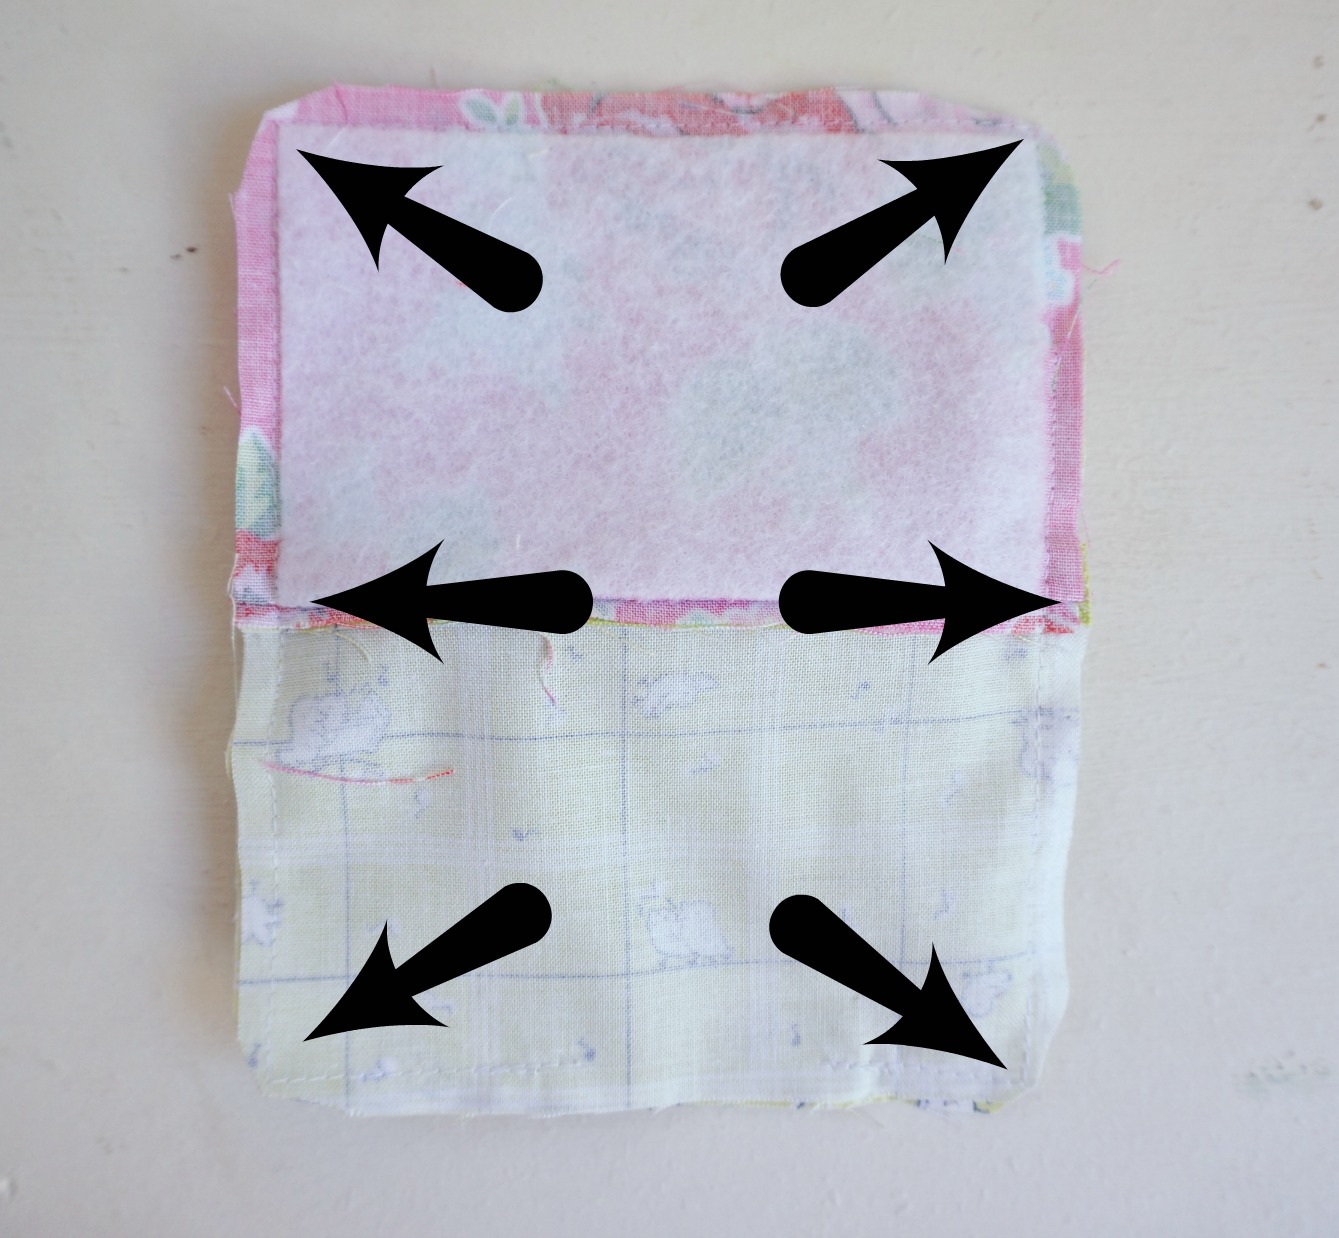
- Trim your piece at all the places indicated by the arrows- as well as the tails of your d-ring strap.
- Turn right side out.
- Push out the corners of the exterior bottom-use a blunt chopstick or pencil, use your fingers to push the zipper out as much as possible on the top corners of the pouch.
- Sew the opening in the lining shut
- Push the lining into the exterior of the pouch.
- Press your pouch
- ENJOY!!
These little pouches are addicting and since they use so little fabric, it’s easy to make up a whole bunch.
I’d love to see any you make- and if you’d like to see more of my work, you can always find me on Instagram @Amerooniedesigns. If sewing these isn’t your thing, or you’d rather just buy some- you can find my inventory for sale on my Instagram shop account: @shopamerooniedesigns.
Hope your April is going well!


xoxo,
Amy


Stacey
April 8, 2016 at 6:42 pmHi Amy! Super cute little pouches!! I'm a bit confused as to why the pictures show such a long zipper. A 5" zipper should fit perfectly, right?
Amy at Ameroonie Designs
April 8, 2016 at 9:48 pmHi Stacey! Yes! A 5" zipper would be perfect, I just didn't have any on hand. 🙂
xoxo,
Amy
Kristie
June 7, 2016 at 1:52 amLOVE how cute these are. Thinking my girls need some. And maybe I should just keep a few on hand to pass around. Thanks for sharing the how to.