Pencils are sharpened, notebooks covered, shoes laced up- it’s time for back to school! 🙂
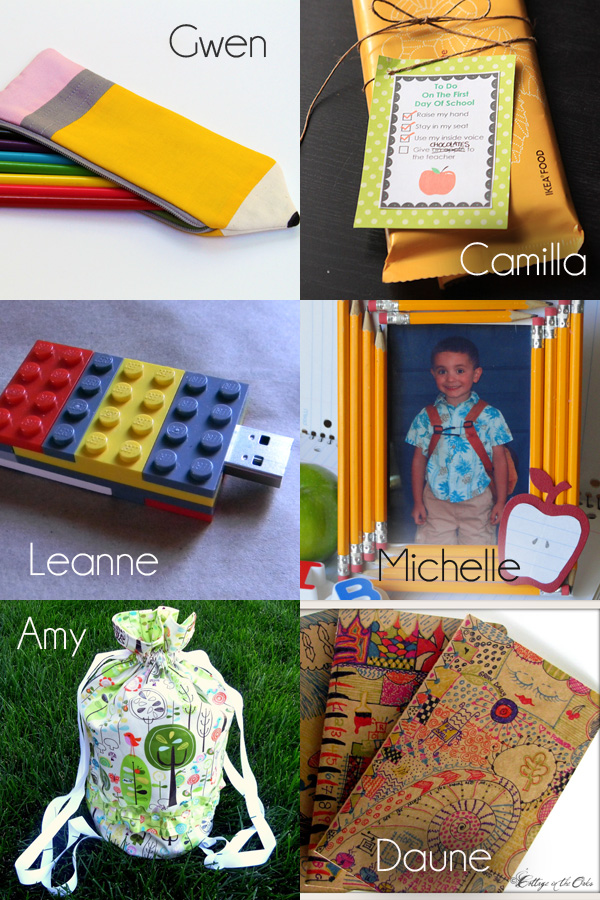
Even if school has already started in your neck of the woods- we have some great projects to help you make the most of this fun time of year. Click the names for the link to the contributor’s project:
You’re already at mine, and this month we have a terrific guest poster: Daune from Cottage in the Oaks. She has a delightful blog and a terrific sense of humor- I hope you’ll take some time to pop over and say hello and maybe take a look around while you’re there. Then head over to Michelle’s blog to link up your own Point of View projects. Anything related to Back to School is fair game- and we’ll each feature our favorites next week!

Now- on to the tutorial. To make this tote you will need 1/2 yard fabric for exterior, 1/2 yard for lining and approx. 3 yards (or so) ribbon- for straps. Plus sewing implements. For this project I used some laminated cotton that I was given to try from Riley Blake Fabric. (the fabric is from the Happier line)
*disclaimer #1- Riley Blake fabric did not ask me to write up a tutorial using this fabric, nor did they ask for a blog post. They just asked if I’d like to try it and I said YES!
*disclaimer #2- the method I used for getting the round bottom worked PRETTY well, but it wasn’t perfect. If anyone has a better method for developing a pattern for a round bottomed tote- I’d love the link. 🙂
*disclaimer #3- I was totally inspired by this gorgeous Bustle Tote and this laminated one from Jessica at Me Sew Crazy and these ruffle cinch totes from Wendy at Craft Goodies. Both of these ladies are incredibly talented.
Ahem, now let’s get started.
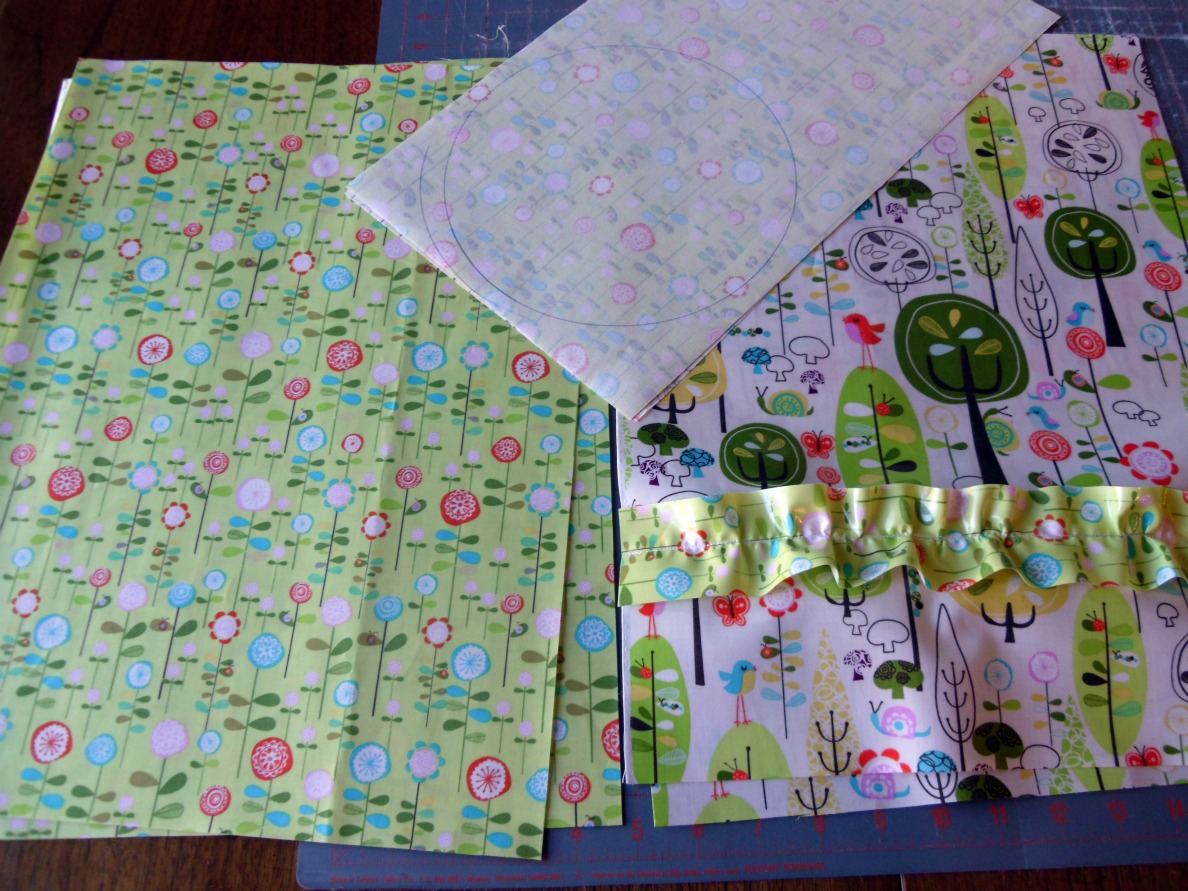
The first thing you’ll want to do is decide how big you want the bottom to be. I used a dessert plate as my template. I measured around the diameter of the plate, added 2″ for seam allowances (I used 1/2″ seam allowances for the bag) and divided by 2. I used my toddler’s shirt as a gauge for how tall I wanted the bag. My measurements ended up being 17 1/2″ high by 12 3/4″. I cut two pieces of the exterior fabric and 2 pieces of the lining fabric. Then I traced the plate once on each of the two fabrics and cut it out leaving a 1/2″ border. I used some of the scraps of the lining fabric to make the ruffles. (mine are 2″ wide and were about 16″ long, sewn on the exterior fabric approx 2 1/2″ from the bottom)
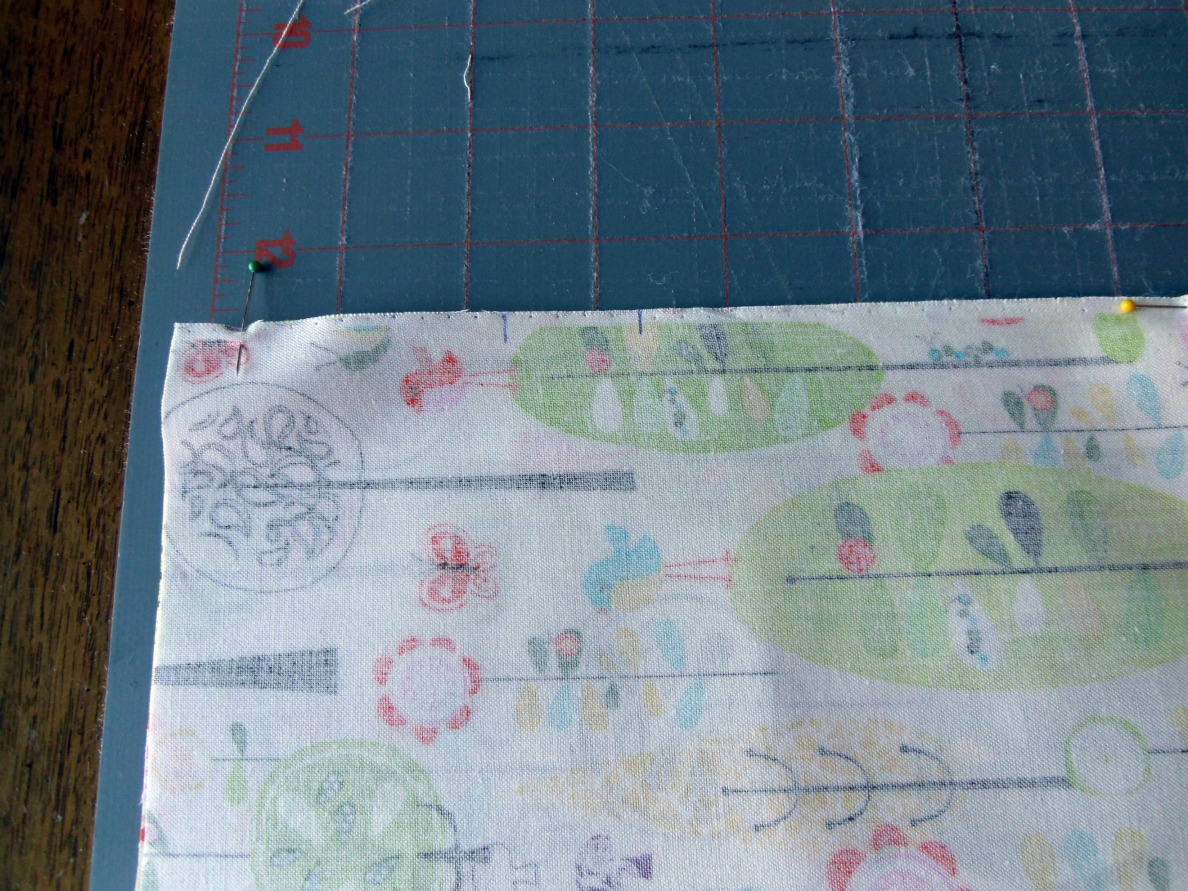
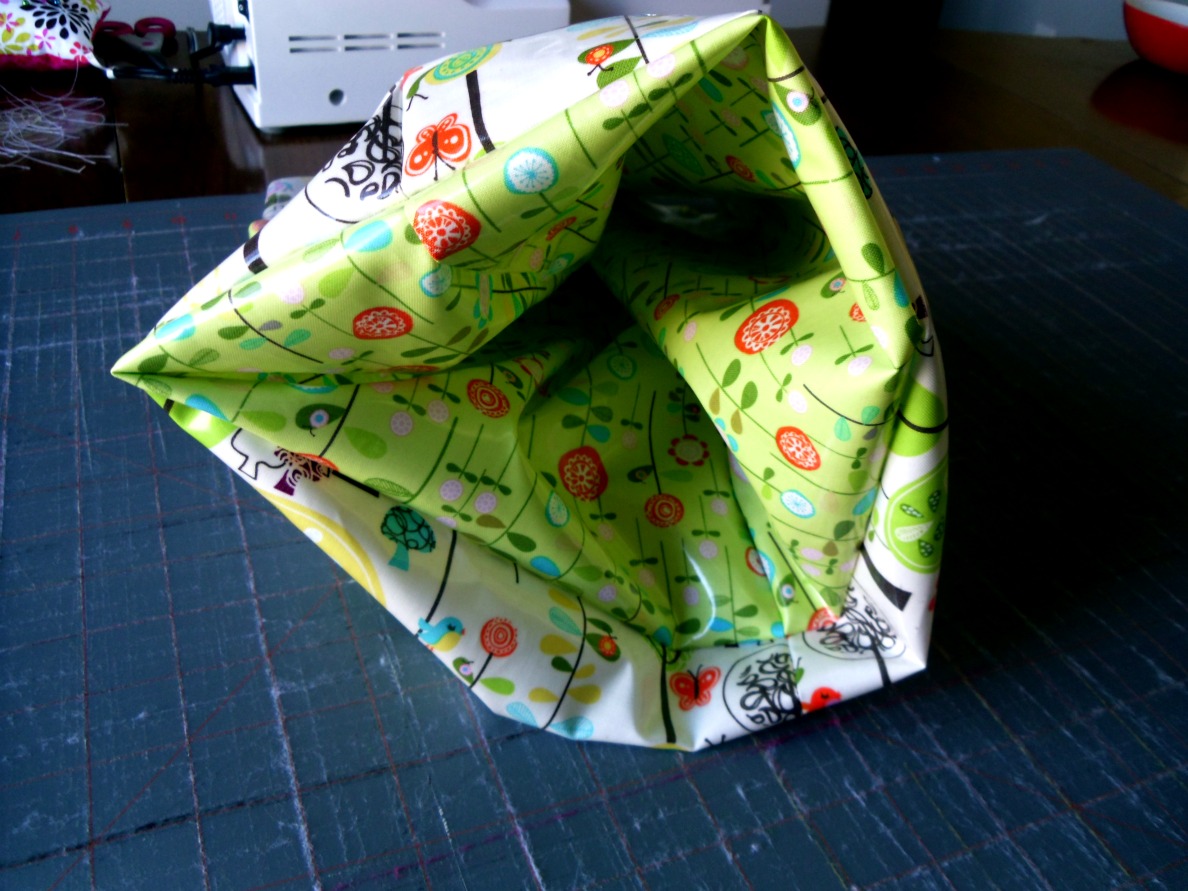
On the exterior fabric only- mark the sides 2 1/2″ down from the top, then another 1″ down from the first mark- on both sides of the fabric. Sew down the two side seams, back stitching at the starting and stopping points. SKIP the area between the two marks on both sides. Repeat for the lining fabric.
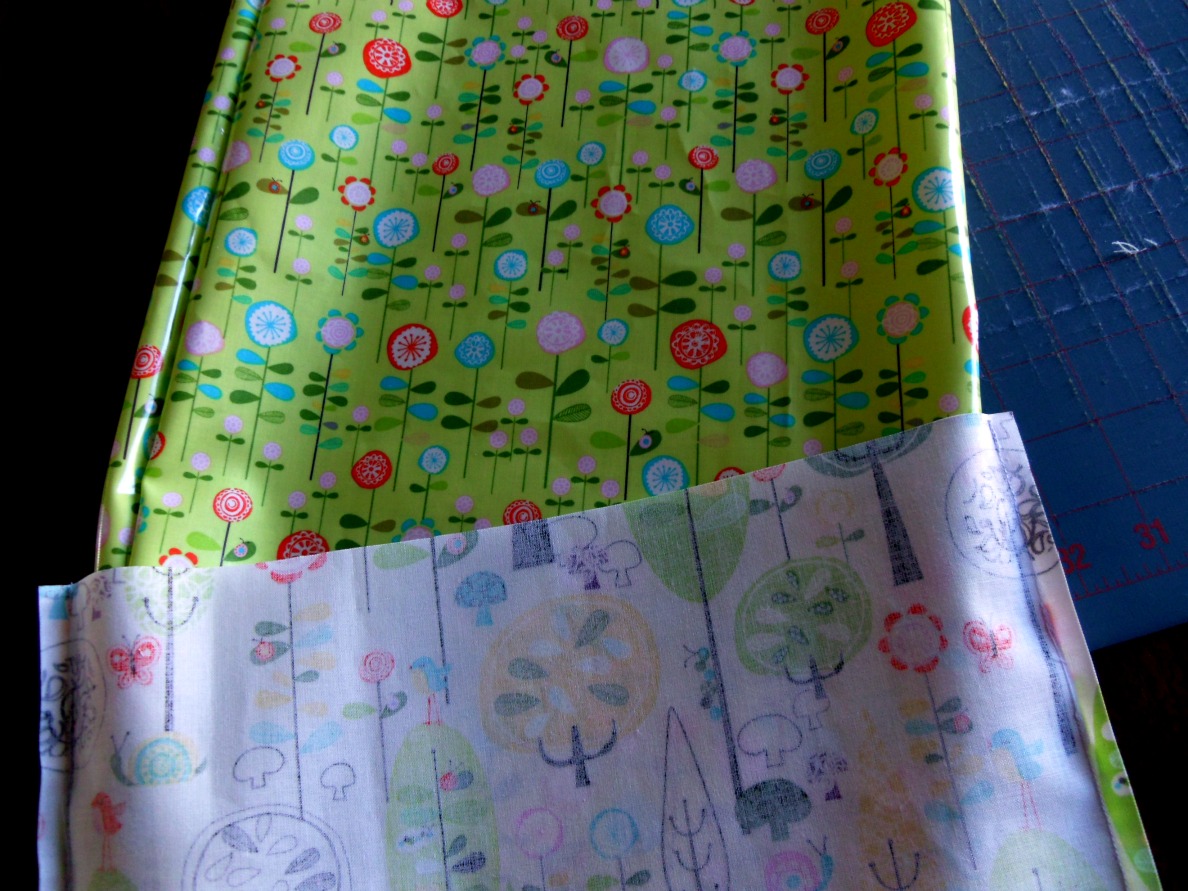
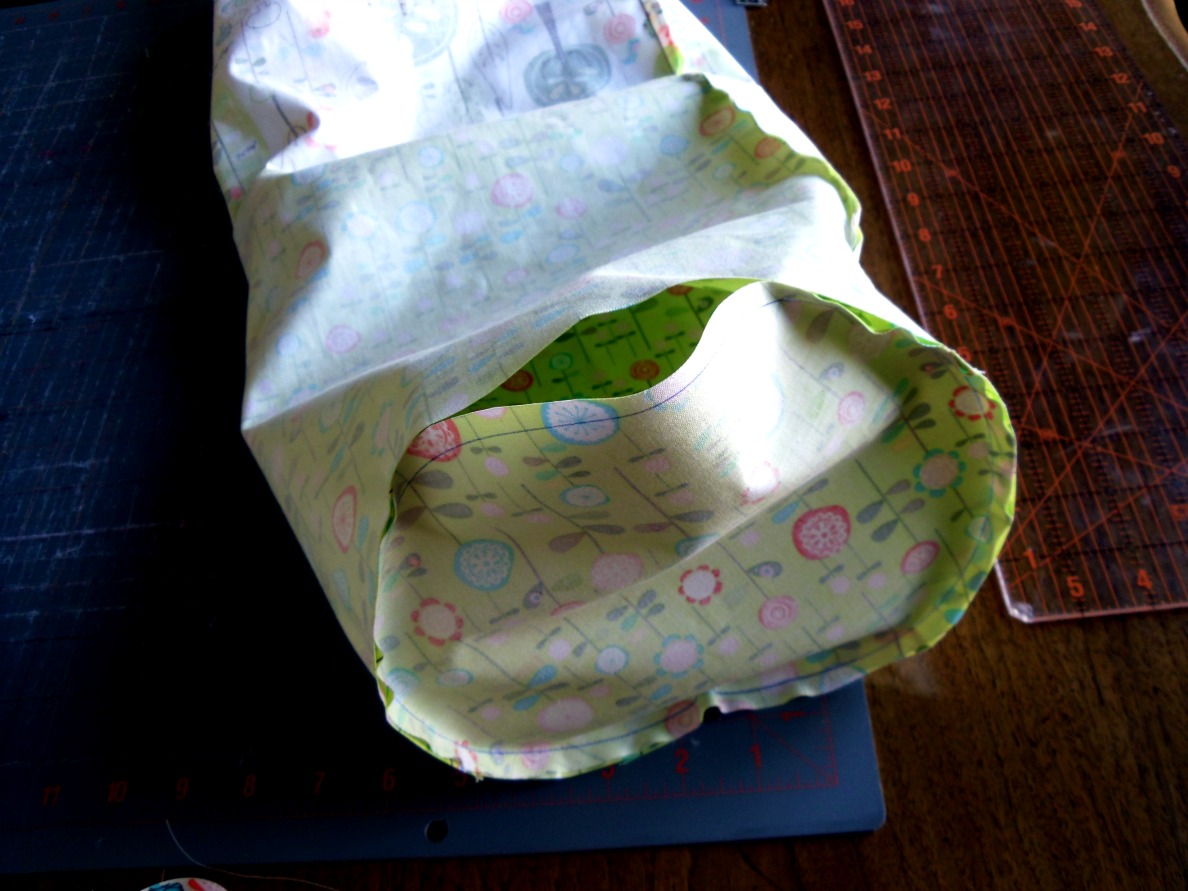
Turn the lining fabric right side out and slide it inside the exterior fabric. Line up the side seams and the top edge. Sew around the top.
You can see that the seam needs a little help, but you don’t want to press the laminate side of the fabric. I just finger-pressed the seam and then topstitched it down. It worked great- the laminate holds the crease pretty well.
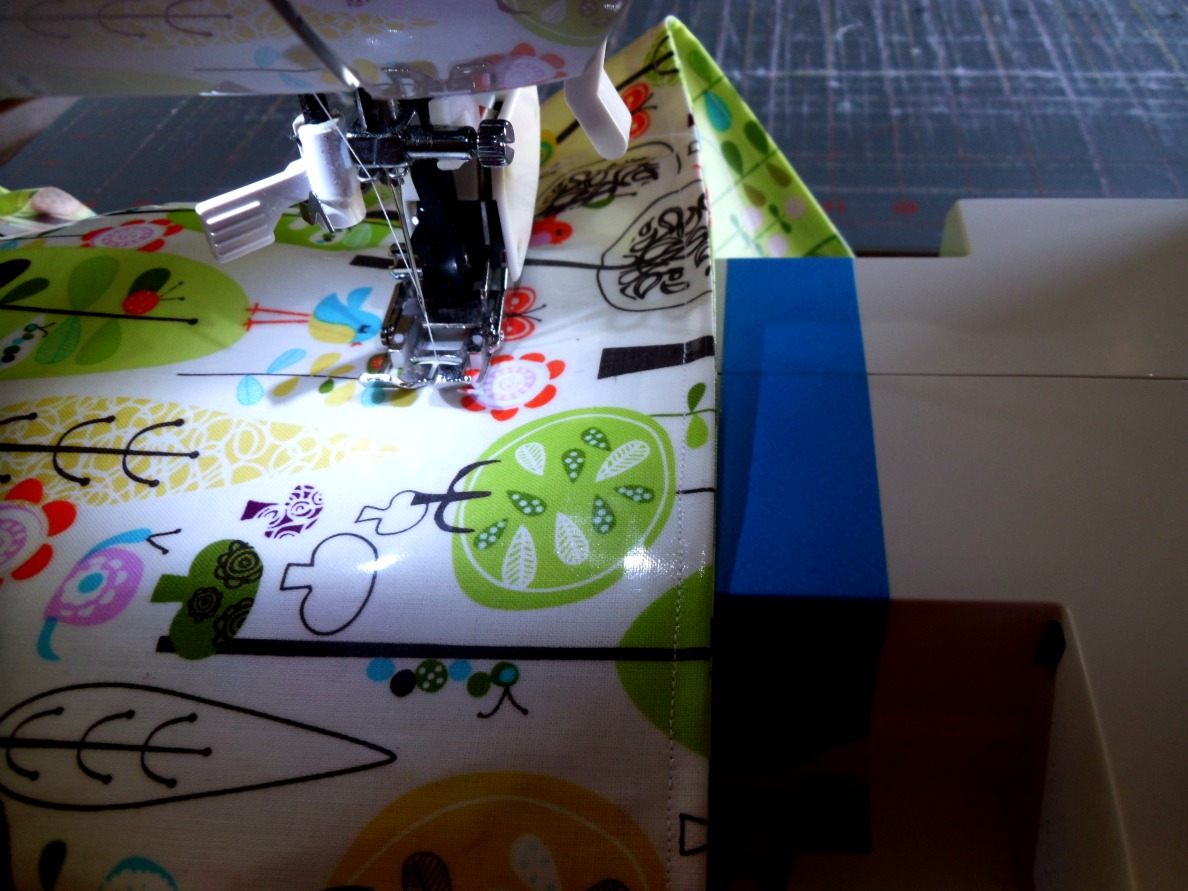
After top stitching the seam, we need to make the casing for our backpack. I used painters tape to mark the spacing for the first seam- 2″ from the top edge. The painters’ tape is 1″ wide so I used the other edge to make the bottom seam.
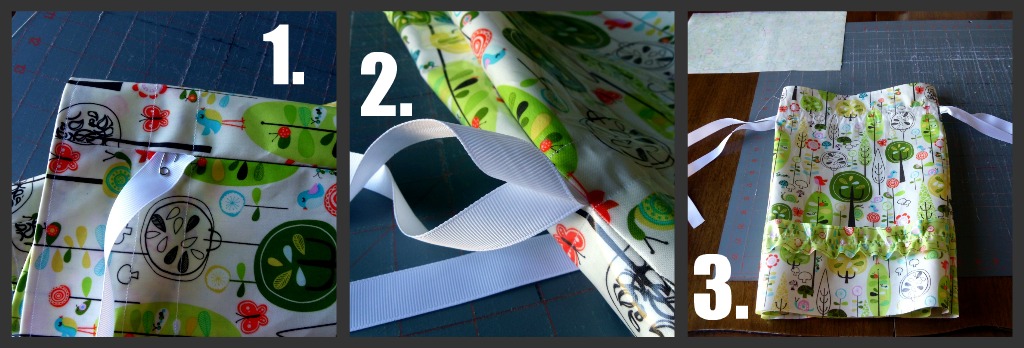
1. Now take 1 1/2 yards of your ribbon- using a safety pin, thread it through the casing.
2. Bring it around the entire bag so it comes out the same opening it came in.
3. Repeat for the other side. Straighten both ends of the ribbon on each side, pin them to the bottom of the bag. I wanted mine more “backpack” style, so I put them on the same piece of exterior fabric 2″ from each side.
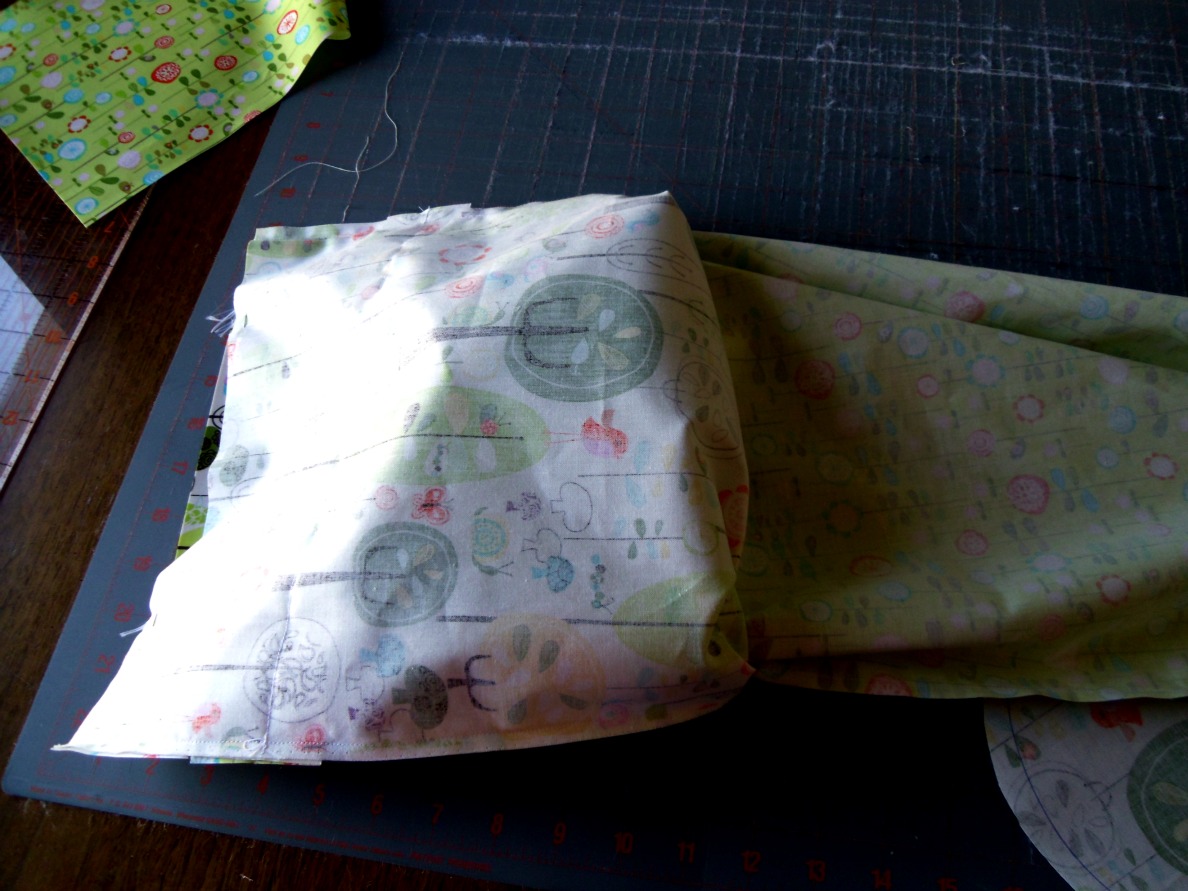
Pull the exterior of the fabric inside out. Pin the circles to the bottom of the exterior and lining pieces, making sure to catch the ends of the ribbons in the seam. Sew around the circles.
Make sure to leave an opening in the lining to turn the bag right side out. Once the bag is turned, push out the bottom exterior seam to straighten it out and sew the opening of the lining shut. Push it into the exterior of the bag.
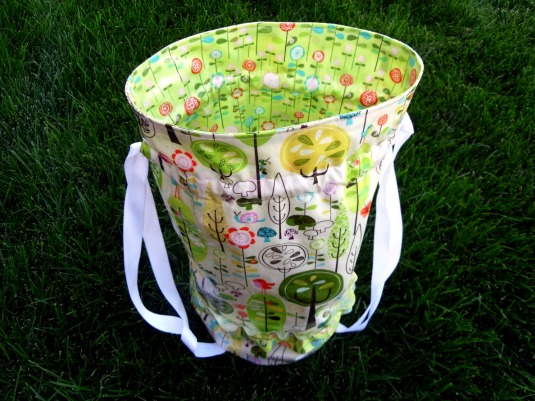
Done.
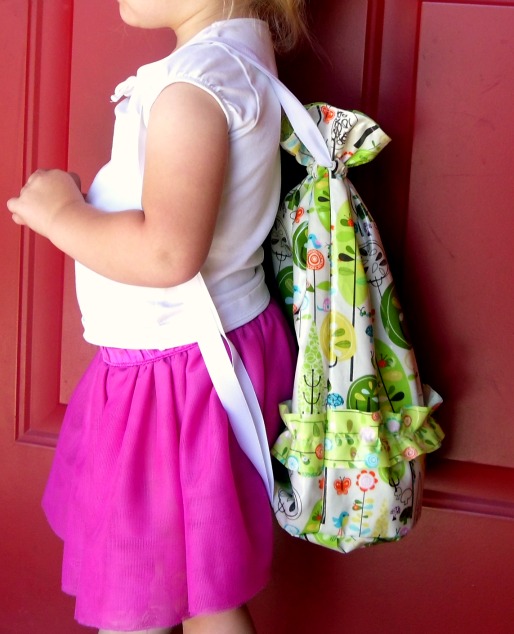
And your 2 1/2 year old might decide that since she has a new backpack, she’s ready to head off to school “All by myself.”
Be Prepared.
XOXO,
Amy
p.s. tomorrow I will share just a couple of things I learned using laminated cotton- which I now LOVE.
Linked up to Market Yourself Monday at Sumo’s Sweet Stuff, Friday Flair at Whipperberry, Friday Fun Finds at KoJoDesigns, BFF link party at The Answer is Chocolate, Weekend Wrap-up Party at Tatertots and Jello
Linked up to Market Yourself Monday at Sumo’s Sweet Stuff, Friday Flair at Whipperberry, Friday Fun Finds at KoJoDesigns, BFF link party at The Answer is Chocolate, Weekend Wrap-up Party at Tatertots and Jello


Gwen @ Gwenny Penny
August 26, 2011 at 1:42 pmThis is adorable, Amy. I love the added ruffle… so cute! I can't wait to hear more about laminated cotton. I'd like to try a few projects with it. Love that Riley Blake print!
Leanne
August 26, 2011 at 2:38 pmThat is so cute Amy! I don't think my girls can ever have too many bags. I love that fabric too.
liz
August 26, 2011 at 2:52 pmWhat a cute backpack! I just love back to school supplies of all kinds!
Tonia @ TheGunnySack.com
August 26, 2011 at 2:56 pmHow cute! This would be a great thing for me to make as Christmas gifts for my nieces!
Camilla Jones (CioCo Photography)
August 26, 2011 at 3:05 pmoh I love this. So perfect for a little girl, the ruffle just makes it!
Swensgirl
August 26, 2011 at 3:36 pmAmy, you amaze me! It's SO adorable and your little one was SO proud to be wearing it! She told me that you made it for her and was just BEAMING! I know times are crazy, but I hope you realize how talented you are and how proud of you your kids and family are! 😀
Anonymous
August 26, 2011 at 4:09 pmReally cute bag! I love the fabric you used!
Anonymous
August 26, 2011 at 6:31 pmI LOVE this! Another reason to get my sewing machine repaired—it blipped out this week! I had so much fun being a part! Blessings~ Daune
Andi @ Jane of all crafts
August 27, 2011 at 1:27 amSo cute! I just love the fabric! This would be great for after school activities like dance, gymnastics, soccer!!
Michelle
August 29, 2011 at 4:33 amThat fabric is awesome. Cool that it is laminated! Love the bag!
Tonia @ TheGunnySack.com
August 30, 2011 at 4:23 amThanks for linking up at my party. I feel like the new kid at school…worried no one would play with me so thanks for playing!
Steph
August 31, 2011 at 7:18 pmReally cute! My girls would love this backpack. I have never sewn with laminated cotton. Thanks for the inspiration to try it!
Summer
September 1, 2011 at 3:25 amYou know I think you are fabulous, Amy. So is your bag. Which is why I'm featuring it on my blog on Saturday!
Hope I get to see you again soon!
Sumo:)
Summer
September 1, 2011 at 3:25 amYou know I think you are fabulous, Amy. So is your bag. Which is why I'm featuring it on my blog on Saturday!
Hope I get to see you again soon!
Sumo:)