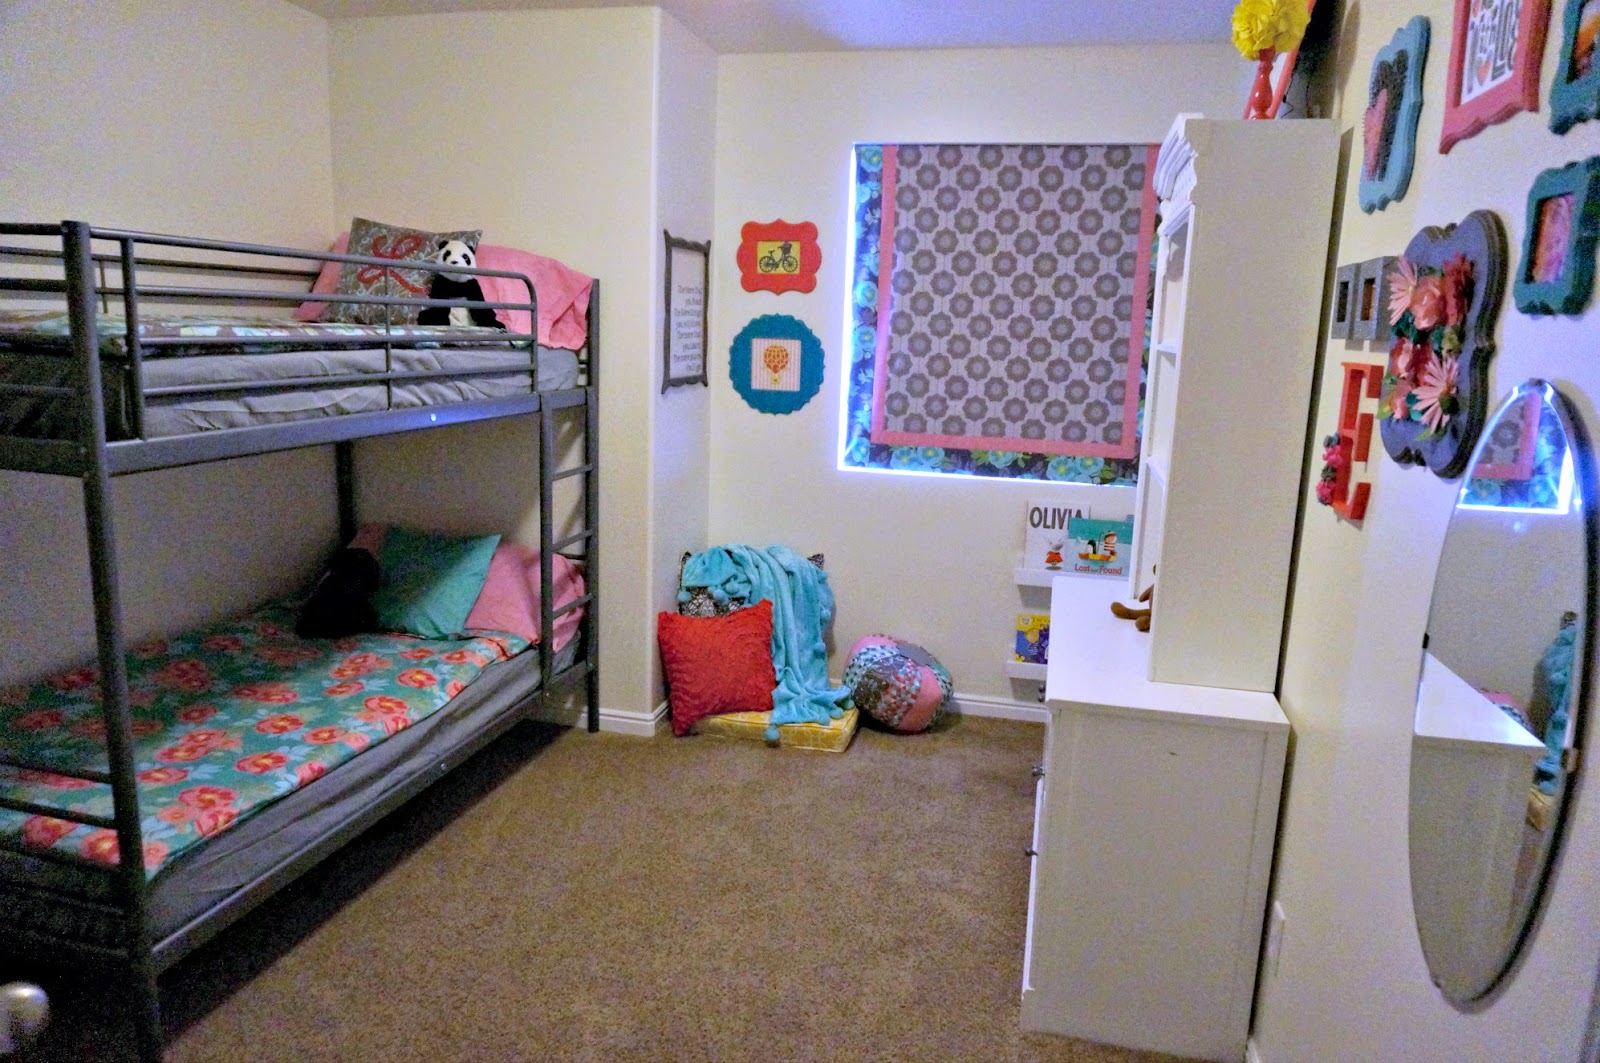
Are you sick of this room makeover yet? I hope not, I still have a couple of posts to share with you, including a video! Yikes! But, that’s for tomorrow. 😉
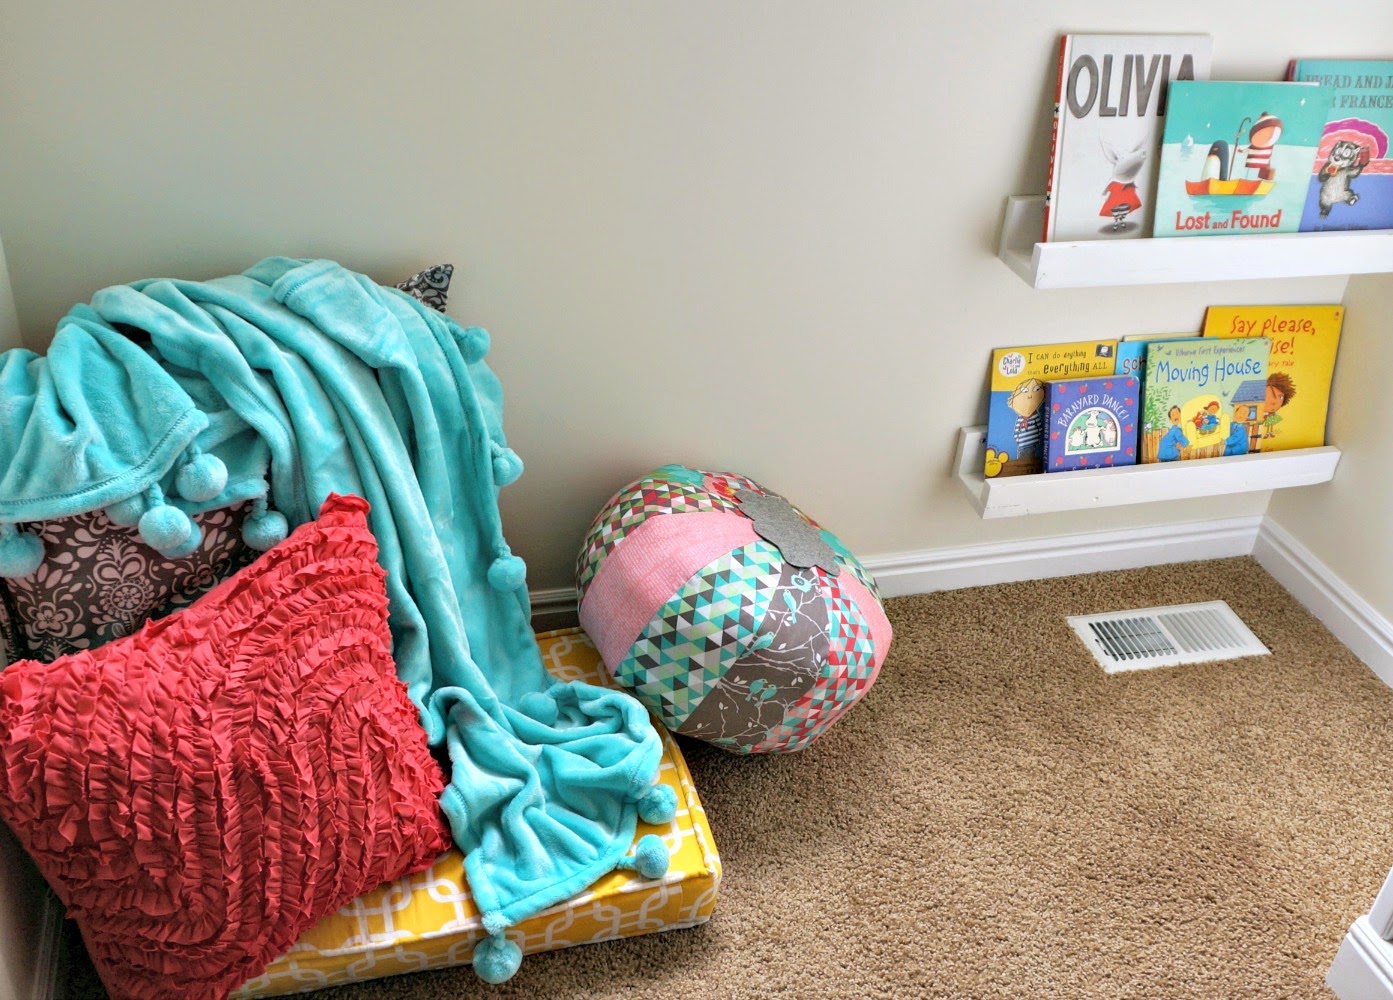
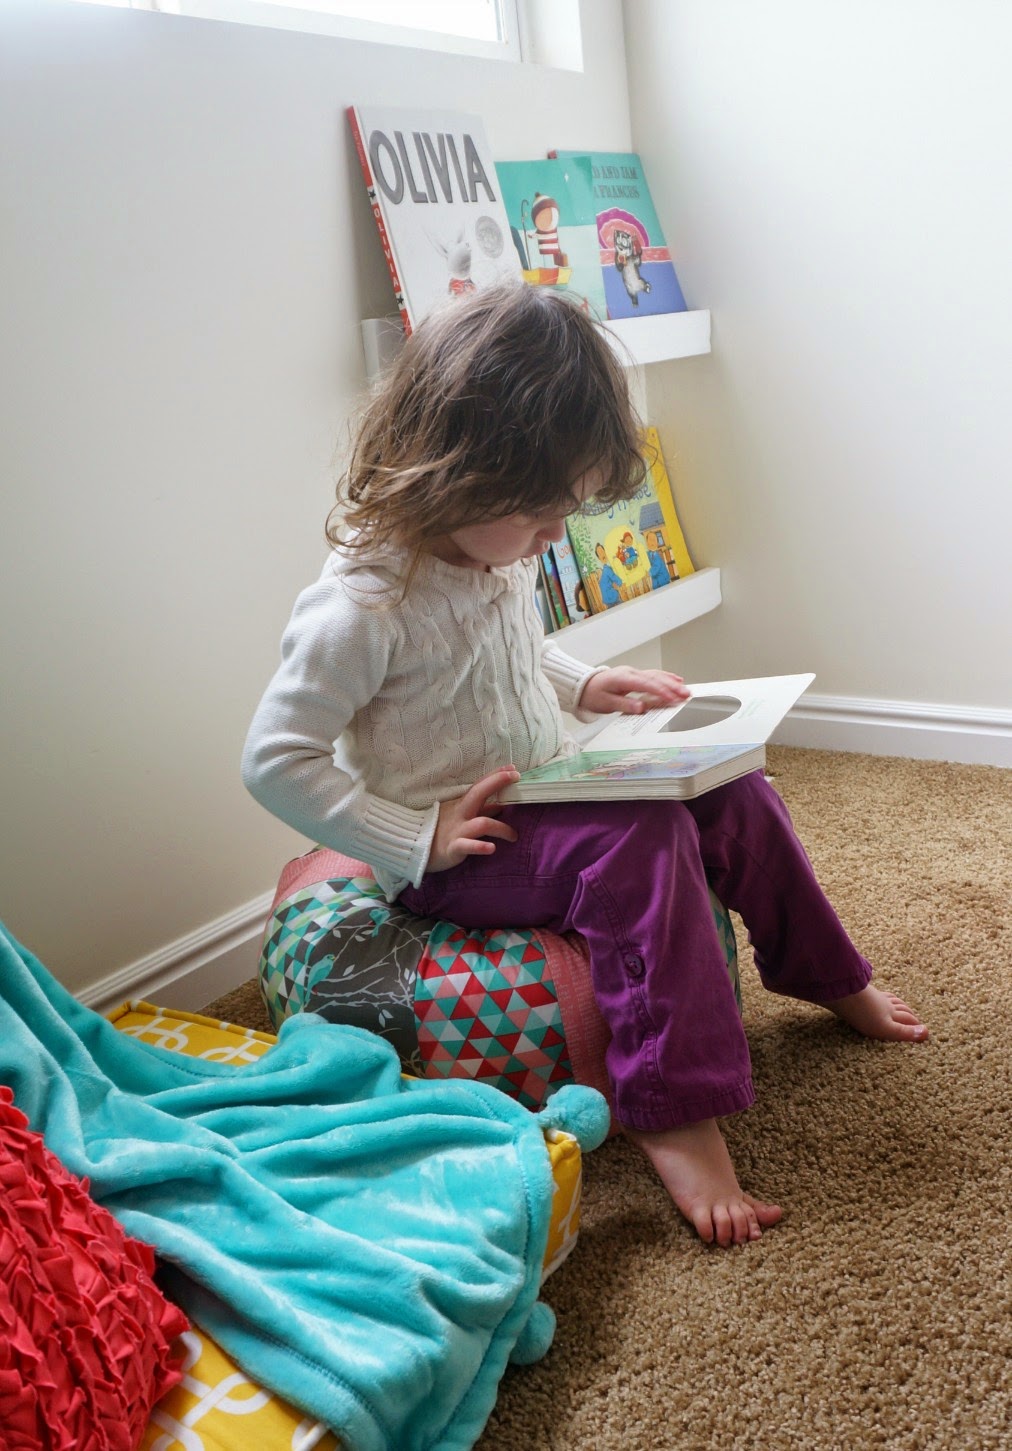
Today we’re going to talk about this little reading nook. Specifically how to make the pouf I designed. But first we’ll talk about a couple of the other details.
The yellow cushion is from my previous reading nook I made for my youngest daughter. I was glad I didn’t have to get rid of it. 🙂 The large gray pillow is from Ikea- both the insert and the cover. The coral pillow is my Wavy Ruffle Pillow and the darling throw is from Target. The shelves were made using 1 X 4 and 1 X 2 pieces of wood. We pretty much followed this tutorial from Ana White, but instead of nailing the 1 X 2 to the front of the bottom board, we nailed it on top so the nail holes wouldn’t be seen. My girls love them.
But the real star of this space is the pouf. In the above picture is wasn’t completely finished *gasp* so I just plopped the felt piece on top, but now, it’s all done and I can share the details. 🙂

This pouf showcases some real milestones for me. I designed the pattern in Illustrator, a skill I have been working on for over a year. Then, I uploaded the pattern to Design Space and let the Cricut do all the cutting for me- learning how to best cut fabric on the Explore was something I had been putting off for a while. It all came together just how I imagined it and I’m so thrilled about that. 🙂
Let me show you how to make your own.
Materials needed:
6- 12″ X 24″ pieces of fabric- I am using The Cottage Garden fabric designed by The Quilted Fish for Riley Blake Designs
12″ X 24″ cutting mat
Freezer paper
iron
New blade for your Cricut Explore
Cricut Explore
Sewing tools
pattern
* The pattern will be available on Design Space in the coming weeks.
Creating the Pouf:
1. Cut your freezer paper into 12″ X 24″ pieces.
2. Use the iron (on cotton setting) to fuse the freezer paper to the RIGHT side of your fabric. * the shiny side of the freezer paper goes against the right side of the fabric
3. Place the fabric- WRONG side (or fabric side) down on the cutting mat. *it helps if it is a new-ish, pretty sticky mat
4. Upload pattern or open it in Design Space. Make sure the shape is locked in proportion and if necessary adjust size to 23″ in length.
5. Put in your new cutting blade *this makes such a HUGE difference- It’s totally worth it to spend the few dollars on a new blade to get sharp cuts on the fabric.
6. Cut out 2 shapes per fabric
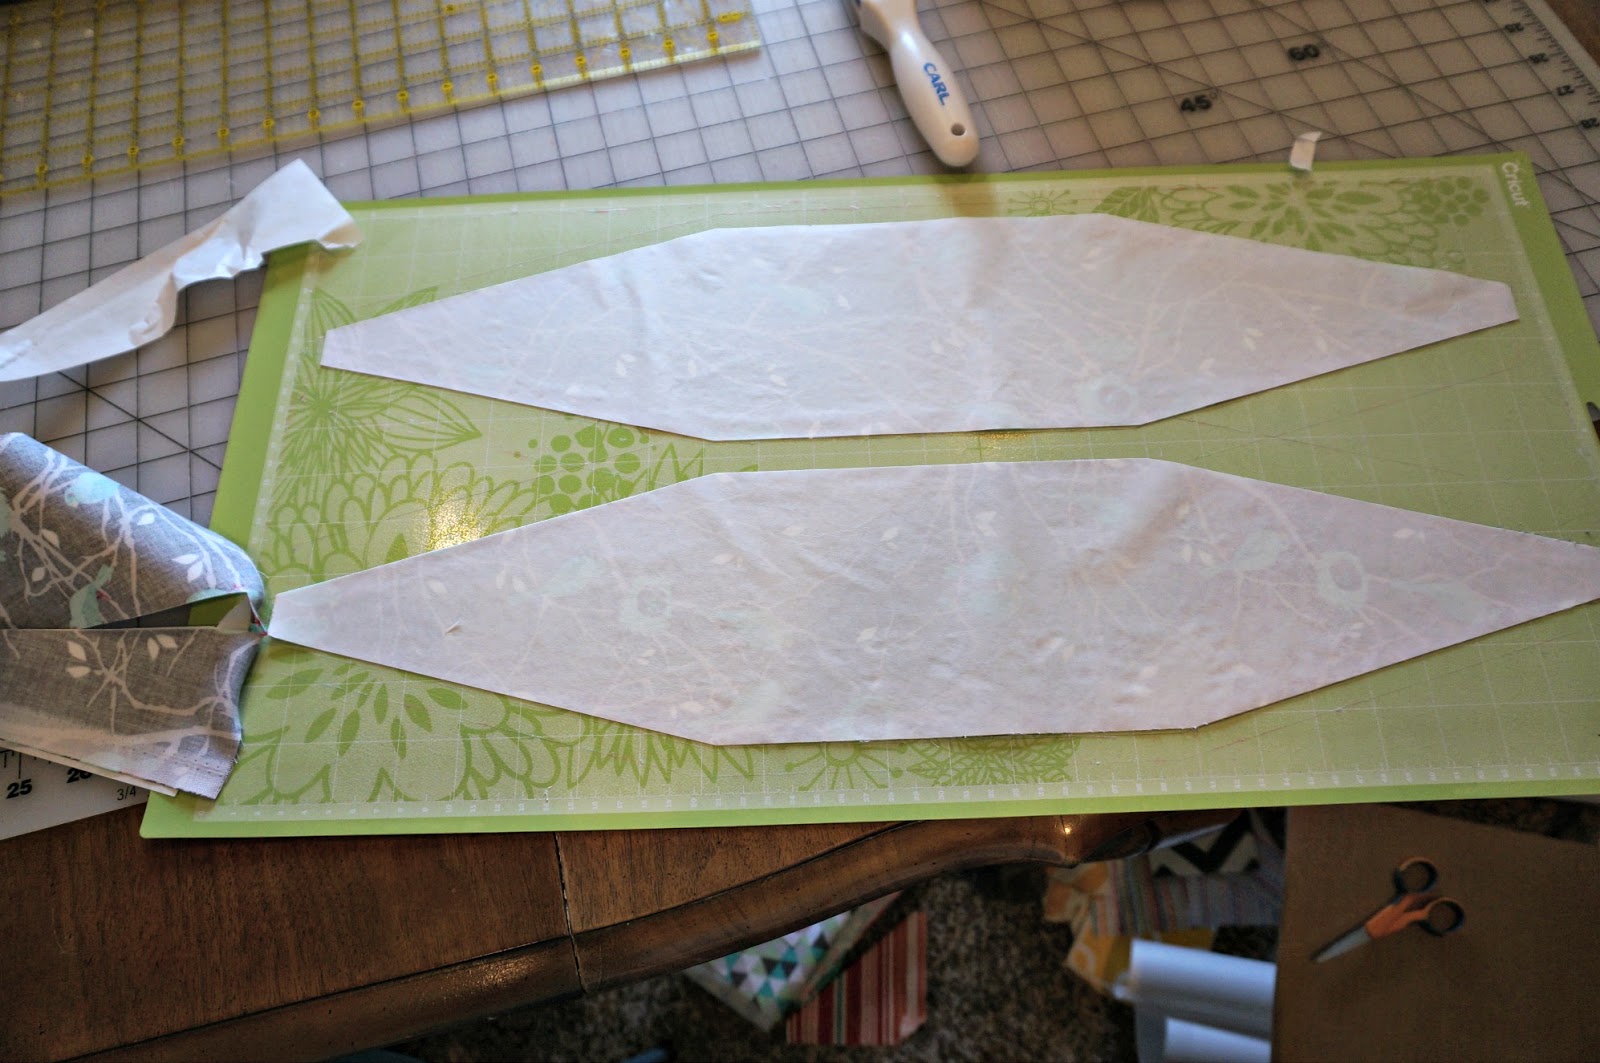
(in this pic you can see that one corner didn’t cut all the way- but once I finally switched out the blade, there were no more missed threads- I wish I had replaced the blade first)
Assembling the Pouf:
1. decide the order you want the fabrics to go.
2. Pair the fabrics next to each other and pin them right sides together on one side.

3. Sew down the pinned sides, using a 1/2″ seam allowance.
4. Now take your sections of 2 and open them up. Make sure to check the placement of fabrics.
5. Pair up your sections of 2 and repeat steps 2 and 3 to create sections of 4.
6. Sew two sections of 4 together to create one section of 8. (sorry for the lack of pictures on these steps, basically it’s the same thing over and over, just building the pouf)
7. When you get to the last section, sew one side in completely. Then, on the last side, leave a section on the bottom of the pouf open (approx. 8″ or so) so you can stuff the pouf.
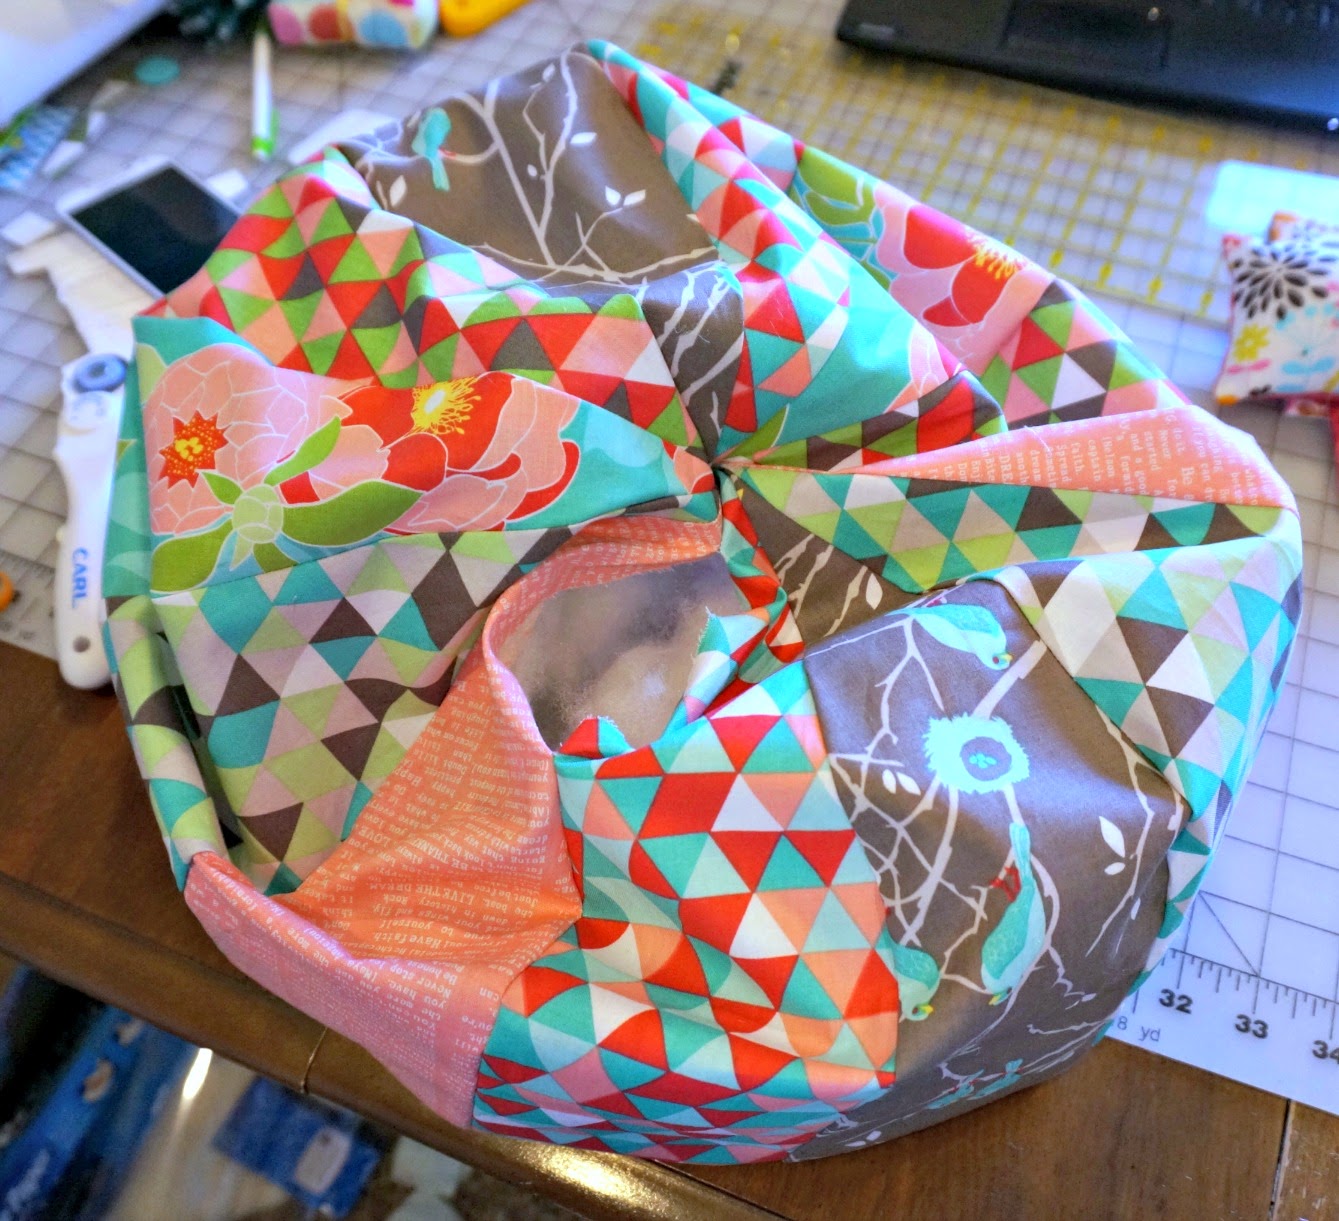
You can see the opening I left on this picture.
Stuffing the pouf:
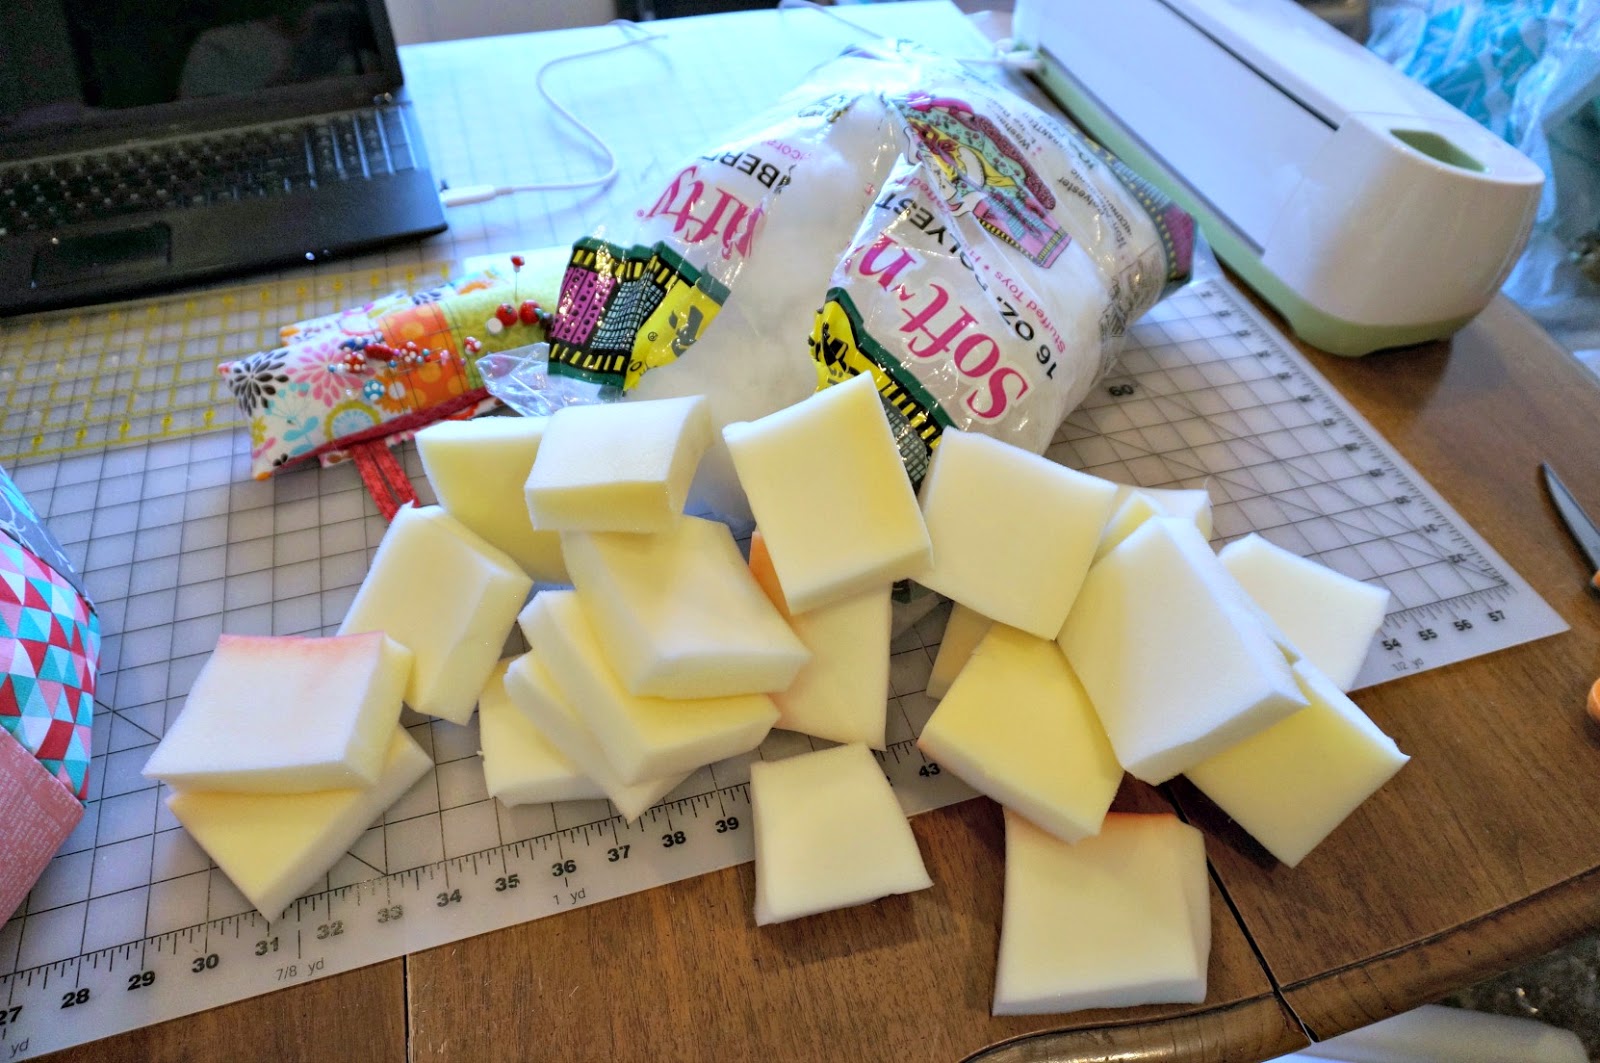
I labeled this picture Pouf Guts. 🙂 This is what I used to stuff my pouf. I used two bags of fiberfill and some foam pieces I got from my grandmother. I wanted the pouf to have some body, so I cut the foam into about 4″ sections and put them in the center of the pouf. I made sure to have a thick layer of fiberfill in the pouf first, then put the foam in, then pushed fiberfill all round the sides and bottom of the layer of foam. I didn’t want the foam to make the pouf look lumpy. Make sure to tightly stuff your pouf- it’s going to be used a lot (if how mine has been used is any indication). 🙂
Finishing:
1. Hand stitch the opening closed using a needle and thread.
2. Cut a piece of felt or fabric to cover the top of the pouf. I just cut out a circle, but you can use any shape you want. I thought a hexagon would be fun too.
3. Use embroidery floss to sew the felt piece to the top of the pouf.

Now, you’re done!!
And your pouf is ready to be enjoyed. 🙂
Thanks for stopping by. If you have any questions, please don’t hesitate to ask, but make sure to leave an e-mail so I can respond to you. Otherwise, I’ll just leave the answer in the comments and it will be up to you to come back and check. 😉
Have a wonderful day! And don’t forget to stop by tomorrow for a look at my first ever video uploaded to YouTube and filmed by yours truly. Should be good for a laugh.
xoxo,
Amy


KAT
February 10, 2015 at 8:15 pmI am loving your little girl's room makeover! What I am super interested in is how you made the duvet covers. My girls share a bunk bed, and tucking in those quilts is no fun! Will you be sharing how you made them? Thanks!
Ronda Batchelor
February 16, 2015 at 4:59 amI love it, I may be calling when I get to the pouf for my daughters room.