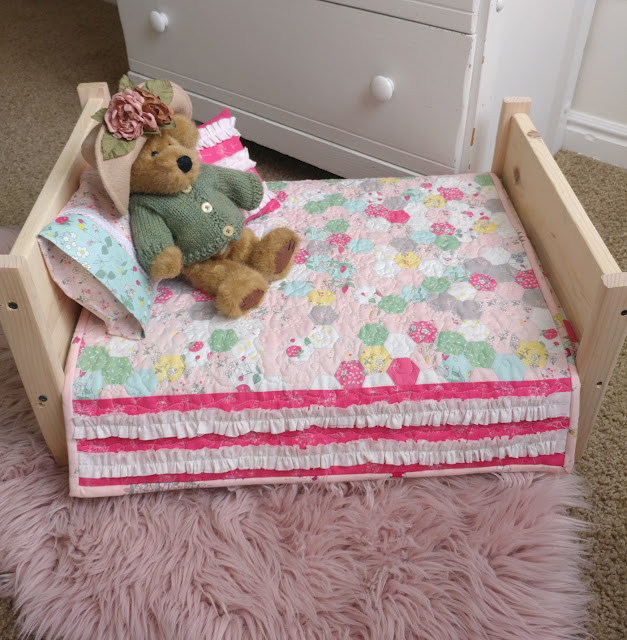
I have 4 daughters, and while one of them is too old for dolls now, the other three love playing with them! I have wanted to make them a doll bed for a long time, and since I was designing doll blankets for my guest post for The Polka Dot Chair, I decided to go ahead and finally do it.
Originally I wanted to make the farmhouse style bed by Ana White, but it was more complicated than I had time for. Luckily, she has a ton of doll bed plans and I came across this one, which is much simpler to build.
I followed the basic construction of the bed, but I wanted it to be a bit larger in size, and I was using some scraps and larger boards for the headboard and foot board, so I’ll share the modified measurements here:
The headboard is a 1″ X 8″ board and the foot board is a 1″ X 6″ board. If you are going to buy lumber for this project, I would make them the same. The rest of the bed is made using 1″ X 2″ boards.
Headboard:
1- 1″ X 8″ @ 14″
2- 1″ X 2″ @ 11 1/2″
Foot Board:
1- 1″ X 6″ @ 14″
2- 1″ X 2″ @ 10″
Cross boards:
2- 1″ X 2″ @ 20″
2- 1″ X 2″ @ 20 3/4″
Assembly:
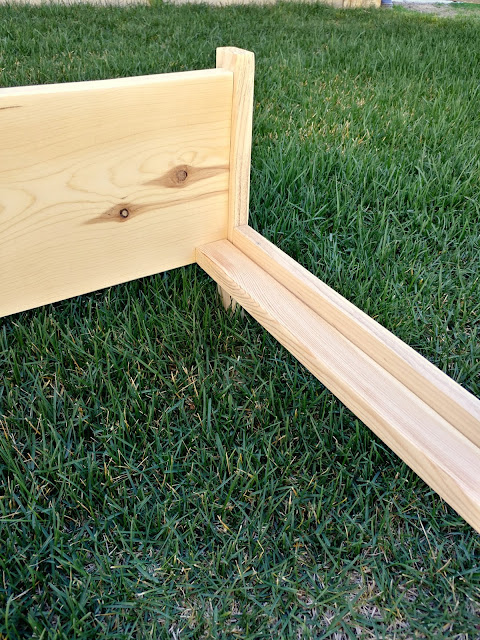
Measure up 4″ on the 2- 1X2 pieces for the headboard and mark. Line up the wide board with the mark and make sure it’s 3/8″ in from the edge of the 1X2 (this will center the board). Screw into place. *it’s much easier to pre-drill your holes first, it will help avoid splitting the wood. Also, it’s a good idea to use a small amount of wood glue when placing the pieces together to add stability to the bed.
Repeat for the foot board.
Take the cross boards and line one long board and 1 short board perpendicular to each other. There should be 3/8″ difference on each side of the short board. Glue/screw together.
Line up cross boards with the bottom of the head and foot board, screw in from the headboard/ foot board side.
Your bed frame is basically done! To finish, you can fill the screw holes with wood putty and paint/ stain the bed if desired. I also cut a base for the mattress out of some thin backing board I had on hand, but if you don’t have that, I would suggest just using a piece of foam core and cutting it to 13 3/4″ X 20 7/8″. I used a piece of 1″ foam to make the mattress, which I glued to the base and covered both with fabric.
These beds are really fast to put together and so much fun. I see lots of them in my future for gifts and for the other two girls, so they don’t always have to fight over this one.
If you’re looking for patterns for blankets for your beautiful new bed, here are a few suggestions:
The ruffle accent quilt in this post can be found on The Polka Dot Chair.
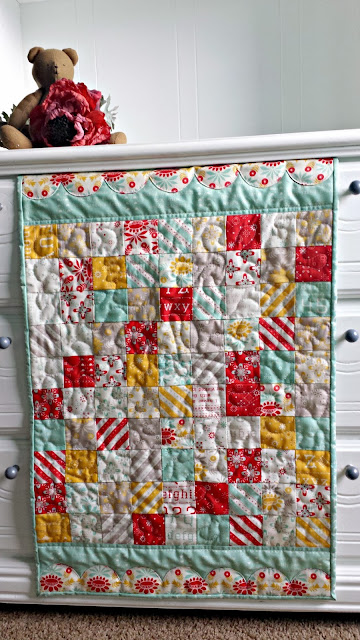
Scalloped edge patchwork doll blanket
If you make either the bed, or one of the blankets, I’d love to see! Tag me on Instagram or Facebook @AmeroonieDesigns!
Have fun and happy creating!
xoxo,
Amy


Vicki Johnson Hansen
April 24, 2018 at 1:59 amThis comment has been removed by the author.
Vicki Johnson Hansen
April 24, 2018 at 2:00 amSo super cute! My grandbabes are going to be getting these for Christmas! Thank you for sharing!