This is the tutorial I did for Gwen‘s Haul out the Holly event. I thought I’d just re-post it here in case some of you missed it over there.
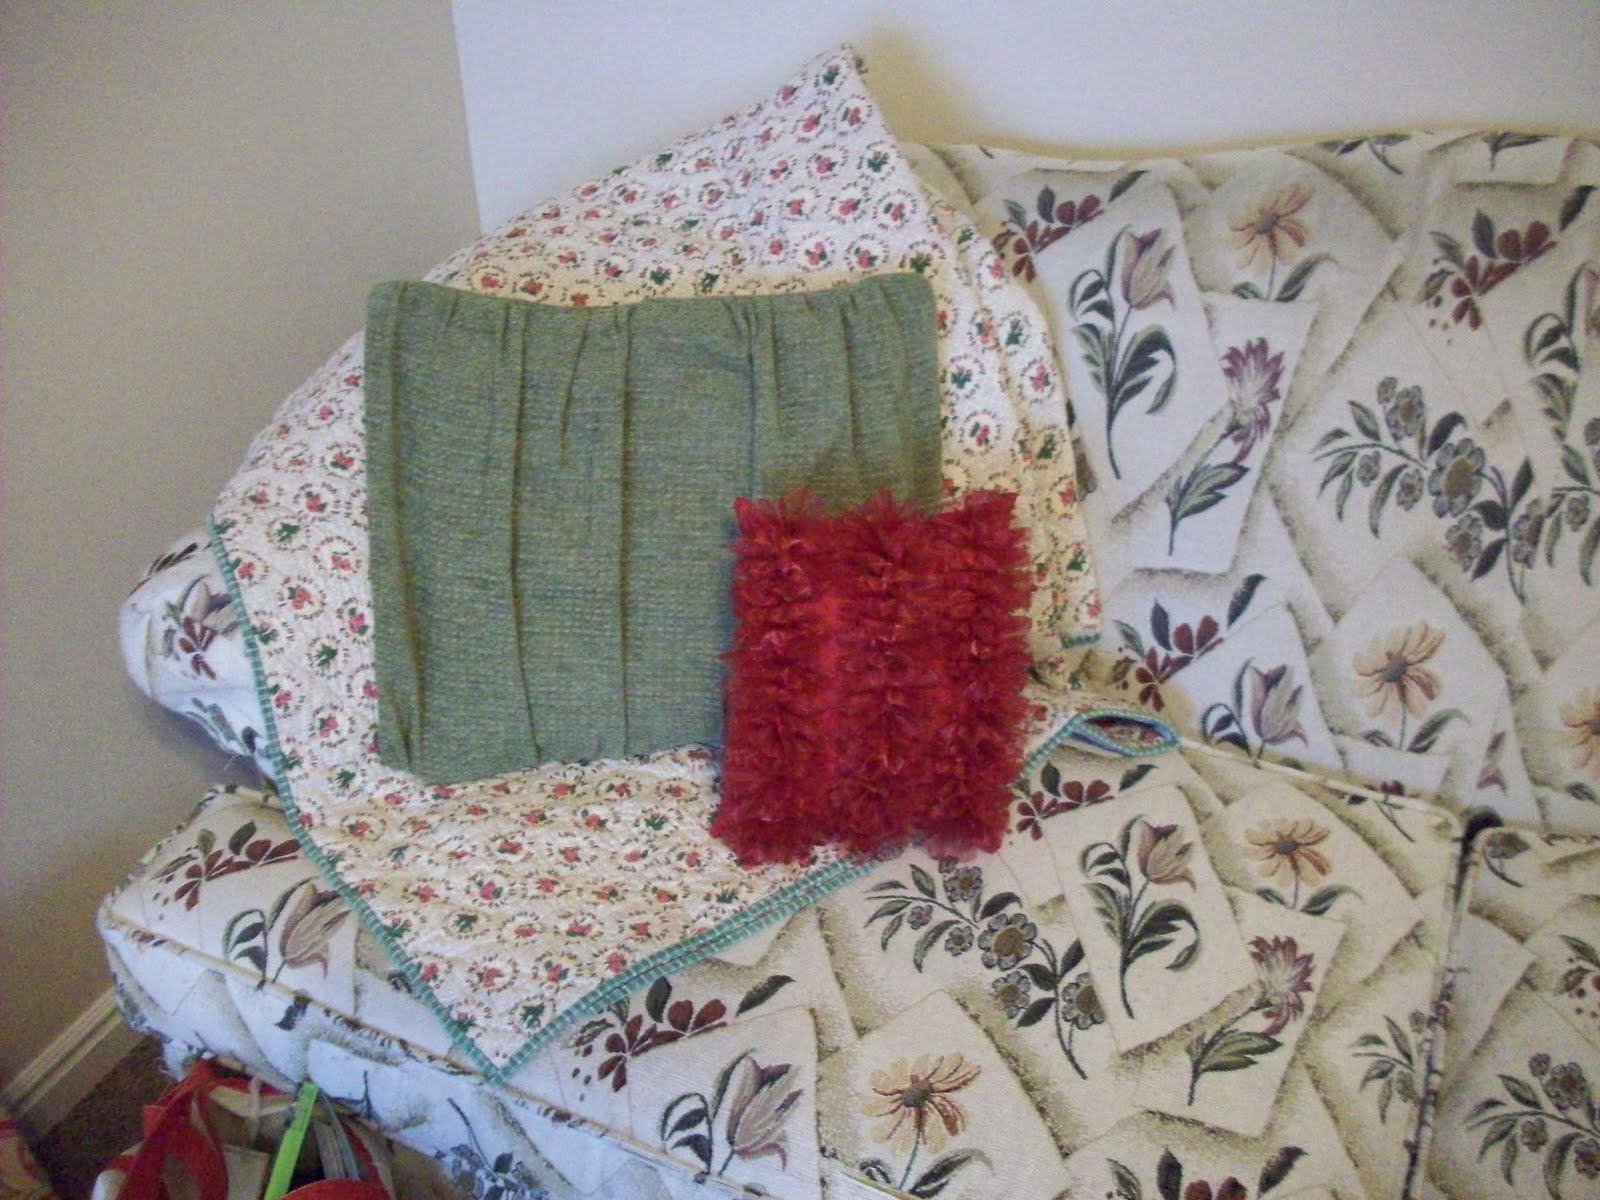
This pillow makes a great accent for your sofa or bed. And in rich holiday colors, it’s a treat to bring out for the holidays! It takes a little patience, and some time, but it’s a show stopper for sure!
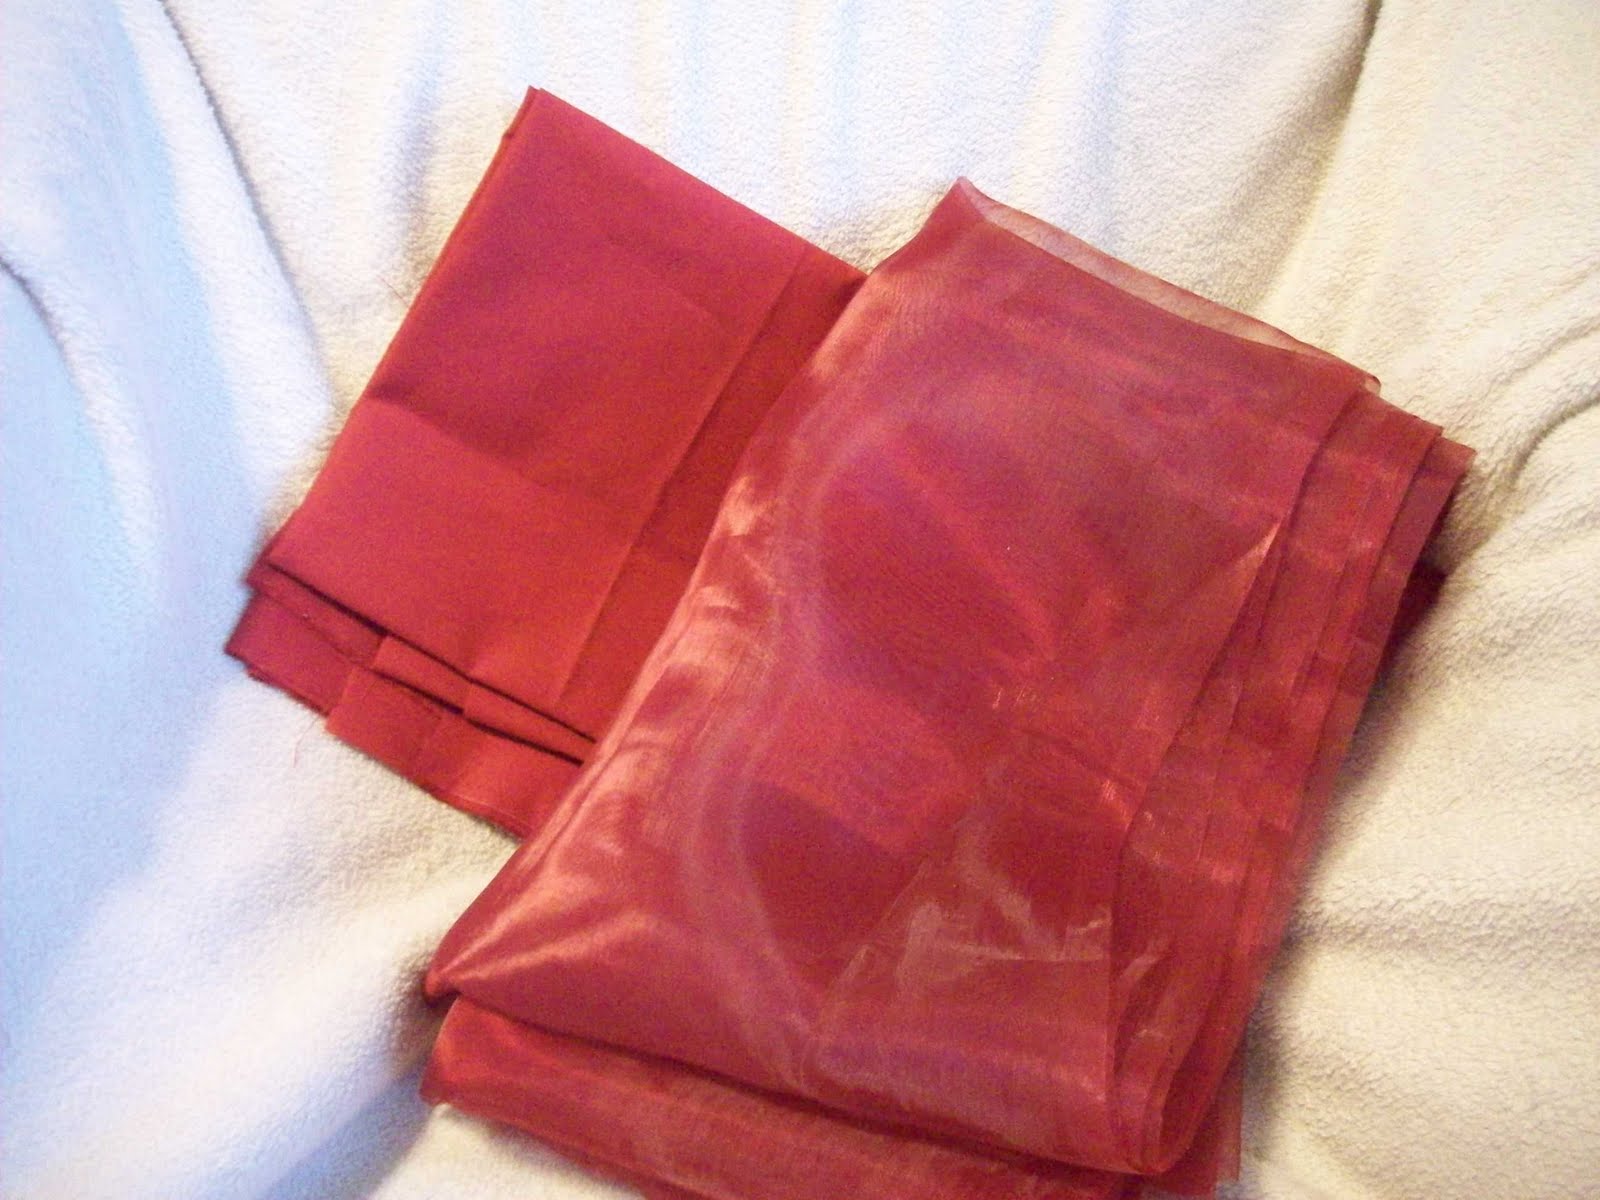
First you will need your ruffle fabric, and your background fabric. I chose to have my background fabric compliment the ruffle fabric. I purchased the fabric for the ruffles from IKEA, it was only $2.99 a yard! It’s a gorgeous, shiny, sheer polyester. You will need about 1/2 yard of the accent fabric and 10″ of the background fabric. Cut out your background fabric to 10″X12″ (cut 2). Cut your ruffle fabric into 3″X5″ rectangles- you will need approx 60 of these.
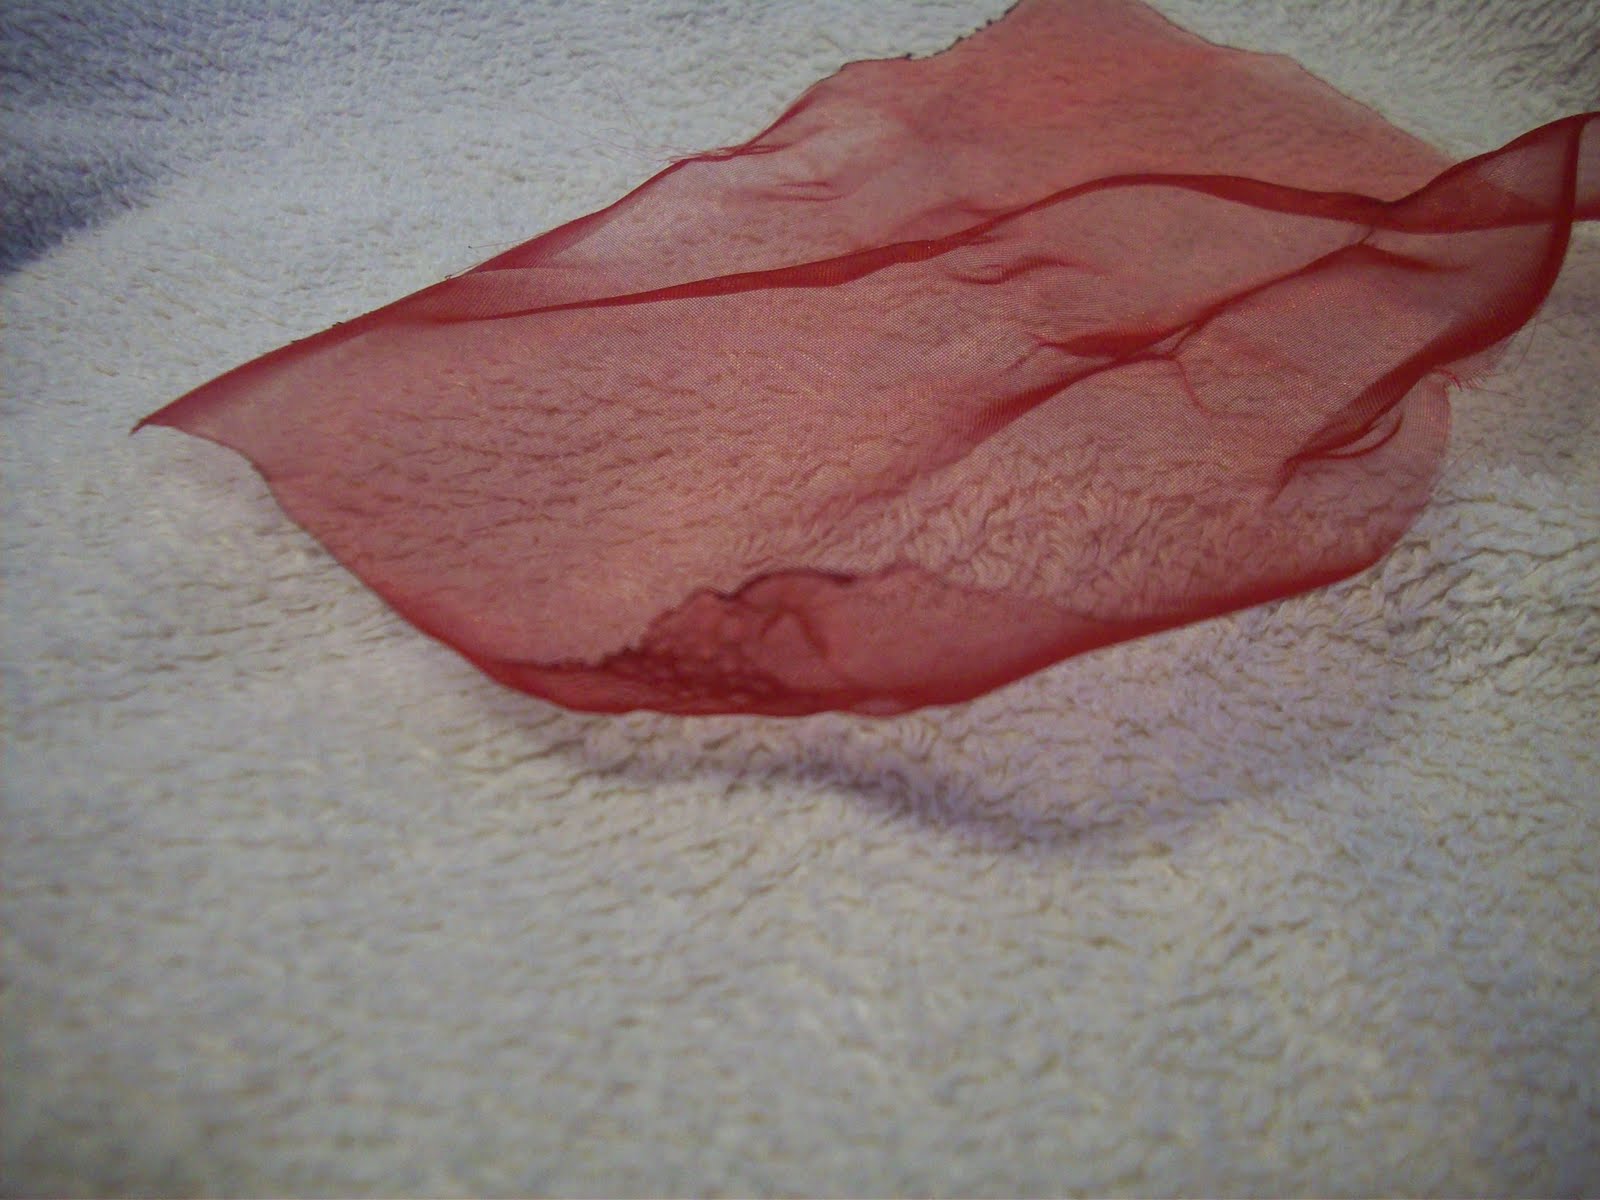
I didn’t want my ruffles to fray as much, so I took a candle and singed the edges of the rectangles.
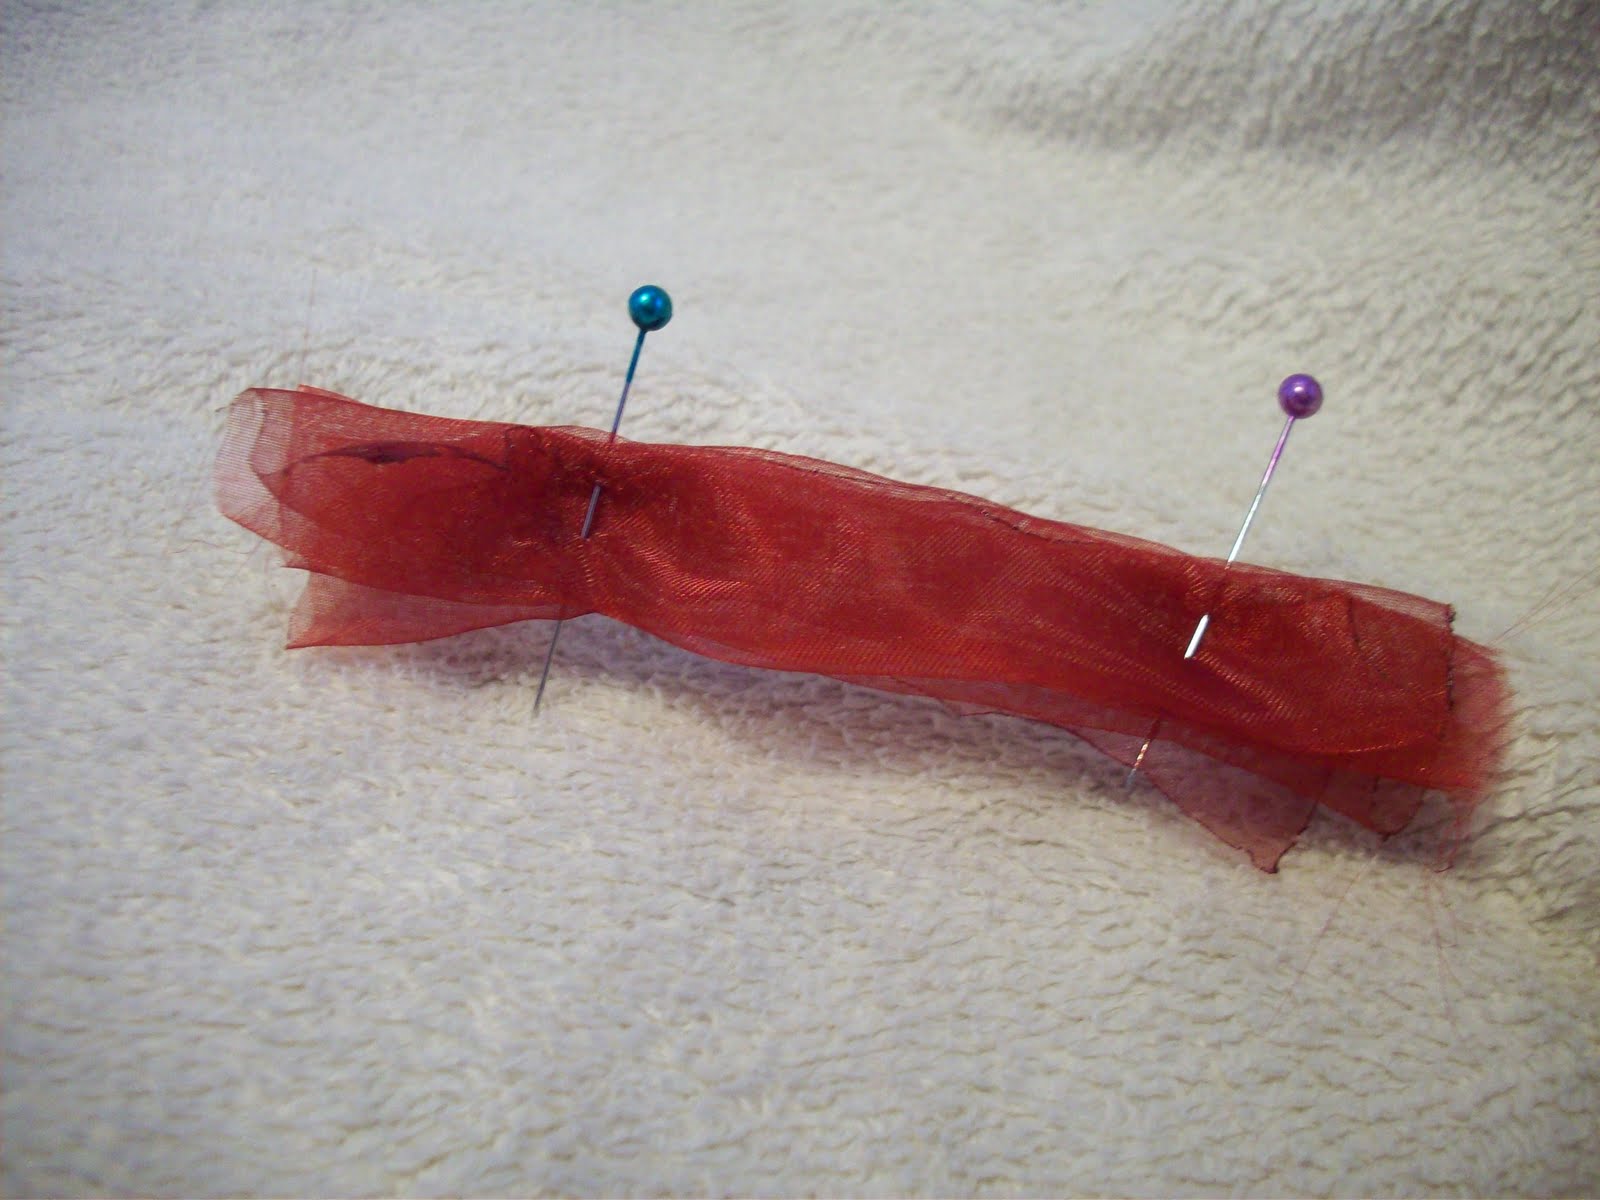

 Pin in place.
Take the first piece off and fold it in half, pressing to crease and mark the center. Place back on the background piece and stitch down the center line, back stitch the first couple stitches to secure.
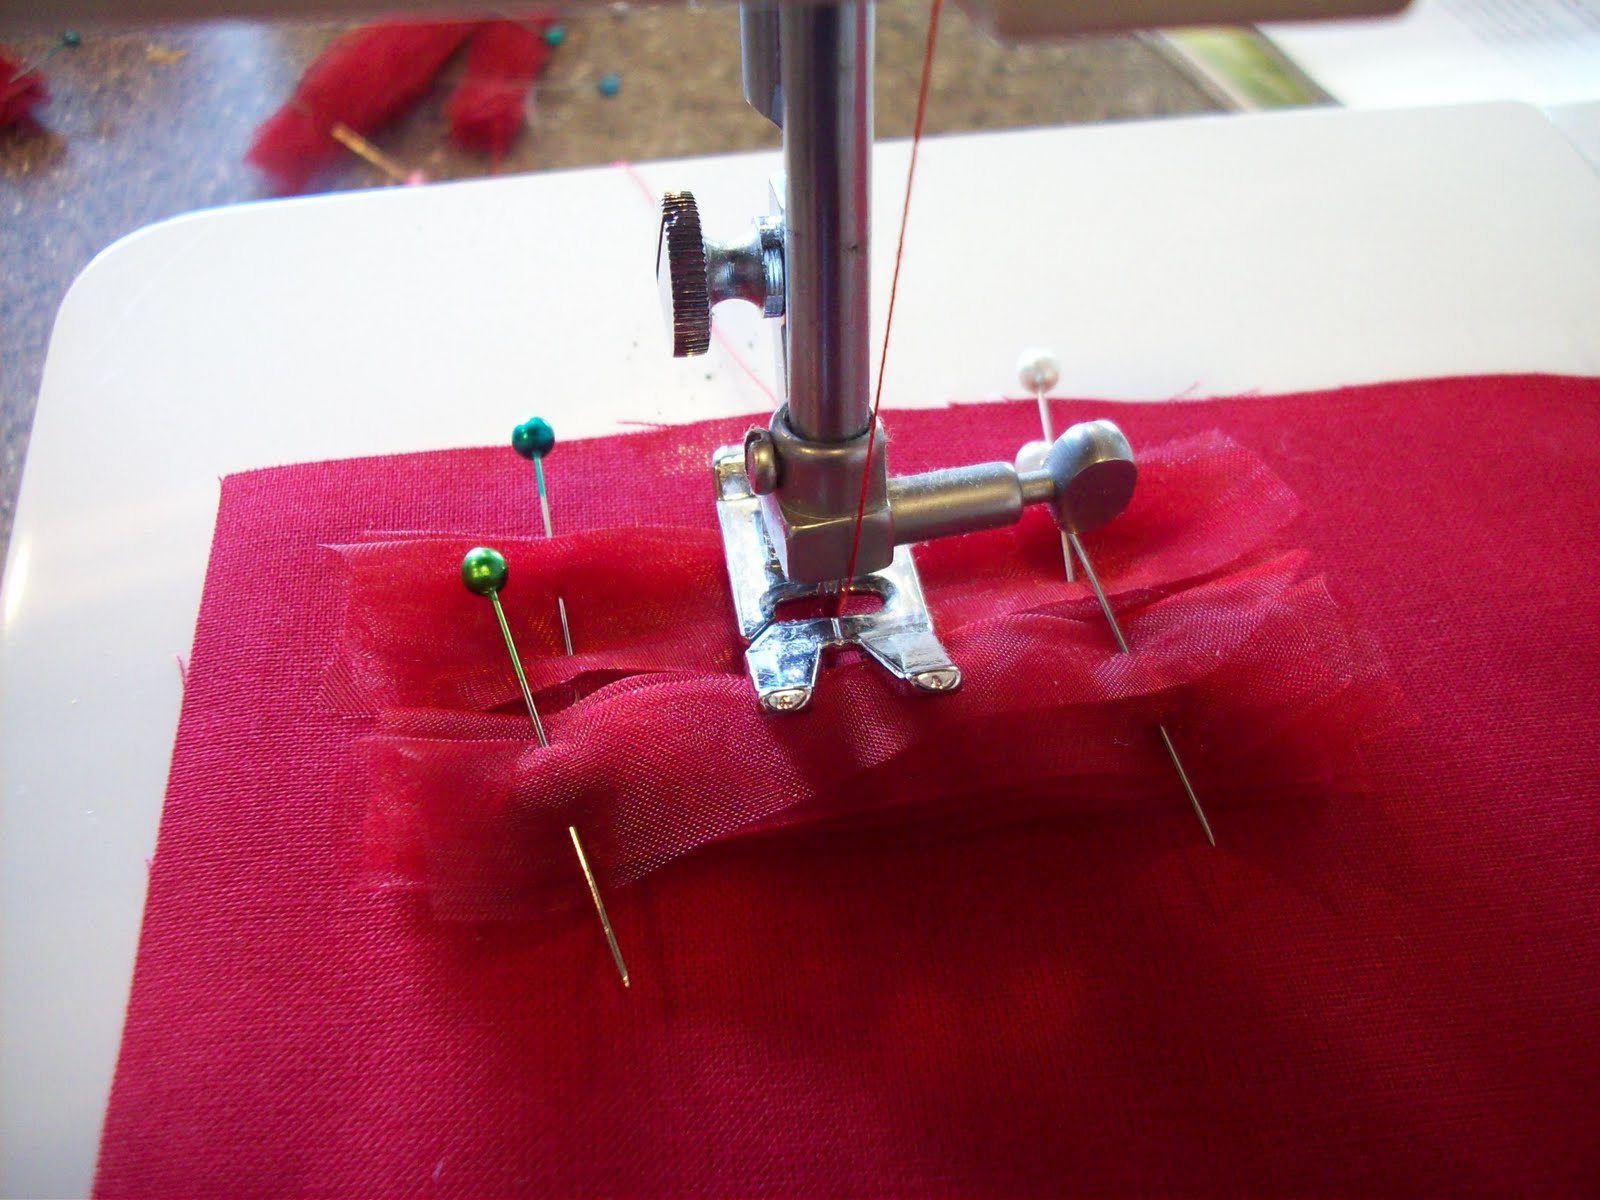
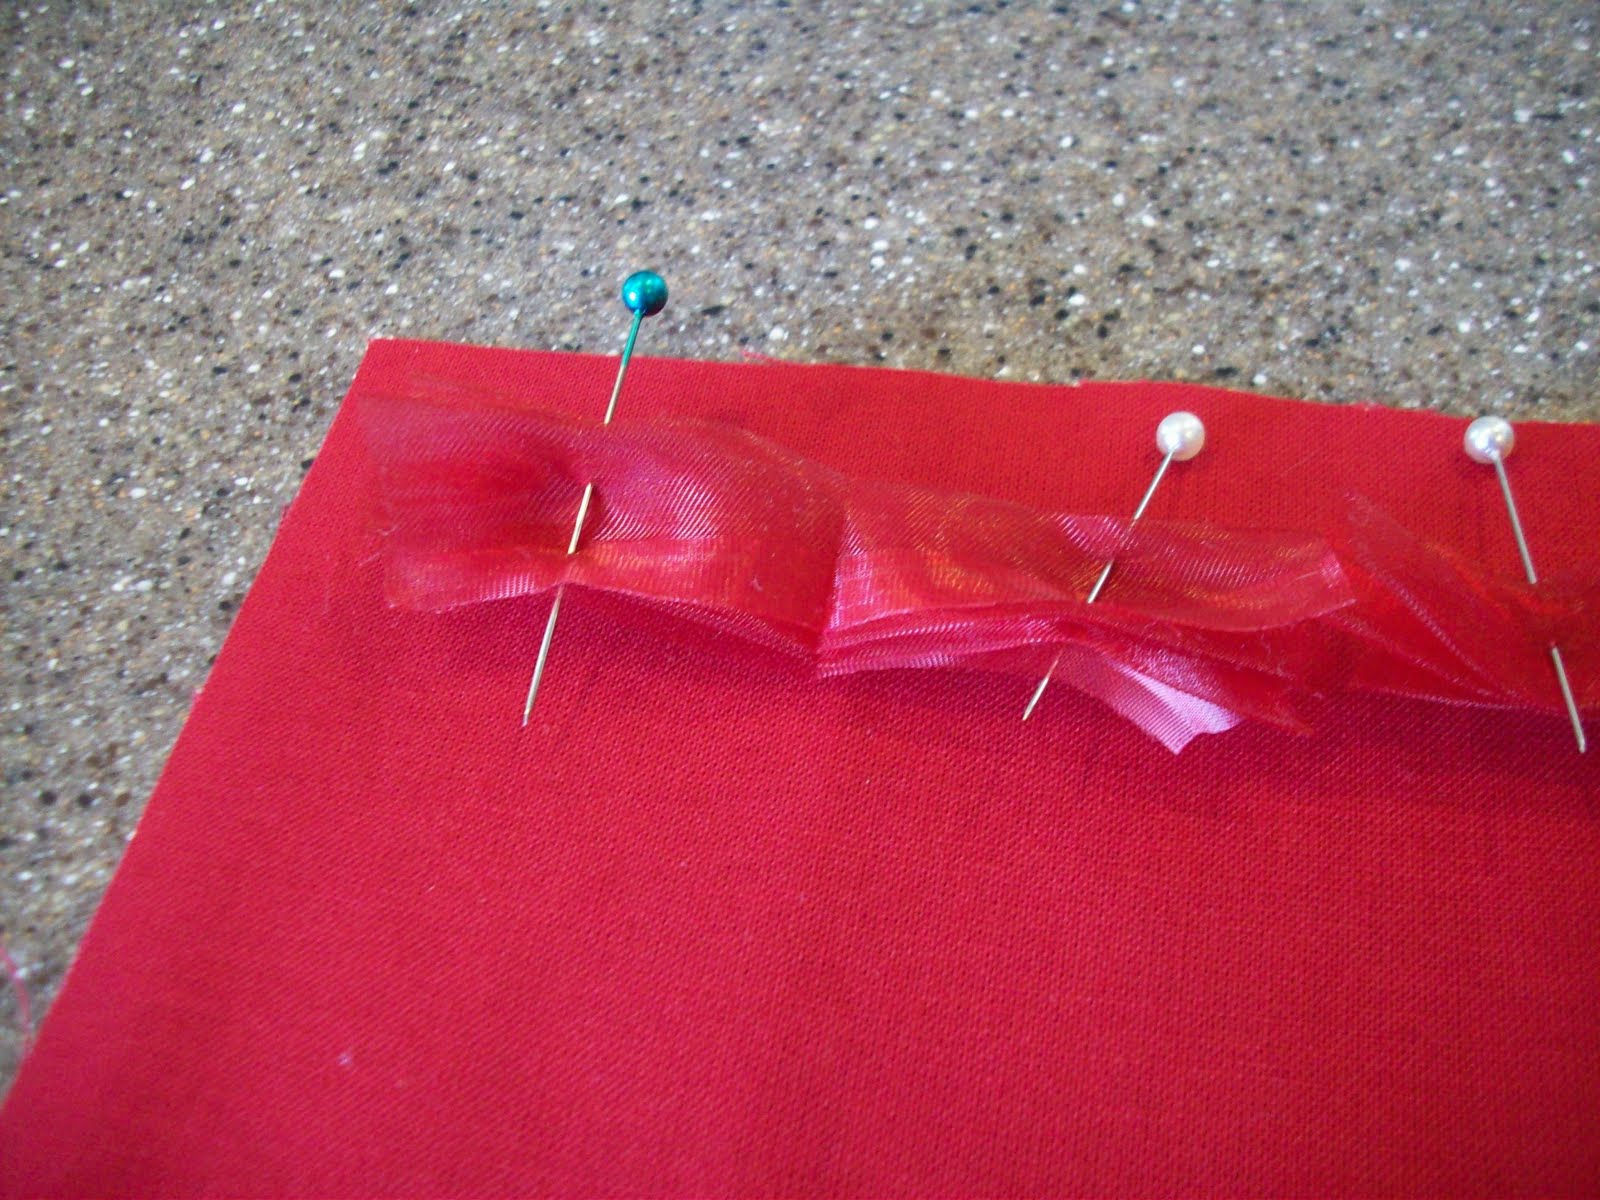
When you are nearly at the end of the first piece, lower the needle and lift up the presser foot. Slide the next piece under the presser foot, so it’s snug against the first piece, making sure the sides are lined up. Lower the presser foot and continue stitching the rest of the first piece and most of the second. Repeat for the rest of the pieces in the row (you will use about 20). When you get to the final piece, back stitch to secure the threads. Repeat for all three rows.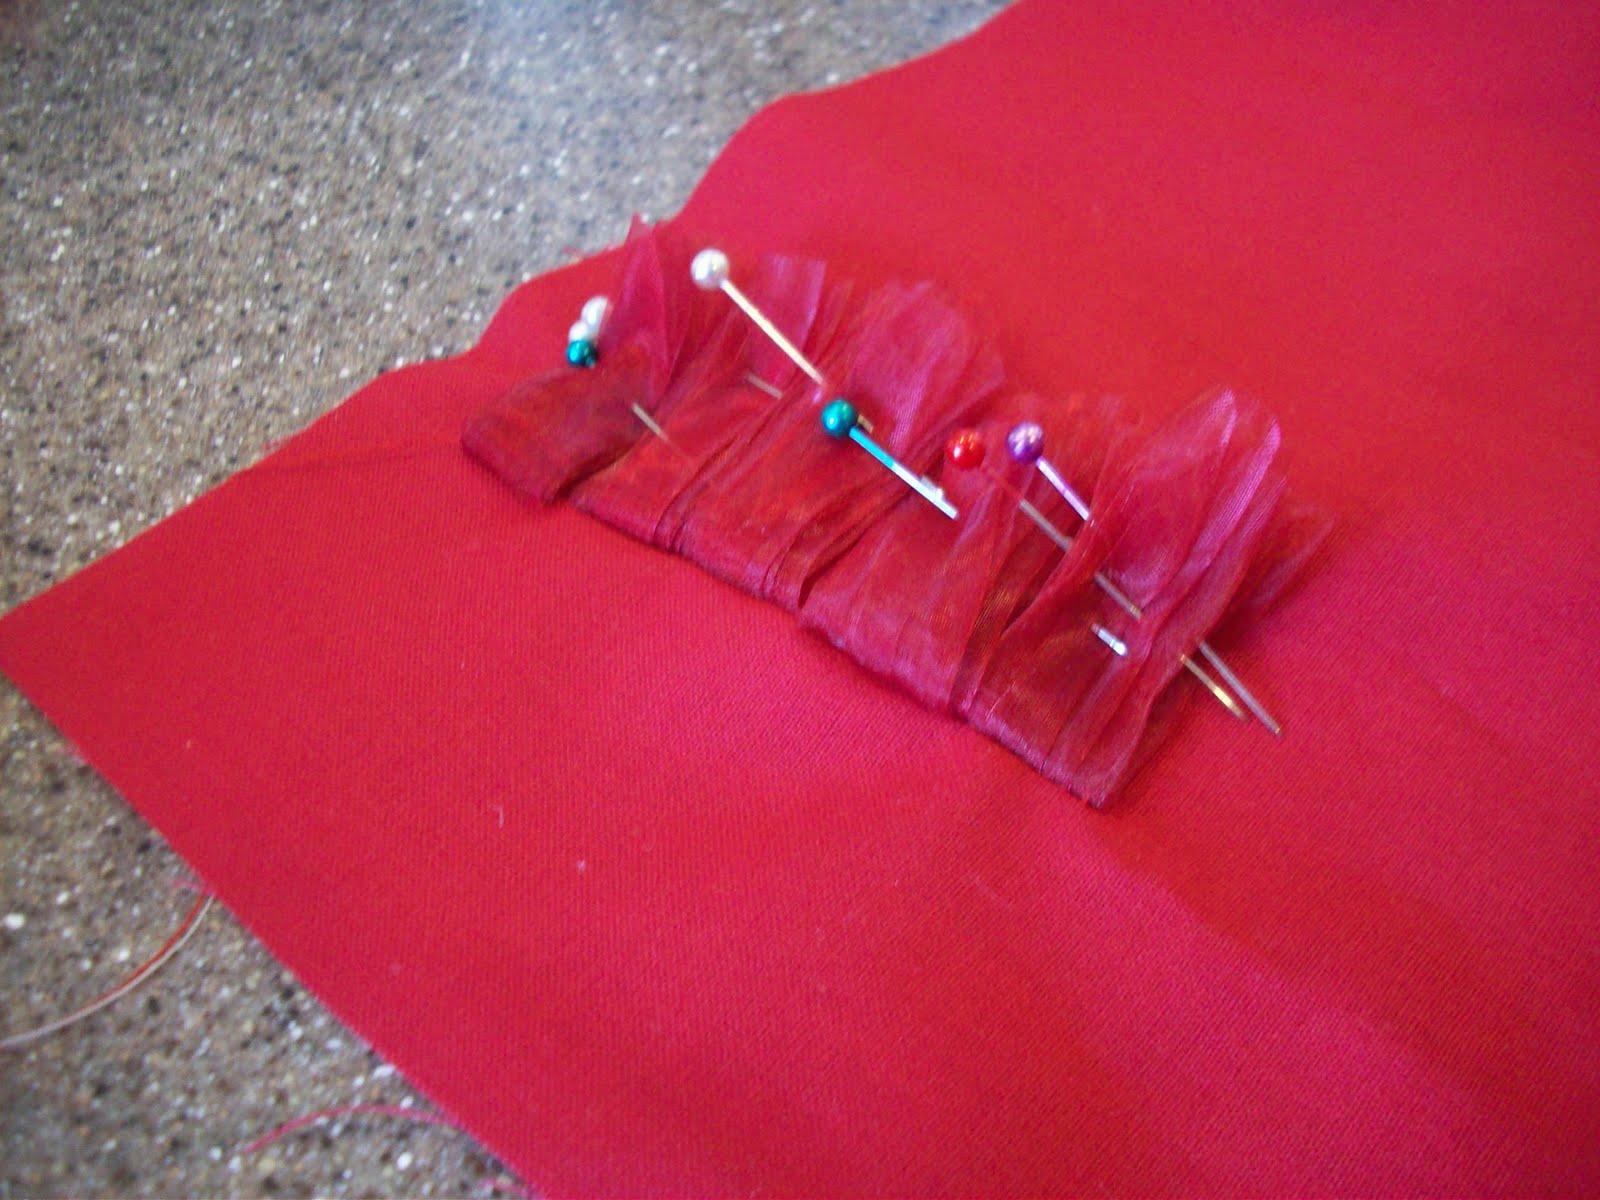 (please pretend all three rows are sewn in this picture 😉 )


Amanda
December 15, 2010 at 4:28 pmI love all of your pillows! You do such an amazing job!
Amanda