This post contains affiliate links, where purchases made through these links result in a small commission for me at no additional cost to you. I was provided a Cricut Maker machine to use, however, the project and opinions are all my own.
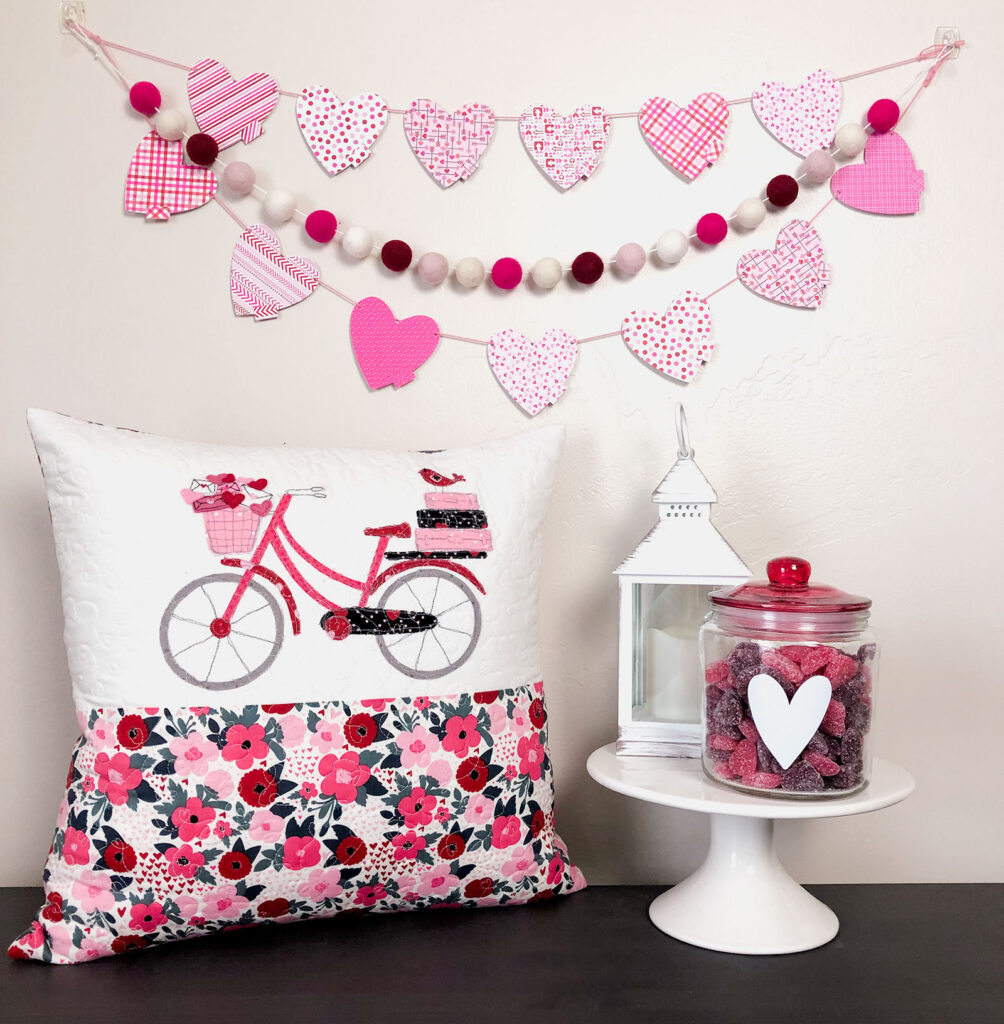
My girls had SO much fun with their Personalized Christmas Countdowns I made last month, I decided to try a different spin on it to create a Valentine countdown. I actually made this one for my college-aged daughter and sent it to her with some treats for a fun surprise.
DIY your loved ones a Valentine Countdown Banner full of things you love and admire about them. Each day they will pull the tab to remove the perforated heart and reveal your message. I can’t think of a better way to celebrate a day devoted to love.
The link to the Valentine’s Bicycle Pillow blog post can be found here.

Valentine Countdown Banner tutorial
Supplies:
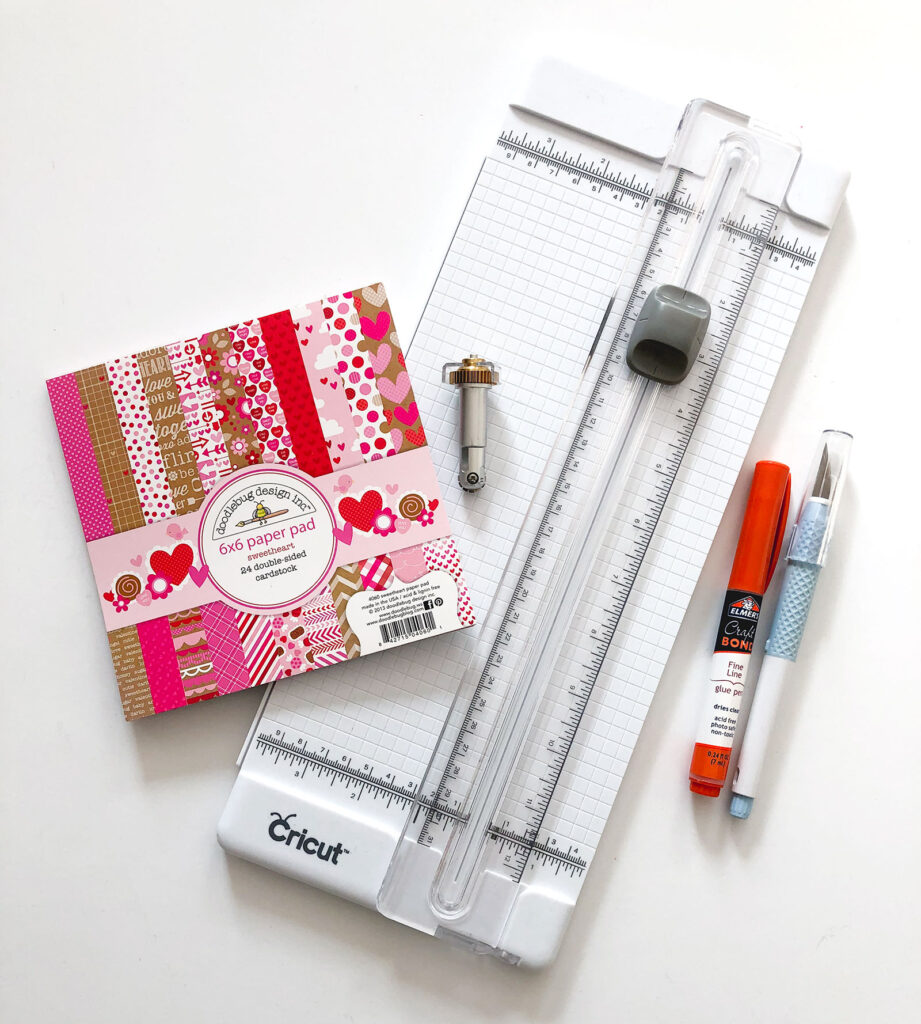
- Cricut Maker
- Perforating blade
- Paper- I used a Valentine paper pad and white Cricut cardstock
- fine glue pen or bottle
- cutting blade
- marker or pen
- hole punch (optional)
- paper trimmer
Cut Out Hearts
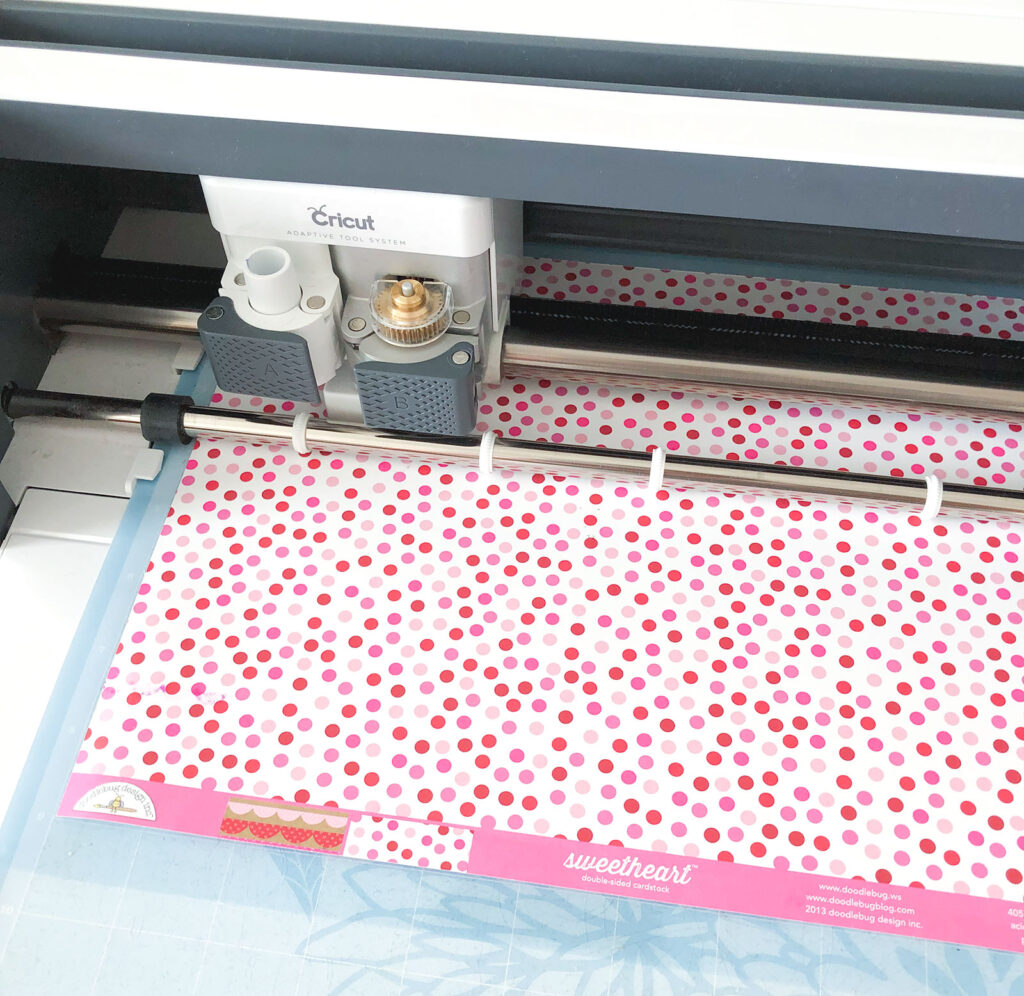
Load the file I used in Design Space, or create your own. Cut your front hearts using the perforating blade and the regular blade. Cut them from your Valentine or colored paper. Then, cut out the background hearts from plain cardstock.
Use your paper trimmer to cut 3/4″ X 1″ rectangles from the paper used for each of the heart fronts.
Prepare heart front and back
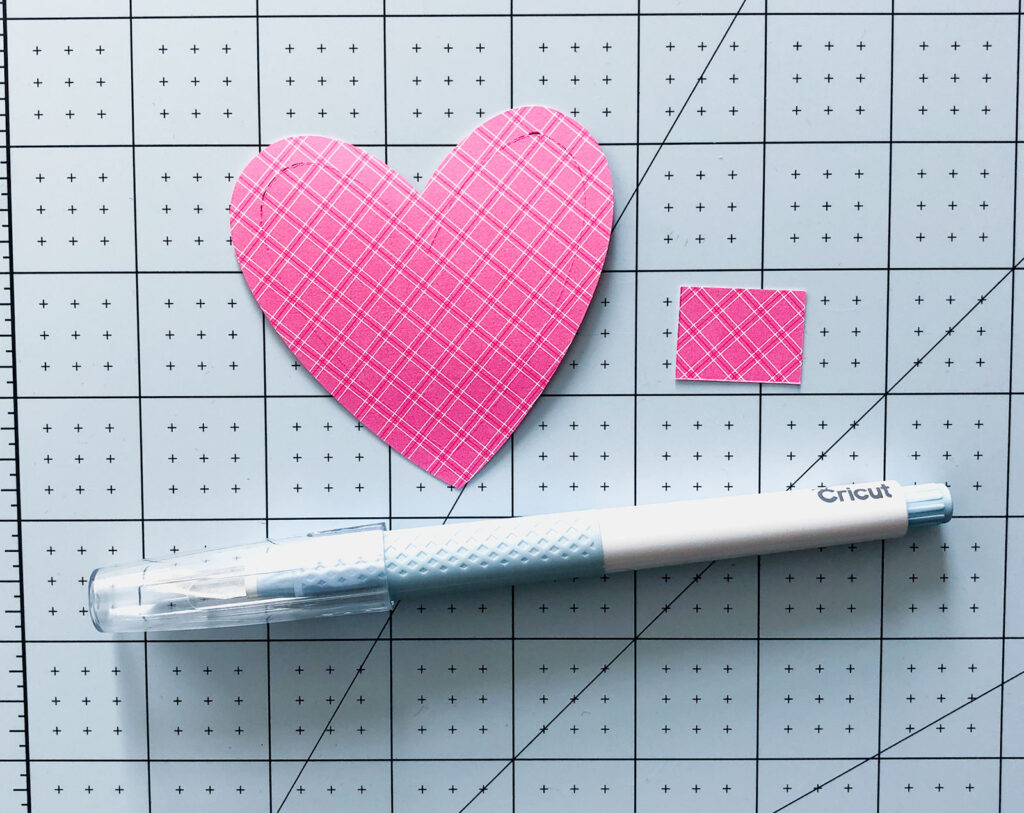
Cut a slit using your blade along the perforated line, just long enough to side your pull tab through.
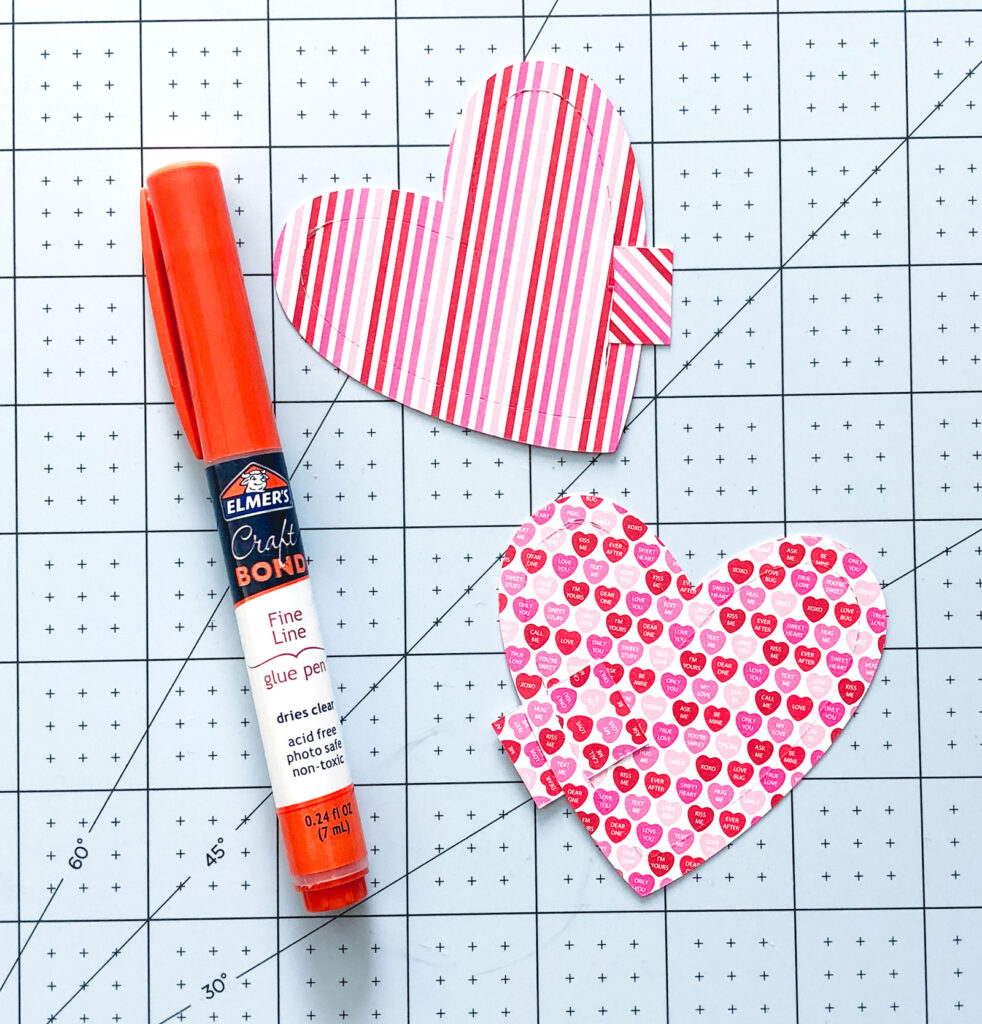
Slide the pull tab through your cut slit, leaving enough overhang to allow the perforated heart to be separated. On the back side of your front heart, glue the pull tab to the perforated heart.
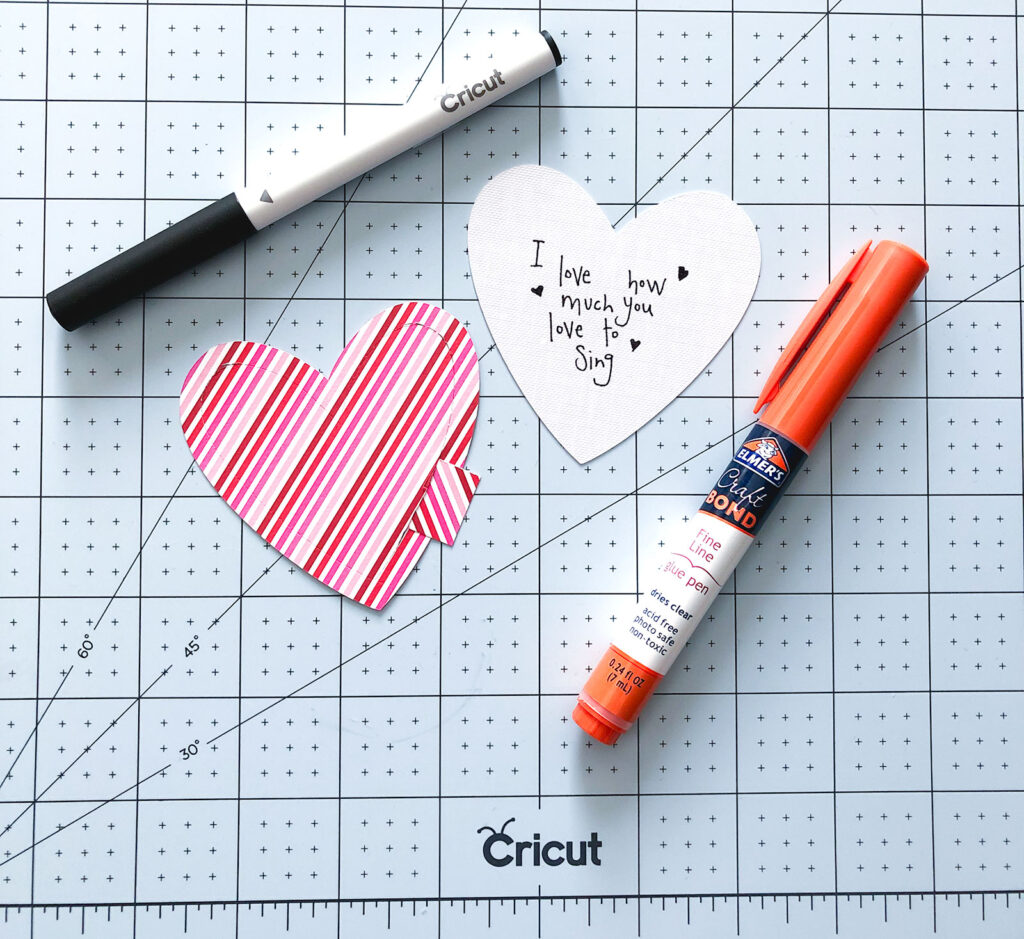
Use your pen or marker to write your message in the center of the front of your back heart. Make sure you are mindful of the area that will be covered by the outside of the front heart.
Finish hearts for Valentine Countdown Banner

Run a thin line of glue around the outer edge of the front heart. * Watch to make sure you don’t allow the glue to get on the perforated portion of the heart. Glue to the front of the back heart. Allow to dry.
If hanging as a banner, use a small hole punch to create holes on either side of your heart and string on twine or thread. These could also be fun just taped to a door or down a hallway, or put them on poster board and make a giant Countdown card!
All that is left is to enjoy the feeling of knowing you are spreading love each day leading up to Valentine’s day. Or any time for that matter! This would be a great gift for finals week for college kids, or whenever someone you know and love might need a pick me up.
More Valentine’s Ideas
While you have your Maker handy, here are some more Valentine Projects you can make. The love note mini quilt is fun to fill with notes or treats.
This Faux Chenille Valentine Pillow would be so much easier to make with your Cricut Maker because all of your hearts would be perfectly cut!
I love creating for Valentine’s Day and I hope you will too! Happy Creating my friends! xoxo, Amy

