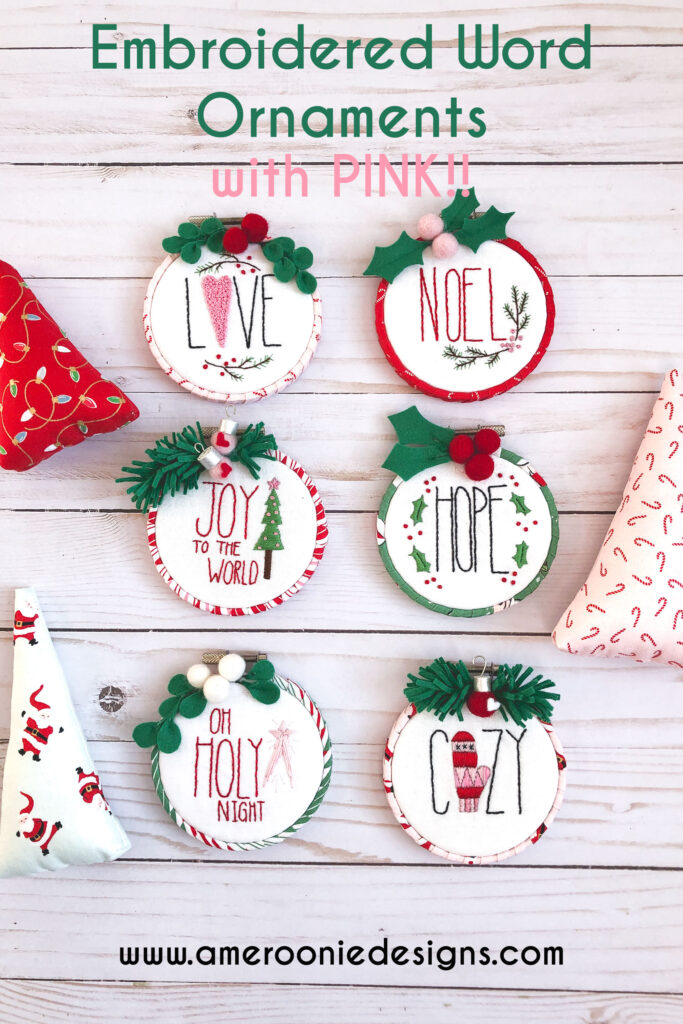
Imagine you found the perfect pattern for embroidered ornaments, but the colors aren’t exactly your style. It’s like looking for the perfect recipe for cookies. After you find one that is really close to what you’re looking for, you still want to change out a couple things.
But, will they taste good? Look amazing? Will they become some inedible mess your dog won’t even eat?
I might not be much help in the kitchen, but I can offer you some tips for customizing the colors in an embroidery pattern with confidence. You won’t have to worry if all your work will have to be ripped out because things are not working.
Simple Swap
The easiest change to make is simply swapping out one color. Don’t love orange? Make it blue instead. This keeps things straightforward and easy.
Another super simple swap is keeping the color the same but choosing a different hue or shade. Replace black with gray or red with pink. Sometimes the simplest change can make a big difference.
Finding Color Inspiration
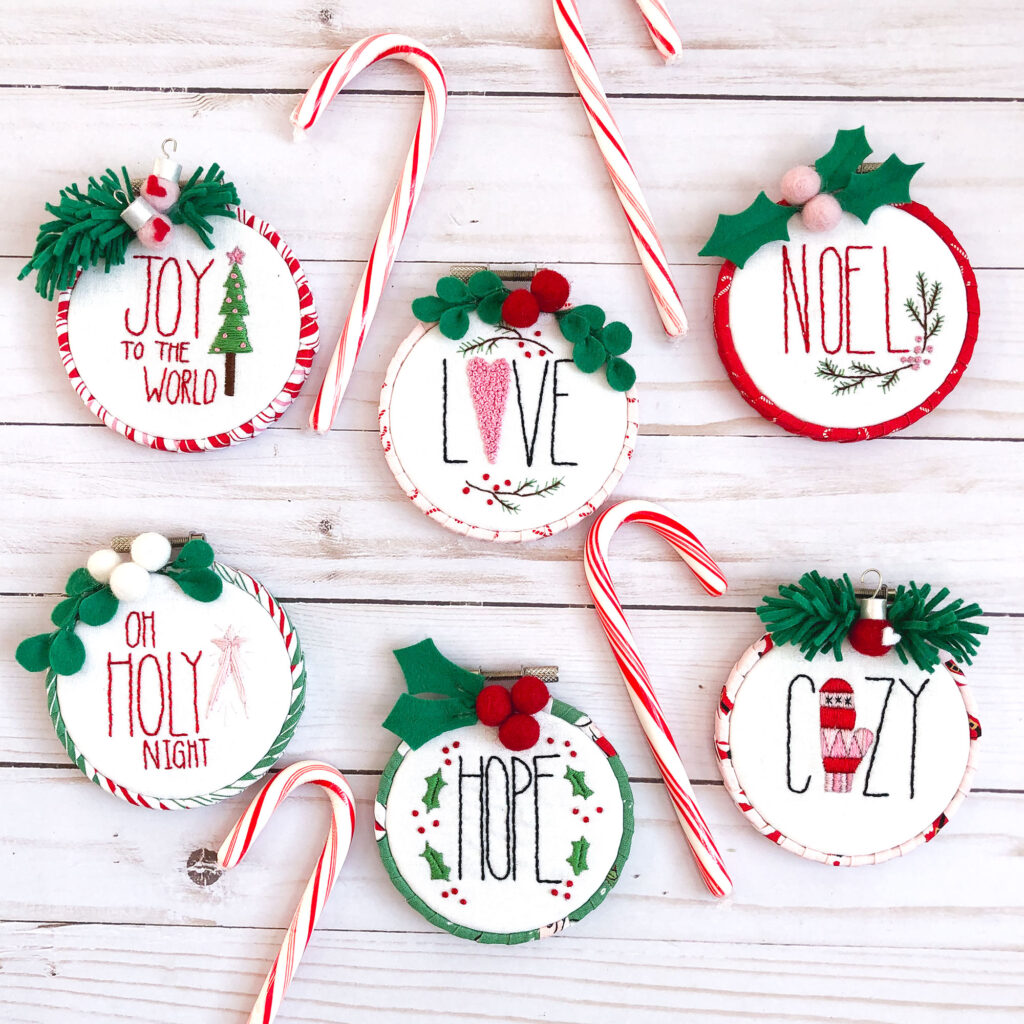
Preparing to stitch up another set of my Embroidered Word Ornaments I knew I wanted to go with a brighter color scheme than I had in previous sets. Something fun and cheery. When changing the entire palette, the first thing I do is look for some inspiration. I found mine in the fabric I ended up using to wrap the hoops. Other sources for inspiration might include:
- pictures- look on Pinterest for images that have the look you are going for
- art
- Instagram accounts
- your own home/ current decorations
Find something that speaks to you or creates the feelings you are hoping to generate in your embroidery. That will be your jumping off point.
Find the floss
Once you have chosen your color scheme it’s time to pull out the colors of floss you will need. Often I just take the inspiration picture or fabric right up to my Embroidery Floss Organizer and start pulling off skeins until I find the ones that match best. You may have to take yours to the store to get the right colors.
Lay out your colors and make sure they are balanced. This is also a good time to make sure you have enough variety in your colors to complete your embroidered ornaments. When I swap out color schemes, typically I like to keep the same number of colors, but sometimes I will add more or less depending on how radically I am changing the color scheme.
Customizing your Embroidered Ornaments
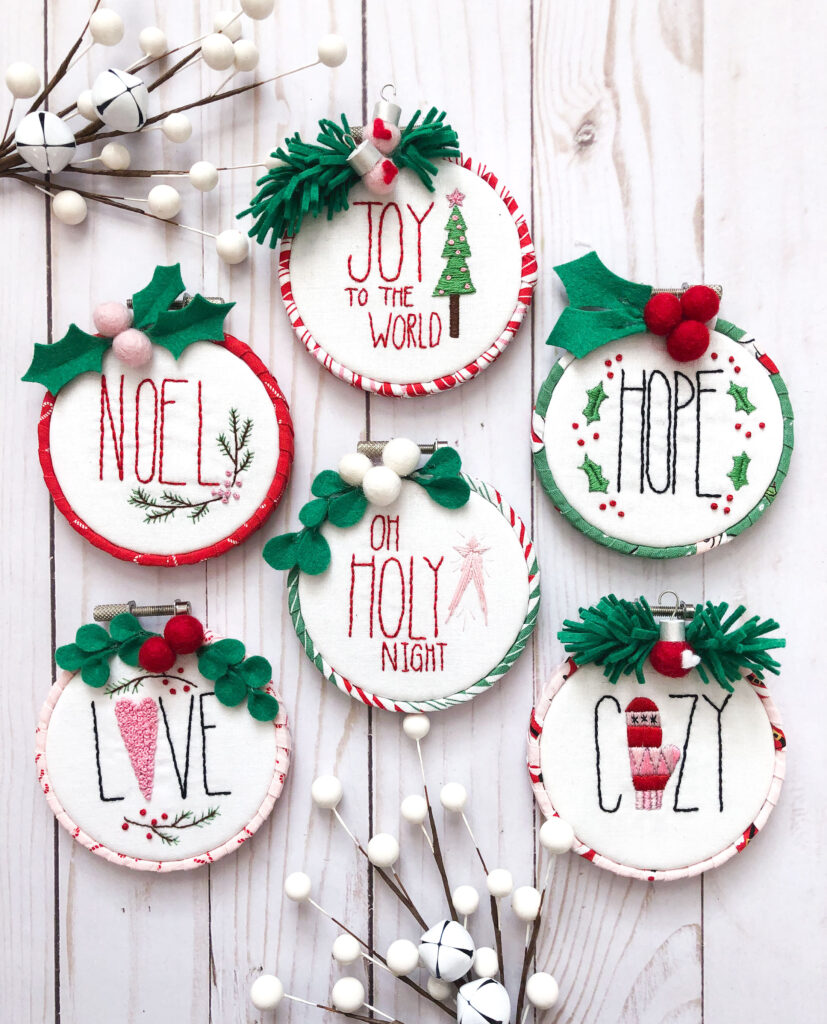
Now is when you really get to have some fun! Swap out colors straight across– for example: every time the original pattern calls for red you use pink. When it used to be green, you use blue. Or, change it up even more- and adjust the colors from ornament to ornament.
It might be helpful to print off the pattern in a light gray and use colored pencils to customize your new ornaments. You can make sure your color use is balanced and how you like it before you put in the work of stitching.
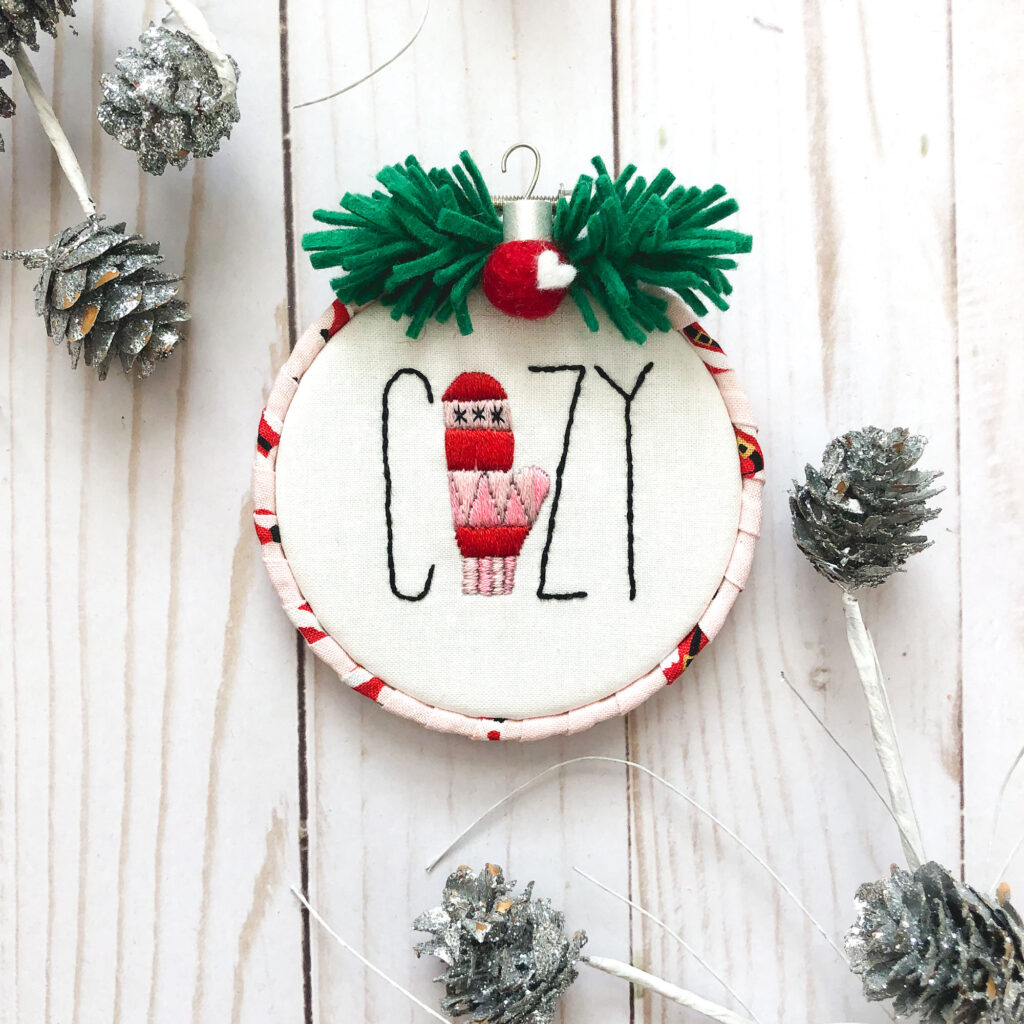
Finally- Stitch it up! Have fun with your new colors- knowing when you finish you will have a delightful set of customized embroidered ornaments to treasure for years to come! It’s the perfect recipe for embroidered bliss.
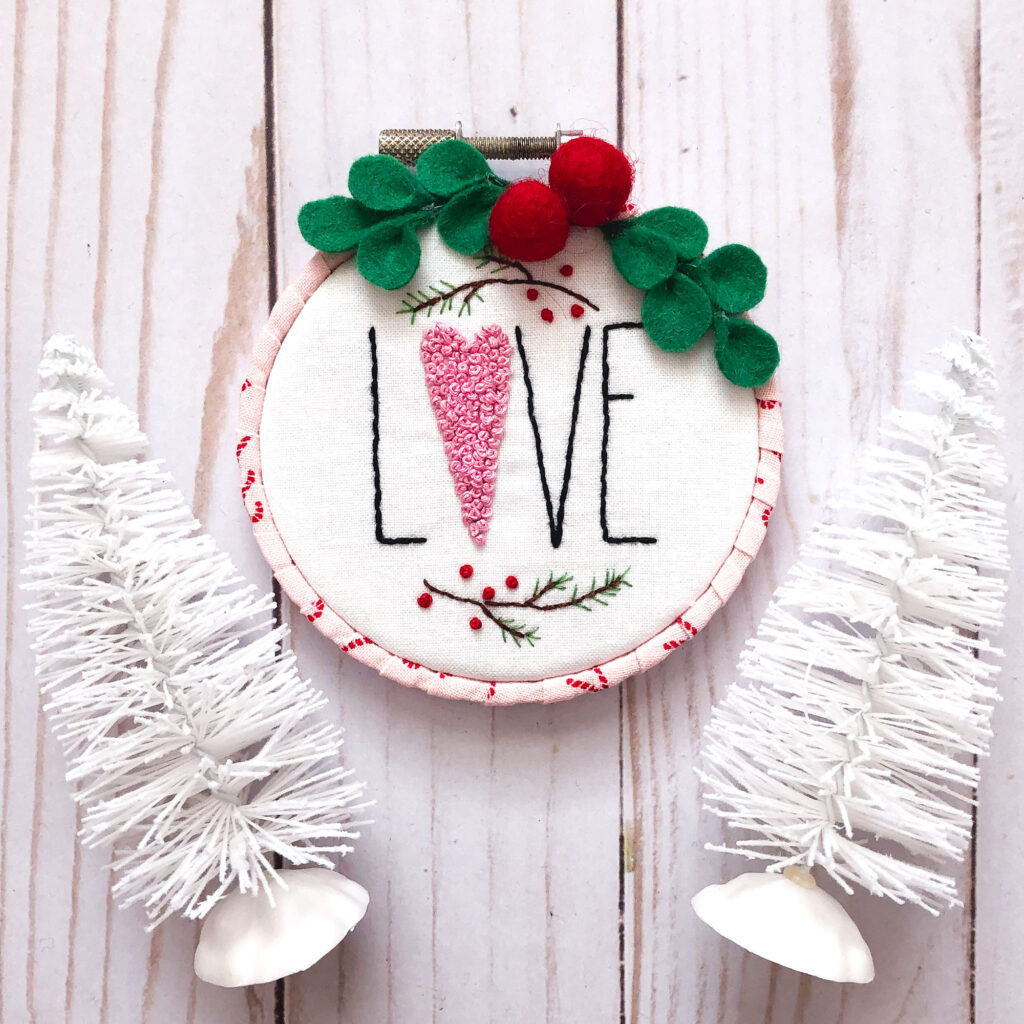
AND if you were hoping to stitch up a lively pink version of these ornaments- I thought it would be handy to share the floss colors I used in mine. The inspiration was Santa Claus Lane fabric from Riley Blake Designs and the floss I used was: green (702), white (B5200), dark pink (604), light pink (151), red (817), brown (898) and black. If you want to see more projects in this fabric to get a better idea of what the prints look like, you can see my hot pads with pockets post which uses these darling fabrics.
I love sharing tips and tricks and hope you will sign up for my newsletter where you will find even more goodness, links to helpful videos and inspiration straight to your inbox!
We’ll talk soon! Happy Stitching! Amy
