The fabric for this post was provided by Riley Blake Designs for my participation in their Santa Claus Lane blog tour. The project and opinions are all mine.
My sister has this super old set of hot pads that I love. They have pockets for your fingers and thumb and they are a bit smaller than your average hot pads, making grabbing pans from your oven so much easier! I decided to make my own pattern for one so I could have my own hot pad with pockets. And what better fabric to make them up in than these lovely Santa Claus Lane fabrics from Riley Blake Designs.
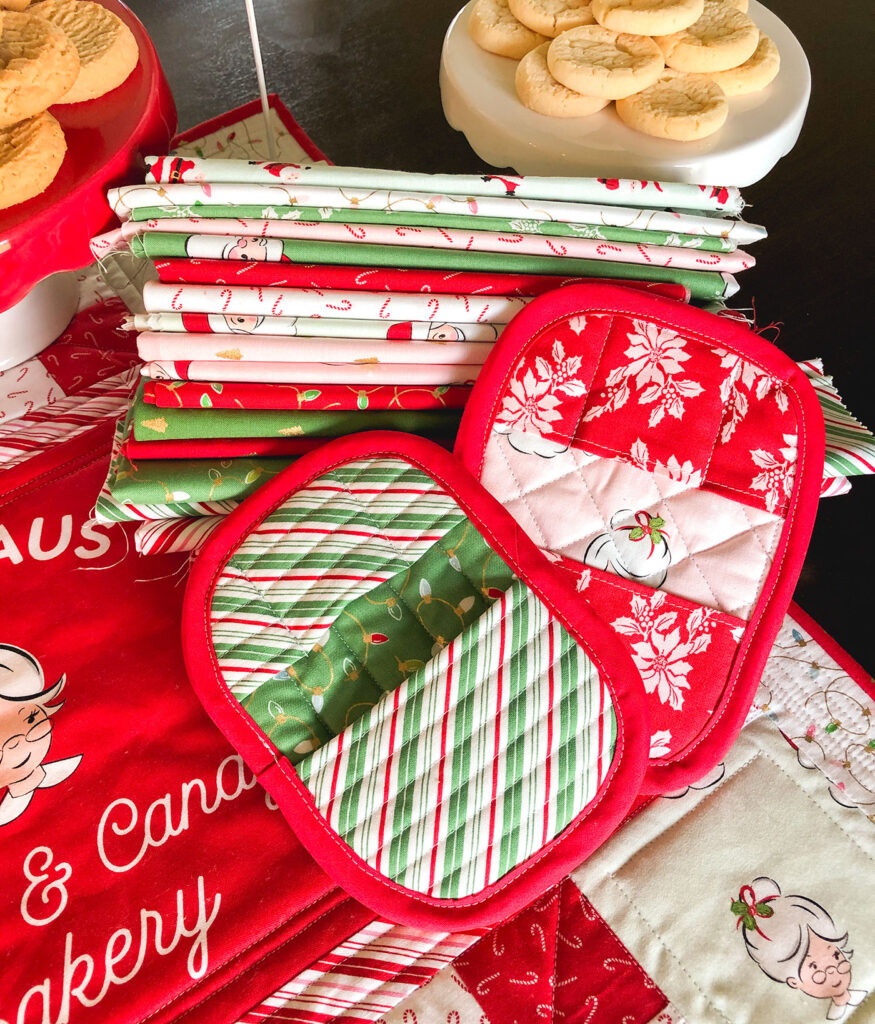
The prints in this line are so cheery and fun, and while the majority of the fabrics are in traditional reds and greens, there is a hint of pink and mint in this line that just adds so much dimension and fun! The panels with this line are darling as well, and I used one piece from the panel to make this mini quilt that will shortly be available over on the Polkadot Chair blog.
Hot Pad with Pockets Tutorial
Ready to make your own? Before we get started though, if you are looking for a more traditional hot pad pattern, I have a lovely set with traditional quilt blocks that also includes instructions for a trivet in this post here.
Supplies and cutting instructions:
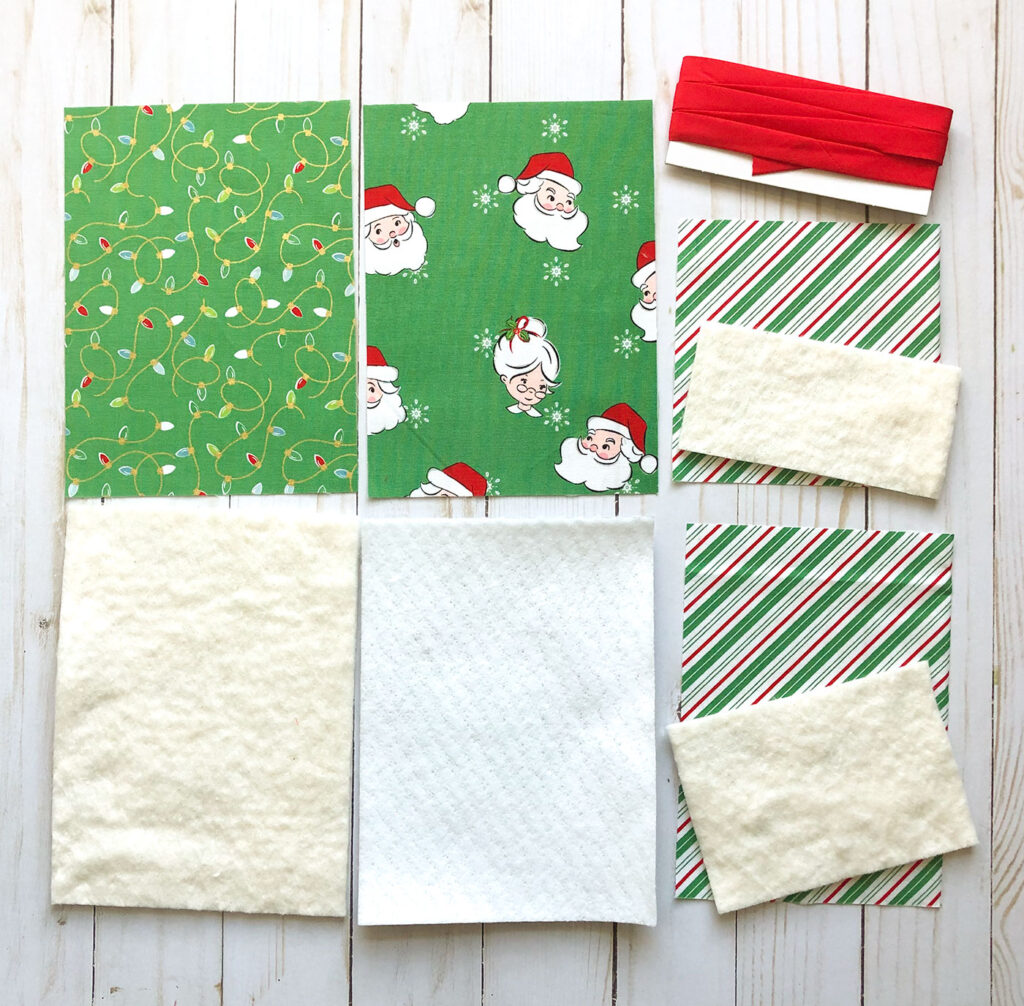
- 2 pieces of fabric cut to 5 1/2″ X 7 1/2″- these can be the same or different, I am using two different fabrics for mine.
- Fabric for the pockets cut into two pieces, one- 5″ X 7″ and one- 5″ X 5″.
- One piece of insulbrite cut to 5 1/2″ X 7 1/2″
- Quilt batting- (this should be a natural fiber batting like cotton or wool) cut into three pieces- 5 1/2″ X 7 1/2″, 5″ X 3 1/2″, 5″ X 2 1/2″
- Extra wide double fold bias tape, or your own bias binding fabric.
- Pattern for Hot Pad with Pockets
Prepare hot pad and pockets:
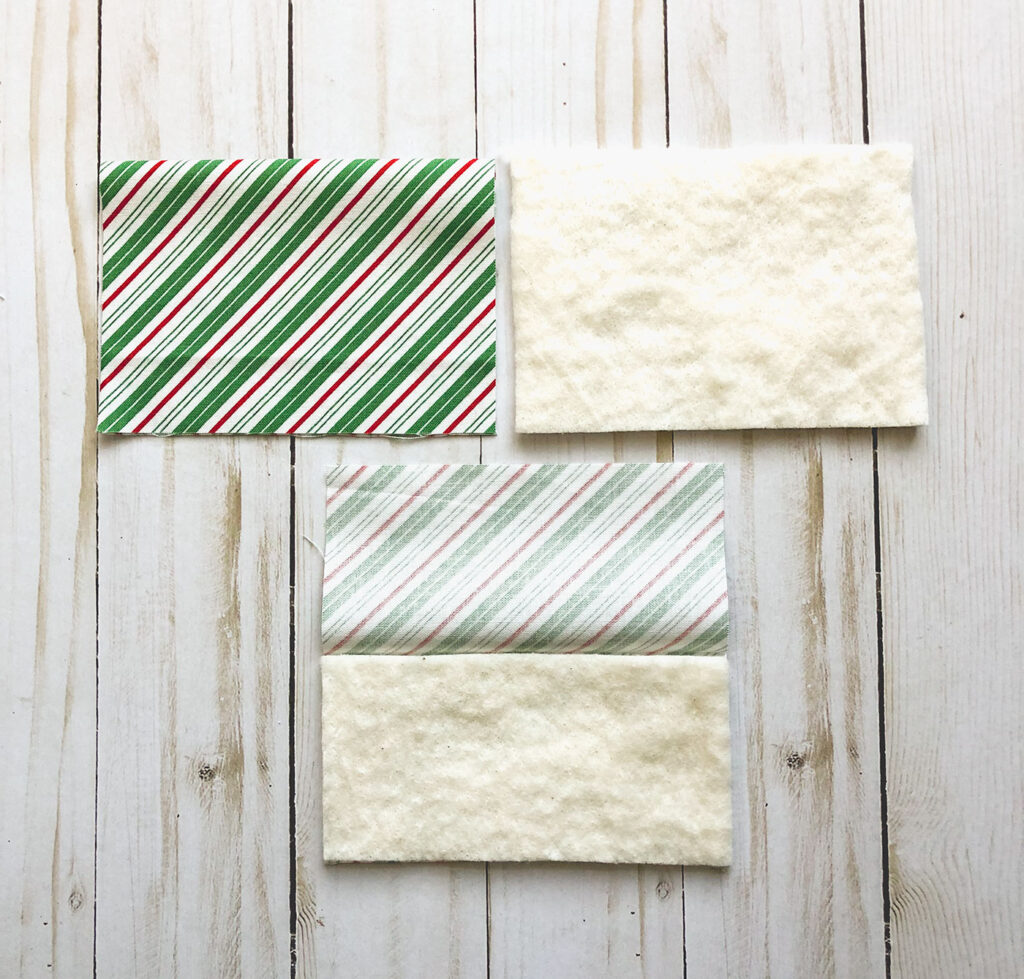
- First, press the pocket fabric pieces in half- they should measure 5″ X 3 1/2″ and 5″ X 2 1/2″ when pressed.
- Open up the fabric and place the small batting pieces inside, lining up the batting with the pressed crease.
- Close the fold back over the batting.
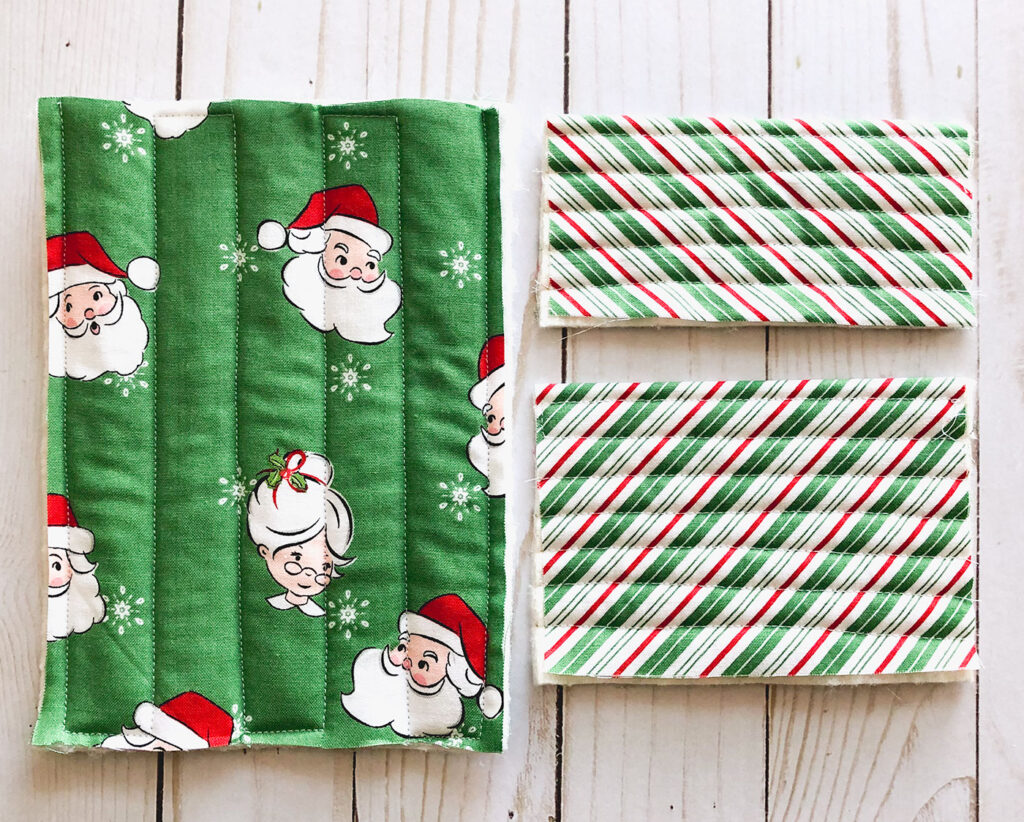
- Next, make a quilt sandwich for the hot pad base with the InsulBrite, batting and two 5 1/2″ X 7 1/2″ fabric pieces, with the right sides of the fabric facing toward the outside of the sandwich. Use basting spray if desired.
- Quilt the quilt sandwich and the pocket pieces. I find it much easier to use a walking foot to do this, especially for the quilt sandwich as it is extra thick.
- Finally, square up the hot pad base to 5″ X 7″
Assembling Hot pad with pockets
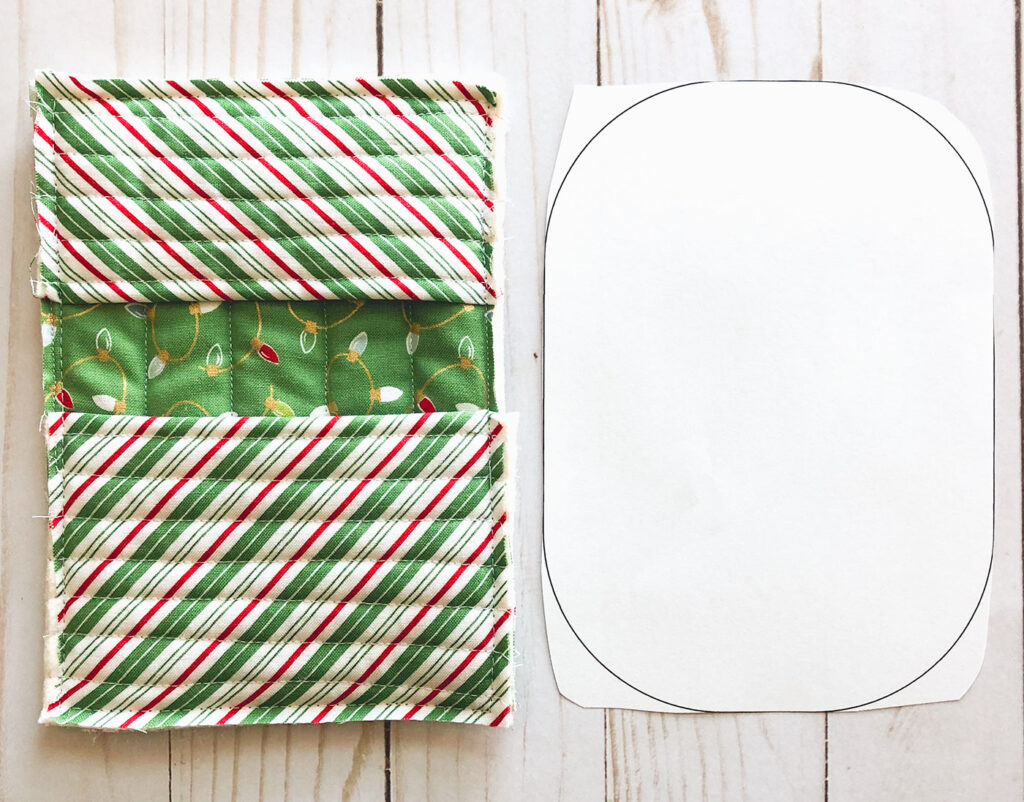
- Place the pocket pieces on the hot pad base, lining up the raw edges . The folds of the pocket fabric should be toward the center.
- Next, baste the pockets into place.
- Cut out the paper pattern for the hot pad with pockets.
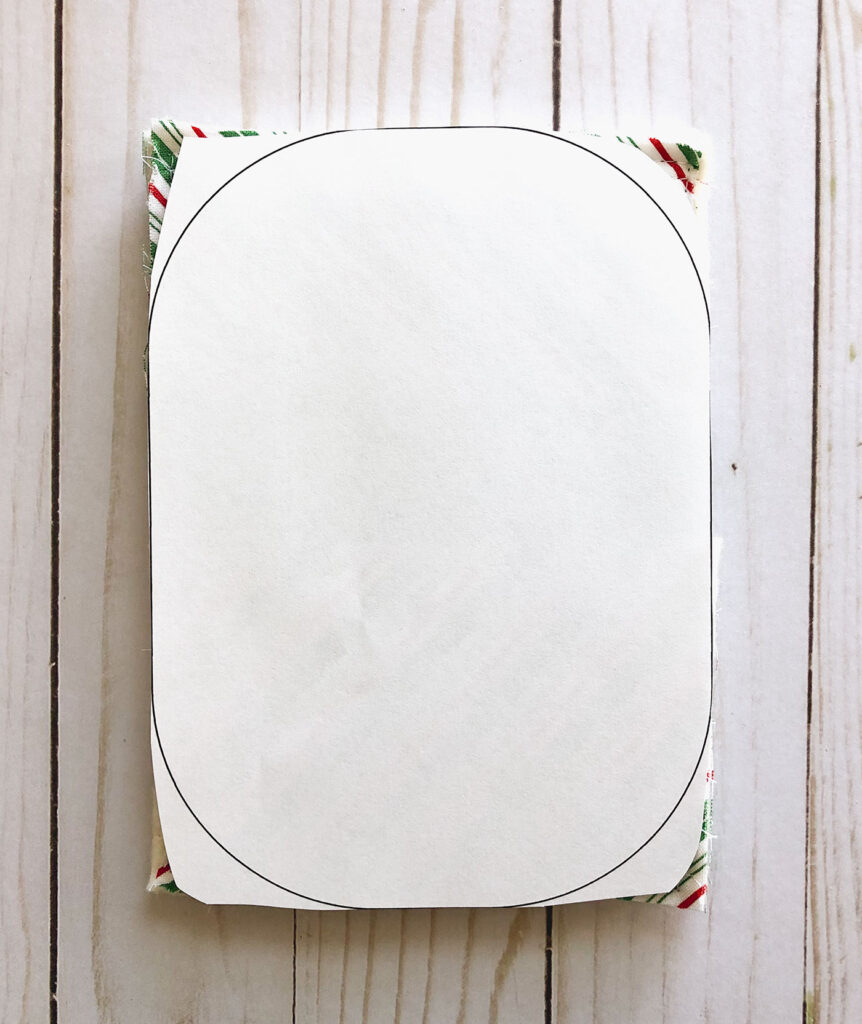
- Place the paper pattern on top of the basted hot pad and pin in place.
- Use the paper pattern to round the corners of the basted hot pad.
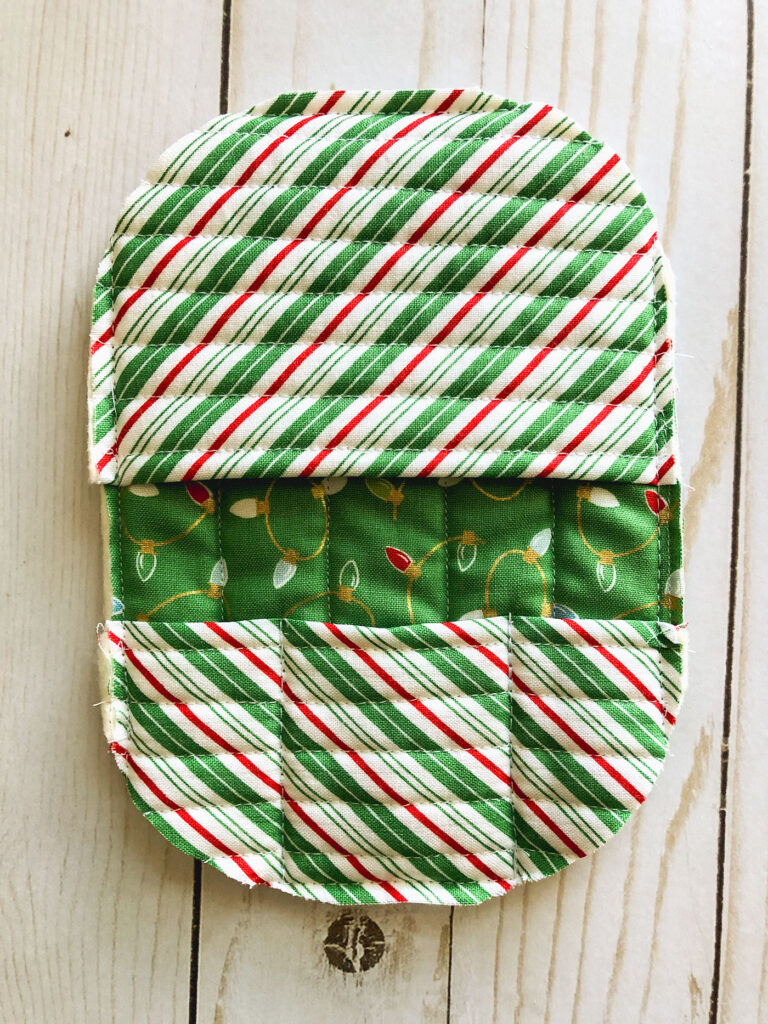
- Then, measure in 1 1/2″ on each side of the 2 1/2″ pocket. Mark this line.
- Sew along the marked lines to create the thumb pocket. Be sure to back stitch at the top of the pocket.
- Finally, finish the edges of your hot pad using bias cut binding tape.
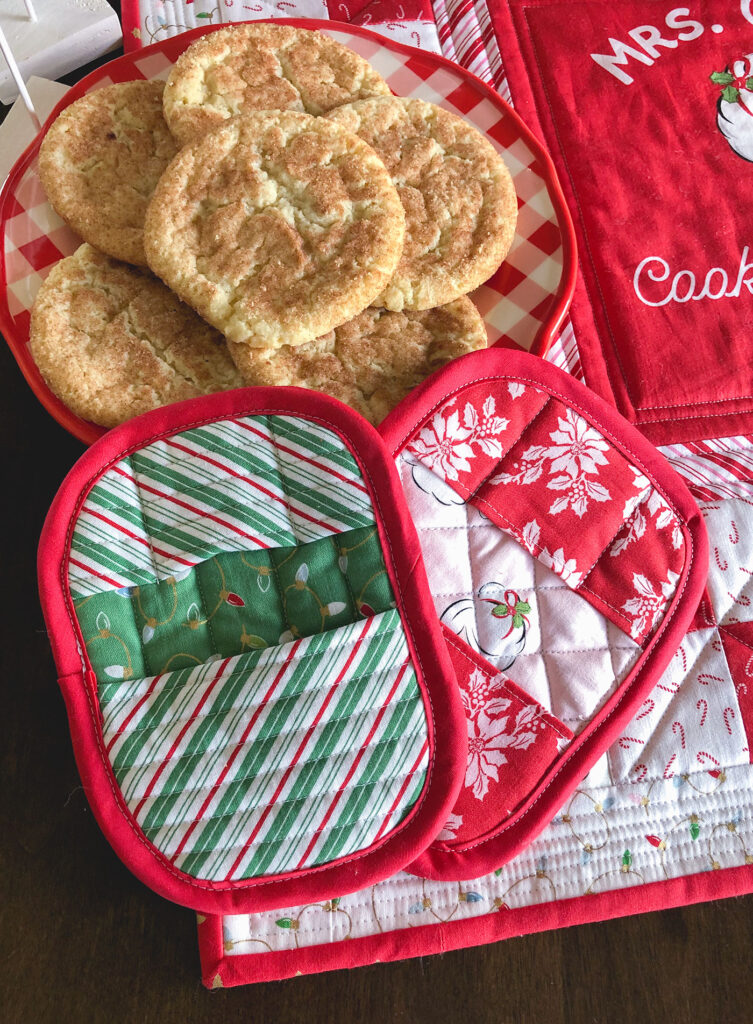
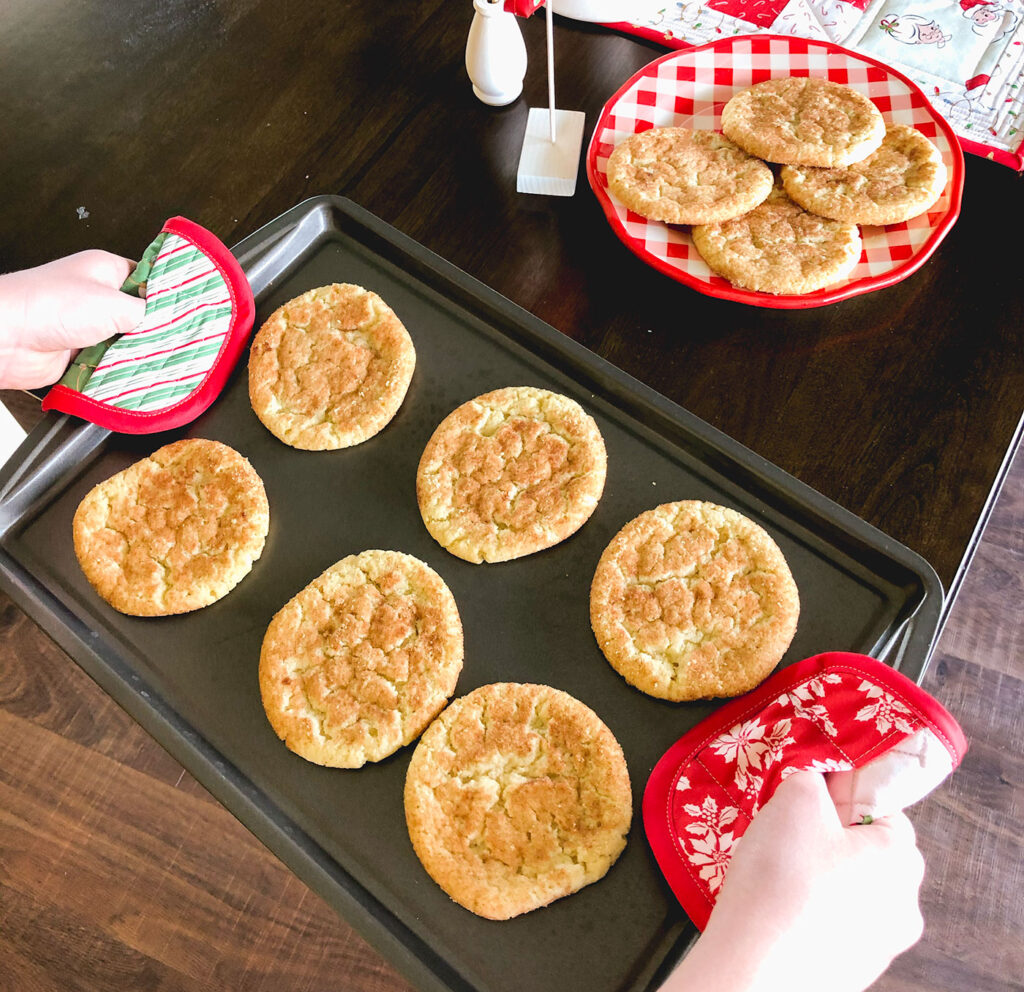
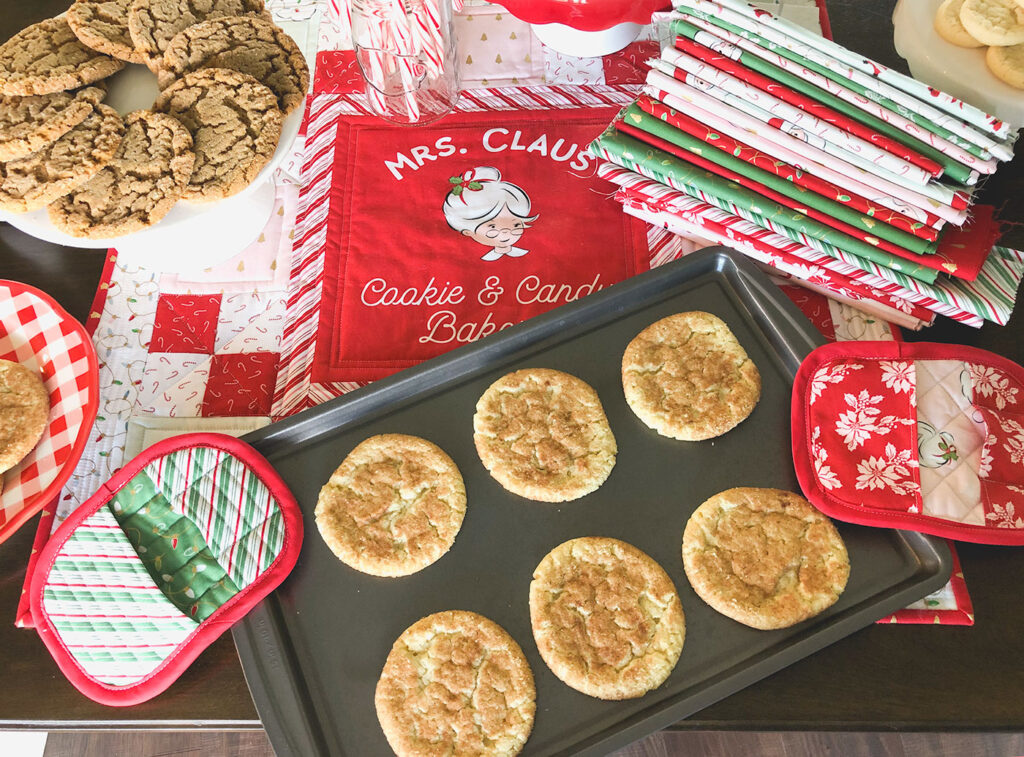
Once you use a hot pad with pockets, you will wonder why you waited so long! They are super handy and a set of them would make a fantastic gift for a neighbor or for an upcoming wedding or shower!
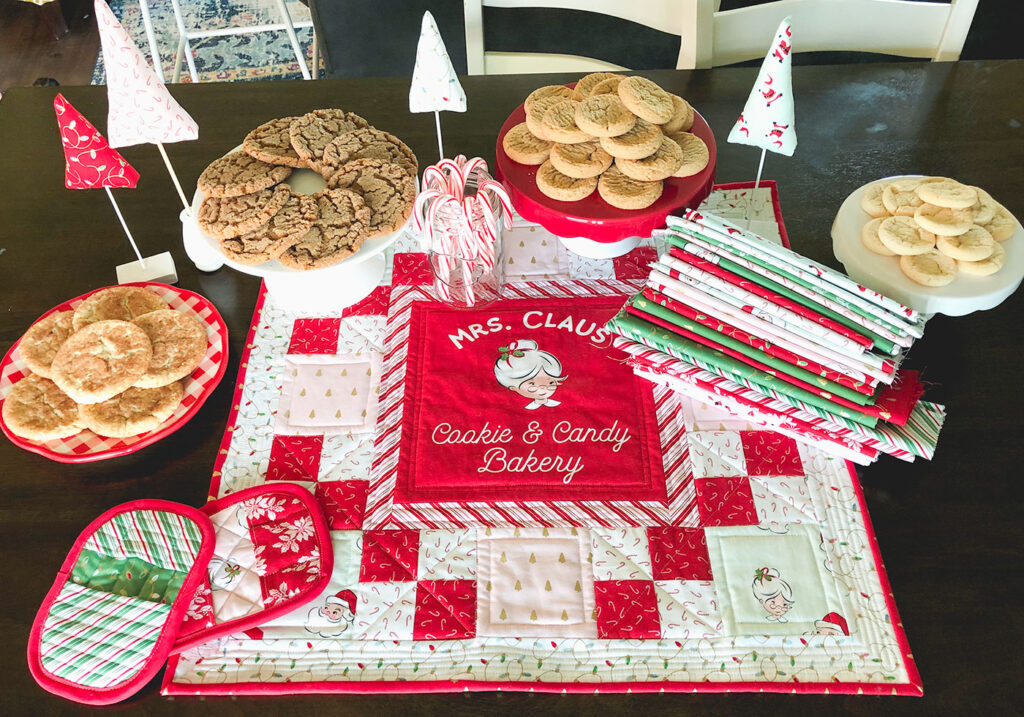
I have a few more projects with Santa Claus Lane fabric coming up, so keep your eyes open! In the mean time, if I’ve got you in the mood for Christmas projects, my Embroidered Word ornaments are a fantastic project to keep on hand while taking summer road trips or relaxing by the pool.
This Joyful Snowflakes table runner is another fast and fun make that would be absolutely darling in Santa Claus Lane fabric! And a bonus is that the tutorial is in a free PDF all ready to go!
Lucky for us, Christmas in July is right around the corner, so we will fit right in with all our Christmas makes, right?
Happy Sewing my friends! xoxo, Amy
p.s. as always, if you have any questions or comments, please let me know! And for more of what I’m up to- I’d love for you to follow me on Instagram @amerooniedesigns



Santa Claus Lane – Holiday Hot Pads + Tutorial! – Riley Blake Designs
June 24, 2020 at 9:34 am[…] stop on our Santa Claus Lane Project Tour takes us to AMEROONIE DESIGNS, where Amy is sharing a tutorial for her fun Holiday Hot Pads, featuring fabric from Melissa […]