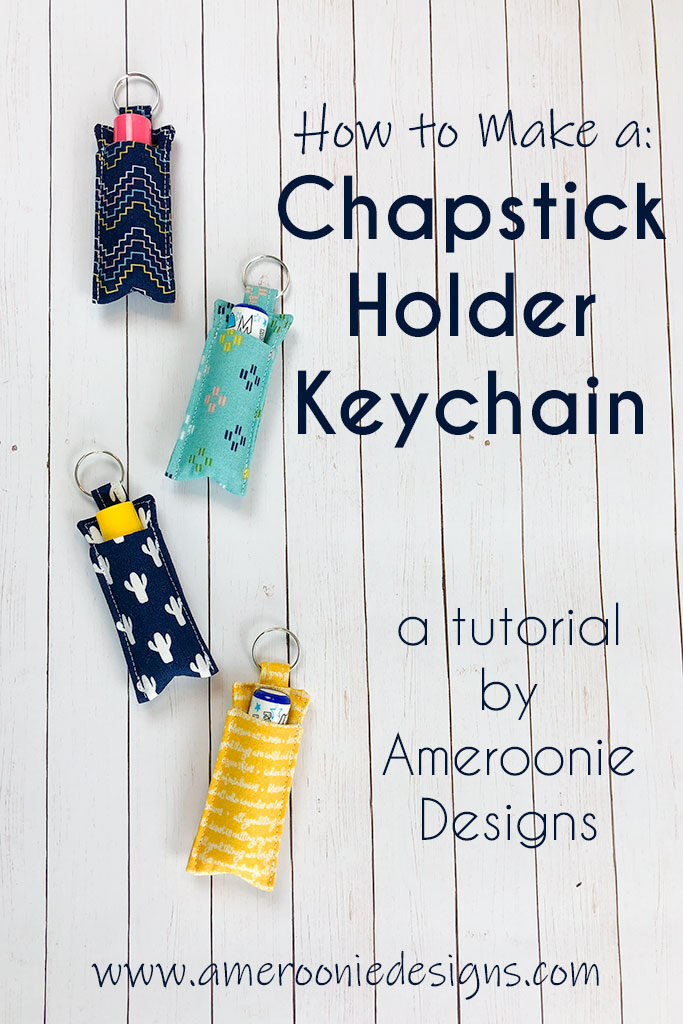
This tutorial will help you keep your chapstick handy by showing you how to sew a chapstick holder keychain. With a simple construction and very few materials, this project comes together quickly but is super useful. To make it even handier, you may consider adding a wrist strap to it!
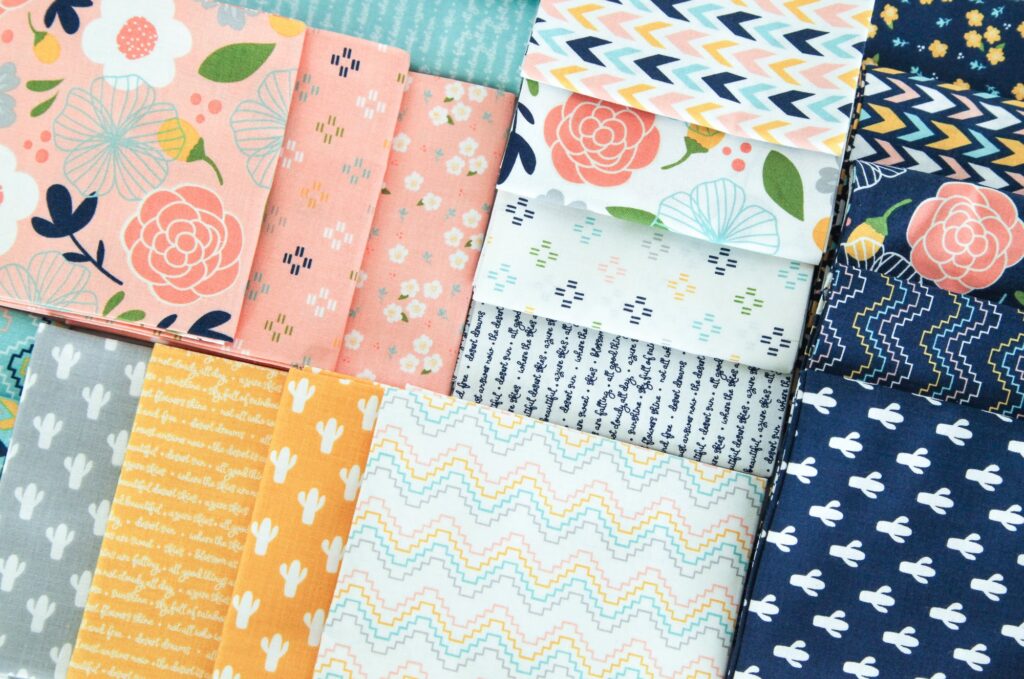
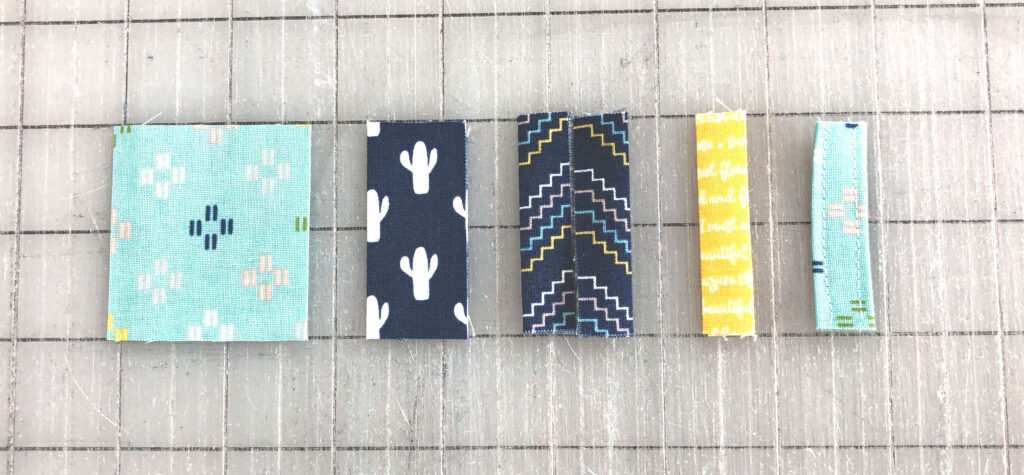
For this post I am using Azure Skies fabrics by Simple Simon and Company for Riley Blake Designs. The fabric was provided to me so I could participate in the blog tour, but the opinions and project are mine. I love the gorgeous colors and my girls are dying over the cactus prints. In addition, you have probably noticed my love of all things navy and paired with the yellows and lovely blush pinks in this line, it’s definitely a winning combination!
How to Make a Chapstick Holder Keychain
Supplies and Cutting:
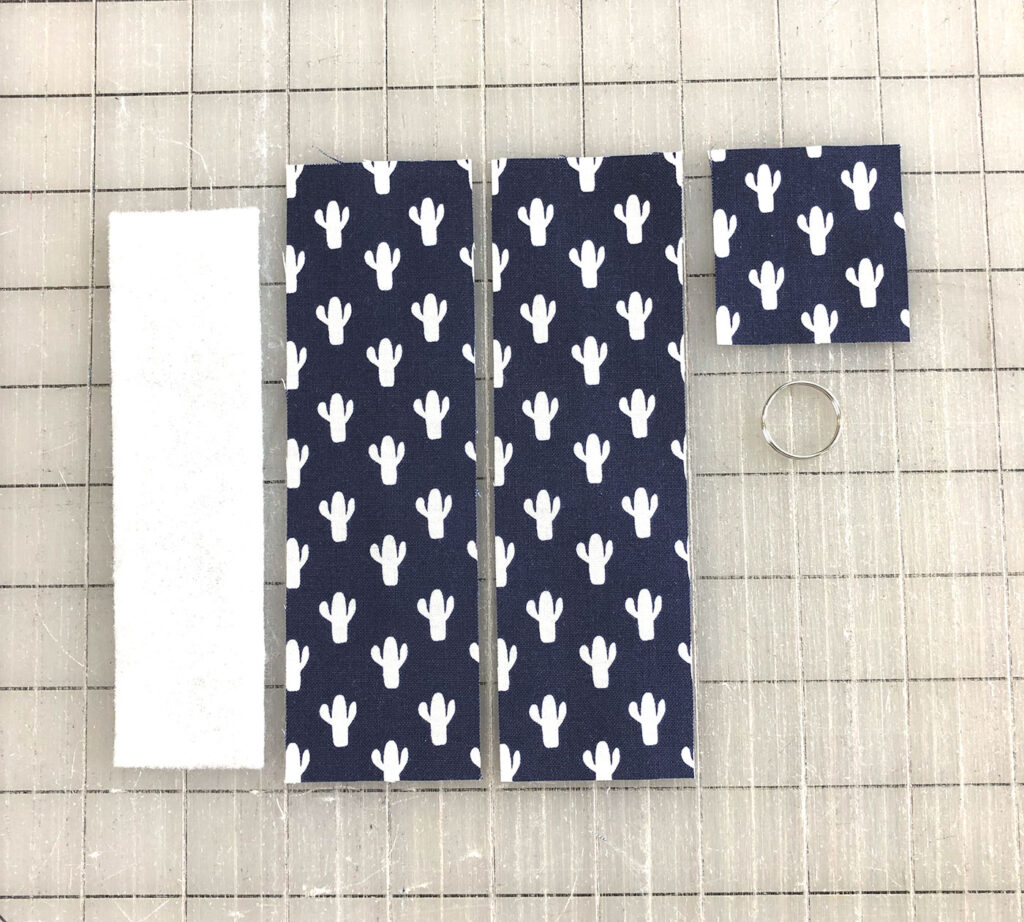
- Fabric scraps- Cut 2- 6 1/8″ X 1 7/8″ strips for main pocket, cut 1- 2″ X 2″ square for ring holder
- Fusible Fleece- cut to 1 1/2″ X 5 1/2″
- 3/4″ or 1″ split ring
Prepare strip for ring holder:
- Take 2″ square and press in half
- Open up the crease and fold the raw edges into the center meeting at the fold, press
- Re-fold the first crease and press
- Edge stitch along both sides of the folded strip
Assemble the Chapstick Holder:
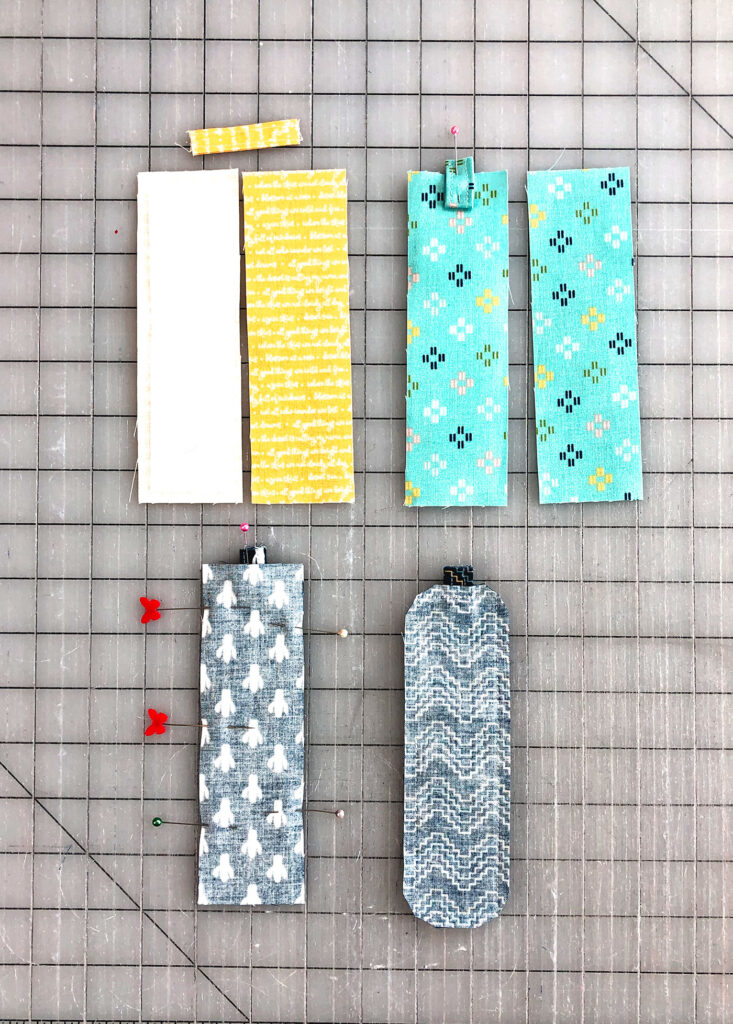
- Fuse the fleece to the wrong side of one of the main body pieces
- Fold the ring holder strip in half. Next, center it on one of the short ends of the body piece with the fleece. The raw ends of the strip should be lined up with or go slightly off the body piece.
- Place the second body piece right sides together and lined up with the first piece. Pin well. *TIP: I find it helpful to mark where I will leave the opening for turning with different colored or styled pins, in this case the butterfly pins.
- Sew around the entire chapstick holder using a 1/4″ seam allowance. Make sure to leave the opening for turning. Back stitch at the beginning and ending of your stitching. *TIP: I also like to back stitch over the strip for the ring to reinforce that seam.
- Clip the corners of the seam allowance.
Finish Chapstick Holder
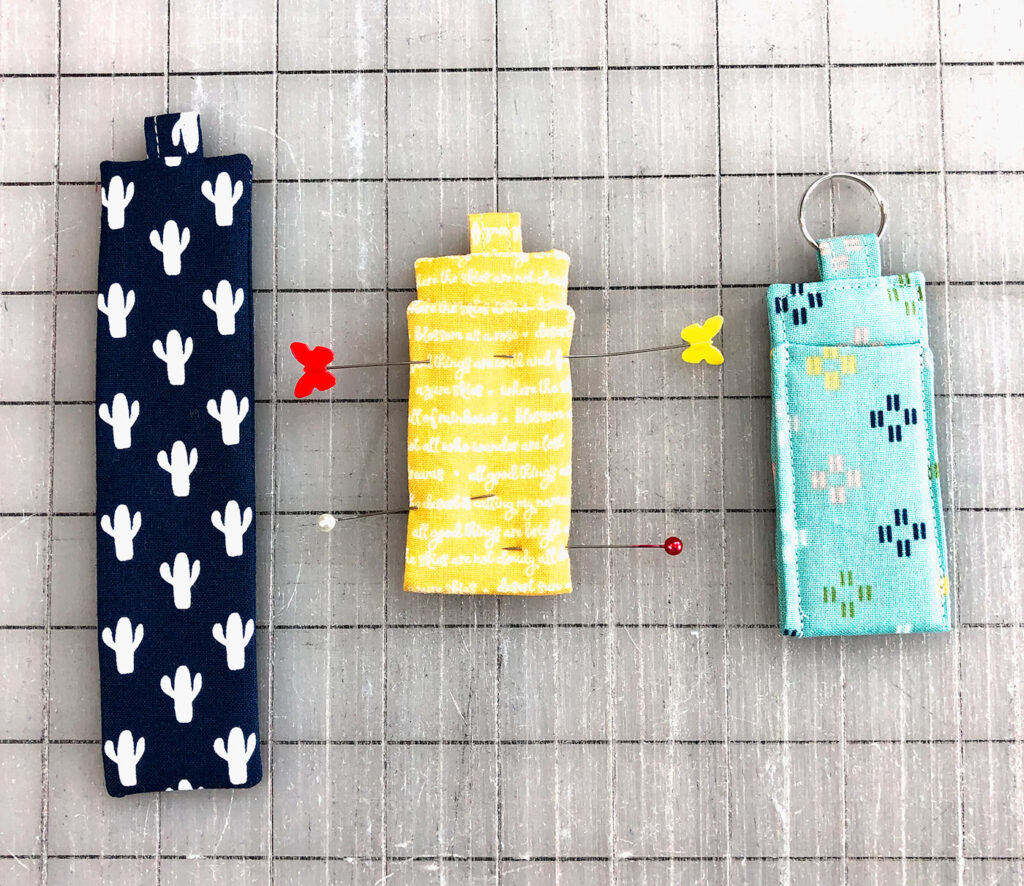
- Turn the chapstick holder right side out. Push out the corners and seams and press well.
- Measure 3″ down from the top with the ring holder and fold up the holder. Pin in place.
- Begin sewing at the bottom of the chapstick holder, sew up and around the holder. Also, be sure to back stitch at the beginning and ending of your stitching. *TIP: I like to back stitch on both sides of the top of the pocket as well. This will reinforce against the stress of putting the chapstick in and out.
- Add your split ring to the ring holder. *I find it easier to do this on the side with the fold, as there is less fabric to catch the ring on.
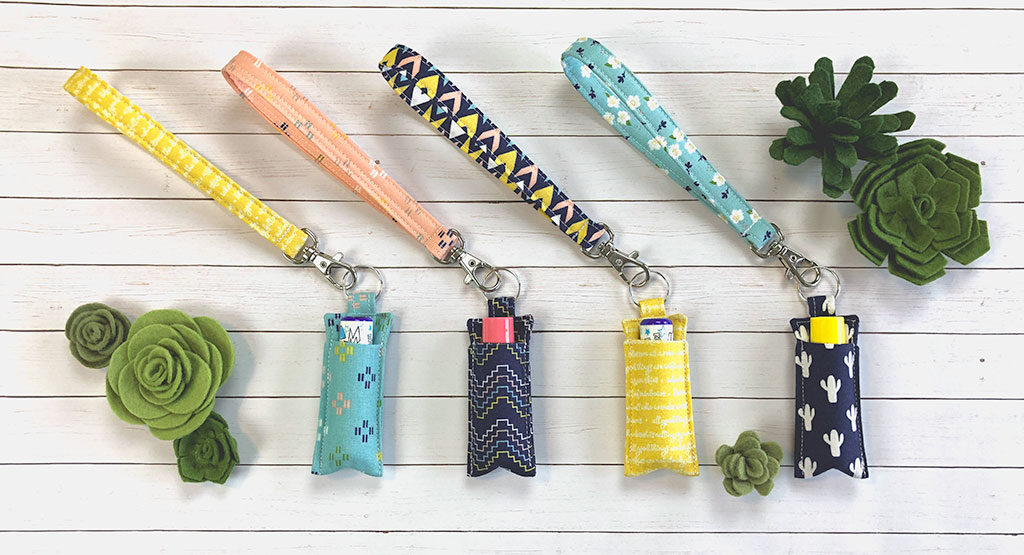
You can see how the wrist straps make these even more visible in your purse or handy for kids so they aren’t lost as easily.
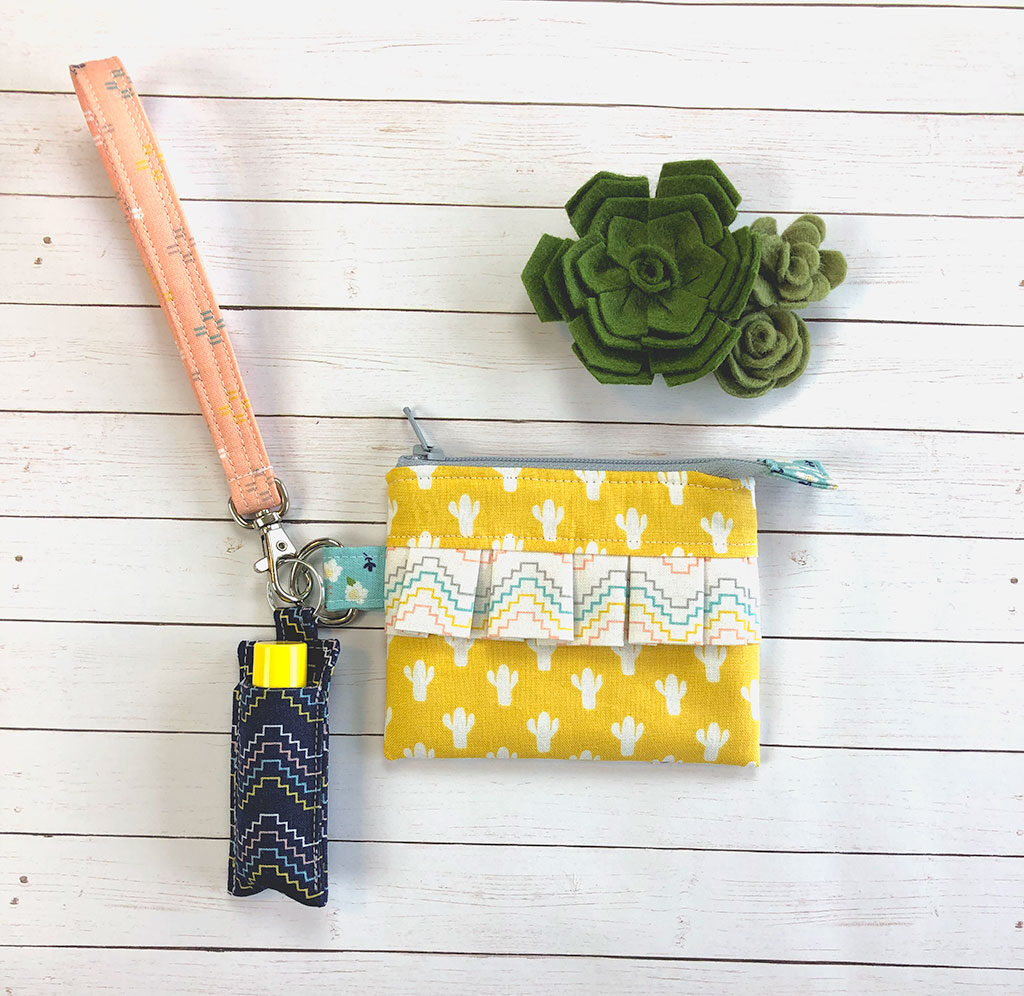
Pair the chapstick holder keychain with a wrist strap and a mini ruffle zipper pouch and you have a fantastic gift for moms, teachers, friends or kids! In addition you could slide in a gift card, some hair accessories or cold hard cash to finish the gift off.


Azure Skies – Chapstick Holder Tutorial – Riley Blake Designs
May 10, 2019 at 9:25 am[…] stop on our Azure Skies Project Tour takes us to AMEROONIE DESIGNS, where Amy is showing us how to make these fun little chapstick holders featuring fabrics from […]
Quilt Block Hot Pad and Trivet Set | amerooniedesigns.com
June 7, 2019 at 2:02 pm[…] you want more gift ideas, you might like this Chapstick holder and wrist strap set– they make fantastic […]