I love making wrist straps to attach to my pouches, or to use as key chains. They are a fantastic use of scraps, are quick to sew and make fabulous gifts! Add a chapstick holder (the free version is located here), or a mini ruffle pouch or both, for a fun, inexpensive gift.


Let’s make one, shall we?
Supplies:
1- 2″X12″ piece of fabric
1- 3/8″X11 1/2″ piece of fusible fleece
1- lobster clasp- This tutorial is created for clasps with a 3/4″ opening on the bottom for the strap to attach to. If you are using one with a wider bottom, you might want to adjust your fabric width to fit it better. I buy my clasps on Amazon, like these (not an affiliate link), you might think you’ll never go through 50 of them but once you make a couple, you’ll probably be like me and make them in batches so you always have some on hand for quick gifts.
Preparation:
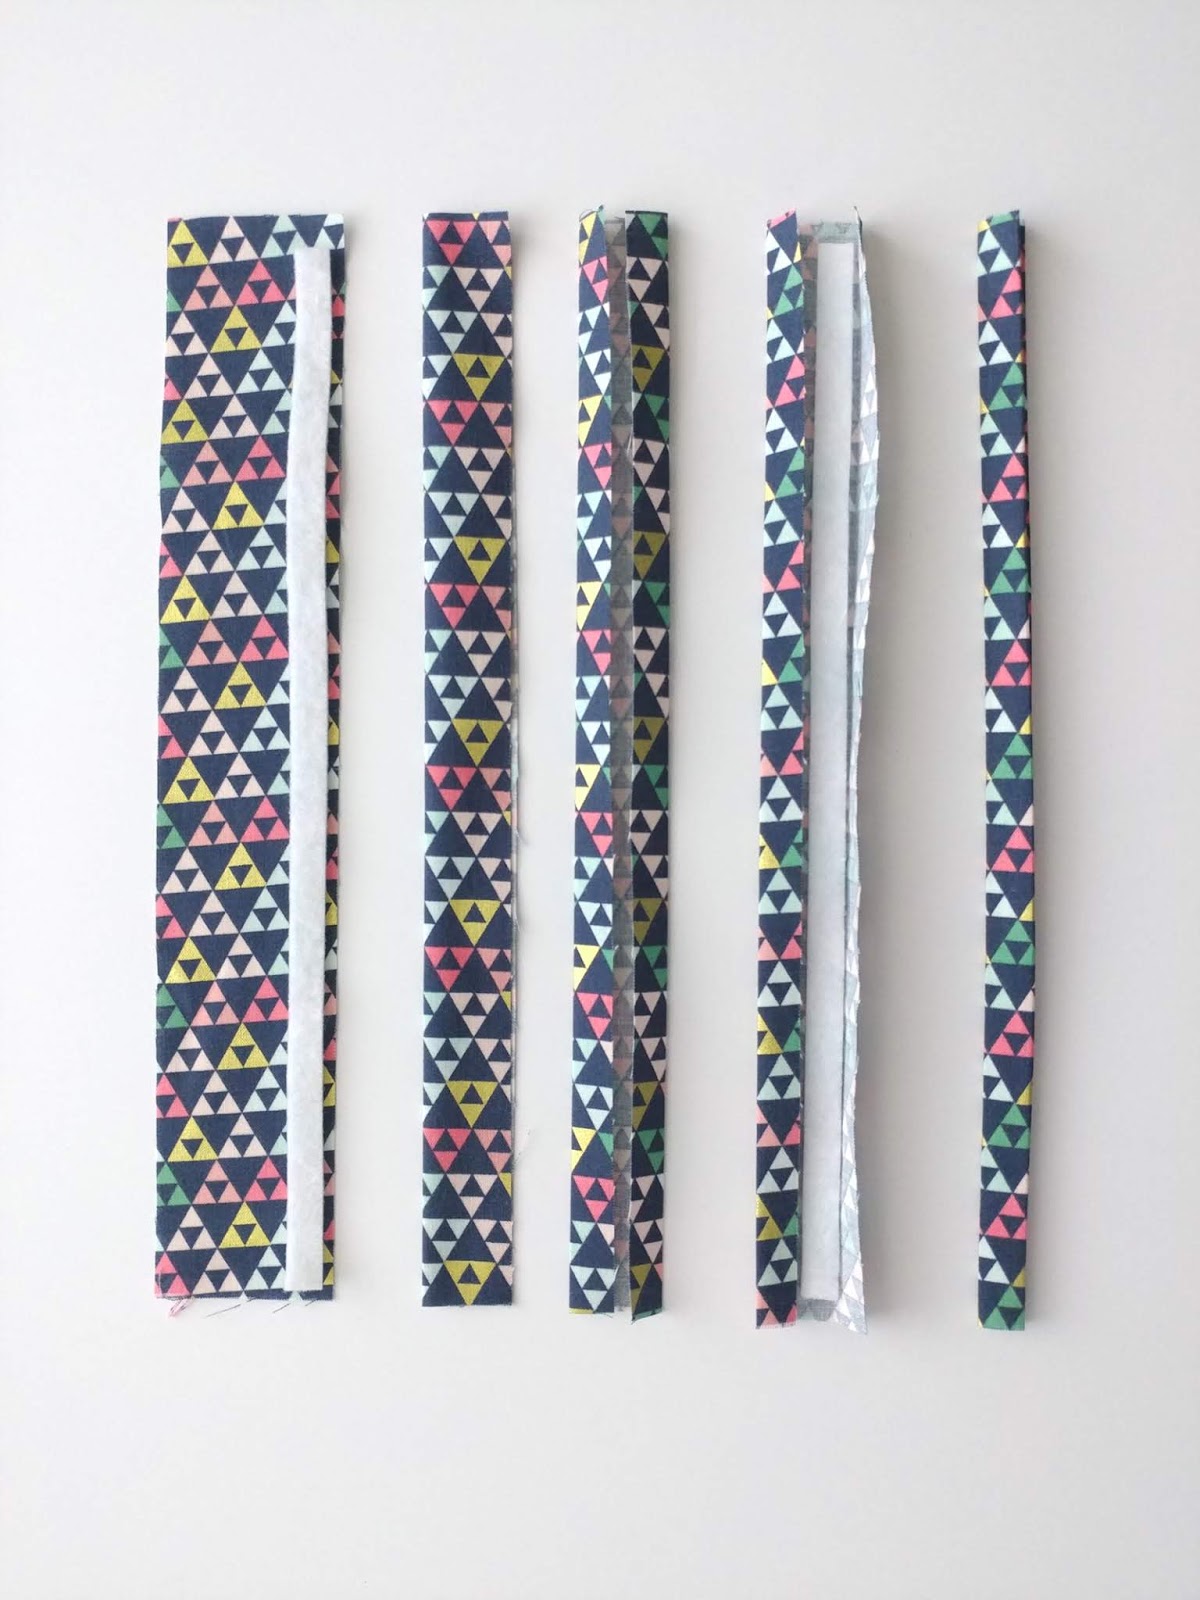
From left to right:
- Cut your fabric and fleece.
- Press your strip in half along the length (it will now measure 1″X12″)
- Open up the first fold and bring the raw edges into the center fold. (it will still measure 1″X12″, but will not have the long raw edges exposed.)
- Lift up one of the side folds and slide the fusible fleece next to the fold. I put mine with the fusible side (the bumpy side) down toward the outside of the strap.
- Close that fold and then re-fold the center fold again (strap will now measure approx 1/2″X12″) press well and follow manufacturer instructions for fusing the fleece- typically with steam.
Assembly:
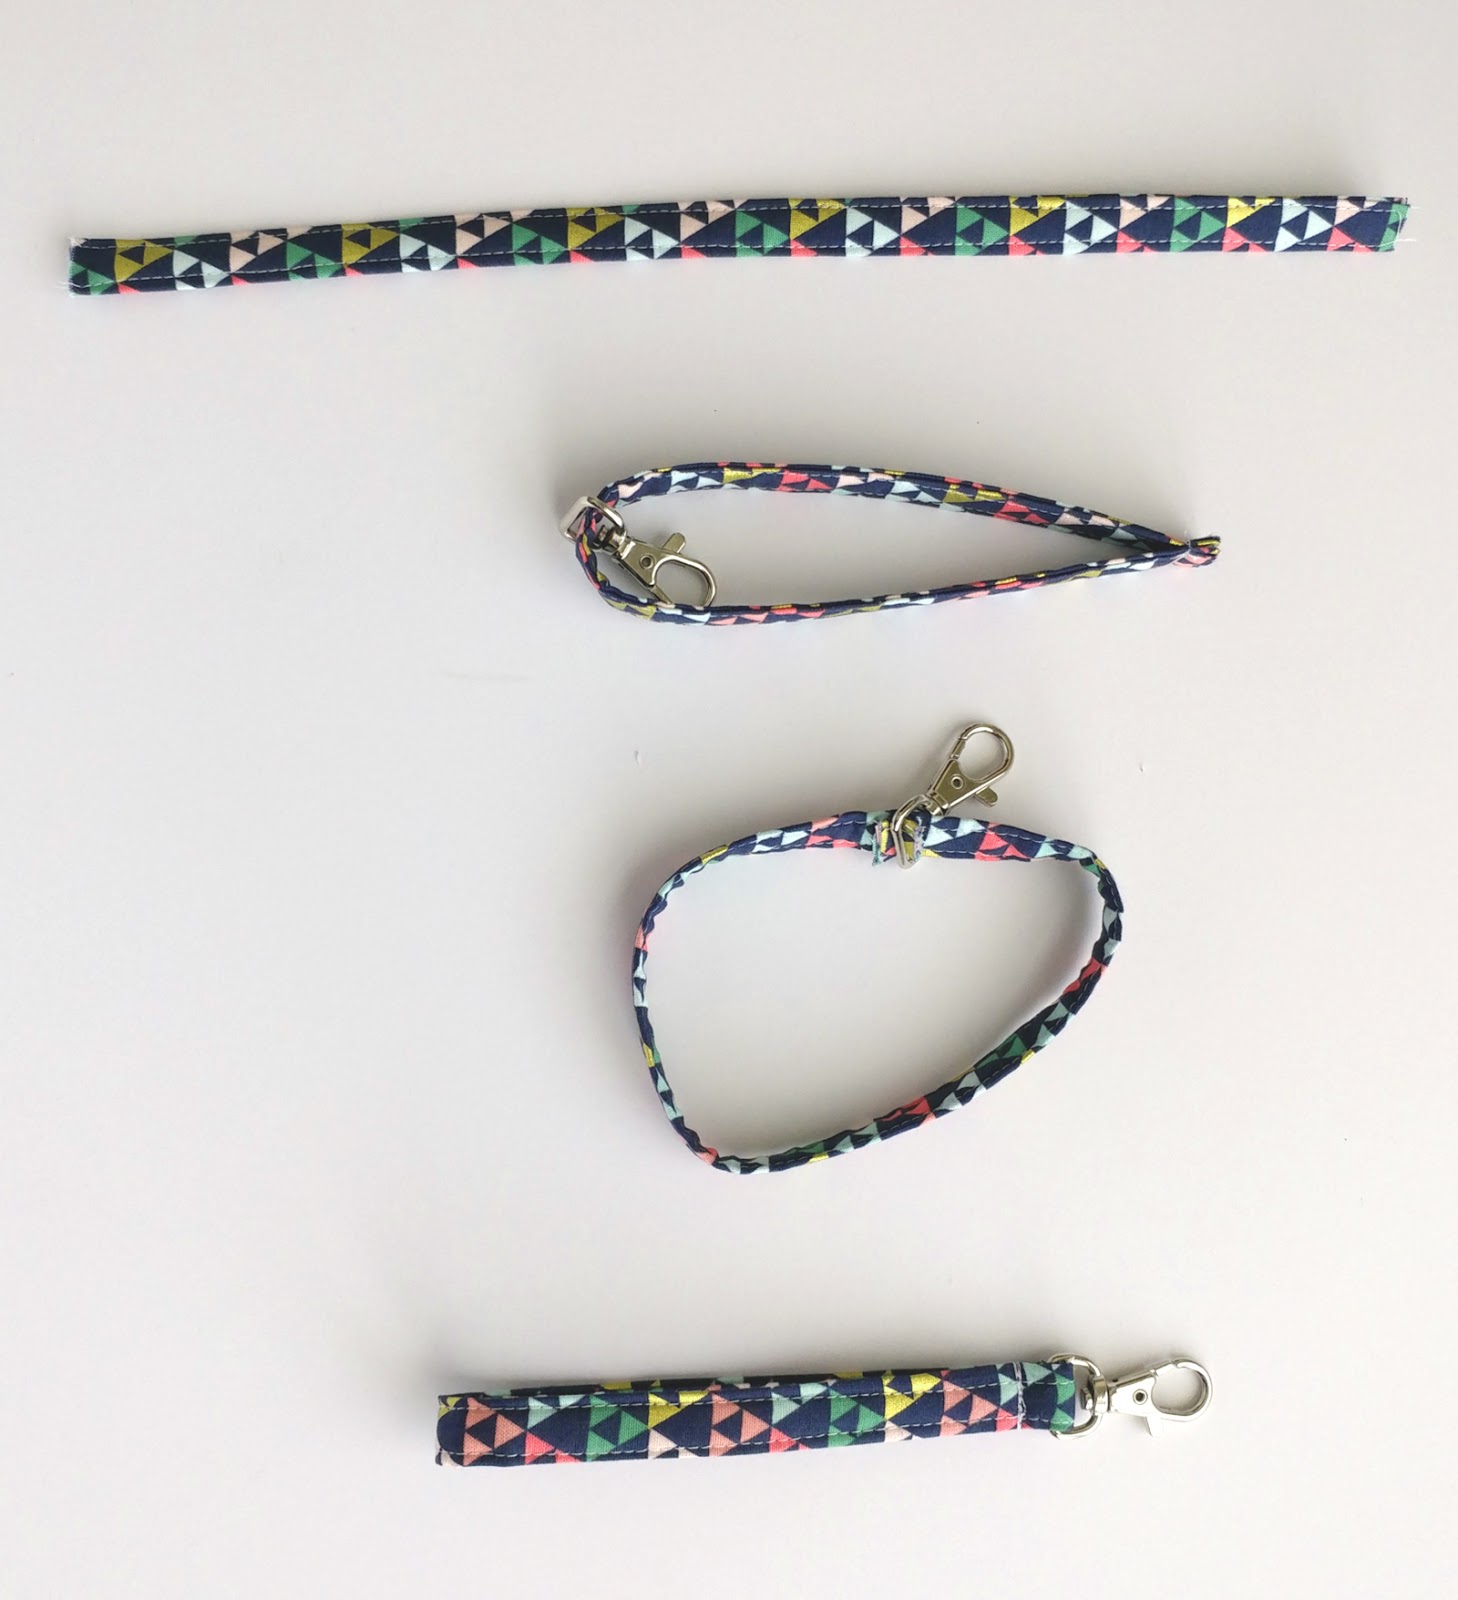
- Edge stitch down both sides of your strap piece. Trim the ends and any threads.
- Slide the strap through the opening on the lobster clasp meant for attaching the fabric. Bring the two raw edges together and sew using a 1/4″ seam allowance. *MAKE SURE THE STRAP ISN’T TWISTED before you sew. I usually have the clasp toward the middle of the strap for this step so I don’t have to turn it around in the clasp later, but you totally can do that, so it’s not super critical which way your clasp is pointed. Sew over this seam a few times to reinforce it, this is the seam that will take the stress of whatever you put on the clasp.
- Turn your strap inside out so the seam you just created is to the inside of the strap. Open up the seam and slide the clasp in between the two different sides.

Pull the clasp out to the side lining up both sides of the strap. The clasp will be sandwiched between the seam allowance and the two sides of the strap. Sew along the edge of the clasp as close to the clasp as you can.

I usually replace my presser foot for this step with my zipper foot and move my needle as far to the right as I can to get as close as possible to the clasp. Again you will want to reinforce this seam by sewing over it a few times. The strap has many layers at this point, you might find it helpful to make more than one so that you can keep your presser foot flat as you sew through them at this step.
Once they are sewn, trim your threads and you are finished!
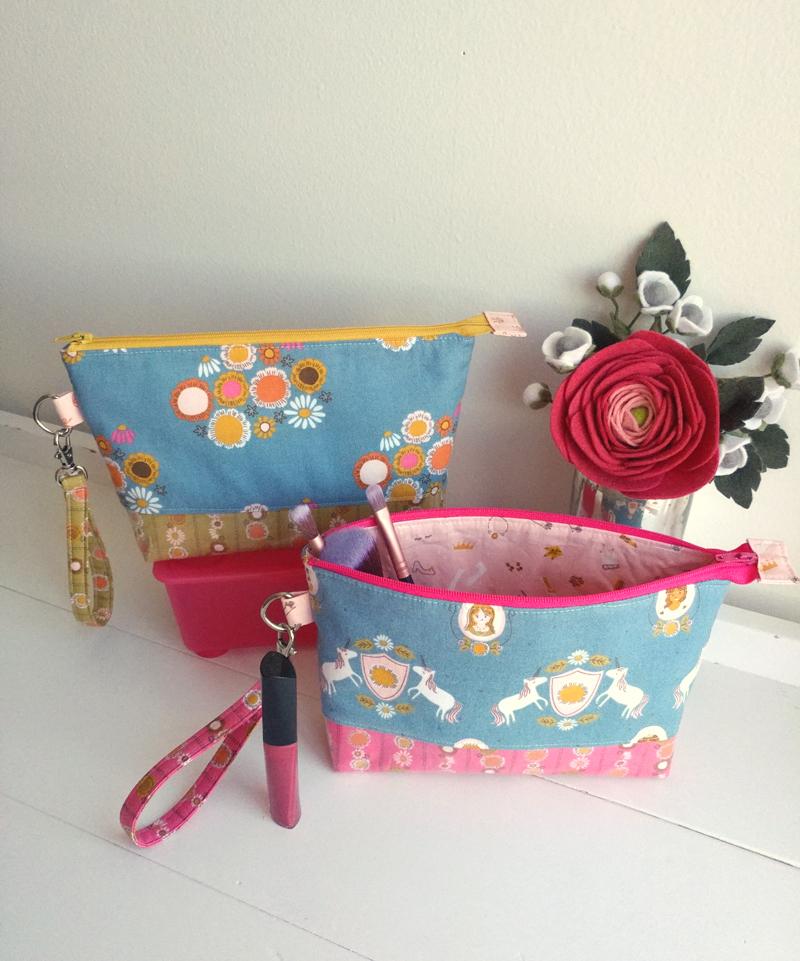
Adding them to larger pouches like this Make-up pouch is a great way to create a mini purse or clutch for when you don’t want your larger purse. You can find the free tutorial over on The Polkadot Chair blog or you can download the pdf version for $2 at my Craftsy store. I loved using mine on our cruise last spring to carry my sunglasses, chapstick and phone when we were walking around the ship!
So, tell me, are you ready to order your 50 lobster clasps? lol.
Before I go I just want to give a couple tips on choosing fabrics: Try not to choose directional prints, they will be backwards at some point. These wrist straps last a LONG time!! And because of that, they get DIRTY! So, keep that in mind when looking at prints. Those with a colored background and small scale prints are best. I like deeper, richer colors too, they hide the wear a bit better. But, the good news is that as long as your lobster clasp isn’t damaged, you can just cut off the old fabric and sew up a new one super quick when your wrist strap starts looking a little sad. No need to walk around with a tattered keychain, right?
I hope you have fun sewing these up!
xoxo,
Amy


Jessica
May 16, 2019 at 4:55 pmMade mine today, FINALLY! Haha. I made it to replace my old one I bought from you. I love having it on my keys! It makes it so much easier. Thanks for the tutorial.
Amy Chappell
May 16, 2019 at 10:31 pmYay!! They are so much fun to make and use! So glad you did it! 🙂 xoxo