I realized a while ago that I did not have a tutorial on how I usually make the backs for my pillows. I decided that the next opportunity I had to correct that problem, I would take advantage. So here it is!
Before I begin, however, I would like to explain just a bit about why I make my pillow backs this way. First is that it makes the pillow cover removable, which when you have small children running amok in your home, becomes a major plus.
Second, I like to make pillow covers for the holidays, which means changing the cover out a lot. And I wouldn’t want to have to store pillows for each season, nor could I afford that much stuffing/pillow forms.
Third, it’s habit. 😉
So, On to the tutorial:
First you will need to know the size of the pillow you are making. The pillow in this example is 17″X17″. You will take the measurement of the pillow (I add an inch for seam allowances- so in my case 18″) and divide it by 2; then add 4 inches. This becomes the measurement for the width of your pieces. You will cut two pieces of fabric your measurement (in my case it would be 9″ +4= 13″) by the height of the pillow cover (18″ in my example)
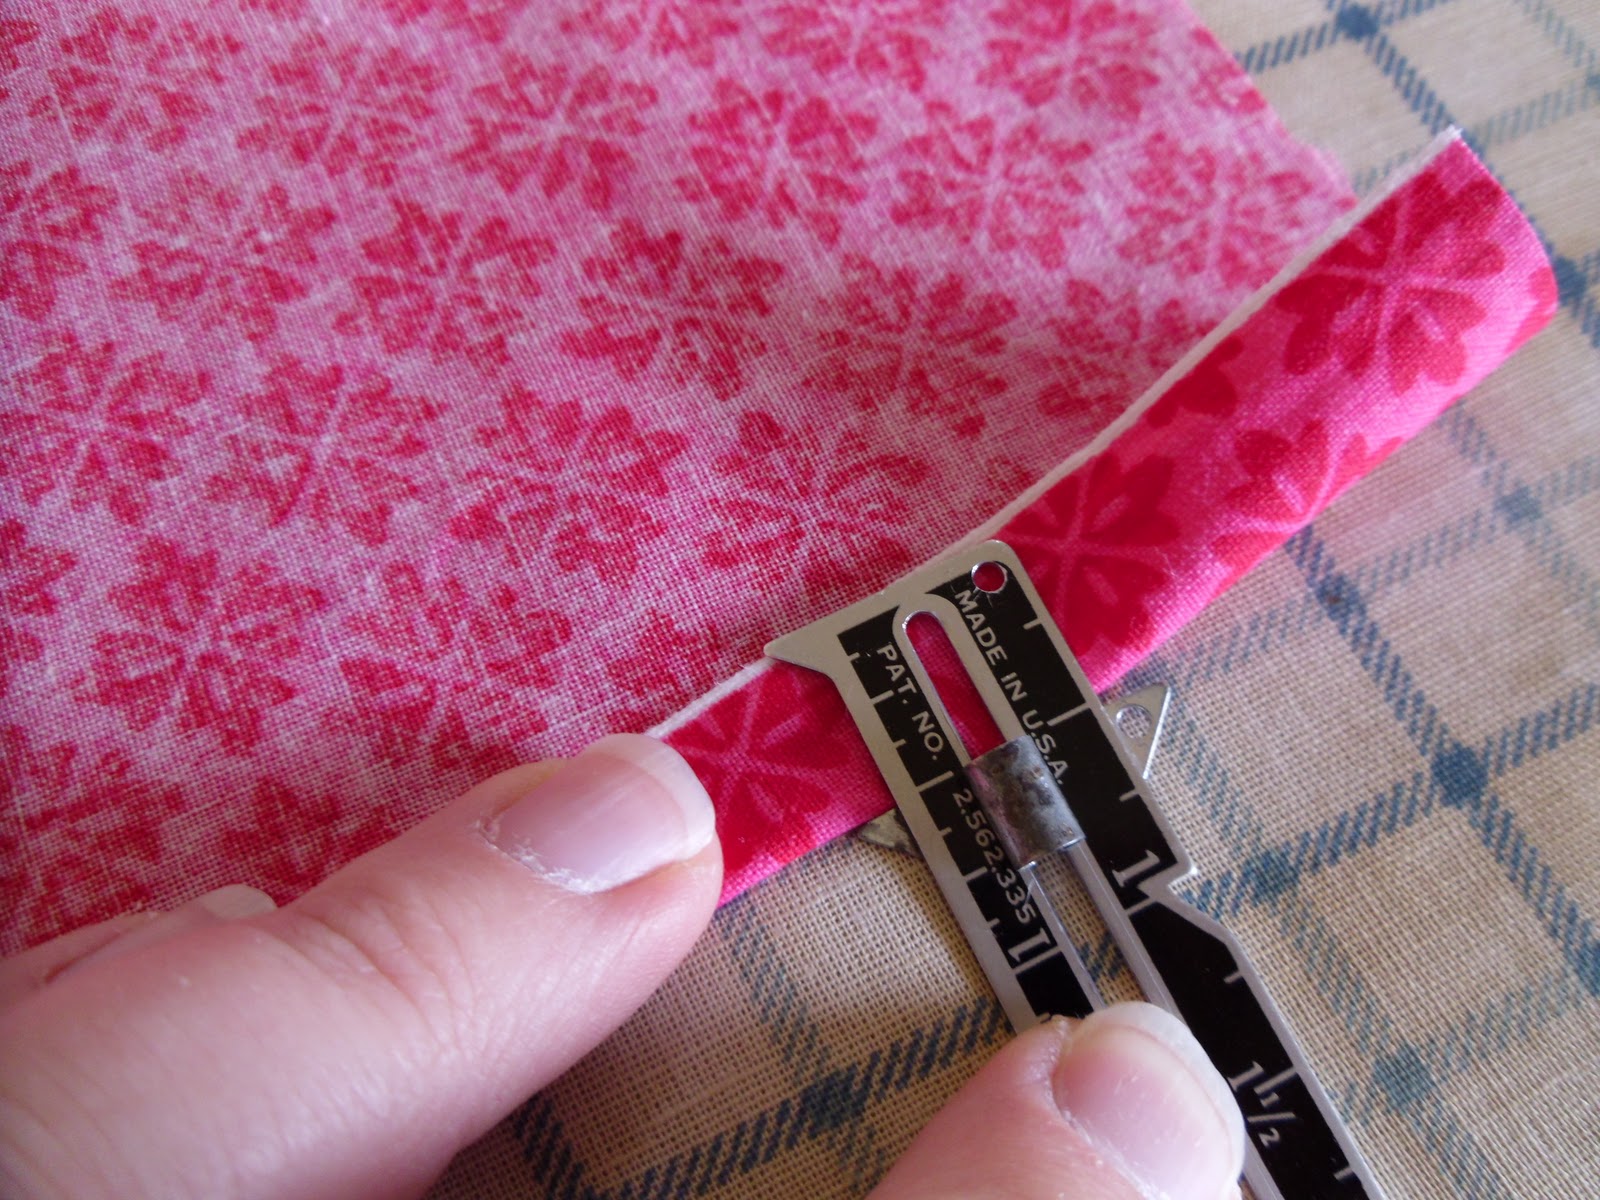
Once you have your two pieces you are ready to begin. First take one long edge of one piece and fold and press it over 1/2″.
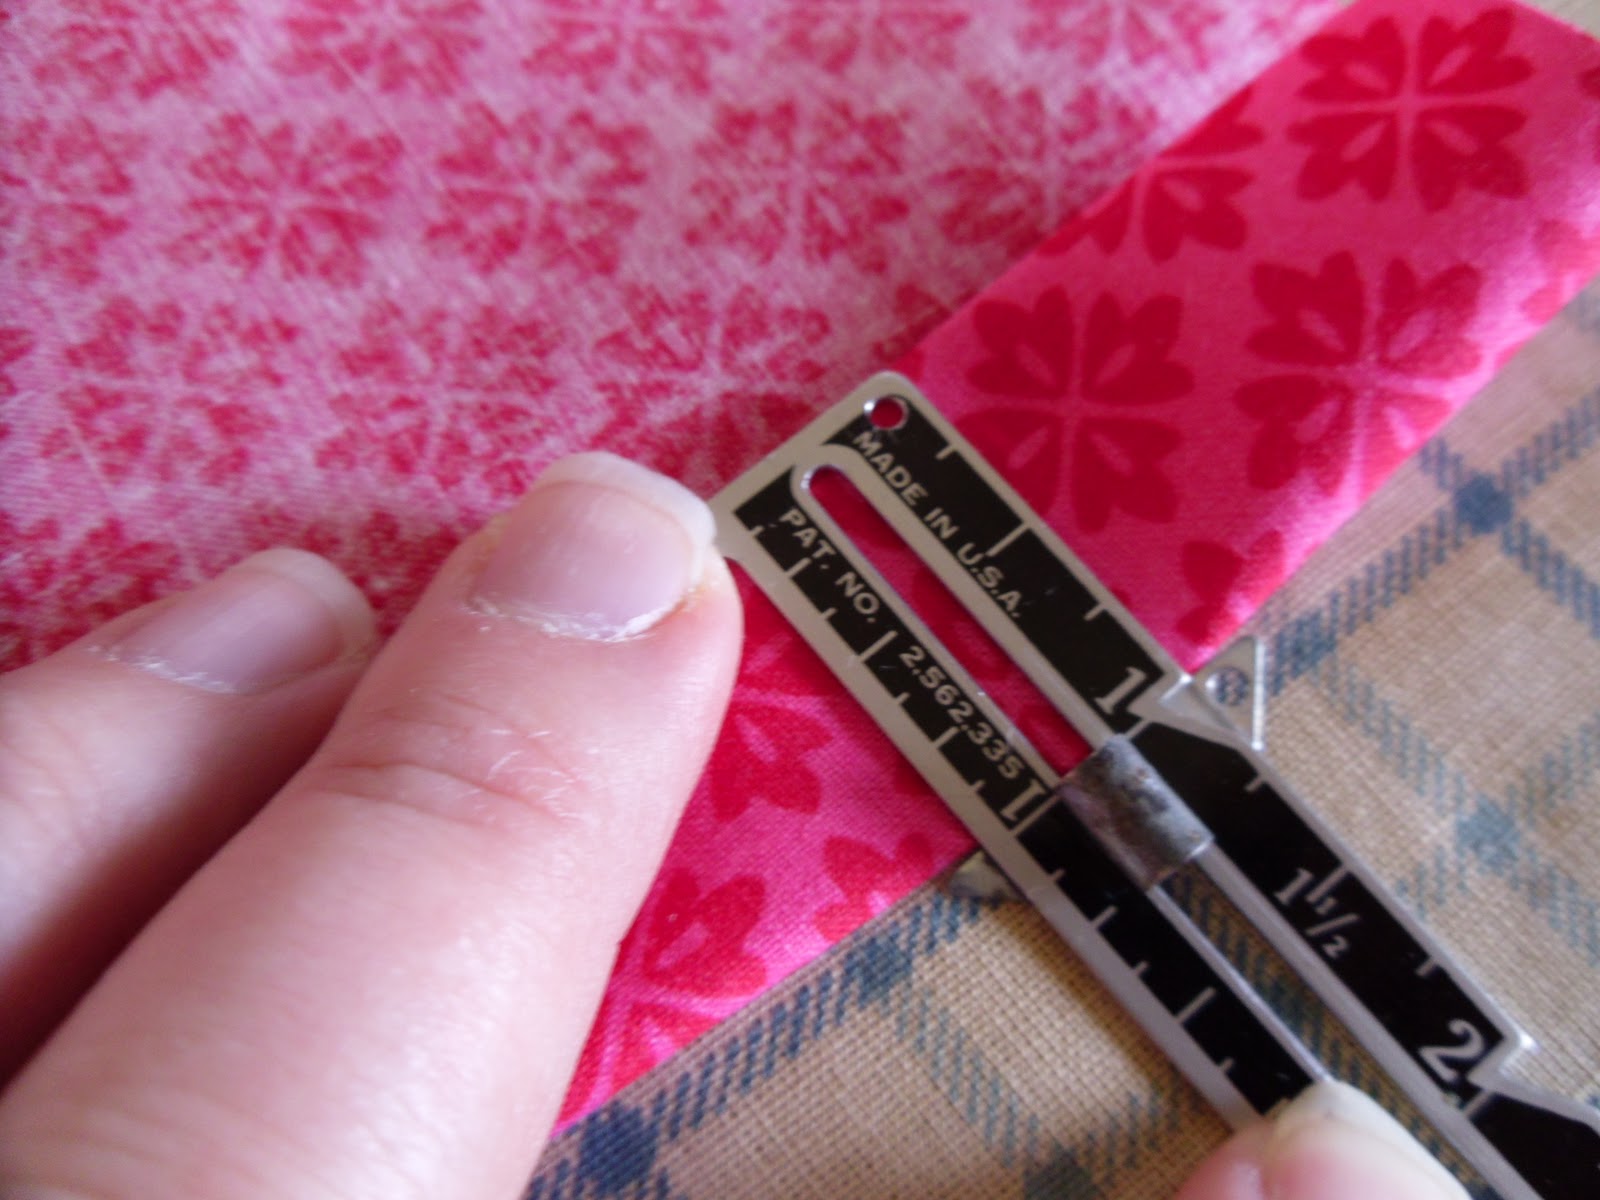 Next you will take the same long edge and fold it over again, this time 1″. Press in place. Repeat these two steps for the second piece.
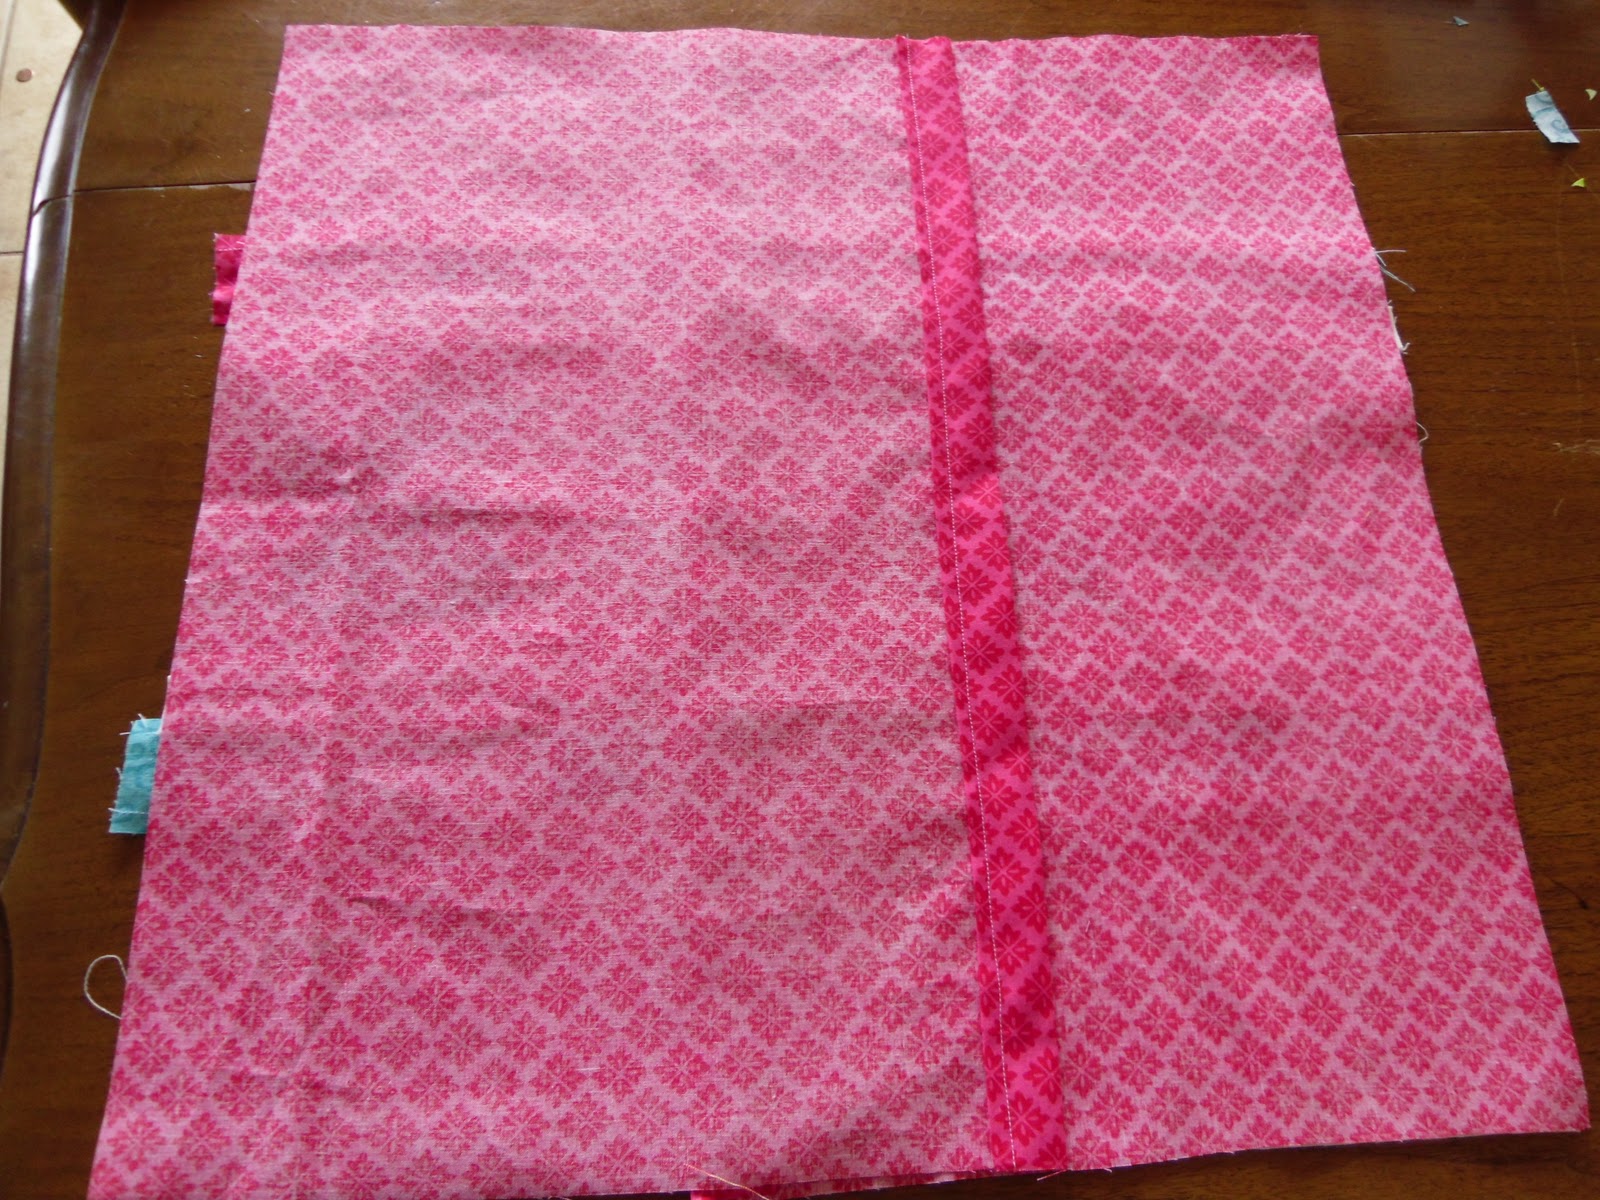
 Now it’s time to get sewing. Sew the hem down at 3/4″ seam allowance. If you like you can also sew at 1/4″ to give it a stitched edge. Repeat for the second piece.
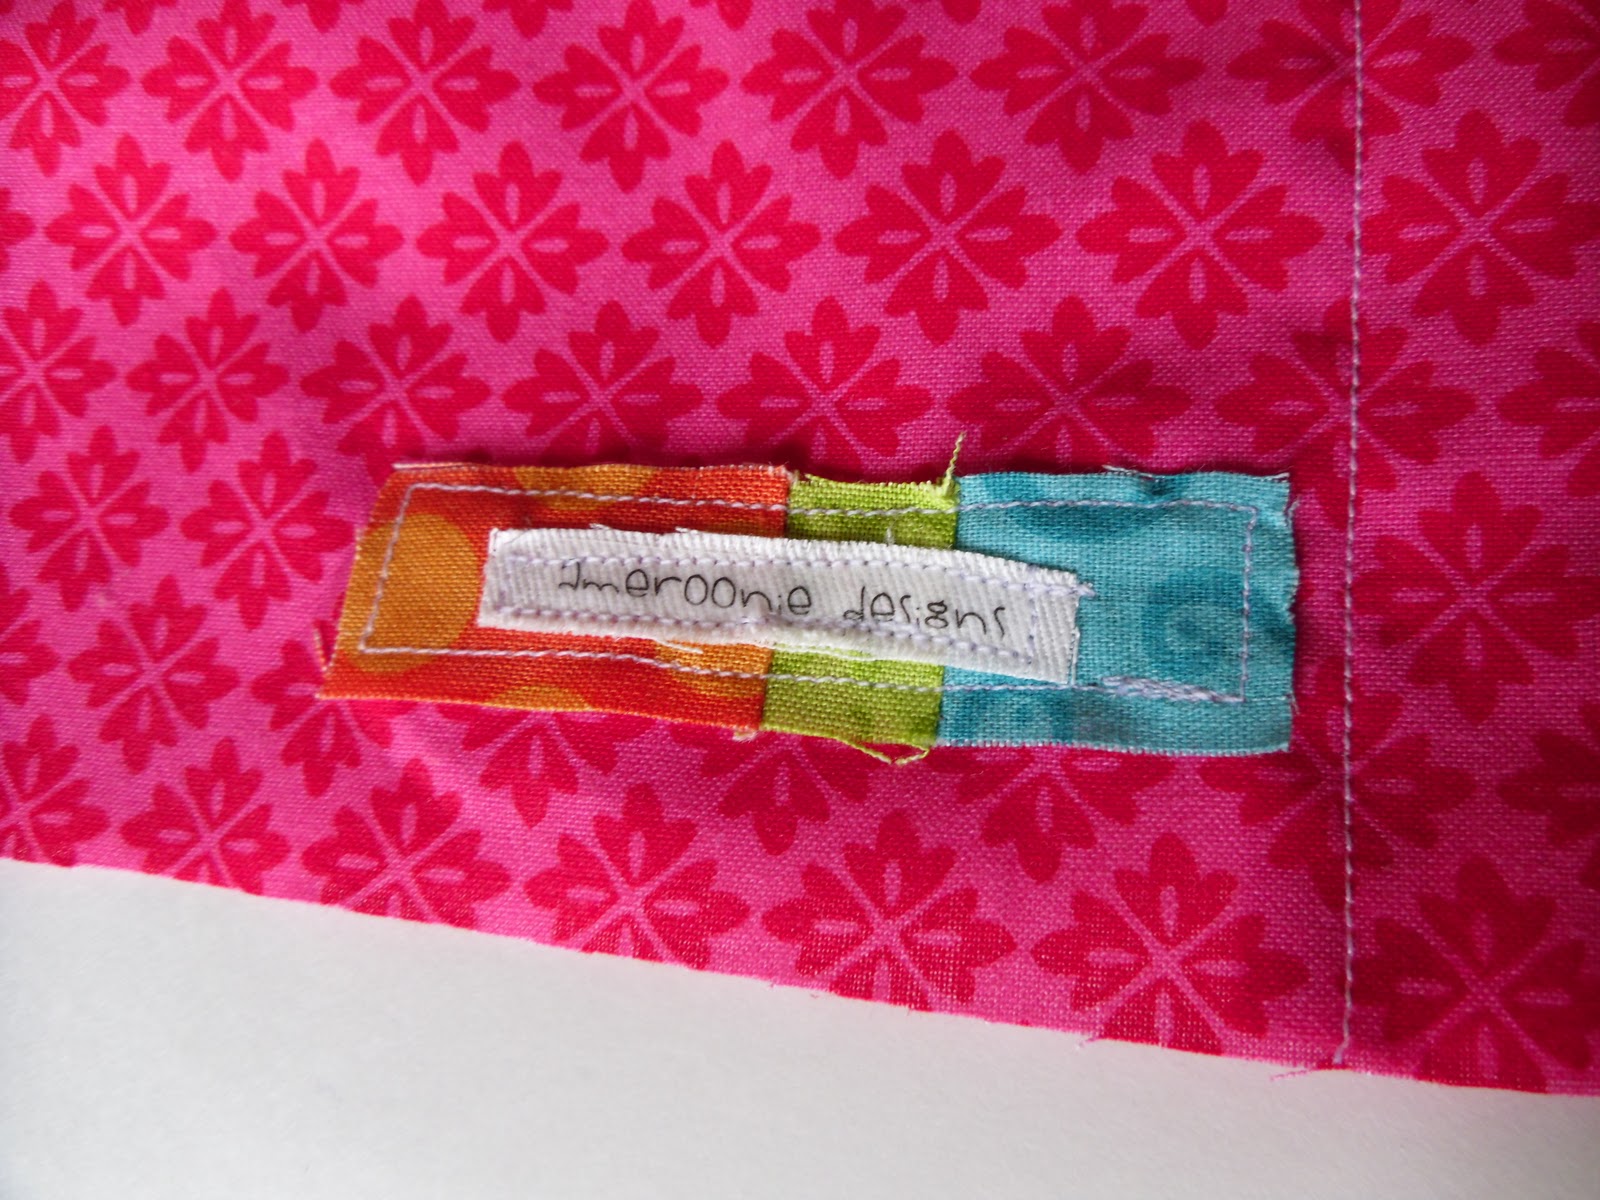
If you want to add a label or other embellishments to the back of the pillow cover, do that now.

Now we are ready to make the pillow cover. Lay your pillow front down face up. Place the first panel of your back face down. (this is the side that will show, so make sure it’s the one with your label.)
Now place the second panel on the pillow front, right side down. Make sure all the edges of the pillow back pieces match up with the pillow front. Sew around the entire pillow with a 1/2″ seam allowance.
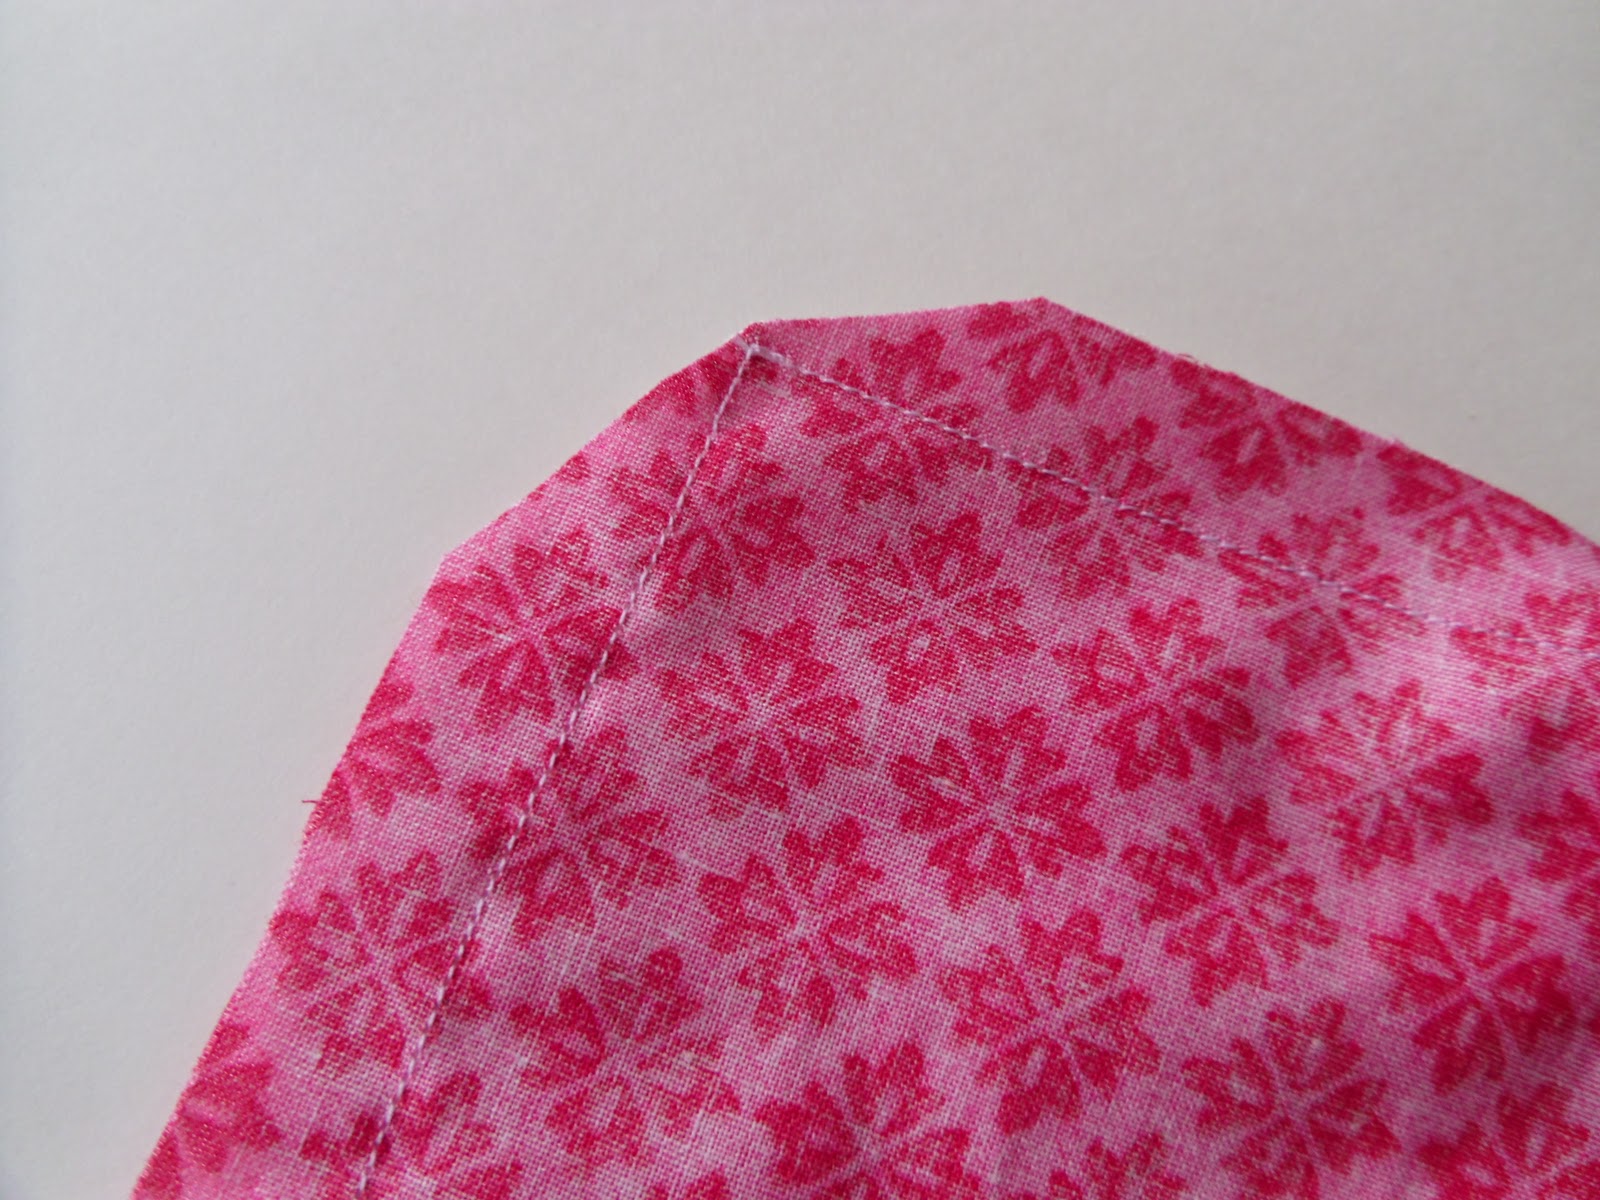
Clip the corners of your pillow cover to give you a nice sharp corner. Turn right side out and use a pointy object to push out the corners. I like to press my cover at this point to give it nice crisp side seams.
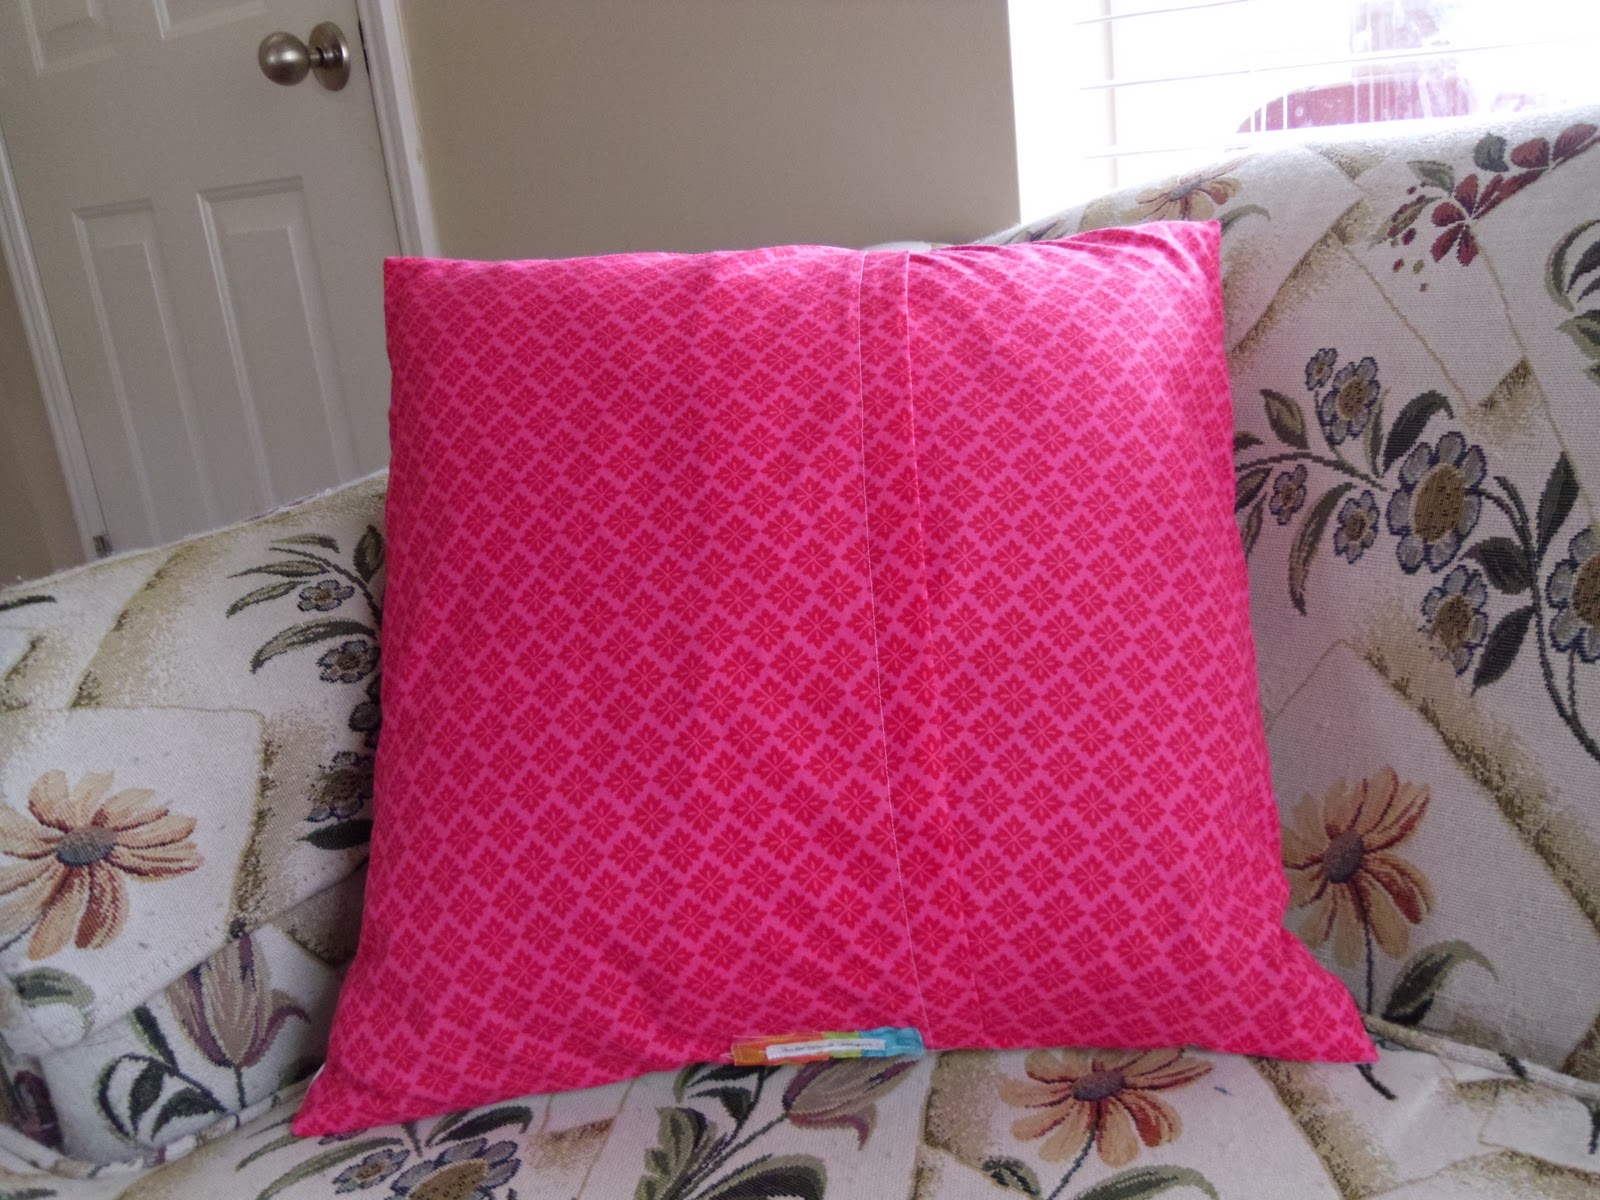
Now you have a beautiful envelope closure for all your lovely pillows!
xoxo,
Amy


Gwen @ Gwenny Penny
April 5, 2011 at 1:55 pmI LOVE the little tag you put on the back, Amy! Too cute. Love your pillow tute over at the Idea Room today, too!
restlessrisa
April 5, 2011 at 3:31 pmI am loving that pillow!!! I want to see the front. Where do you get your tags? I need some :)I love your blog, and your leprechauns in an earlier post are darling! I am your newest follower!!!
<3
Risa
Andi @ Jane of all crafts
April 6, 2011 at 2:35 amThis is the ONLY way I know how to make pillows 🙂 And I like the removable part bc I too have kiddos who run a muck!
Debilou ~ Mississippi Mama
April 13, 2011 at 8:23 pmthis is the cutest pillow,, it just screams "spring". love it.