The book Retro Stitchery was provided by Bev at Flamingo Toes and Martingale Publishing to allow for my participation in the Retro Stitchery book tour. The project and opinions are all mine.
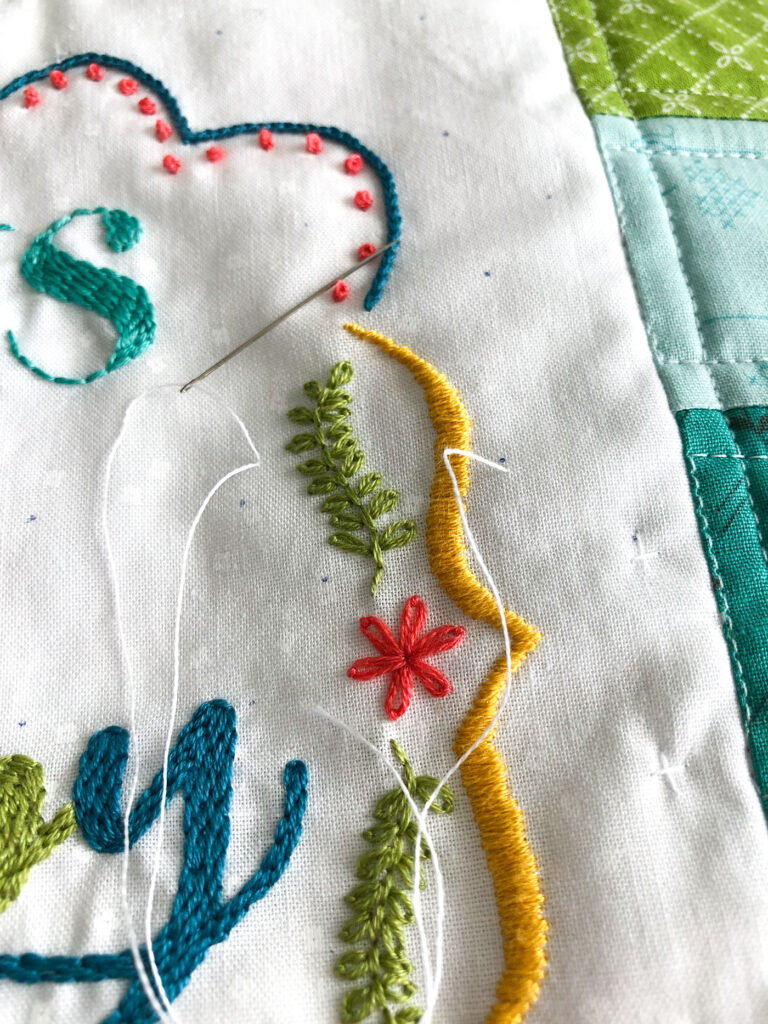
The repetitive motions of hand stitching are both mesmerizing and relaxing. Portable, accessible and beautiful, the many benefits of embroidery are limitless. But, embroidery is also a lot of work. Taking that work and turning it into something else can be intimidating. The fear of ruining your project can be daunting. Today, I will share three helpful tips to turn your embroidery into a stunning mini quilt. From pressing your embroidery safely to adding finishing hand quilting stitches I will walk you through my process. At the end of this post I will include all of the cutting instructions and information required if you want to duplicate this project exactly.
I have saved the process of making this mini quilt in my Instagram highlights called My Happy Place Mini. I will also have videos of the layered back stitch and my method for adding the hand quilting on my Instagram as well. You really should just follow me over there. 😉
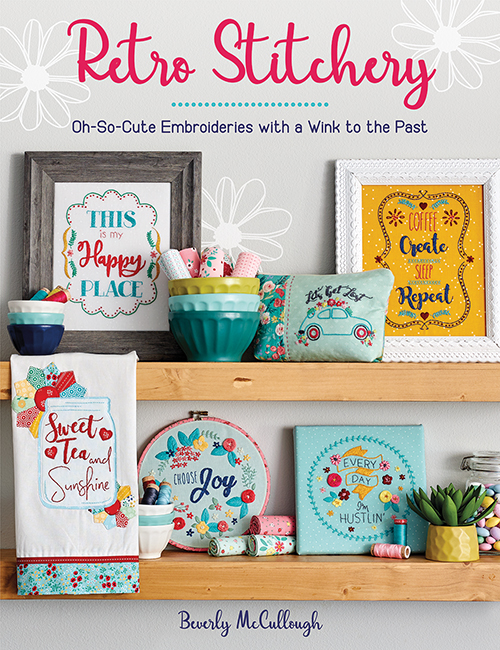
Retro Stitchery Book Tour
The pattern for the embroidery I am using is from Bev McCullough’s new book Retro Stitchery. There are so many fun projects in this book, but when I saw this one, I just knew it was THE ONE. If you want to see more of the projects from this blog hop you can find all of the links on Bev’s blog. I did swap out the colors in the project to a brighter rainbow of colors. You can see all of the floss colors I used at the end of this post.
If you are loving embroidery as much as me right now, some more projects you might like are these Embroidered Word Ornaments or this simple Spring Embroidery hoop, if you want something fast and free to make.
Turn Your Embroidery into a Stunning Mini Quilt
Tip 1- Proper Pressing
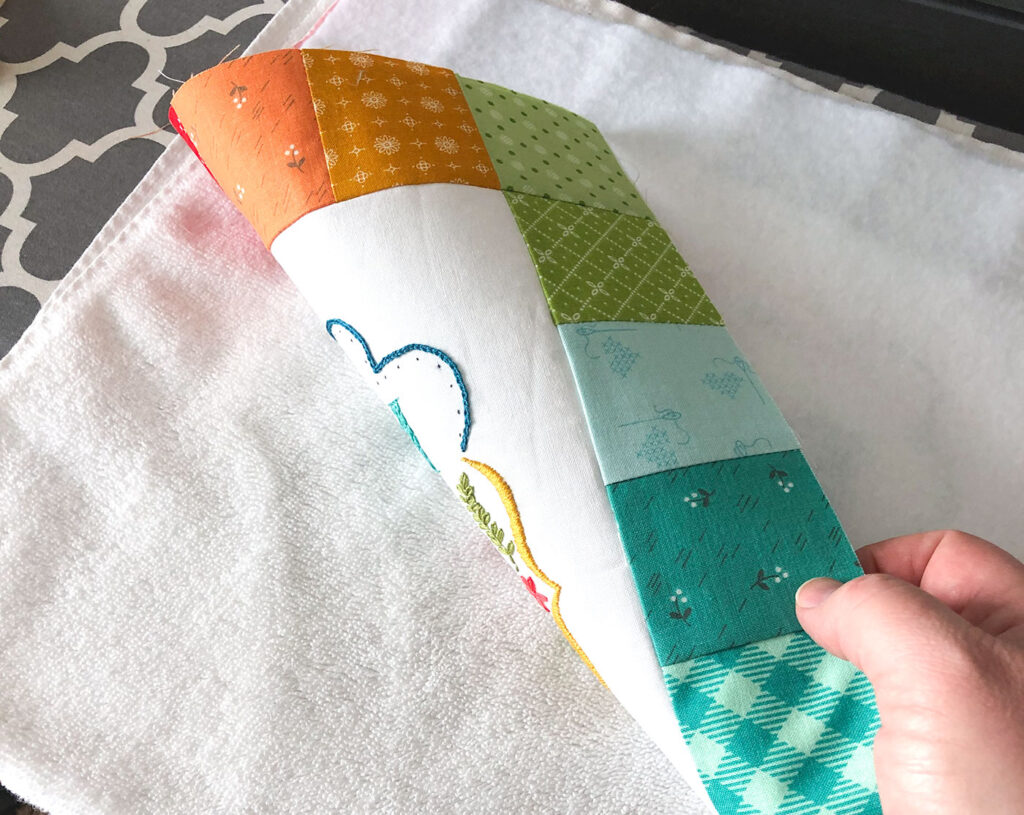
Any time you need to press your embroidery project be sure to pad your ironing surface with a towel or a wool pressing mat. You don’t want to risk crushing your beautiful stitches with your iron. Lift your iron up to move to a new area, don’t drag it across your stitches or they may distort.
Tip 2- Find the Center of your embroidery
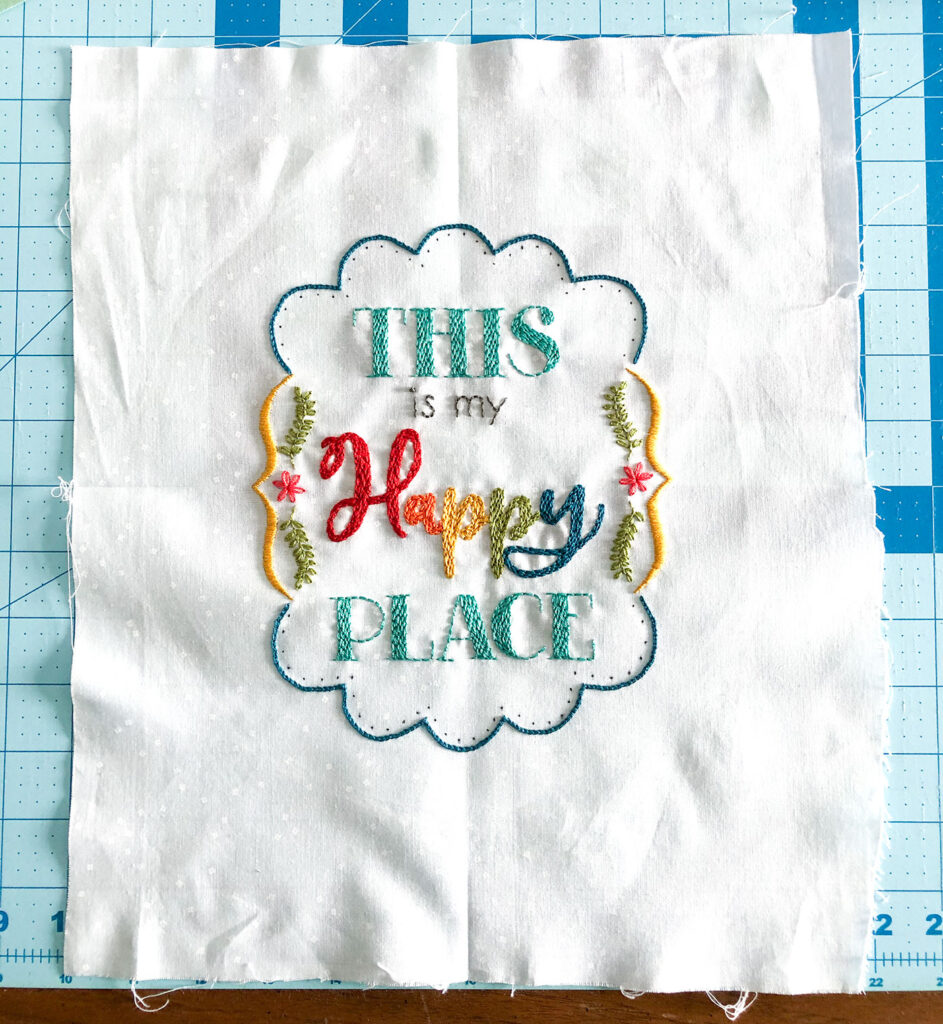
You have spent HOURS stitching up this gorgeous piece, you don’t want to be off in your cutting! Fold your embroidery in half along the horizontal and vertical planes to find the center. Finger press a crease at the top and bottom to mark the fold. I found it helpful to lift up the project to see through the fabric to make sure I was lining them up correctly. Take your time with this step! Measure from the center mark when cutting your embroidery to the desired size.
My Measurements for this project: Cut the embroidery to 8 1/2″ (w) X 10 1/2″ (H)
Tip 3- Tack it down
Your embroidery will not be quilted like the rest of your mini quilt. (unless it is, in which case- go for it!) But, that doesn’t mean you want it gaping and puffy and standing out too much from the rest of the project. To overcome this, I added some small hand quilting details to my embroidered piece.
- First, mark a grid on your embroidery using a frixon pen. *Be sure to test it on some scraps of your fabric to be sure it will disappear with heat first.
- Next, use one strand of coordinating floss and bury the end inside your project. Bring the needle up where your first quilt stitch will be and make a stay stitch.
- Now make your first quilt stitch. I am using a small + stitch on mine.
- As you finish your stitch, travel INSIDE the quilt to the second stitch location and make your next quilt stitch.
- Continue over the entire embroidery piece as desired.

The small quilt stitches add texture and continuity to the mini quilt without distracting from the hand work you so lovingly created.
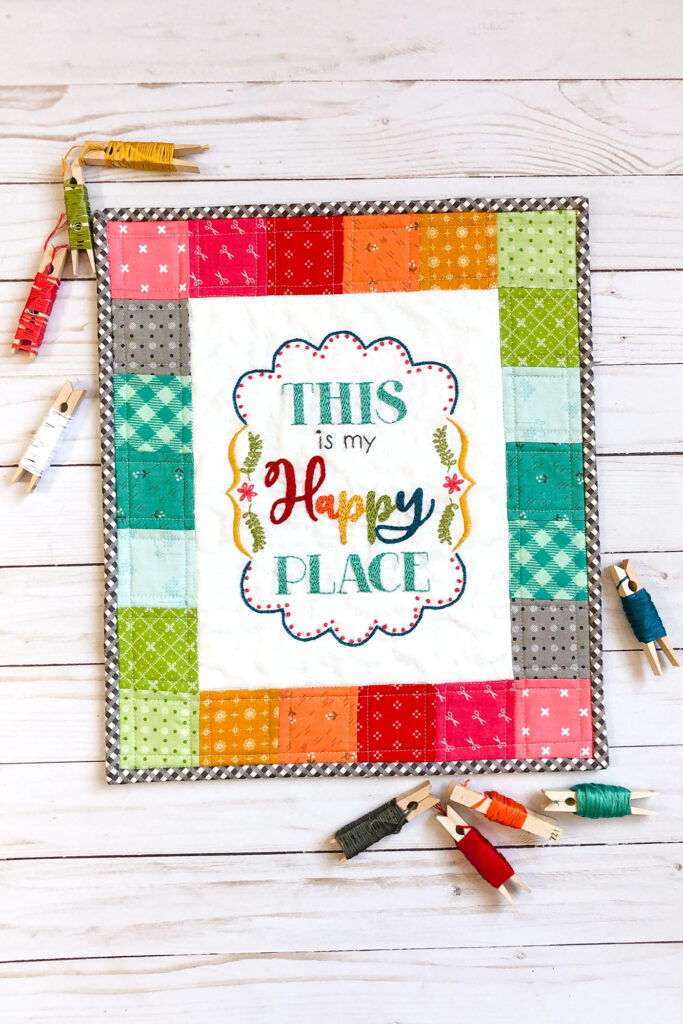
My Happy Place Stunning Embroidered Mini Quilt details
If you want to create a dazzling embroidered mini quilt just like mine I wanted you to have all the details here. It’s a pretty simple mini quilt, but adding the embroidery takes it from simple to simply stunning. Here’s the info:
Supplies:
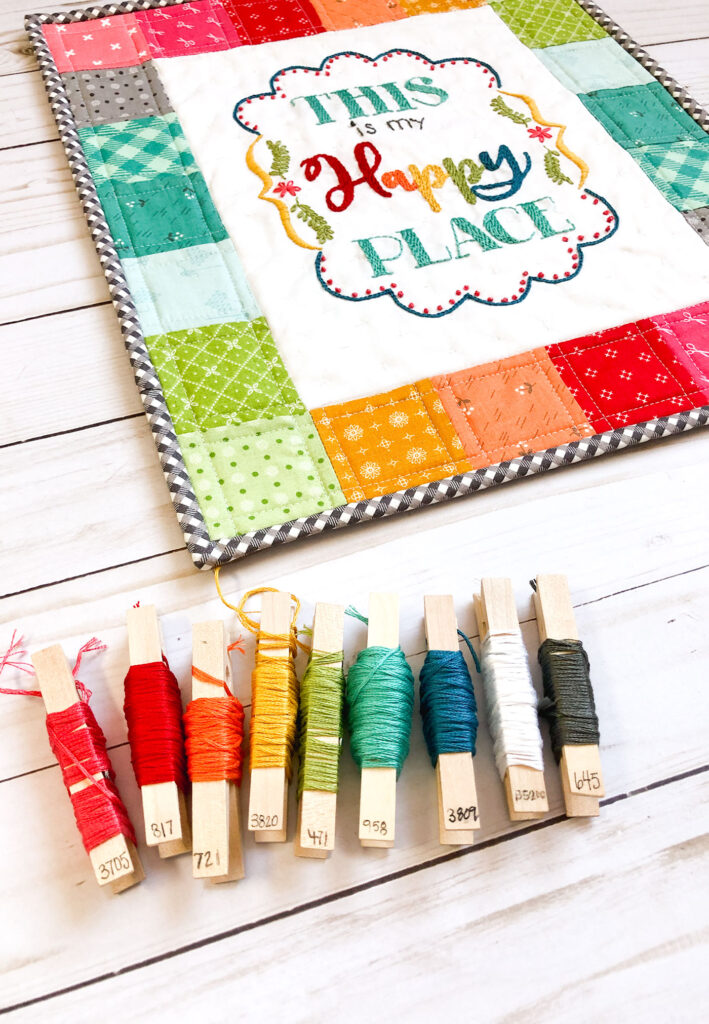
- Embroidery floss- You can see the colors I used in the above picture
- 12″ X 14″ piece white on white blossom fabric for embroidery
- fusible fleece or batting
- 22- 2 1/2″ squares of fabric for border- I used a rainbow of Lori Holt fabrics
- 12 1/2″ X 14 1/2″ fabric for back of mini quilt
- 2- 2 1/4″ X WOF fabric strips for binding
Assemble the Embroidered Mini Quilt
- Prepare your embroidery and cut down to 8 1/2″ (W) X 10 1/2″ (H)
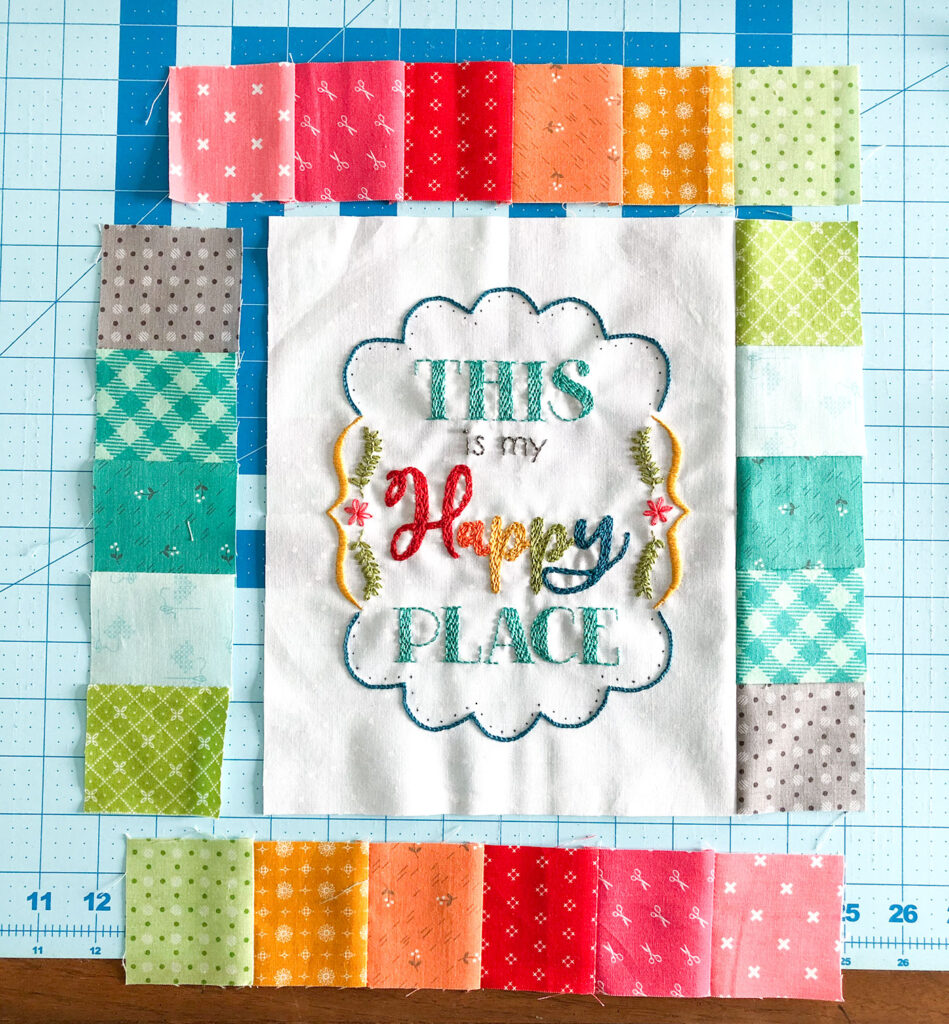
- Arrange your border squares as desired and sew into 2 groups of six (top and bottom) and 2 groups of 5 (sides).
- Next, sew the two side border strips to either side of your embroidery. Press the seam allowance toward the border.
- Then, sew the top and bottom border strips to the mini quilt. Again, press seam allowance toward the border.
- Add fusible fleece or batting and backing fabric. *one note: as I was using white fabric for my embroidery, I didn’t want the threads between the French knots in the embroidery to be visible. So, after adding the fusible fleece I stitched the French knots, then I added the backing fabric.
- Quilt the mini quilt as desired. Bind.
I do hope you will follow me over on Instagram for more fun happy projects. You can also sign up for my newsletter below to get updates, links, tips and discounts. And as always- Happy Stitching, friends! Amy


learn how to stitch a Layered Back Stitch with a video tutorial
May 18, 2021 at 8:34 pm[…] You can see how much texture this stitch adds to the text in this colorful and fun mini quilt. You can see all the details on this project in this post here. […]