I love projects that let me use up scraps and create something useful from left over bits. This Quilt as you go tutorial will show you how to sew scraps to batting to create a new piece of quilted fabric that is perfect for mug rugs, pouches or even tote bags or pillows.

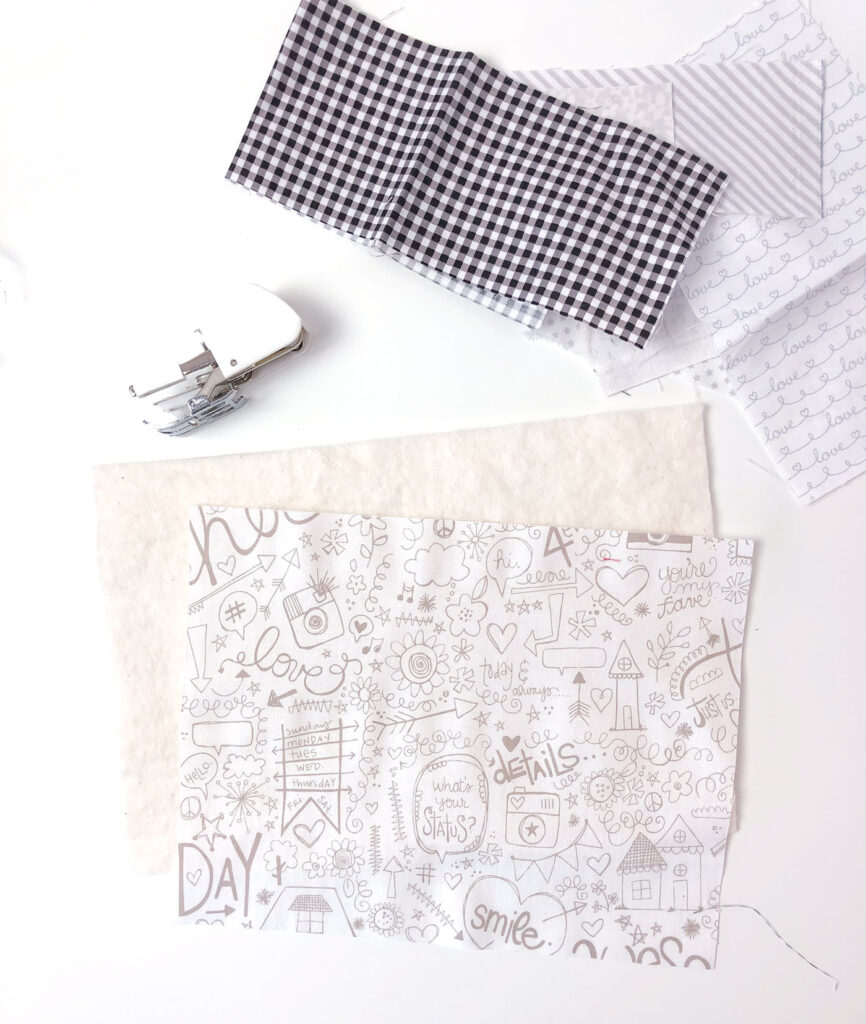
Depending on what you are using your quilted fabric for will determine what kinds of fabric you select. In this example I am creating backgrounds for raw edge applique, so I chose low volume fabrics for my quilted fabric. If you are making a pouch or pillow, you may want more vibrant or colorful fabrics.
Quilt as you Go Tutorial
Supplies
- piece of natural fiber quilt batting- cotton or bamboo works well- you will want it at least 1-2″ bigger than the final piece you will need for your project. For example- this mug rug measures 6″ X 9″ finished, so I am using a piece of batting 7″ X 10″.
- A piece of backing fabric the same size as the batting
- various scraps of fabric in the colors of your choice
- I recommend a walking foot for your sewing machine, but it’s not absolutely necessary
Prepare your quilt sandwich
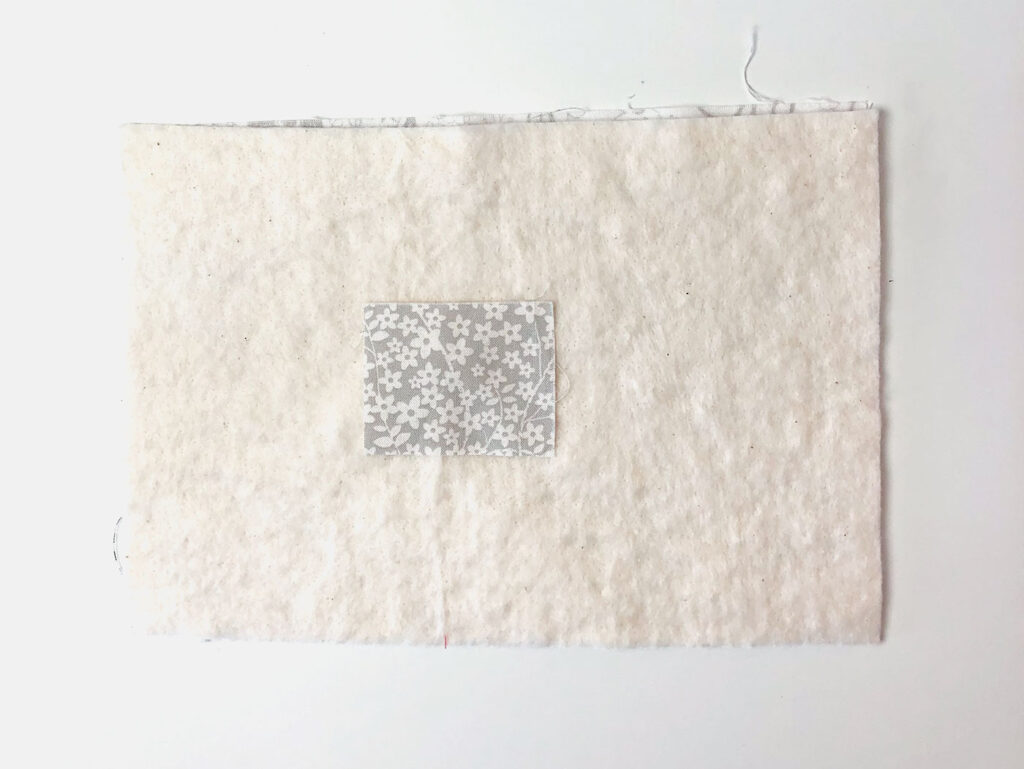
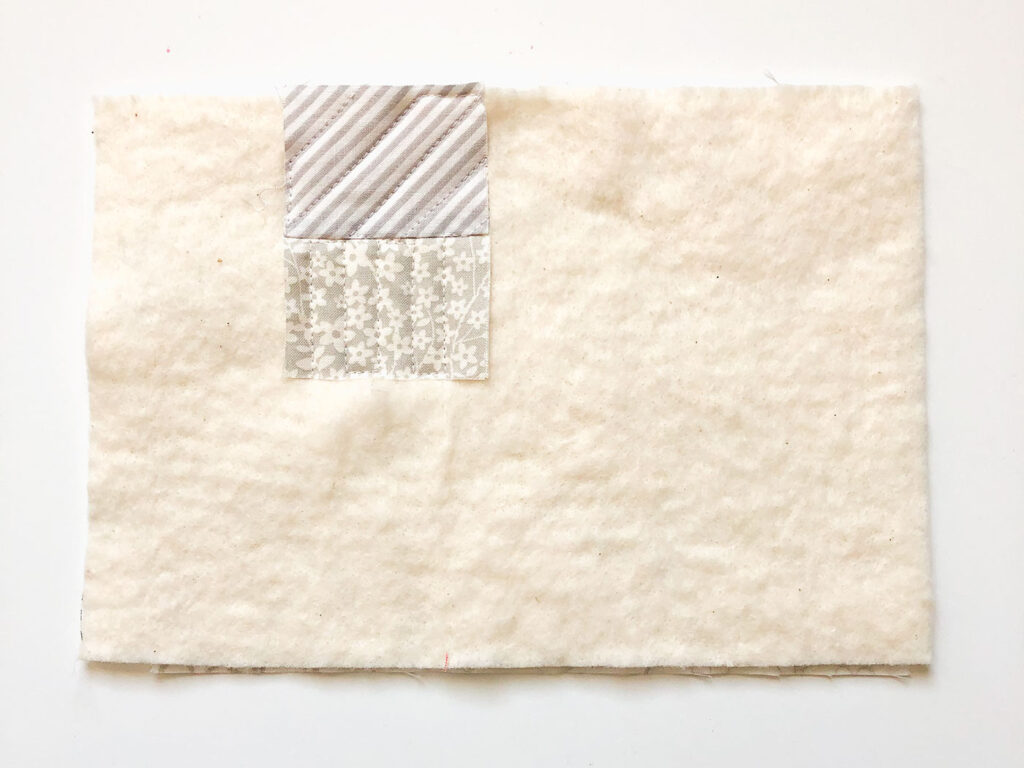
- Place your backing fabric with the wrong side toward the batting, then place both pieces with the batting side up facing you. *note: you may want to baste your backing fabric to the batting depending on the size of batting you are working with. For this small project it’s not really necessary, but if you are making a pillow or large piece, basting them with basting spray or basting stitching would be wise.
- Set your first piece of fabric right side up on your batting anywhere you would like.
- Some notes on fabric pieces:
- The size of your pieces is totally optional, but I recommend using pieces that are on scale with your project. Smaller projects have more interest with smaller fabric pieces.
- If you want to add your fabric in a specific order, this will help determine where you start adding your pieces.
- Some notes on fabric pieces:
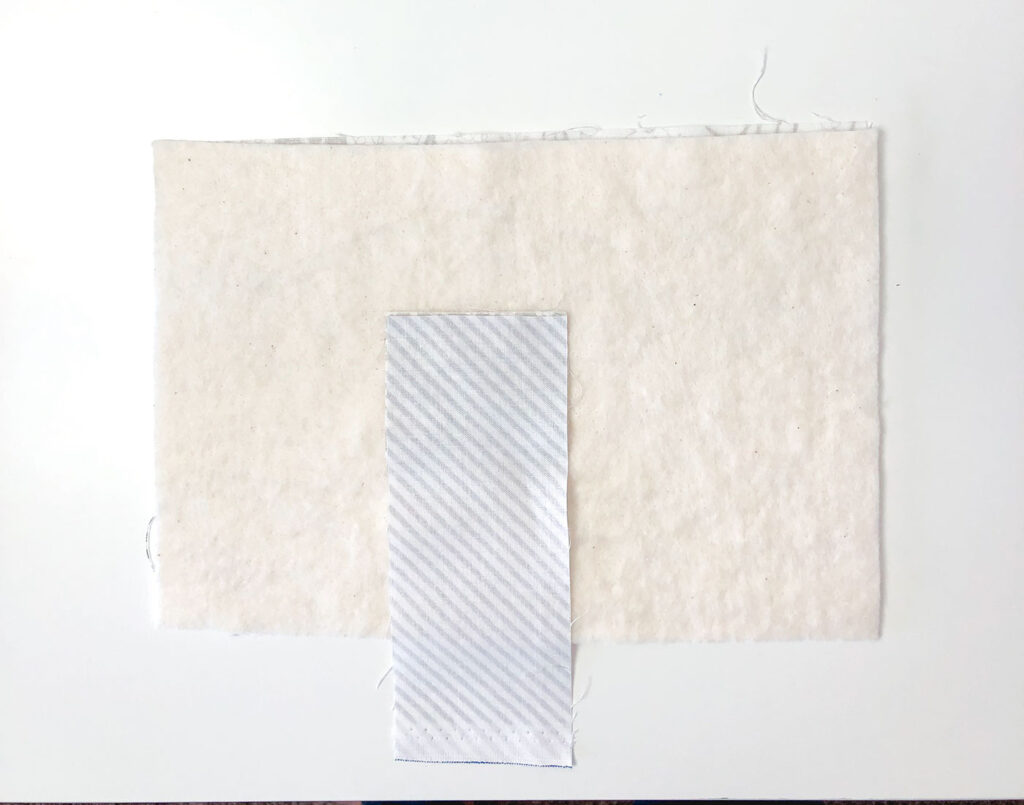
- Place your second piece of fabric right side down on the first piece of fabric. *note: the fabric should be the same width as the side you are lining it up with, trim your fabric if necessary.
- Sew along the line where you matched up the fabric using a 1/4″ seam allowance.
- Press the second piece of fabric away from the first piece of fabric. *This is where it is important to use a piece of batting with natural materials so you don’t melt it.
- If needed trim any fabric that extends beyond the batting.
Add quilting stitches
- Add quilting stitches to both fabric pieces. I like to vary the quilting for each fabric piece, but you do not have to do that.
Finish creating your Quilt As you Go fabric
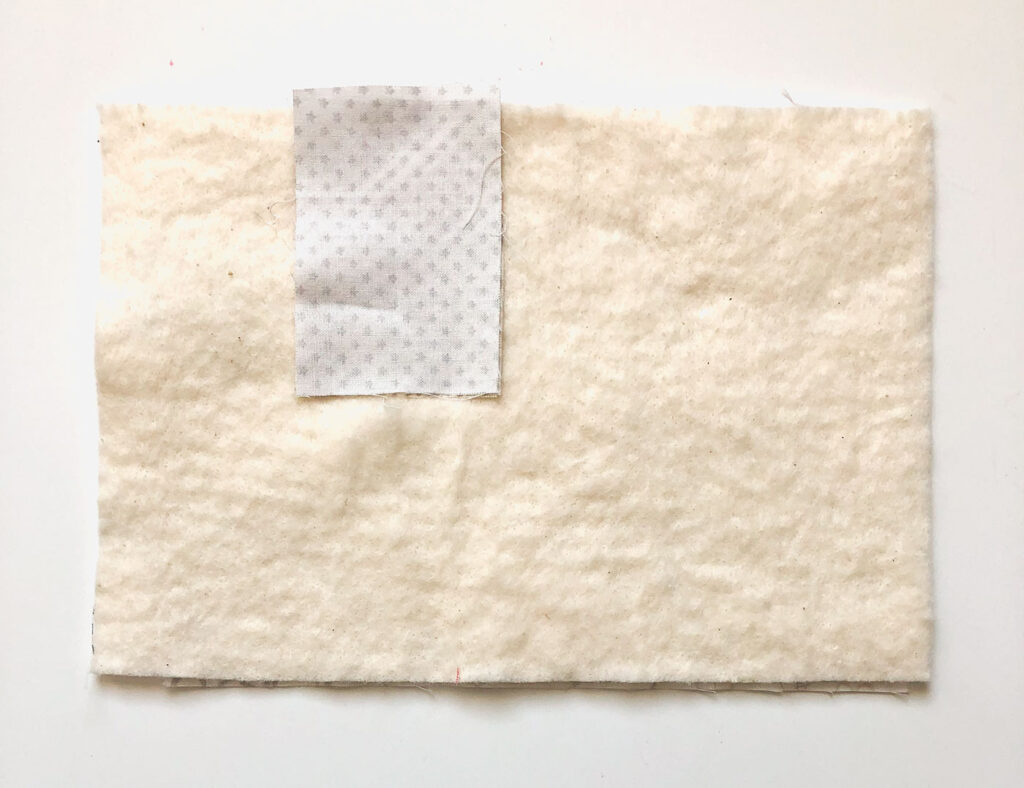
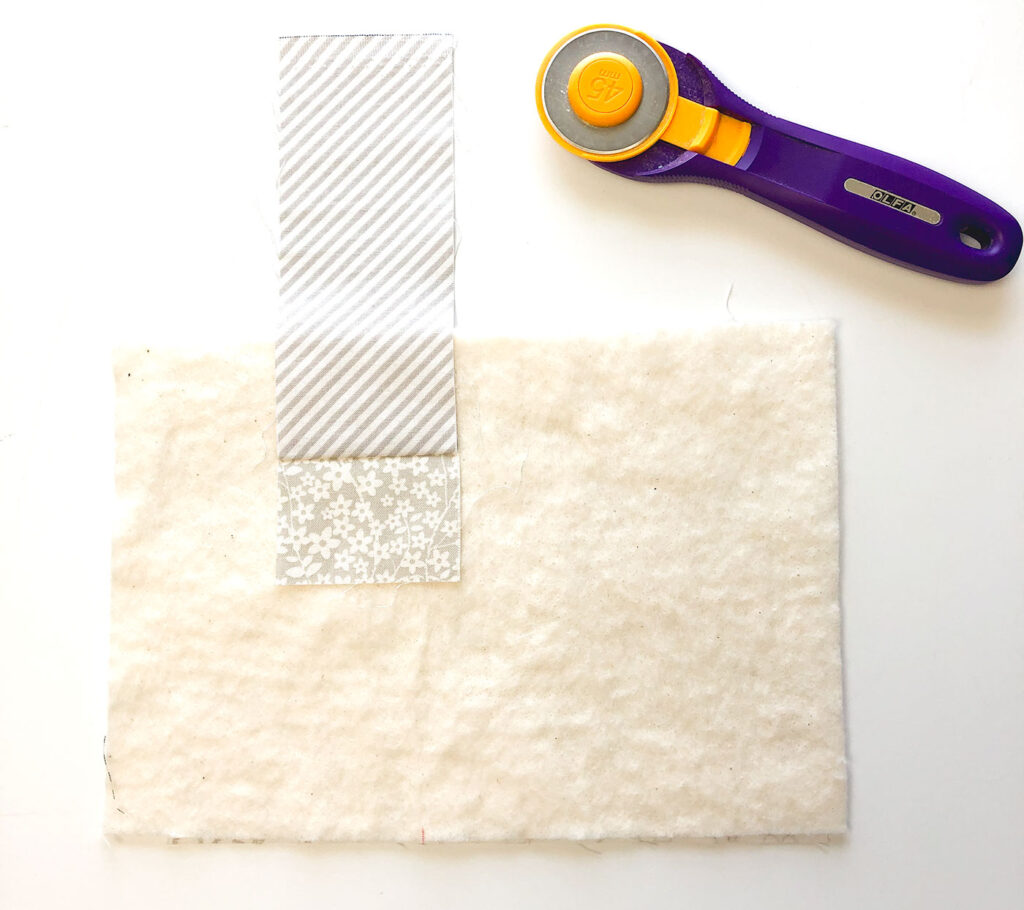
- Add a third piece of fabric. Again, it should be the same length as the edge of fabric you are covering.
- You can add this piece of fabric to any side of your quilted fabrics.
- Place your piece of fabric right side down, lining it up with the edge of the quilted fabrics.
- Sew down the edge using a 1/4″ seam allowance.
- Press this piece away from the quilted pieces and add your quilting stitches.
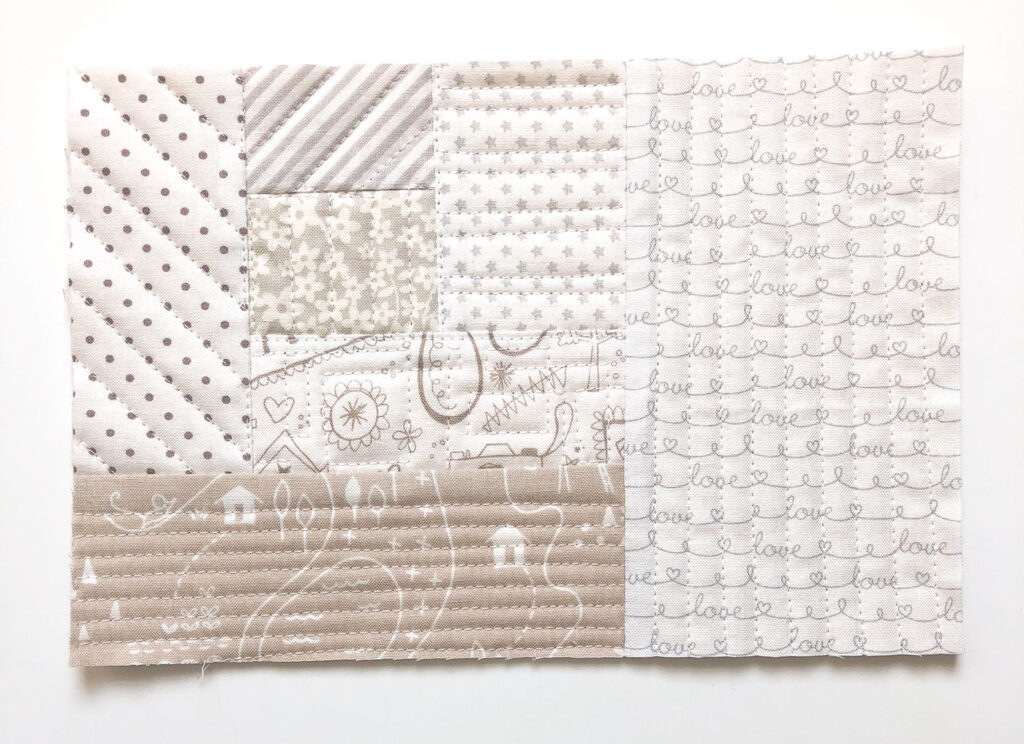
- Keep adding fabric pieces until your entire batting piece is covered with fabric.
- Trim up your quilted fabric to the size needed for your project.

You can find the pattern for this mini rainbow on my blog. I have a Valentine version of a mug rug also available in a post I created for The Polkadot Chair blog. Mug rugs are nice projects because they are quick and easy to sew and don’t take a lot of fabric or time.
What kinds of Quilt As You Go projects are you going to tackle first?
I am thinking I want to make a zipper pouch using some quilted panels, something like this color block pouch, or a notebook cover would look amazing with quilted fabric panels!
Happy sewing my friends! xoxo, Amy


Patriotic US Flag Mini Quilt | Diary of a Quilter - a quilt blog
May 18, 2020 at 10:45 am[…] For the third patriotic mug rug, I marked 2 ½” in on each side and then used a scrappy quilt as you go method to create the center panel. Next, I added strips of red and blue to the sides. You can find the tutorial for the scrappy quilt as you go method here. […]