
It’s my turn to post as part of Gwen’s Haul Out The Holly event. There have been some amazing projects done already, and I feel very lucky to be a part of it again this year. If you are visiting from Gwenny Penny– Welcome! I am delighted to have you. 🙂
It’s probably no surprise to any of you who come here often, that the project I chose was a pillow. 🙂 I love pillows because they are fast, inexpensive and fun to try new techniques on.
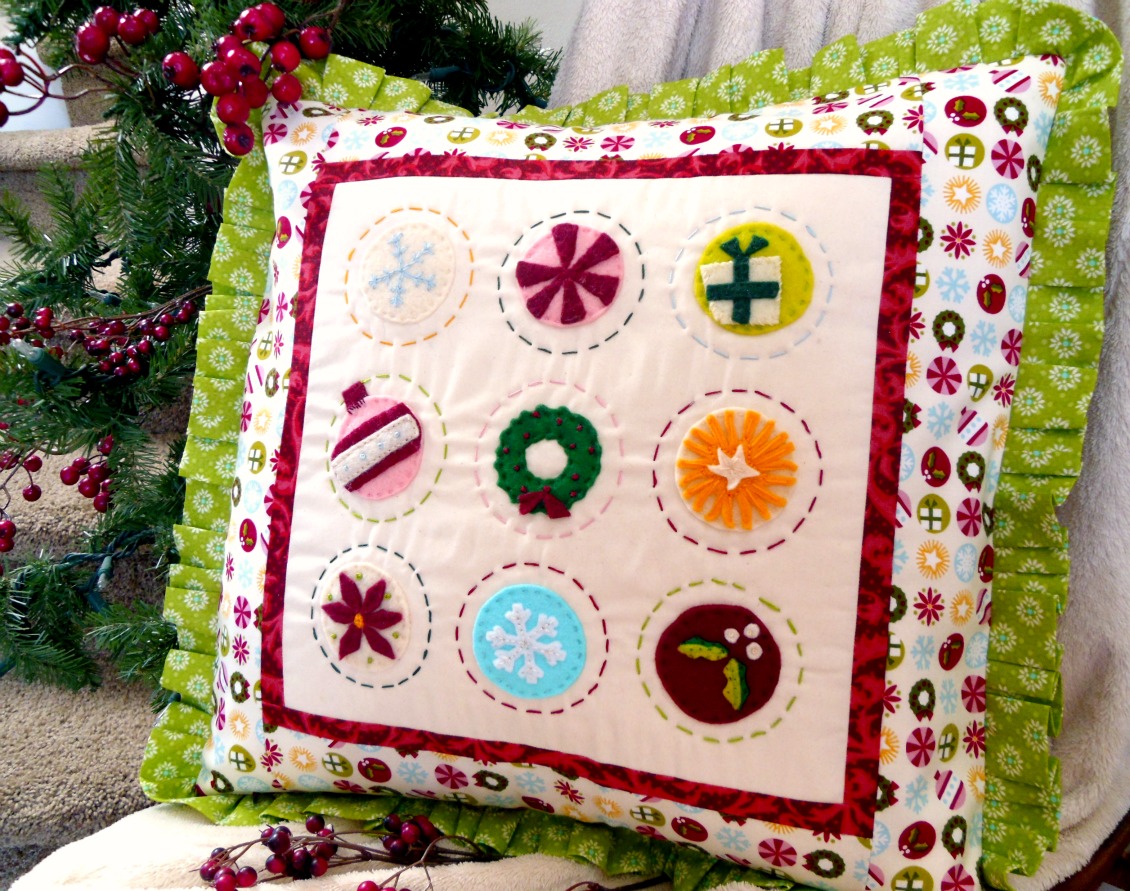
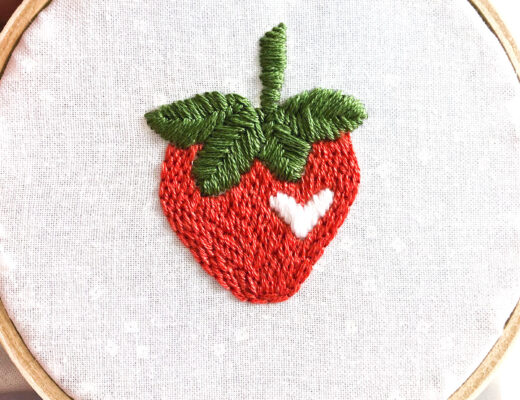
Initially I planned to create a grid using buttons with a cute Christmas fabric border. In the search for the right fabric, I found this fat quarter I had purchased and suddenly a new plan was hatched. I decided to make my grid using felt embellishments pulled from the fabric itself. (the fabric is Ornaments in White in the Sleigh Ride collection by Caleb Gray) Since your fabric is likely different from the one I chose, I’m not going to go into specifics about how I created each embellishment, but I will show you close ups of a few of them:

I did a lot of hand stitching on them, but you could easily use glue instead. (It would be MUCH faster)
Once your embellishments are made, we’re ready to start creating the pillow. For this 16″ pillow I used 3 fat quarters and a scrap of muslin that was 10 1/2″ square. You will also need some quilt batting cut 16 1/2″ if you want the quilted look I created.
First off let’s cut the fabric:
10 1/2″X10 1/2″ square of muslin, Red fabric border: (2) 1″X10 1/2″, (2) 1″ X 11 1/2″; Main fabric: (2) 3″X 11 1/2″, (2) 3″ X 16 1/2″
Now let’s get sewing:

Take the two short red border strips and sew them on opposite sides of the muslin square. (through the whole project we will be using a 1/4″ seam allowance)
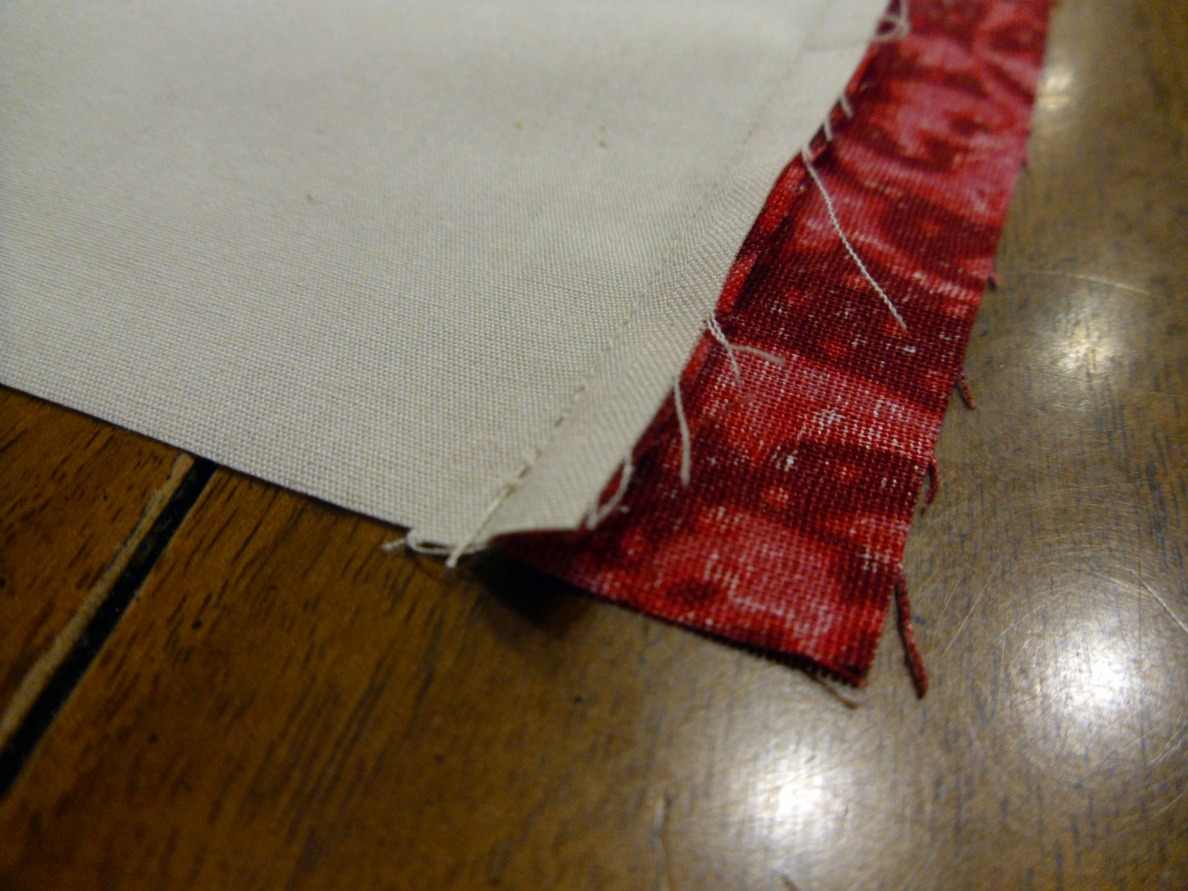
Press the seams toward the red border. (this fabric strip is thin so you will want to make sure you don’t stretch the fabric)

Take the longer red strips and pin to the remaining two sides. Sew down.
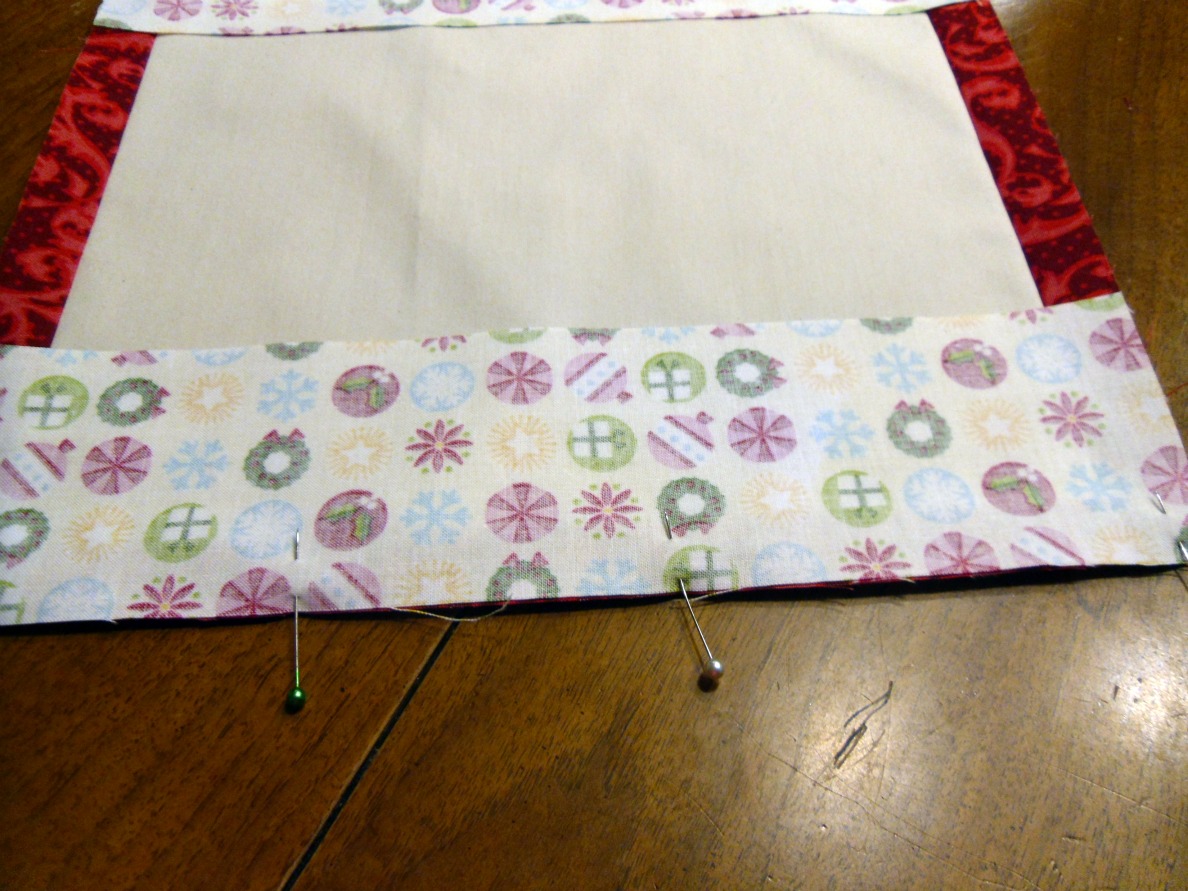

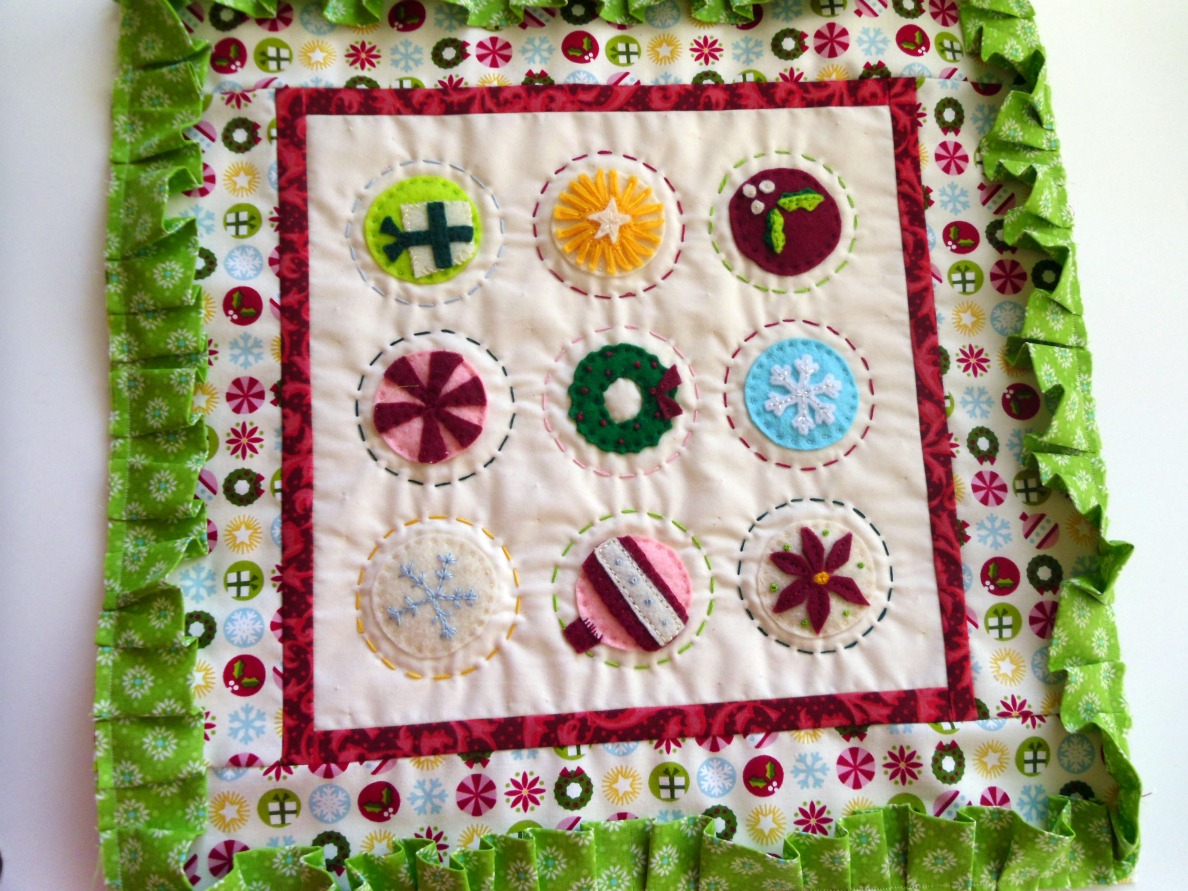
Repeat with the accent fabric. Again press the seam allowance toward the red border. Add remaining sides and you have a finished front. Well, almost. Now we need to add the accents. Typically I just eyeball spacing on things, but I figured you might not be that laid back. 😉 The center square measures 10″ so I measured the center point and went out from there. I knew I wanted to hand quilt the border around the embellishments, so I wanted to go ahead and draw my circles for that before I added the embellishments (I used a water soluble marker).
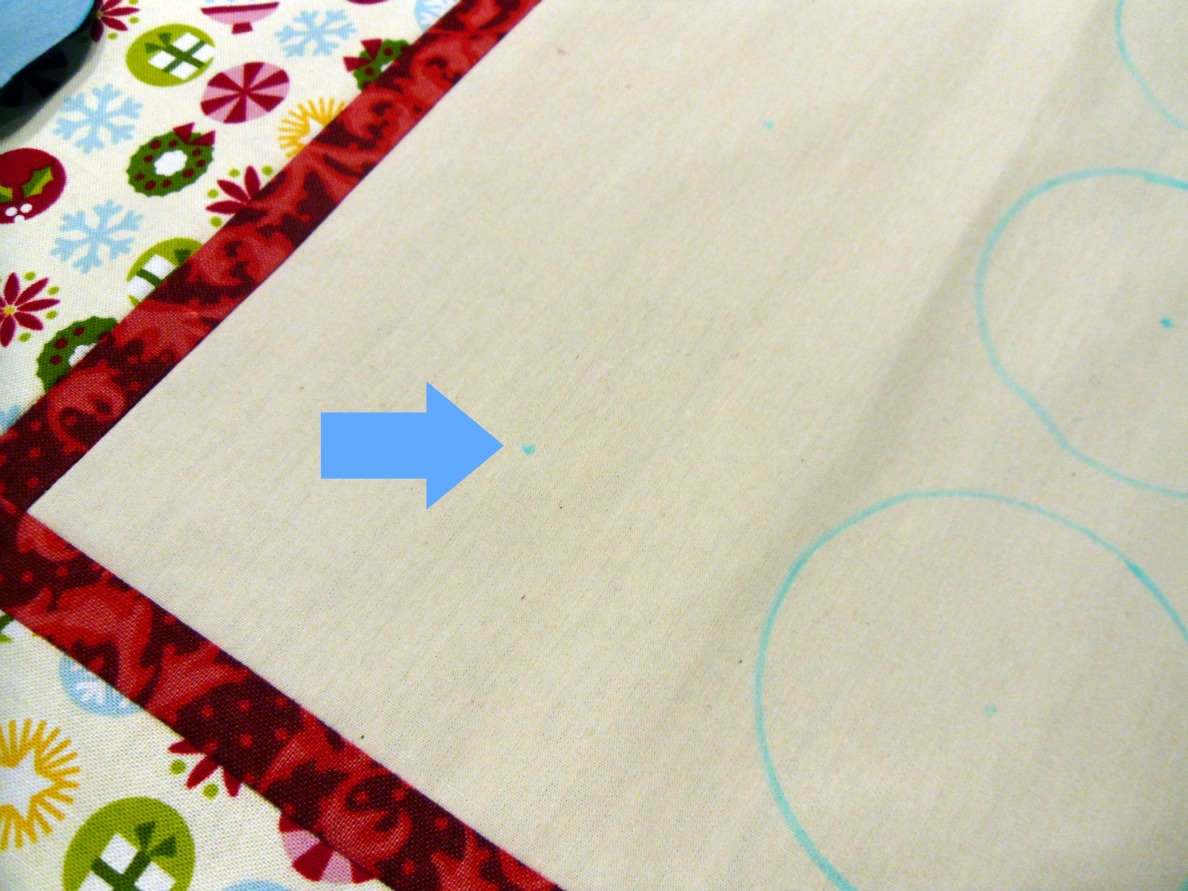
You can see the arrow pointing to the center dot where an embellishment will be placed. To make sure the traced circle was centered, I took a paper circle the size I wanted, folded it in quarters and punched a hole in the center.

I used that to find the center dot and traced around the template.

Here’s the front all ready for embellishments. I wanted the embellishments to have a quilted look to them so I put the batting behind the front panel before I added them. I used embroidery floss and stitched them down around the border using 2 strands. For the hand quilting border I used 4 strands of floss.

I didn’t have a large embroidery hoop (note to self, BUY ONE!) so I just basted the dickens out of the front panel before I did the stitching. Once the embellishments and quilting are done- we need RUFFLES!
Take your ruffle fabric and cut it into 3″ strips. (I used a fat quarter so I ended up with 6 strips)
Sew all the ends of the strips together forming one large circle, press the seams open and press the whole strip in half along the length. Fold in quarters and finger press each fold- mark with a pin.

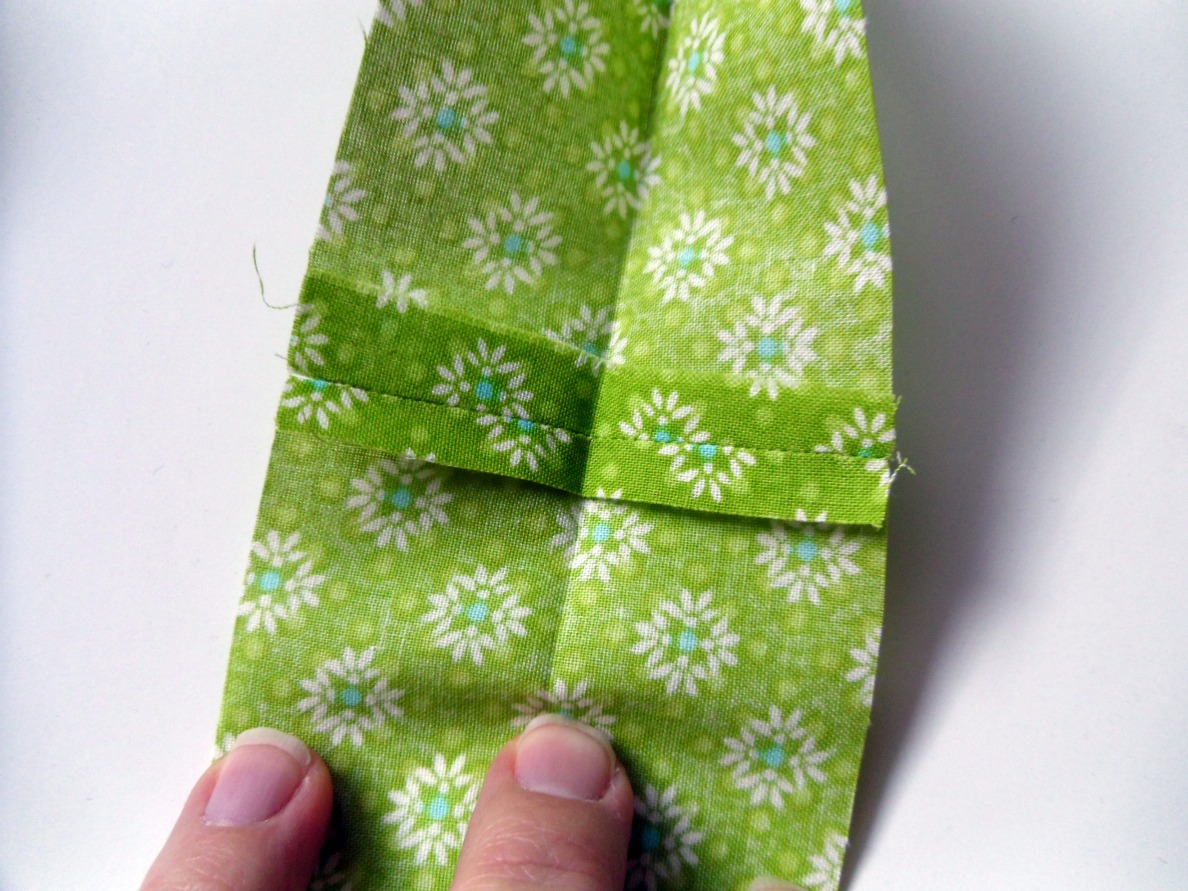
(make sure that there aren’t seams at the folds, if there are, adjust the folds a bit so the seams fall along the edges) At this point you can sew a running stitch along the raw edges and ruffle the fabric, but I decided I wanted the look of more of a pleat than a ruffle so I just chose to fold under pleats as I sewed the fabric down along the edges. (use a scant 1/4″ seam to do this)
All that’s left is the back. I chose to use the left over pieces of my remaining fat quarters, so I have two different panels. Cut each panel to 16 1/2″ long. Finish one long side of both panels with a 1/2″ hem.

Place the panel you want on the OUTSIDE – right side down on the front panel, line up the un-hemmed side.

Place the remaining panel down, lining up all the edges. Sew around all four sides using a generous 1/4″ seam allowance. All that’s left is clipping the corners and turning right side out. At some point you will need to spray the front with water to dissolve the pen markings (don’t soak the fabric, just a light spritz will do). Stuff with a pillow form and step back and enjoy.
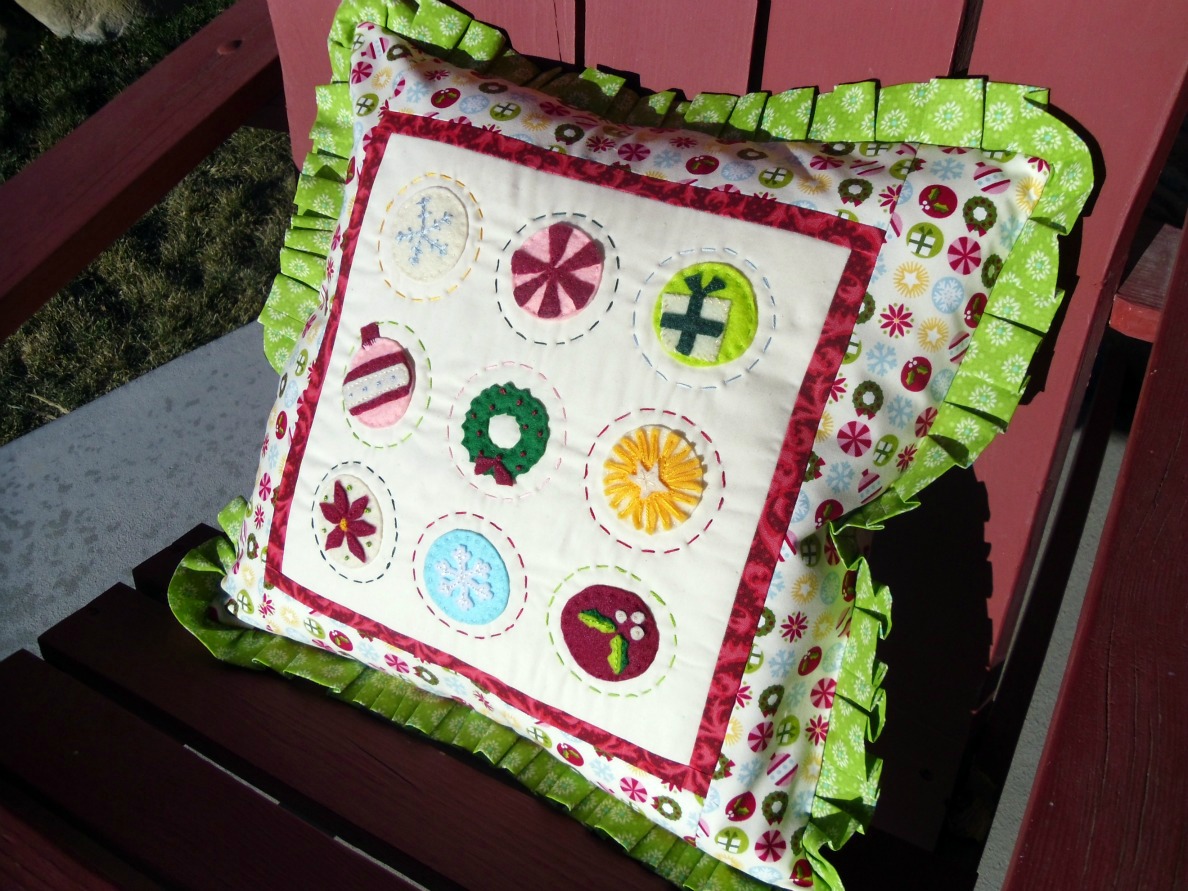

And now you’re set to have a Jolly Holiday!
Thanks again, Gwen, for having me in this year’s event. I can’t wait to see what the rest of the celebration holds.
XOXO,
Amy
Linked up to Friday Flair Link Party at Whipperberry


Kara
December 8, 2011 at 2:24 pmOh my gosh, this is gorgeous Amy! Love how you took elements from the fabric and used them as embellishments. Perfect!
Simone de Klerk
December 8, 2011 at 2:35 pmVery pretty! Love it. Thanks so much for the tutrial.
Gwen @ Gwenny Penny
December 8, 2011 at 6:26 pmI really do love this, Amy. A lot of love went into it 🙂 The details are beautiful. You did an amazing job. And I love the tip for finding the center with your circle template! Thanks for joining in the Haul Out the Holly fun 🙂
Michele Pacey
December 8, 2011 at 9:00 pmVery clever of you to mirror the details of the fabric in the center. It makes such a pretty pillow Amy!
Karen
December 8, 2011 at 9:35 pmVery cute! One more project down… How many to go??
Laura at Ms. Smartie Pants
December 8, 2011 at 11:13 pmWhat a great pillow! Such a cute idea. If only my lab didn't pick up the pillows off of my couch.
chris
December 8, 2011 at 11:17 pmThis is so fun Amy! Great job.
Amy @ Increasingly Domestic
December 9, 2011 at 2:32 amLove the pillow Amy:)
KJ@letsgoflyakite
December 9, 2011 at 3:03 amYour pillow is gorgeous. A real heirloom piece, great job on this.
elenareviews
December 13, 2011 at 9:21 amI like this pillow so much! So much fun creating it.
Naturally Carol
December 19, 2011 at 9:22 pmOh..and I love your new pillow..fantastic work!
Naturally Carol
December 19, 2011 at 9:22 pmHi Amy..Merry Christmas to you and your beautiful family! I'm off to Taiwan very shortly to catch up with my eldest son and attend his wedding with his beautiful girl..Amy! So now we'll have an Amy in the family as well..hehe. I'll be back in late January..until then, have a wonderful Christmas and New Year.