This is a sponsored conversation written by me on behalf of Cricut. The opinions and text are all mine.
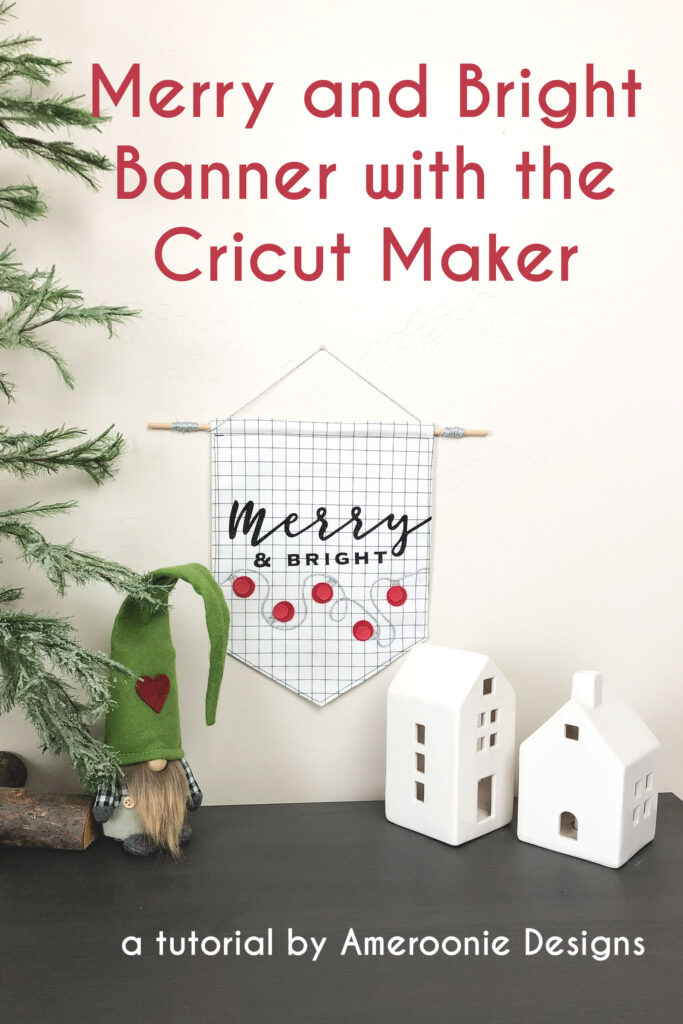
You guys know how much I LOVE my Cricut Maker! Today, I’m going to share with you 5 reasons why I love it as well as walk you through how to make this fun Merry and Bright Christmas banner with your Cricut Maker!
5 reasons I love my Cricut Maker
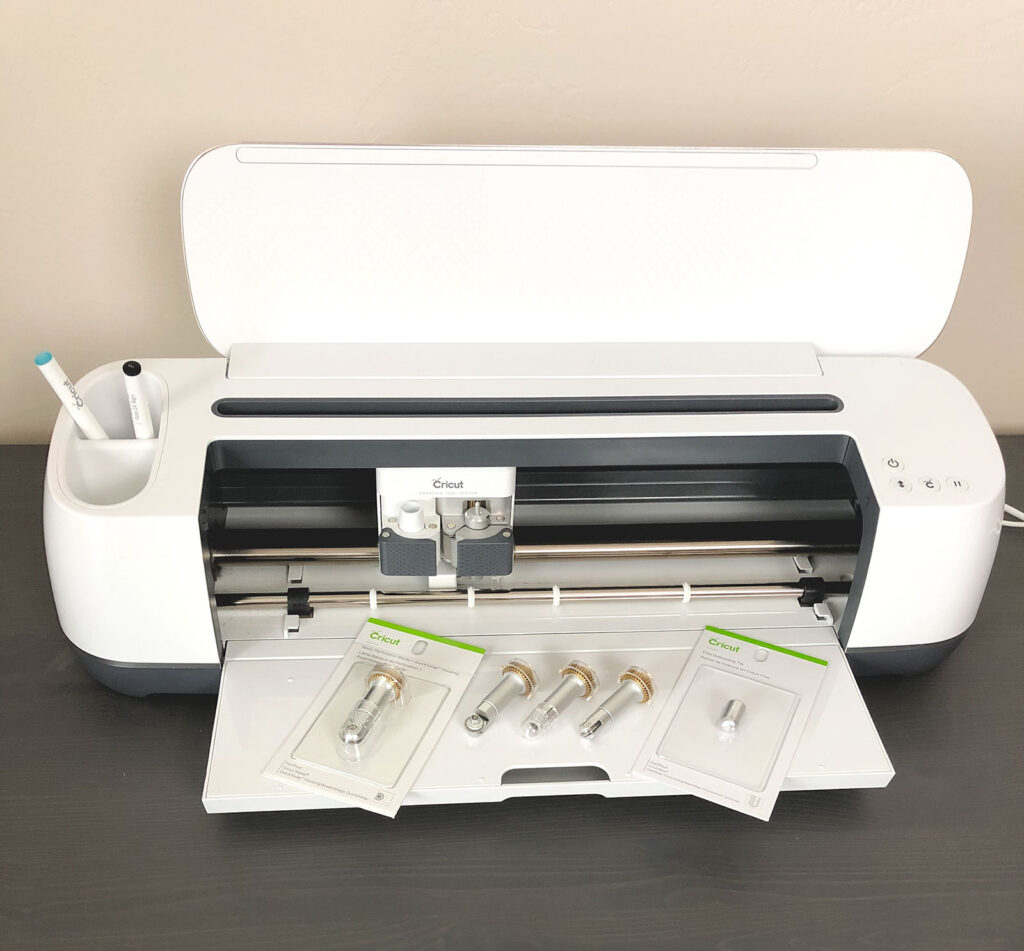
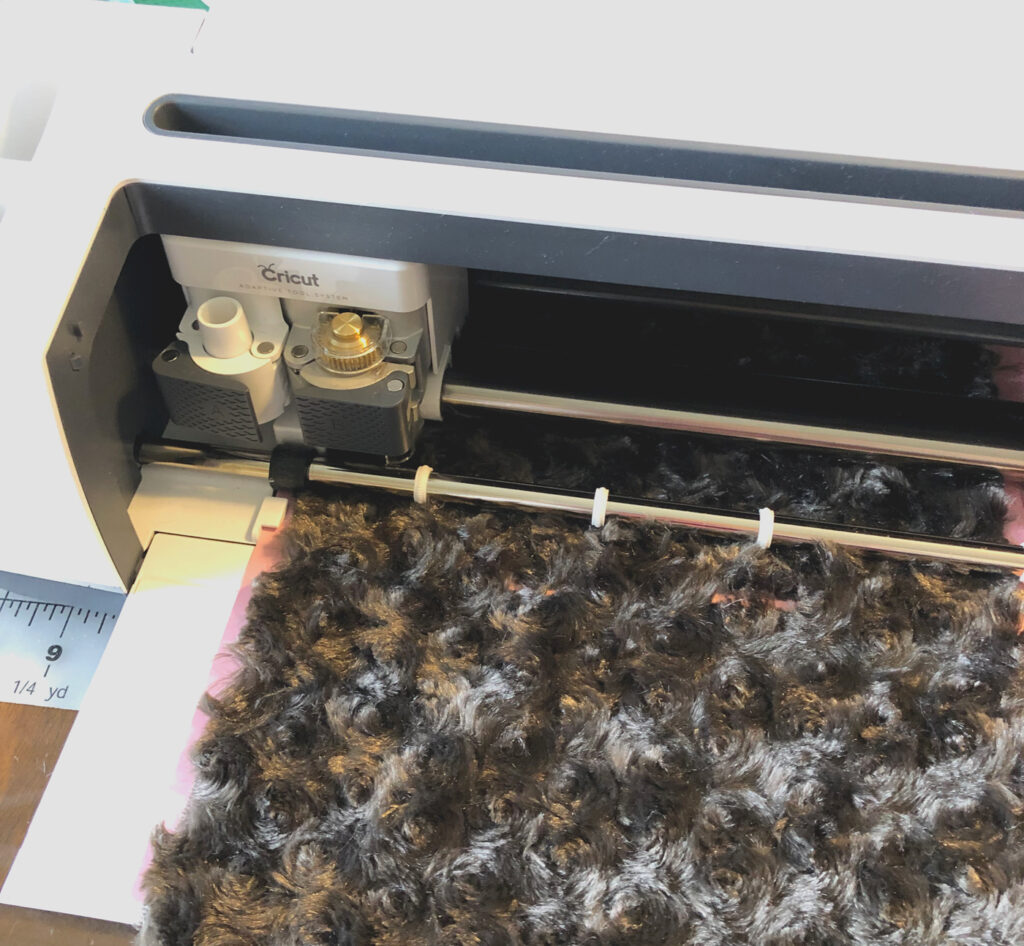
The first reason I love the Cricut Maker is the adaptive tool system. Between the knife blade, rotary blade, scoring tool and more you are sure to have just what you need for whatever project you want to create.
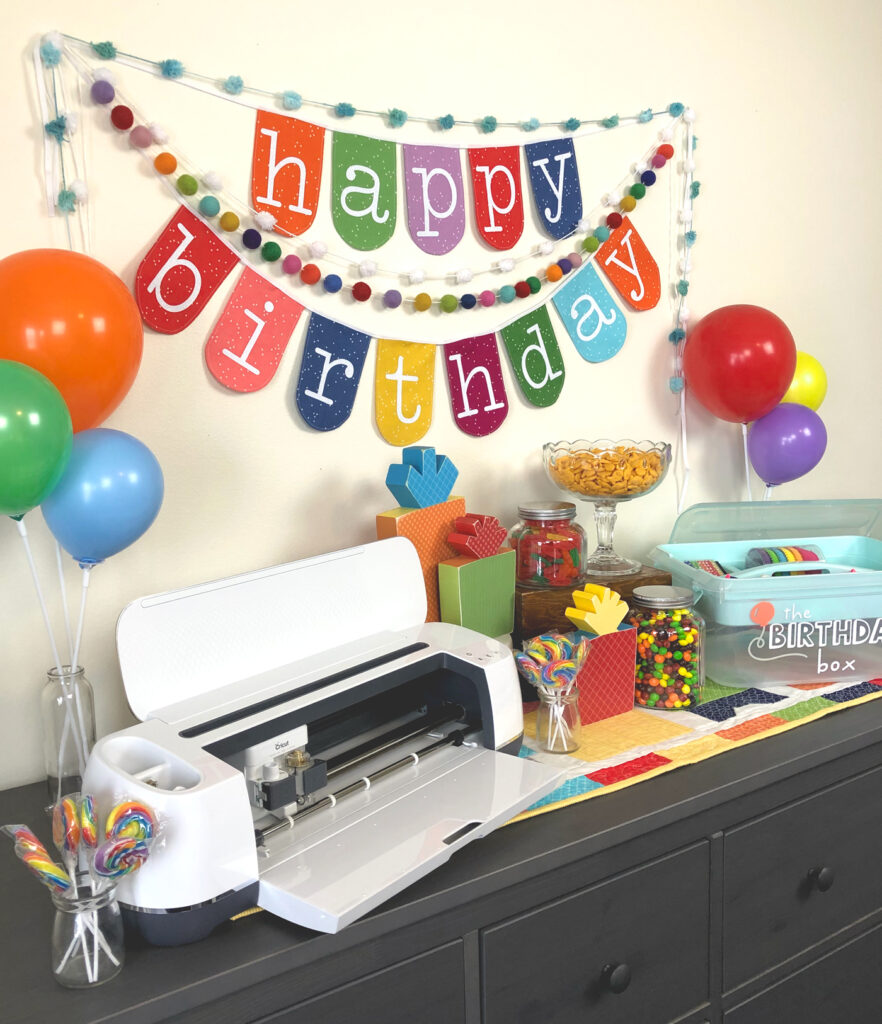
My very favorite tool for the Cricut Maker though is far and away the rotary blade. Precise cuts of fabric that requires no backing makes curved lines, multiple cuts and exact measurements all possible. It will change your sewing life which is why it is the next reason I love my Cricut Maker! Birthday banner tutorial can be found here.
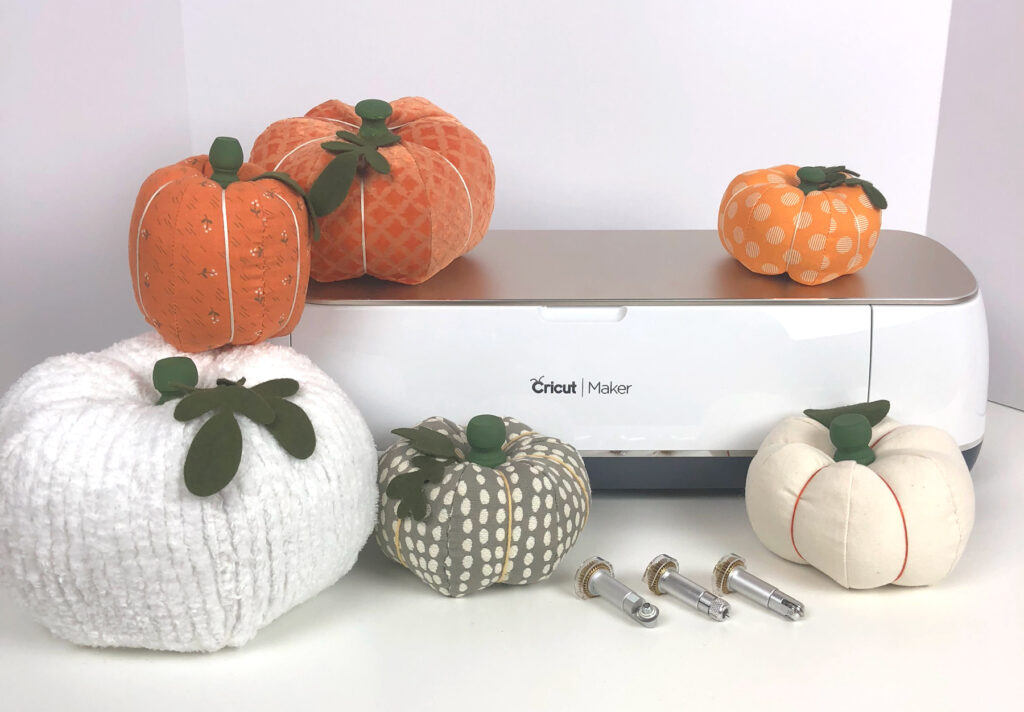
With more pressure than ever before, the Cricut Maker can cut more than just cotton! Everything from chenille to cut velvet to very delicate fabrics will be easily cut by your rotary blade. You can find my tutorial for these fabric pumpkins here.
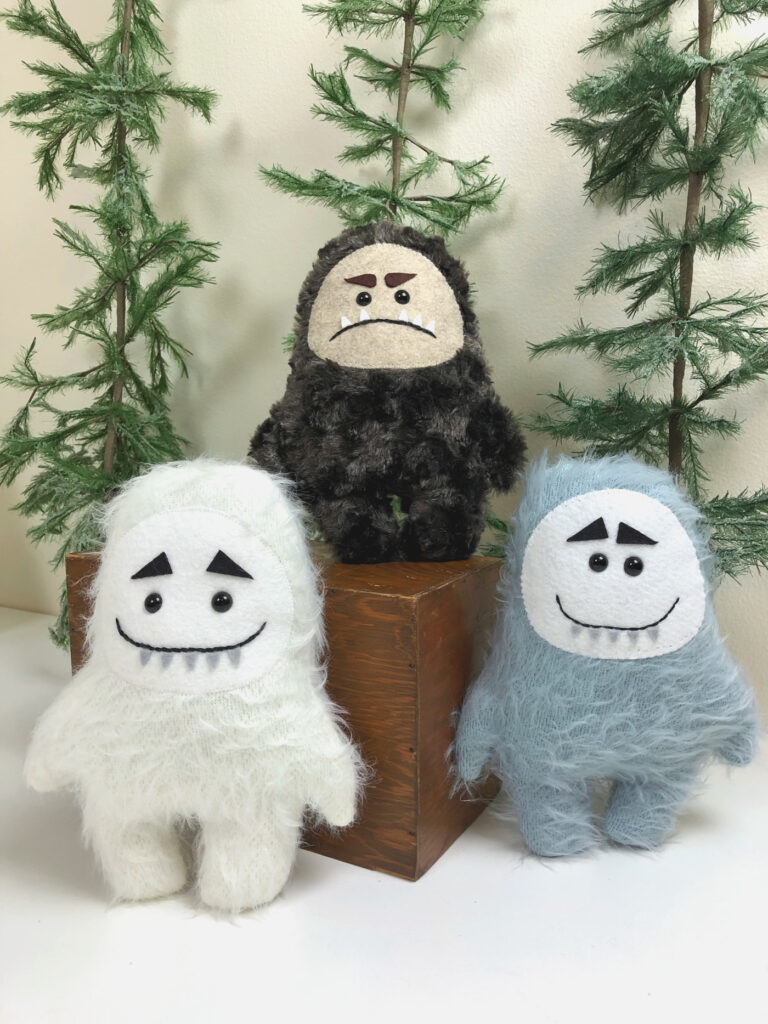
The next reason I love the Cricut Maker? The awesome sewing patterns available. Some are free, some require Cricut Access and some are paid, but there are so many patterns to choose from you are sure to find something you love. From quilts to stuffies to bags, they have ready to make patterns all set to get you sewing. You can read about my Yeti sewing adventures here. Another project I made with a Cricut Access pattern is these darling bunnies.
The final thing I love about my Cricut Maker is how I can easily cut all the parts of my project by simply swapping out the tools. This Christmas Banner project, for example, involves cutting cotton fabric, glitter Iron on vinyl and felt and the Cricut Maker handles all of it with ease.
Make a Merry and Bright Christmas Banner
Read through all directions before beginning. Seam allowances are 1/4″.
Supplies:
- Cricut Maker
- Design Space file
- cotton fabric (2- 9″ X 12″ rectangles)
- two shades of red felt
- black and silver glitter iron on vinyl
- silver twine
- fabric glue
- sewing machine and supplies
- wood dowel for hanging
Prepare Banner front
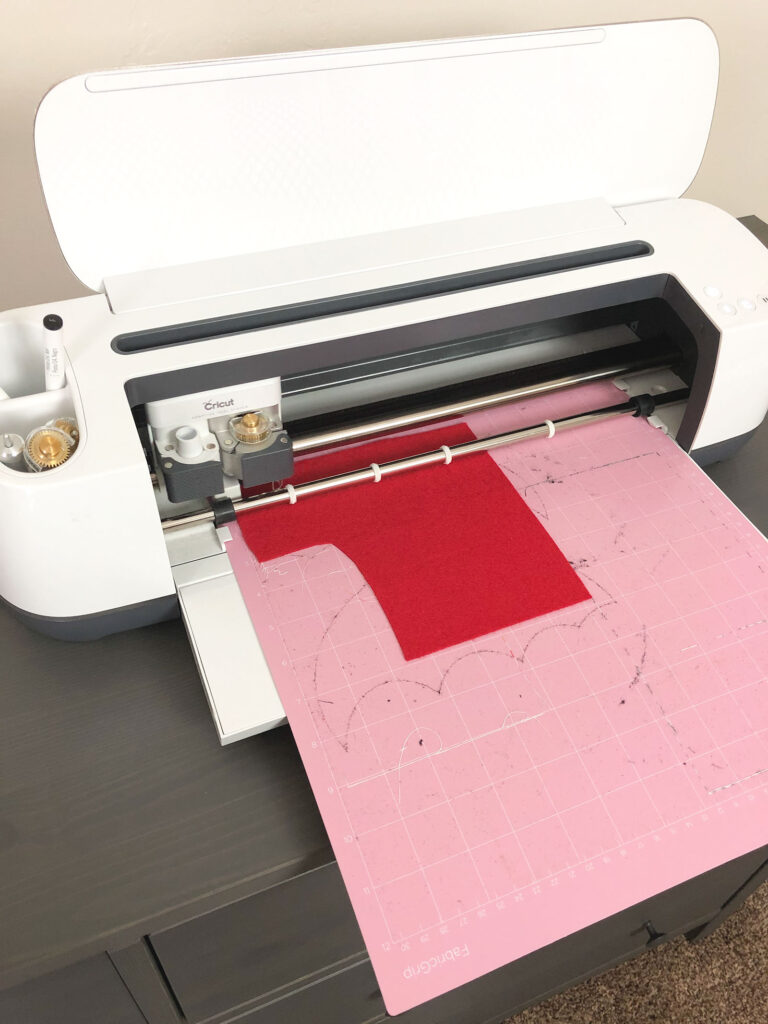
Cut out your fabric banner pieces, your glitter iron on vinyl and your felt pieces. Make sure to mirror your images for the vinyl. If you have a 12″ X 24″ fabric mat you can cut out your banner pieces in one cut.
Center your Merry and Bright sentiment on the front piece of your fabric banner. Fuse into place using your Cricut EasyPress 2 or iron.
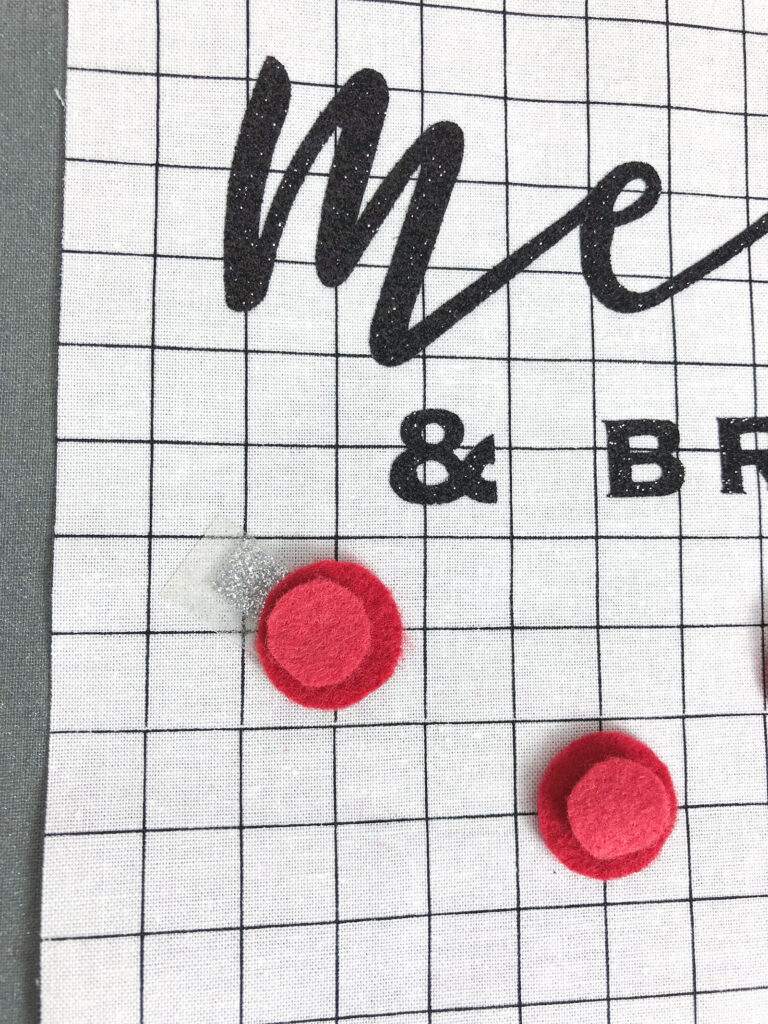
Position the felt circles where you want them to be and then slide the glitter iron on caps under each one. Remove the felt circles and fuse the caps in place- be sure to cover the iron on already in place.
Sew Banner together
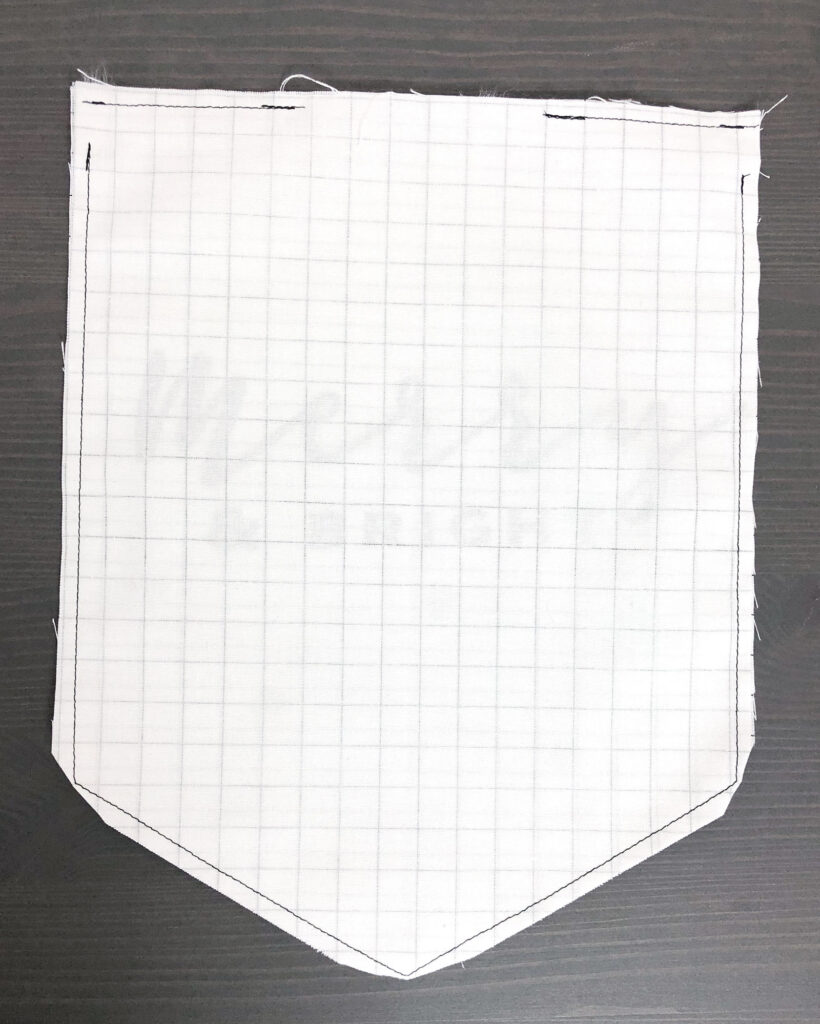
Place the two banner pieces right sides together. Sew across the top of the banner using a 1/4″ seam allowance. (I know the picture shows leaving the opening for turning on the top, but I suggest actually moving that opening to the side of the banner) Start 3/4″ down from the top corner of one side and sew around the bottom point up the second side stopping 3/4″ away from the top- leave a 3-4″ opening for turning on one side. Back stitch each time you begin and end your stitching.
Next, clip the corners on the bottom of the banner. Turn the banner right side out and press, making sure to turn under the seam allowance of the opening left for turning. Be careful to not touch the iron to the Glitter Iron On, use a press cloth or press from the back of the banner. Finally, top stitch across the top 1/2″ away from the top seam and then use an edge stitch to sew around the rest of the banner, making sure to close the opening for turning.
Finish Merry and Bright Banner
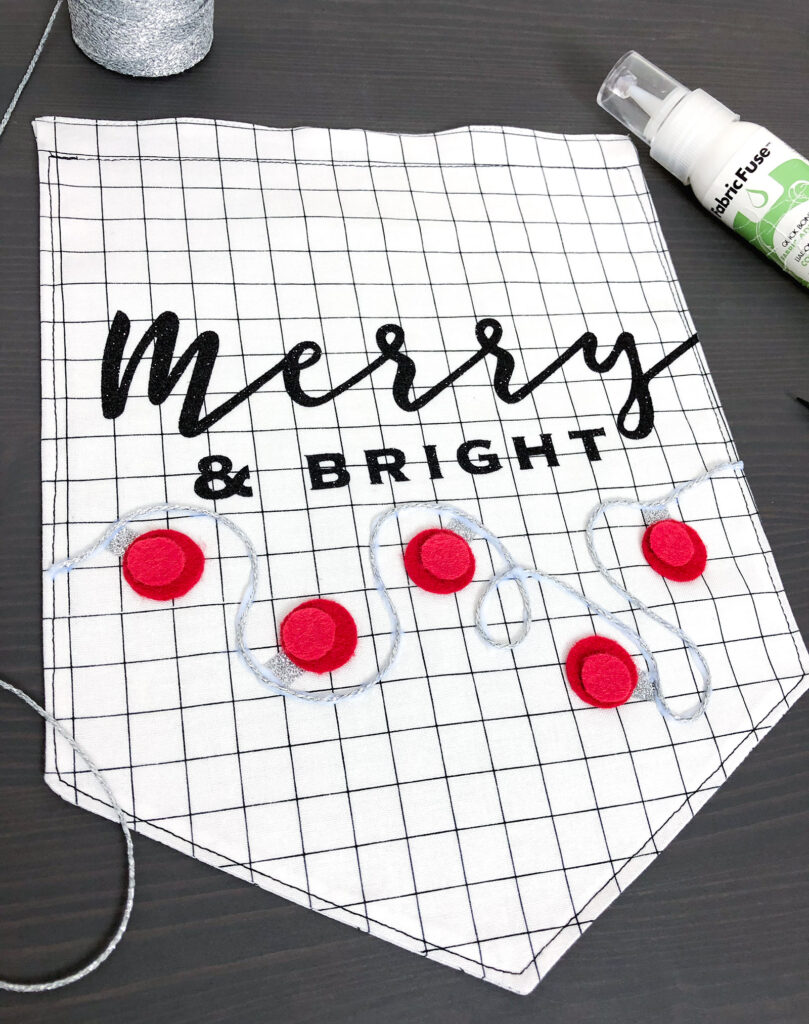
Use the fabric glue to glue the felt circles and the silver twine to the banner. Add a little bit of glue to the cut ends of the twine to prevent fraying. Next, allow to dry. To finish, slide a dowel through the top sleeve and tie more of your silver twine to the dowel for hanging.
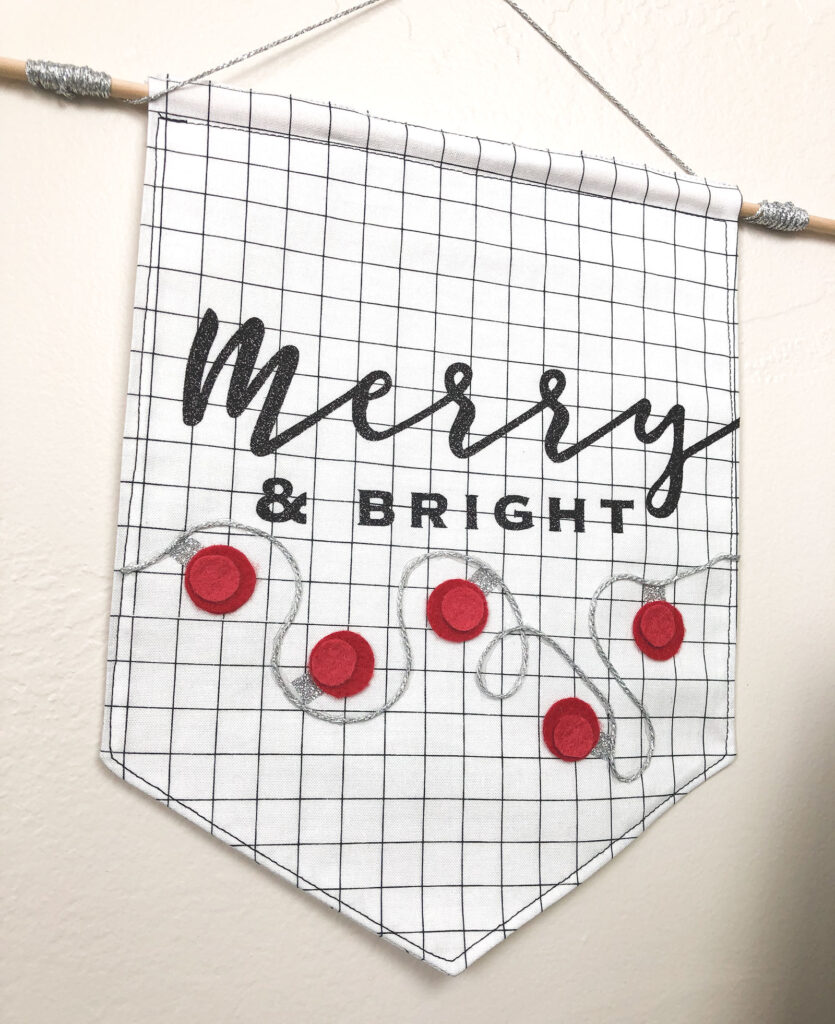
This simple, modern banner will be a beautiful addition to your holiday décor!
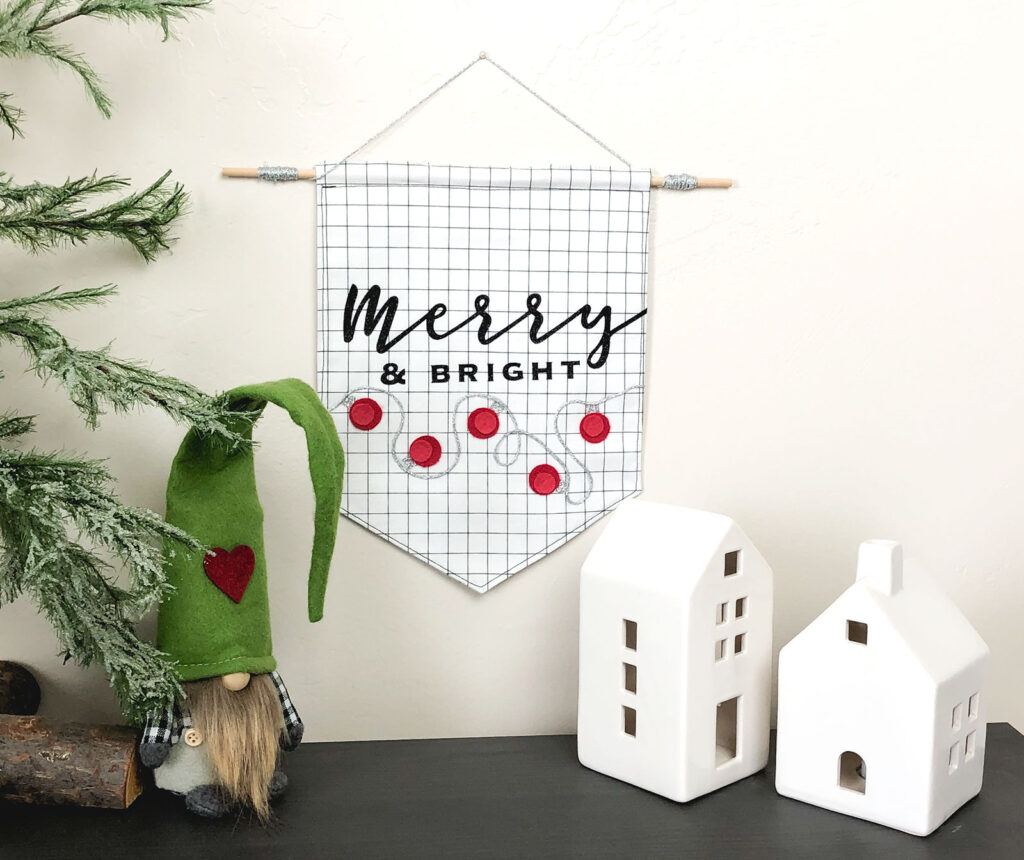
If you want to add even more handmade goodness to your holidays, you might like these simple stockings or go to this post for lots and lots of holiday inspiration for your Cricut Maker.


Christmas Fabric Lightbulb Garland Home Decor - Therm O Web
November 7, 2019 at 12:00 pm[…] for a couple more ideas to add a little something extra to your decor, you might like this simple Merry and Bright banner, or this Black and White shadow box if you don’t want to […]
Welcome Wall Banner DIY | Ameroonie Designs free pattern
November 22, 2019 at 12:54 pm[…] have a spot in my new home where I love to hang a little banner. I have made a few so far, this Merry and Bright one using my Cricut Maker, and this JOY one I sewed for the ThermoWeb blog as part of my work designing […]