The fabric for this post was provided by Riley Blake Designs for my participation in the Flower Market blog tour. The project and opinions are my own. This post also contains affiliate links to products I use where I may receive a small payment if a purchase is made at no additional cost to you.
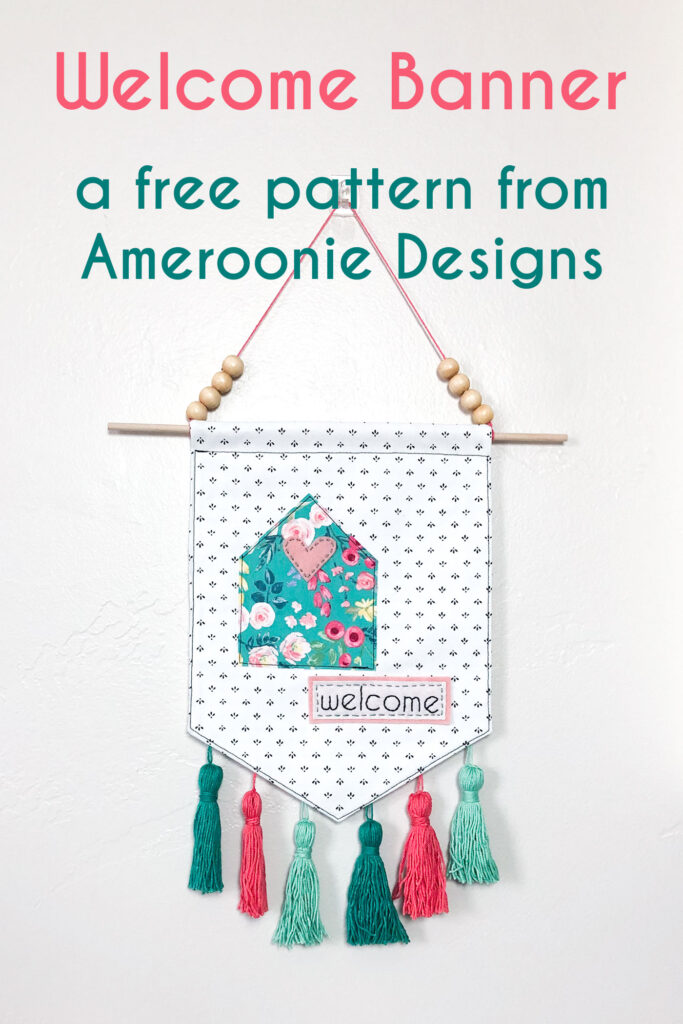
There is a spot in my new home where I love to hang a little banner. I have made a few so far, this Merry and Bright one using my Cricut Maker, and this JOY one I sewed for the ThermoWeb blog as part of my work designing for them. This time I wanted to make something a bit more generic that could hang for months at a time, so this pattern for a Welcome Wall Banner DIY was born. I love the fabrics in the Flower Market line by Riley Blake designs that I am using as part of the fabric blog tour.
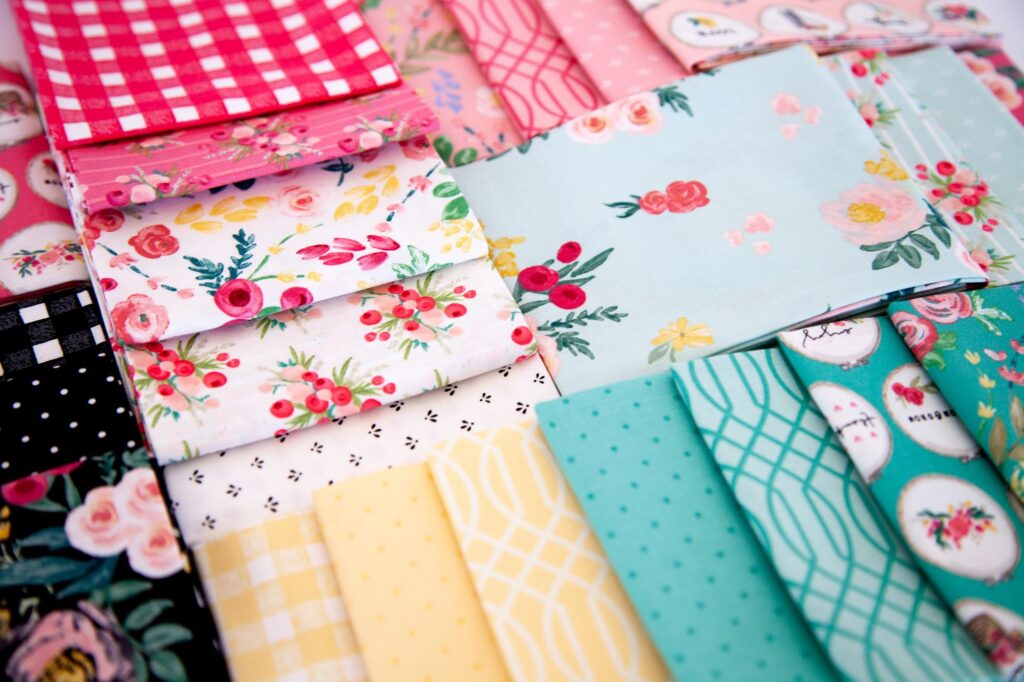
The lovely painted flowers, the fun coordinating prints and the hoops in this line all speak to me. I love the colors and how they pop with the black in this line. It’s all SO good! Now, let me show you how easy this banner is to sew up!
Welcome Wall Banner DIY

Supplies:
- Fabric- you will need a fat quarter of fabric for the banner and scraps for the cottage, also a small piece of a solid fabric to stitch the word Welcome on.
- Felt- small scraps to back the embroidery and for the heart
- light weight interfacing (optional)- If your banner or cottage fabric has a light colored background, it is a good idea to back you fabric with a light weight fusible interfacing to prevent shadowing
- Heat n bond lite– small piece for cottage
- Embroidery floss and needle to stitch “welcome” and to add the word and heart to the banner
- Pattern for cottage, heart, embroidery and optional tree
Sew Banner:
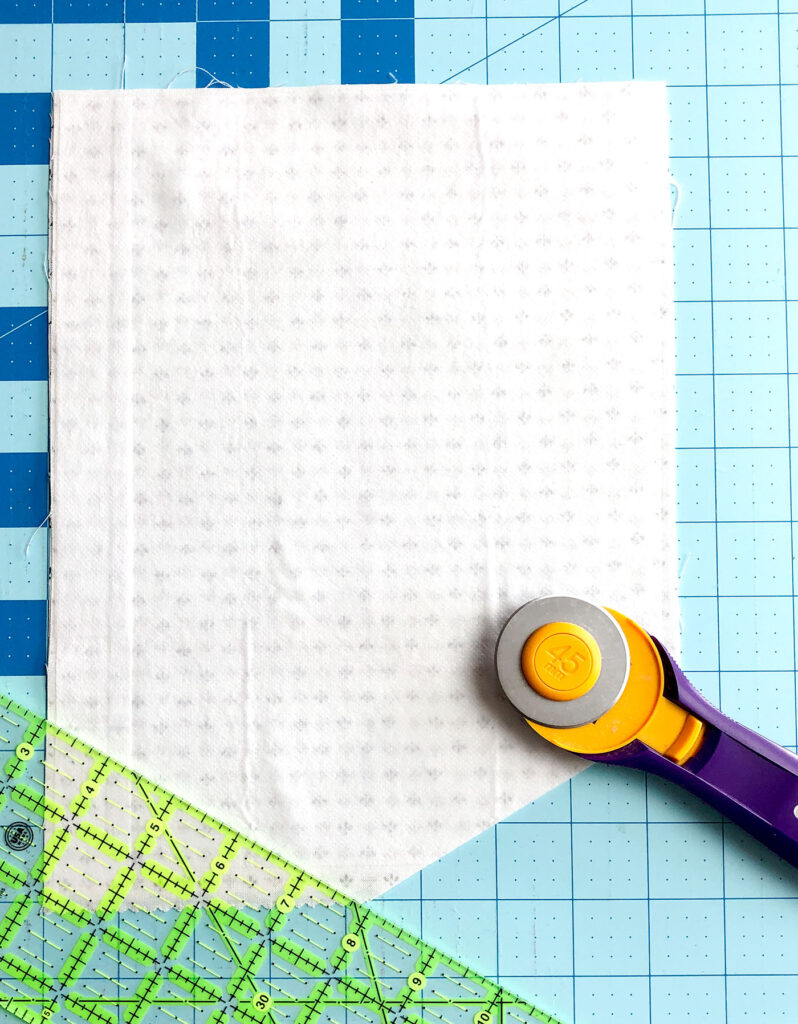
Begin by cutting two pieces of your banner fabric into 8 1/2″ X 11″ rectangles. If using light weight interfacing, fuse to the wrong side of one banner piece now. Place your banner pieces on top of each other, right sides together. Mark the center of the bottom of the banner. Measure 2 1/2″ up from the bottom on each side. Connect this point with the mark at the center on the bottom and cut away the two bottom corners to create a peak at the bottom of the wall banner.
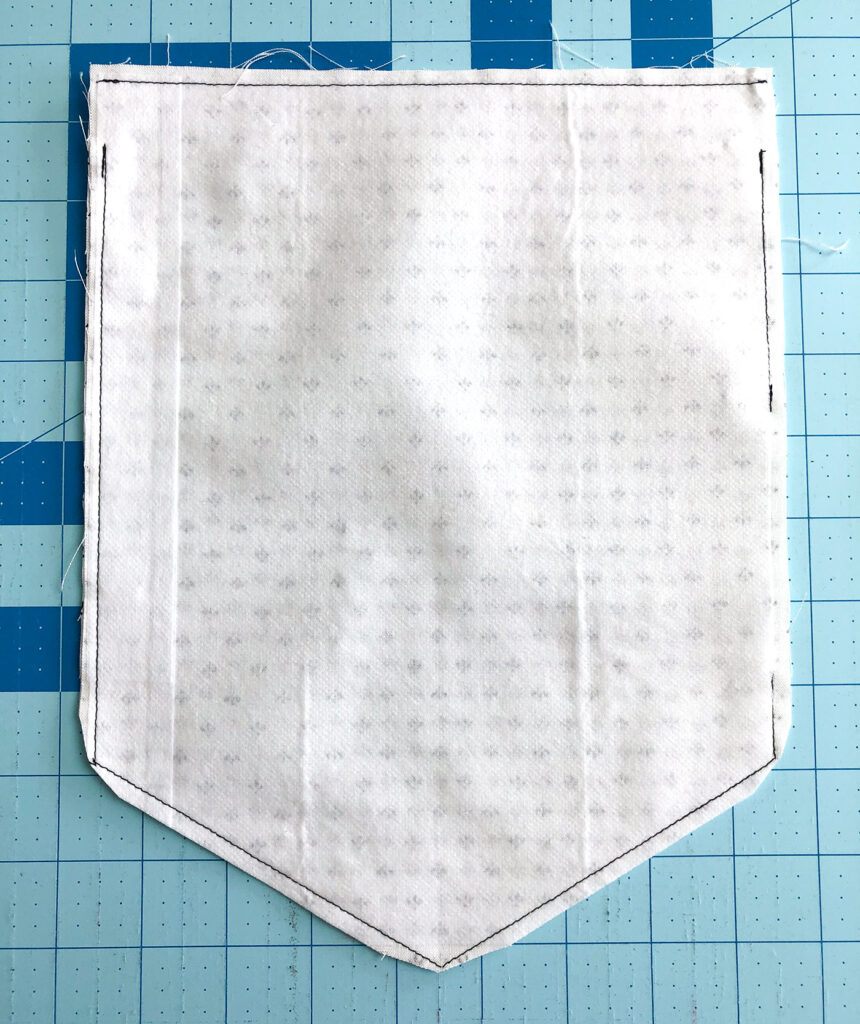
Next, make a mark 1″ down from the top on both sides of the banner. Sew across the top of the banner using a 1/4″ seam allowance. On one side of the banner, begin sewing at the mark 1″ down from the top. Use a 1/4″ seam allowance to sew around the rest of the banner ending at the second mark 1″ from the top. Leave an opening on one long side for turning the banner right side out. Be sure to back stitch at the beginning and ending of all your stitching. Now, clip the corners on the bottom point of the banner, turn right side out and press. Make sure the seam allowance of the opening for turning is pressed under and that the seams left open on the top for hanging are not pushed out.
Sew a line 3/4″ away from the top of the banner to create the casing for the dowel. Continue sewing around the banner using an edge stitch until you reach the place you started sewing.
Create Embellishments for Welcome Wall Banner:
- To cut your heart shape out of felt, you can use freezer paper, trace the heart or pin the paper to the felt and then cut.
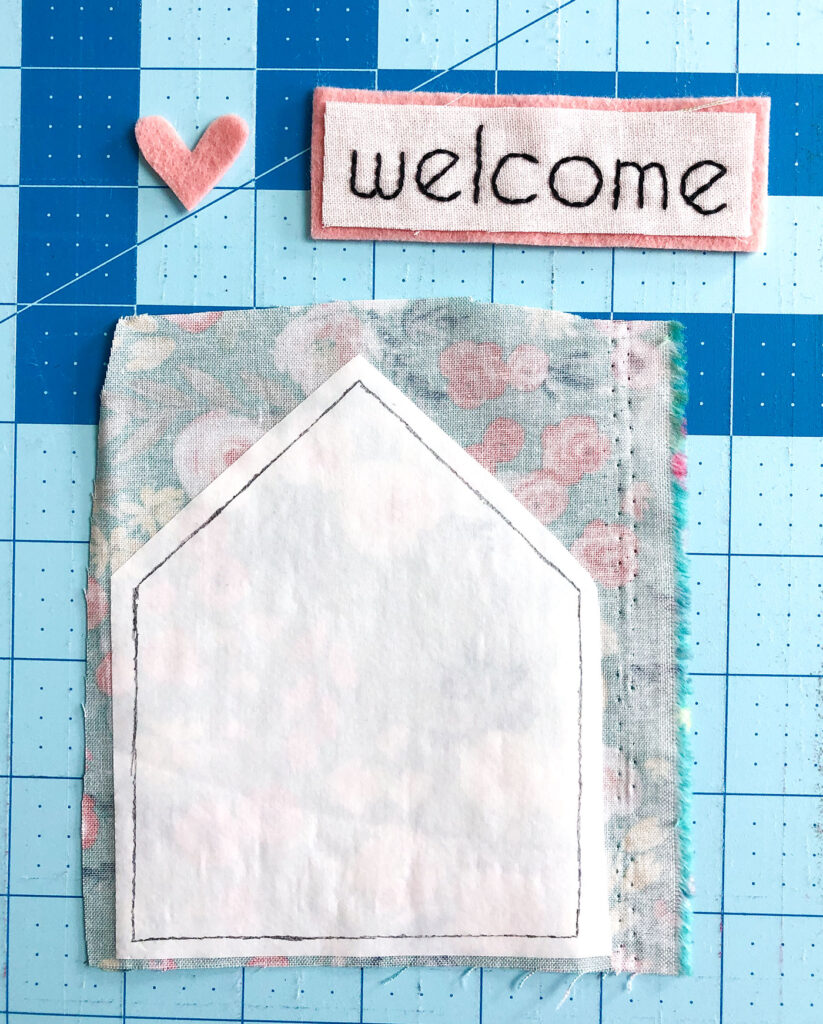
- Cut a piece of your solid fabric to 1″ X 3 1/2″. Trace the word welcome onto this solid fabric. I prefer to use a mechanical pencil and a light box, but you can use whatever method you like. Alternatively, you could use iron on vinyl for this step if you don’t like to embroider. Cut a piece of felt to 1 1/4″ X 3 3/4″, center the fabric with the embroidery pattern on top. Embroider the word welcome through both the fabric and the felt using three strands of embroidery floss and a simple back stitch.
- Trace the cottage onto the paper side of your heat n bond lite. Cut out the heat n bond leaving a slight margin around the traced lines. Follow package directions to fuse the adhesive to the wrong side of the fabric for the cottage. Cut out the cottage along the traced line.
Final assembly in welcome banner DIY
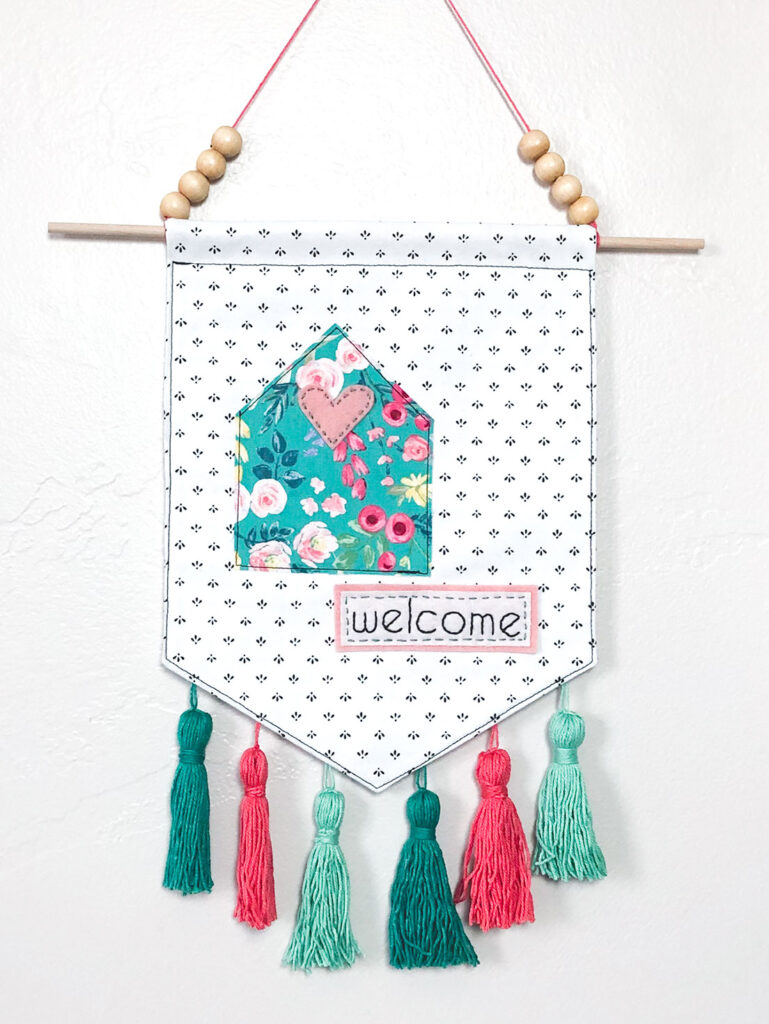
Remove the paper backing from the cottage and position as desired on the banner. Fuse in place following package directions. Sew around the cottage using a contrasting thread.
Position the word welcome as desired and stitch in place using three strands of floss and a running stitch. Attach the heart to the cottage using a running stitch as well. *Note that you can use any method to finish the banner you like. Add the running stitches to the welcome piece before adding it to the banner and just glue it and the heart using fabric glue. You could also just use Heat n Bond lite for all of the embellishment pieces if you like.
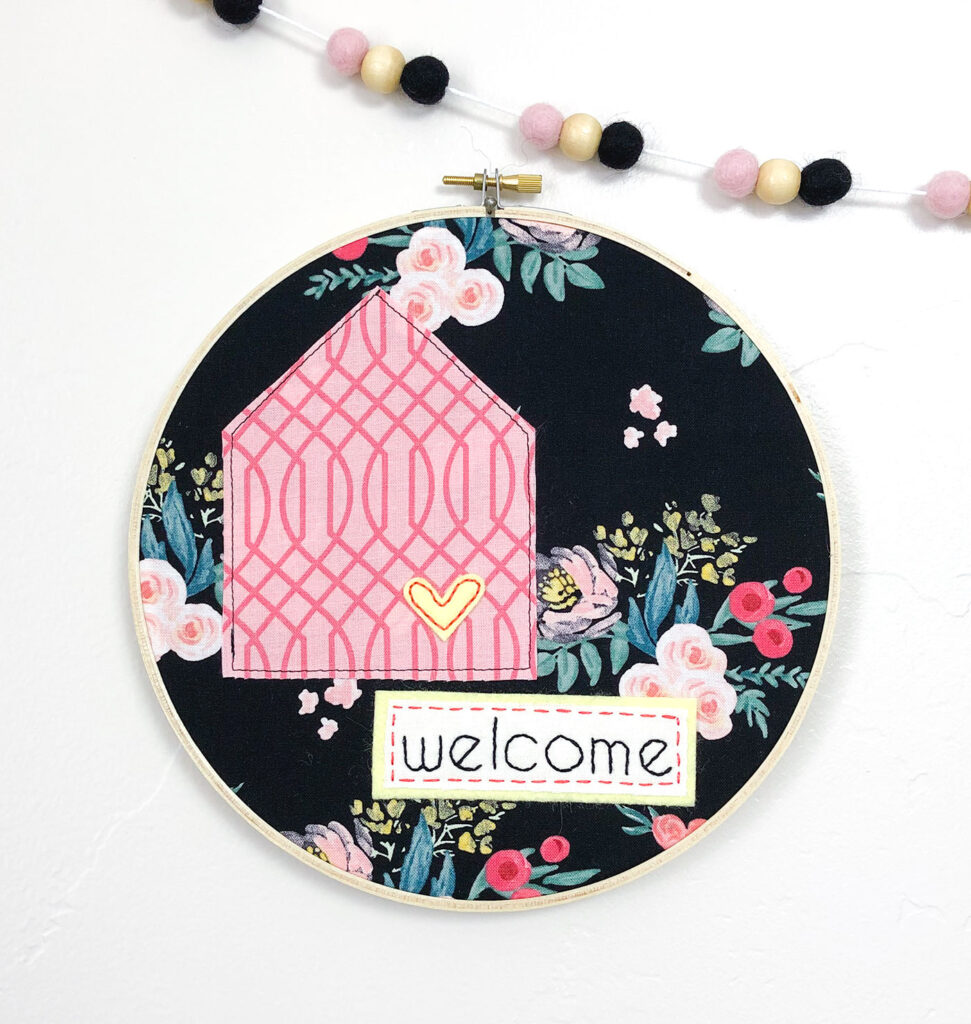
If you want to make this another way- simply put the cottage and welcome sentiment in a hoop and skip sewing the banner.
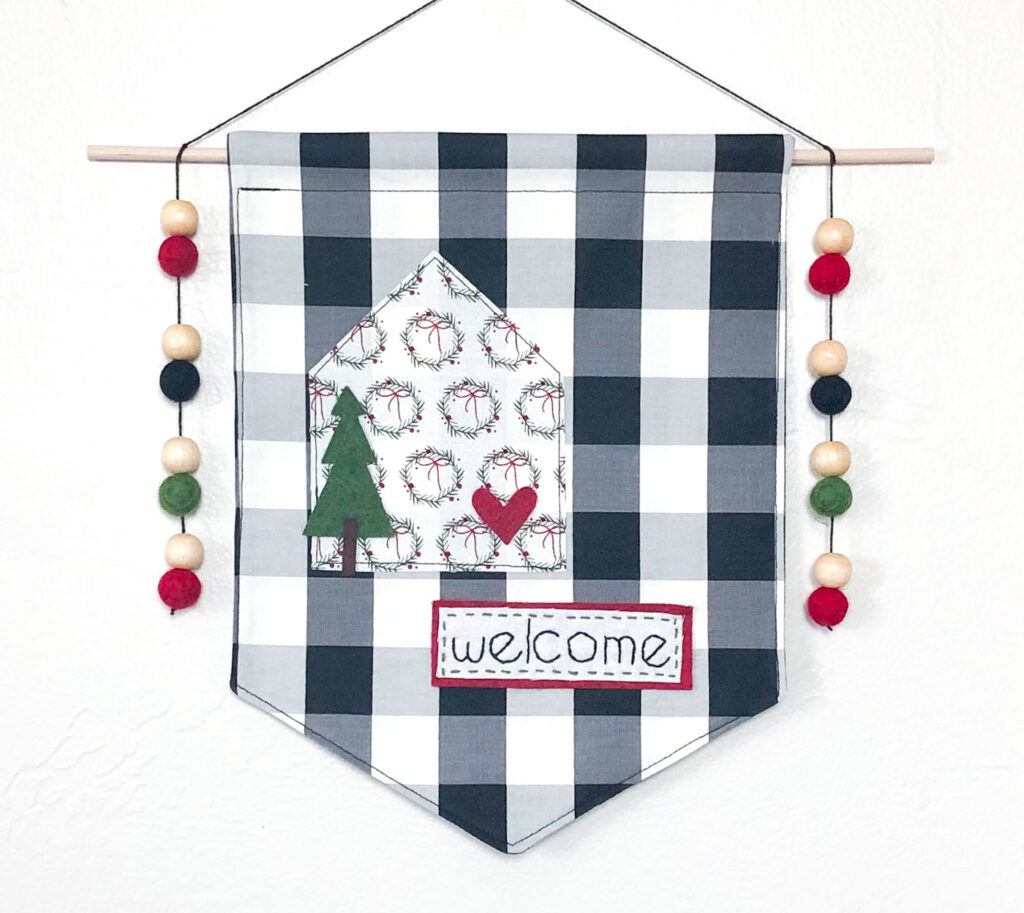
I also included a tree and trunk so you could turn this into a Christmas Welcome banner as well! What I love is how this pattern can be so individualized by simply switching out the fabrics and colors to suit the person. These are quick to sew and would make a wonderful gift for the holidays or birthdays for friends or family!
Which version are you going to make first?
Finally, if you love banners as much as I do- I have some fun pennant banner patterns on my blog- like this Birthday Banner or this fun Unicorn, Mermaid and Fairy banner.
Happy Sewing my friends! xoxo, Amy


Flower Market – Welcome Banner + Tutorial! – Riley Blake Designs
November 22, 2019 at 1:45 pm[…] stop on the Flower Market Project Tour takes us to AMEROOONIE DESIGNS, where Amy is sharing a tutorial for this adorable Welcome Banner, featuring fabric from Jen […]