This is a sponsored conversation written by me on behalf of Cricut. The opinions and text are all mine. This post also contains affiliate links, which means if you make a purchase through one of those links I may receive a small commission at no extra charge to you.
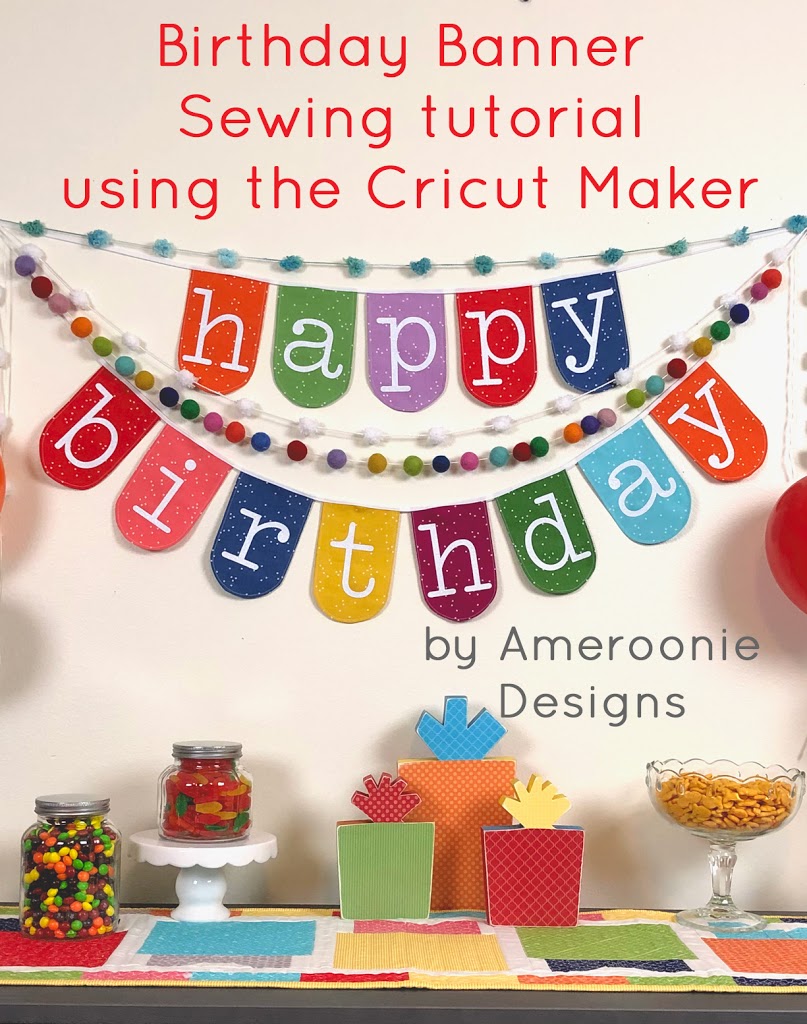
Birthdays are a big deal at our house. In a large family it can be hard to feel like you are noticed or appreciated, but on your birthday- you know it!! One tradition we have started is a Birthday banner. We pull it out on every birthday and suddenly it’s a celebration! Stored in a box with balloons, a few decorations, candles, cupcake liners and maybe a few pom pom garlands and you have your own DIY birthday party kit!! (This would also make a fantastic gift to a sister, mom or friend!) Using your Cricut Maker to cut out and put together your Birthday banner makes quick work of this project that will be something your family will treasure forever. And a bonus- a Cricut birthday can be customized to fit the individual person, or your family traditions as well!
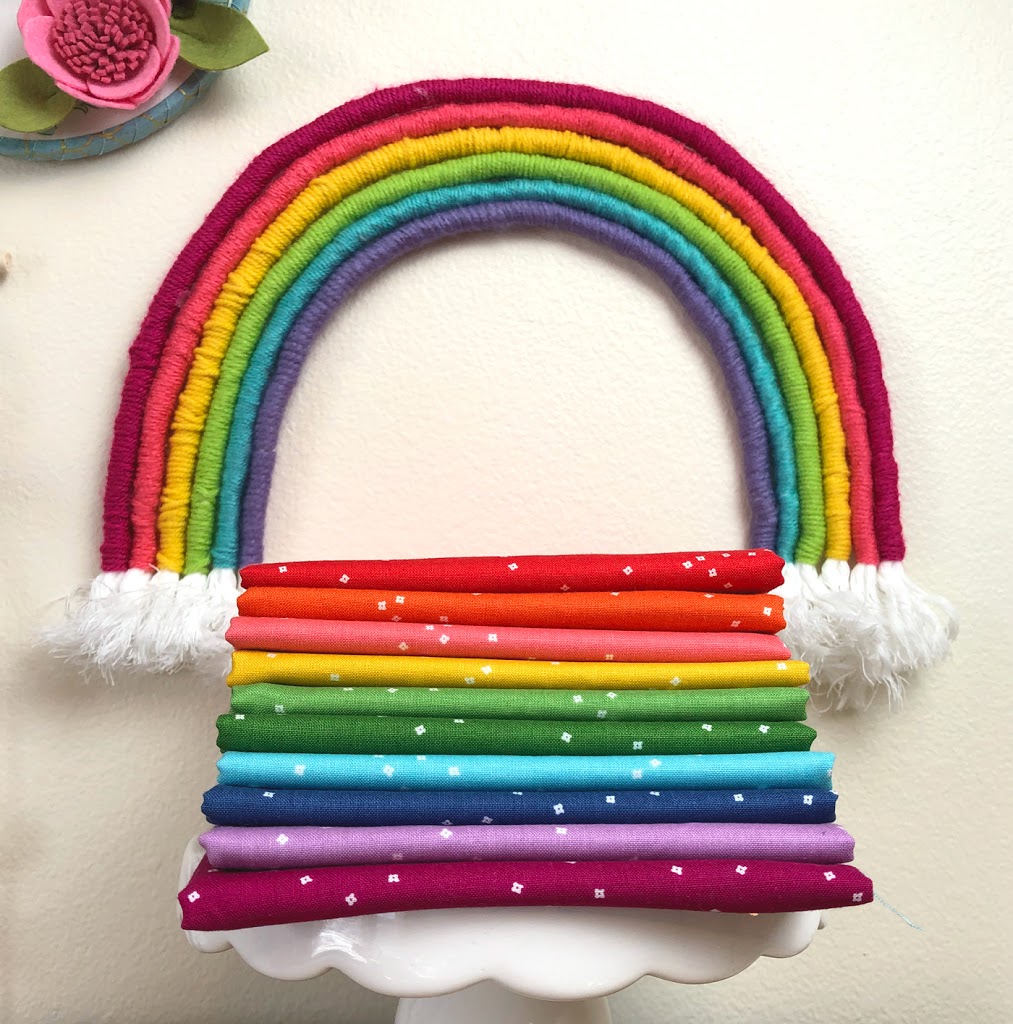
To begin you will need fabrics. I like to use a rainbow of fabrics so that the banner is gender neutral and can be re-used for every birthday in our family. The fabrics I used are blossoms basics fabric by Riley Blake Designs. You will also need iron-on, I used White Glitter, and double fold bias tape, or ribbon to sew the flags together.
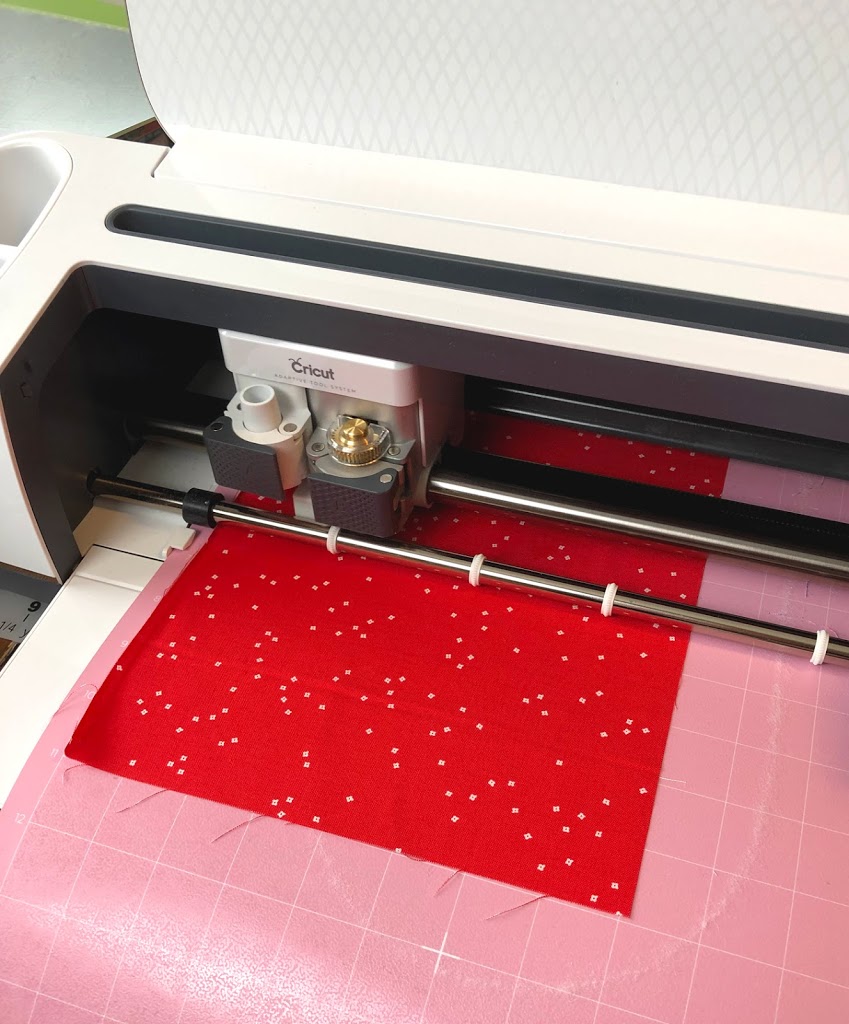
Creating a Cricut DIY Birthday banner is pretty simple. The file can be found in Design Space. I am using 10 different fabrics to make my banner, you can use more or less. If you are using a different number of fabrics, you may need to adjust the colors in design space to correlate. There are 13 total flags for the banner, so adjust as necessary. Cut your fabrics to 1/2″ larger than the width and height needed for the two flag pieces (you can see this on your mat when you select Make It) if you are doing one flag in the color you will cut it to 7″ X 10″, if you are cutting 2 flags in the color you will cut the piece 14″ X 10″. (as a side note: I attached the flag pieces for the colors I wanted duplicates of in Design Space so they would fit better on the mat)
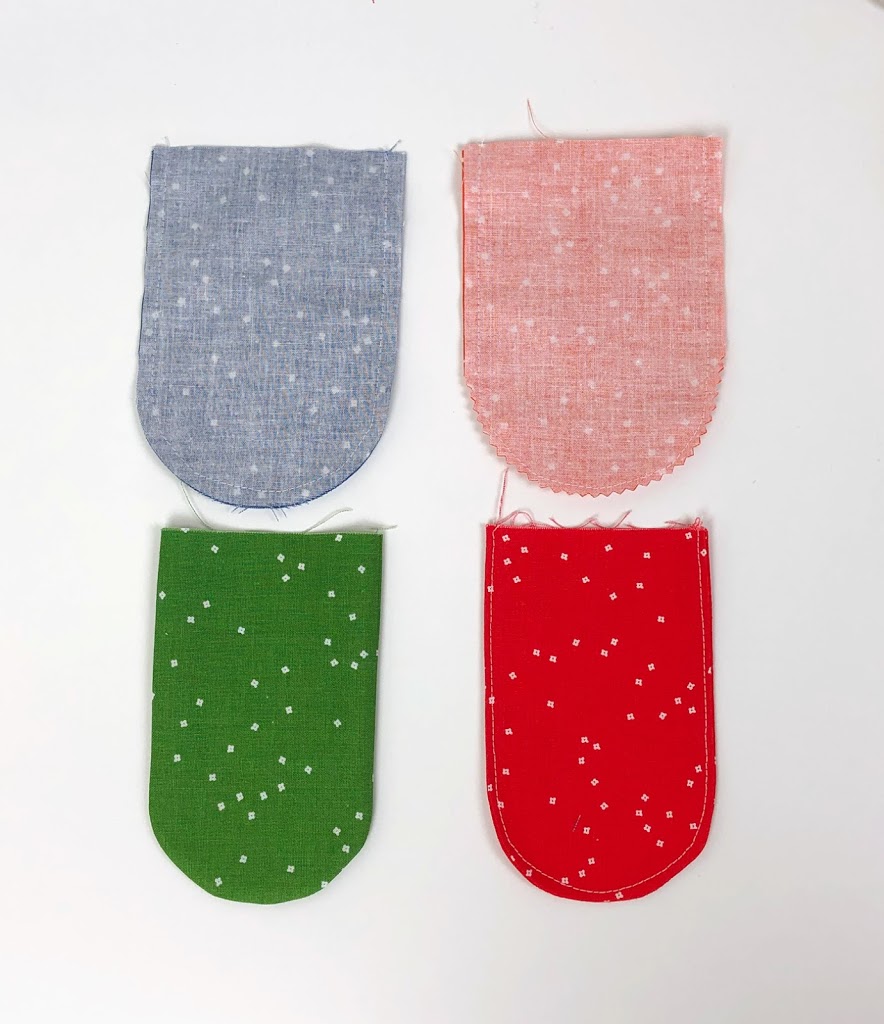
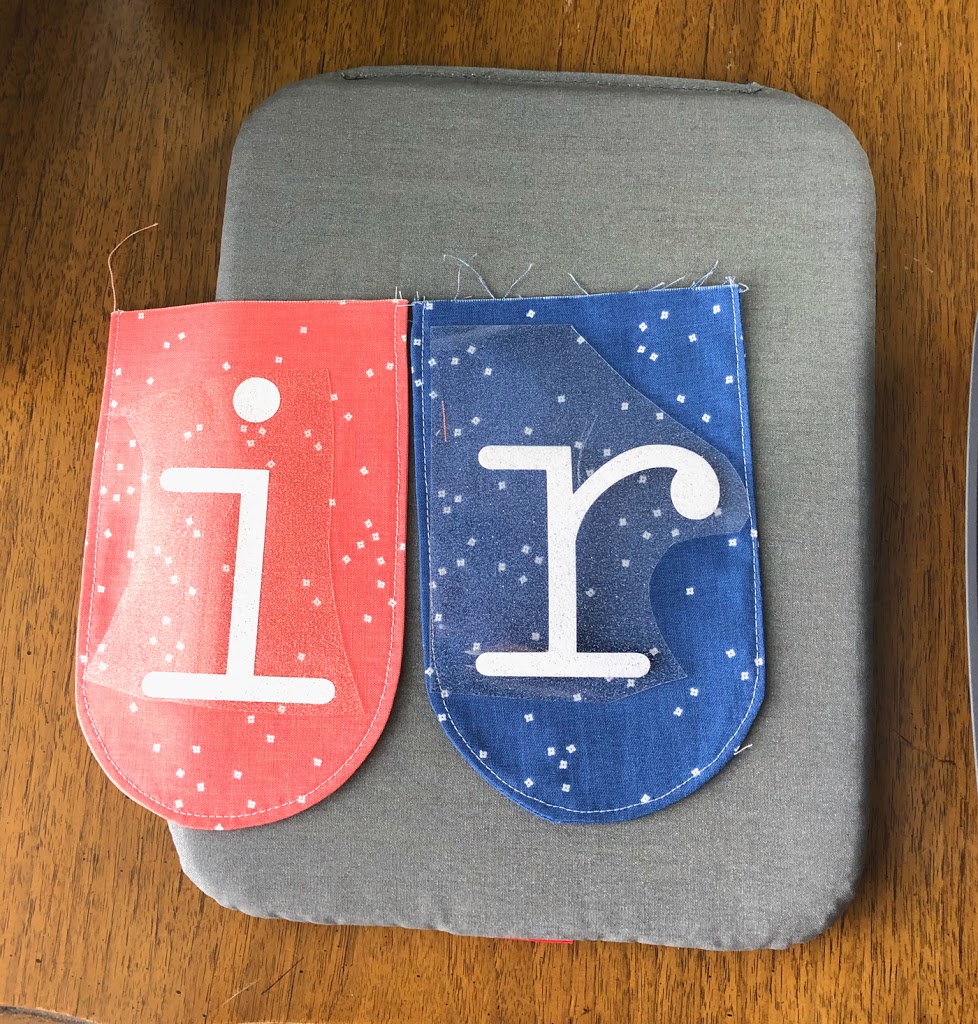
To assemble the flags:
- Place the two flag pieces right sides together and sew around the outside using a 1/4″ seam allowance
- Clip the seam allowance of the curve with either pinking shears or scissors, being careful to not clip the seam. This helps the curved edge lay flat when turned right side out.
- Turn the flag right side out and press well.
- Top stitch around the edge of the flag
- Cut out and weed the individual letters from the Iron-on.
- Arrange your flags in the color order you want them to be.
- Position the letters on the flags as desired- I usually start with the first letter (or the largest letter) and place it where I like it on the flag. Once it is fused, I will lay that flag next to the second flag so I can make sure the letters are lined up relative to one another.
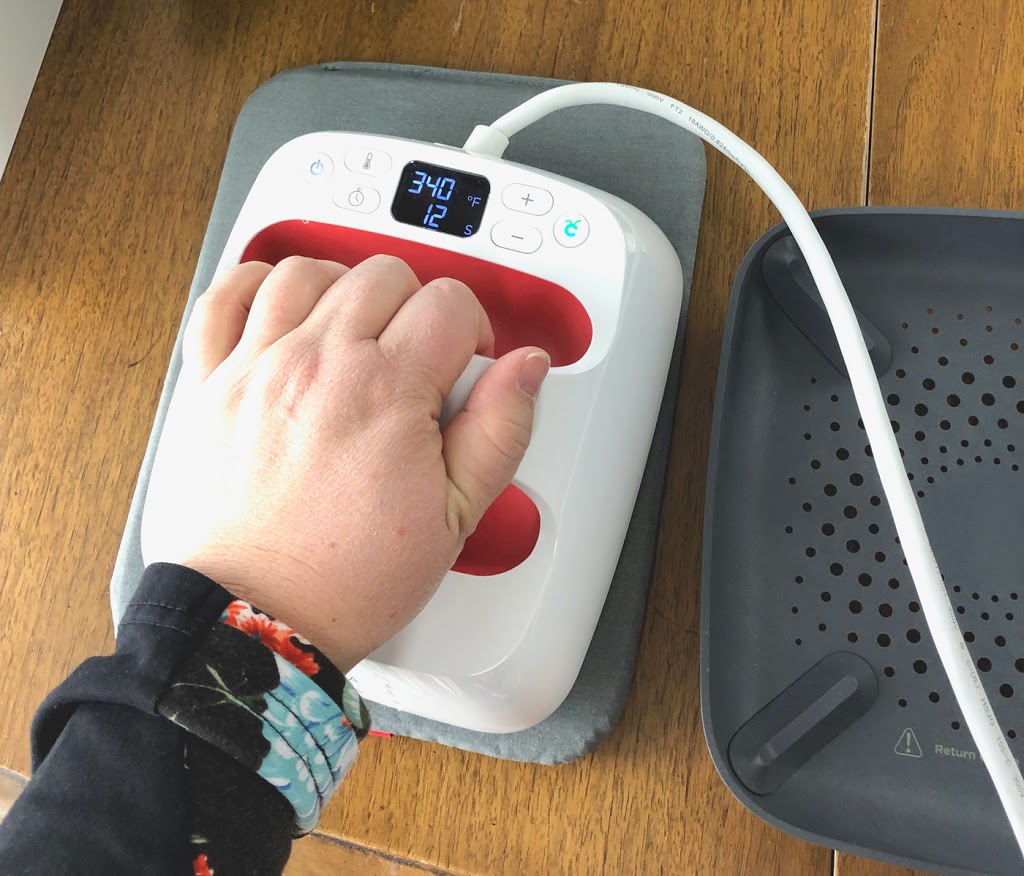
Use your EasyPress 2 to fuse the Iron-on to the flag.
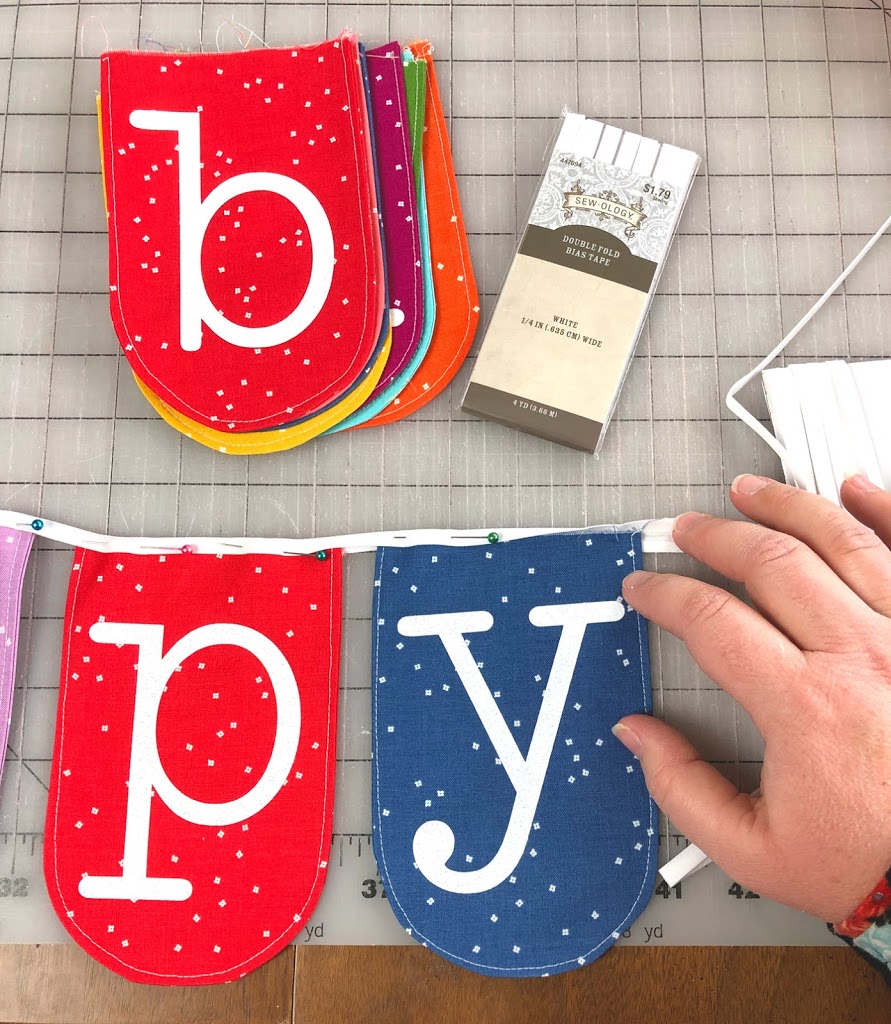
- Open up the seam of the double fold bias tape (the smaller side should be facing the front) and slide your first flag in. I leave about 18″ of bias tape before the first letter to have some to use for hanging.
- Line up the top of the flag with the crease of the seam, fold the top back down over the flag and pin in place.
- Position the next flag 1/2″ away from the end of the previous flag and repeat the process. Once all the letters are in place, measure 18″ from the end of the last flag and cut the tape.
- Take your pinned banner to your sewing machine and sew an edge stitch along the edge of the tape near the flags to secure them in the bias tape and create the banner. Make sure the edge of the flag is all the way up at the crease of the bias tape, as you move the pinned banner around it can slide down- sew slowly and keep checking and adjusting the position of the flags inside the bias tape. *Alternately- you can use a ribbon and a zig zag stitch to sew the top of each flag behind the ribbon. This is not as finished an edge, so I don’t recommend it if the banner will be seen from both sides, but if it will hang against a wall, it’s not a problem at all!
The packages of double folded bias tape I used came in 4 yard packages and it was enough to create one full banner. I would leave 18″ at the beginning and ending of the “Happy” part of the banner and 23″ or so on each end of the “birthday” part, just for ease of hanging.
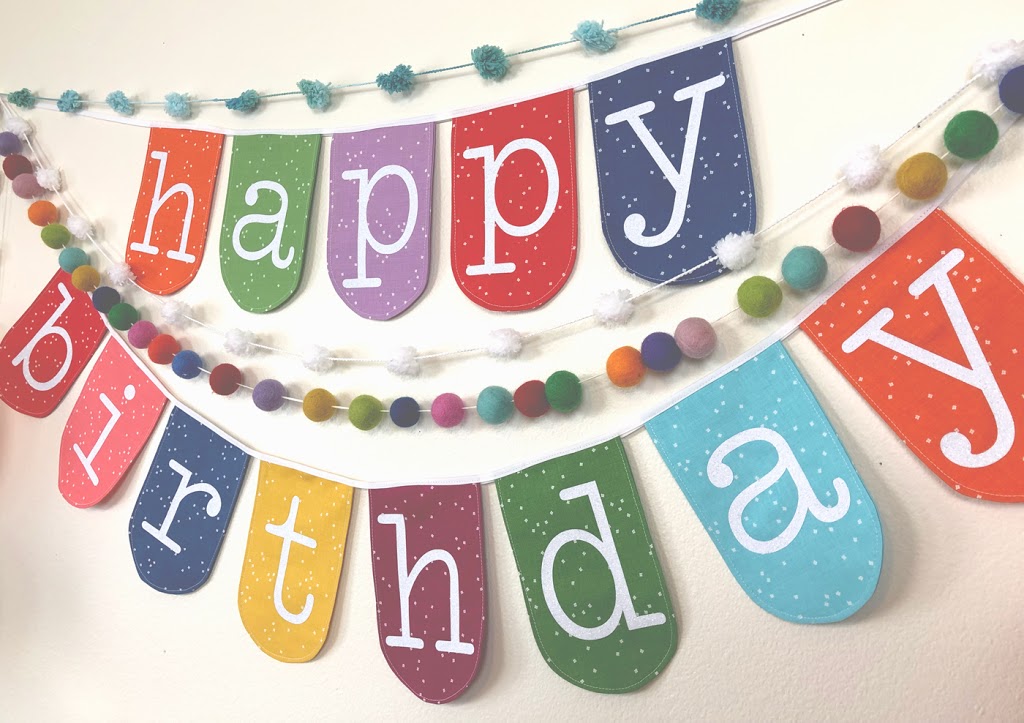
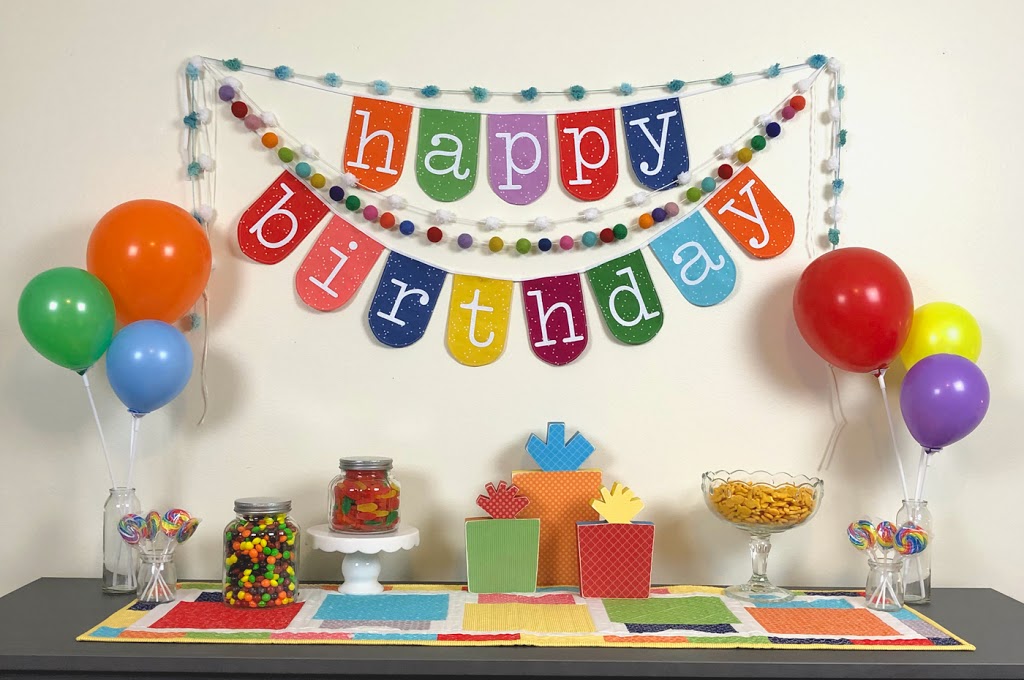
Embellish your banner with pom pom garlands, trim, ribbon, or anything else that strikes your fancy.
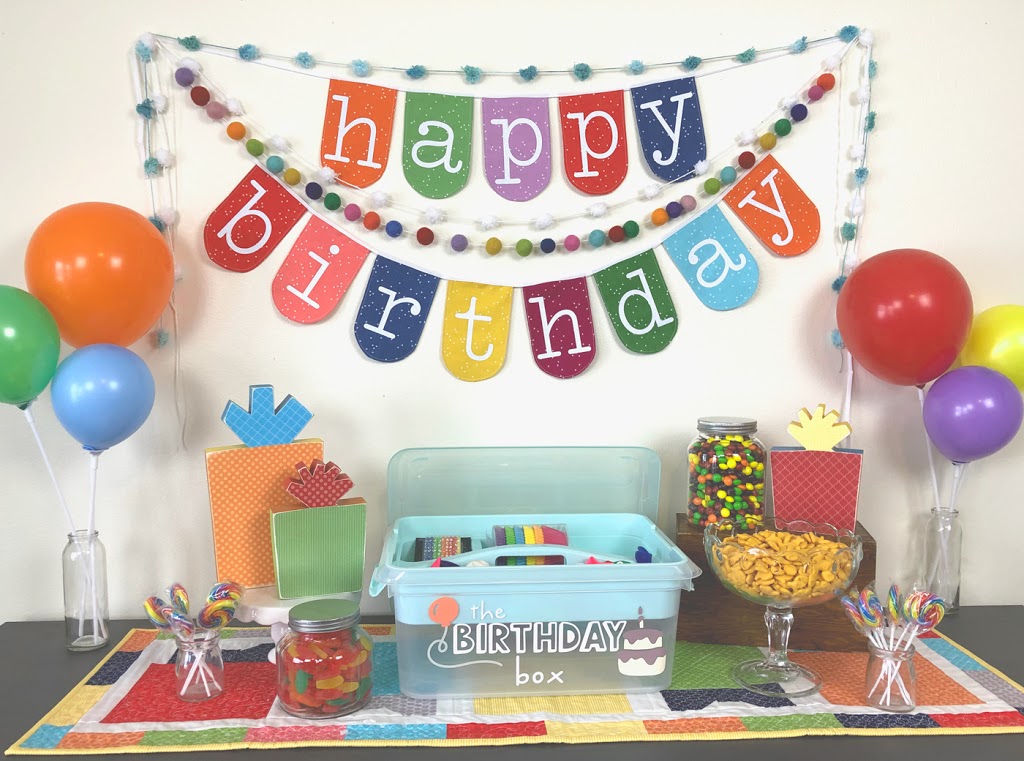
A couple of other things our family does for each birthday is blow up one balloon for each year of age and place a $1 bill inside. At the end of the day, the birthday kid gets to pop all the balloons and collect the cash! We also let the birthday person pick 3-4 of their favorite treats to fill some jars to have during the day on their special day. I love the idea of storing all of the supplies for these traditions and more in a single box, and so I purchased one at Michaels and added some vinyl to it to make it cute.
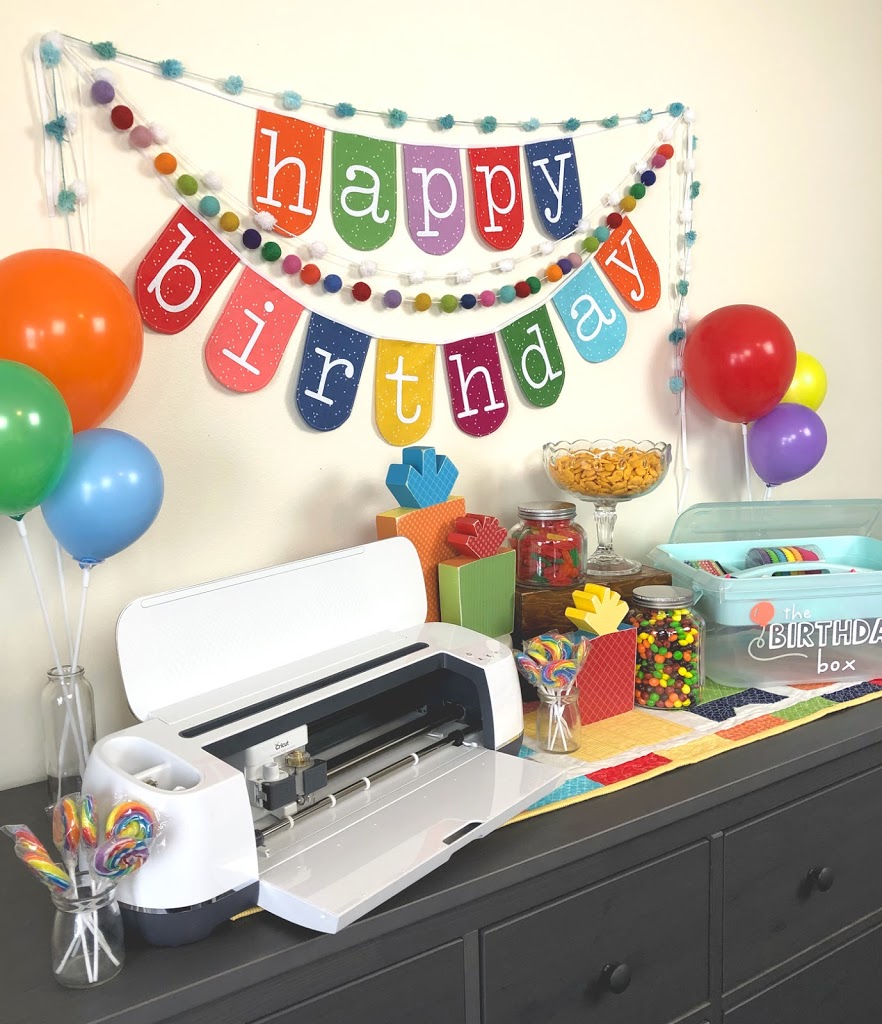
Creating a birthday party with Cricut is so much fun and lets you make all the people in your life feel loved!
Do you have any favorite birthday traditions? I would love to hear them! And if you would like the tutorial for the Celebrations Table Runner, you can find them here.
xoxo,
Amy

