This post is sponsored by Cricut and contains affiliate links. The project and opinions are all my own.
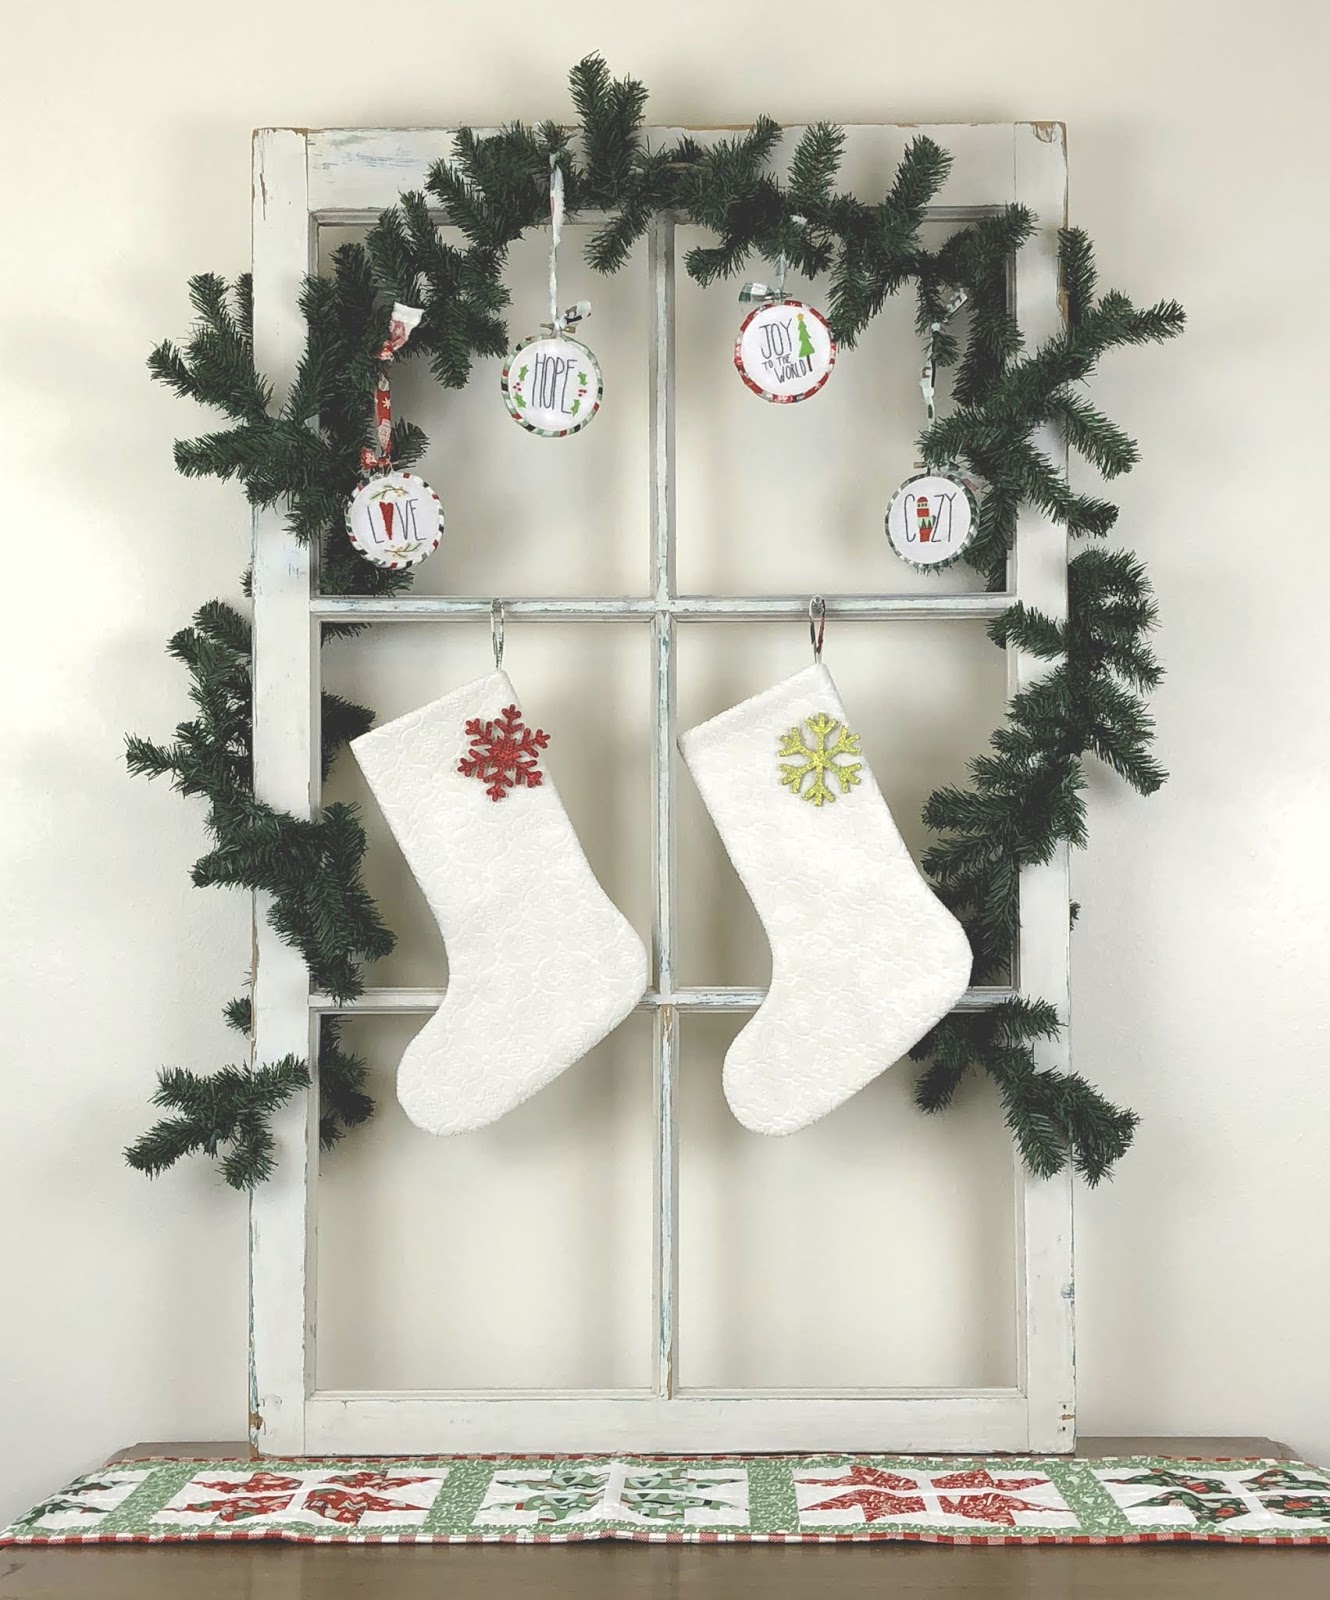
Christmas just wouldn’t be the same without Stockings, right? For years I have been wanting to make matching stockings for all of my children, but I never managed to find the time. Well, this year, I don’t have an excuse, these simple stockings made using the Cricut Maker are so simple and quick, I will have all 6 of them sewn up in no time at all! I have all the instructions so you can sew some too- are you ready to make some DIY Holiday decorations?
Simple Stocking Tutorial using the Cricut Maker
Supplies:
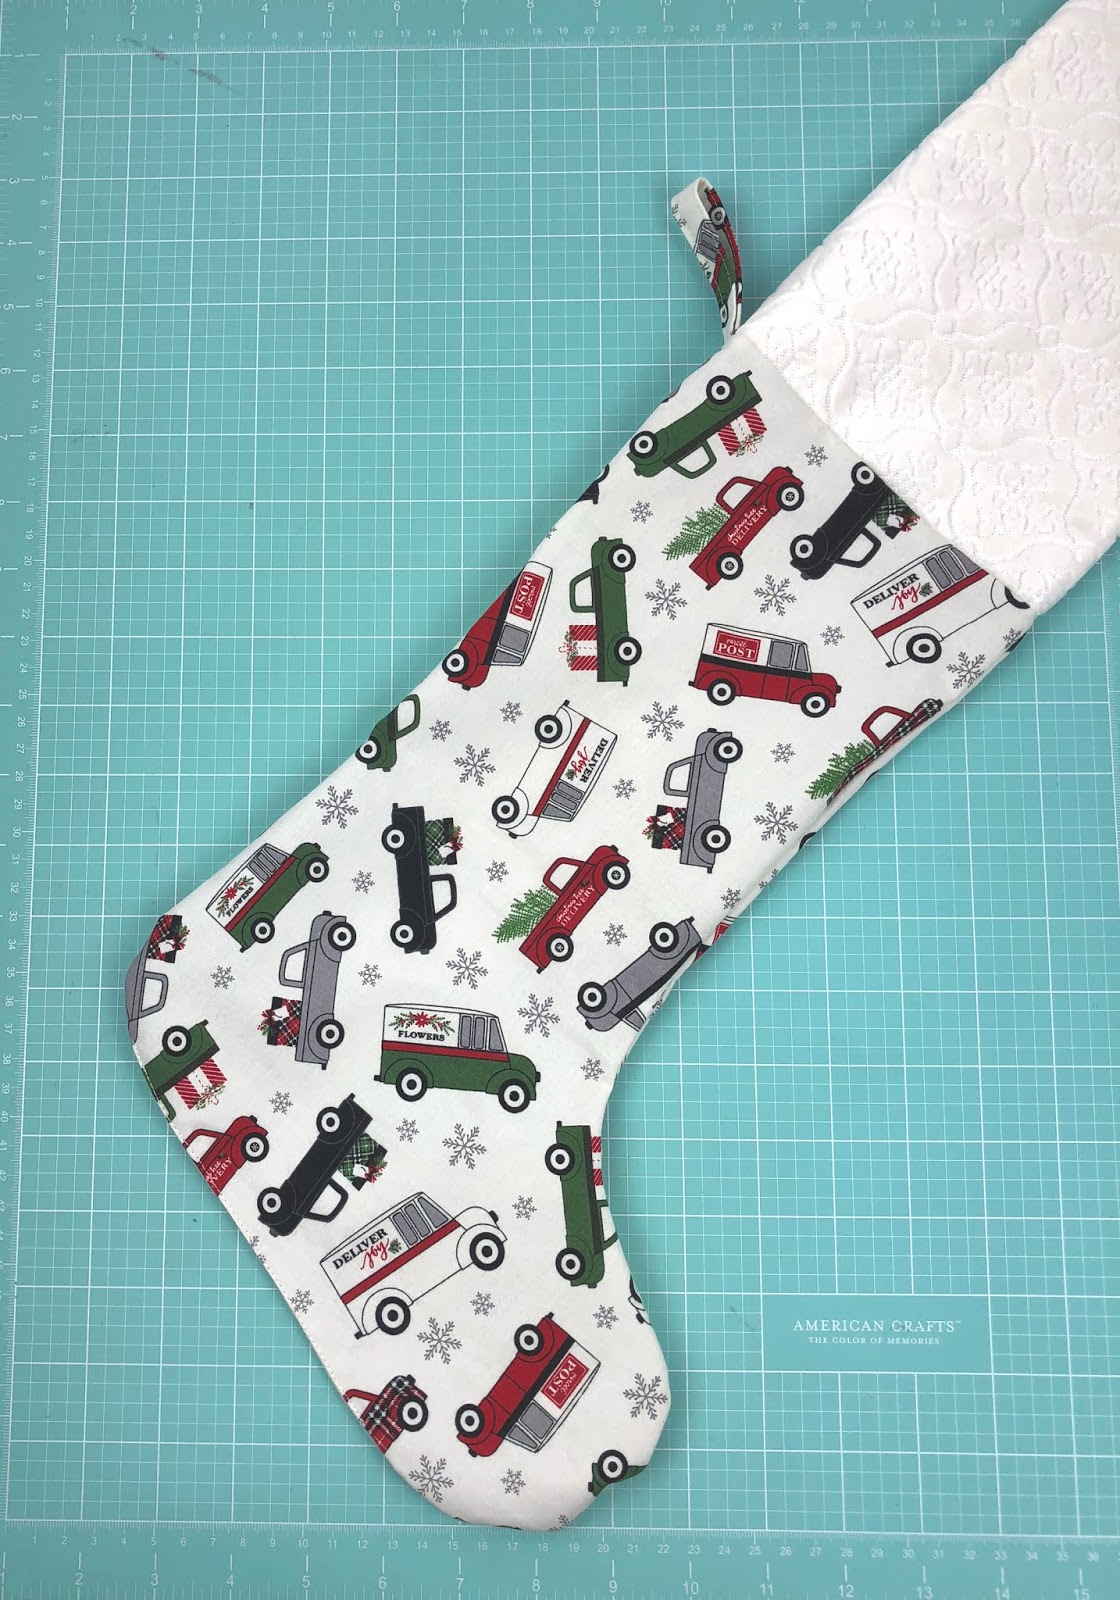
1/2 yard of 2 different fabrics- I am using a gorgeous embossed velvet upholstery fabric for the outside of my stockings and a darling quilting cotton from Riley Blake Designs Christmas Delivery line for the lining. The beauty of the Maker is not just that it cuts fabric- it cuts ALL KINDS of fabrics. This thick upholstery fabric was no problem at all for this machine!
optional- lightweight fusible interfacing *I like to use the interfacing to give my stockings a little more body and also to fade the colors of the lining print so they don’t show through my stockings- this is totally optional
Cricut Maker– you can find the pattern for the stocking in my Cricut Community profile here. It is an image I modified from an Access Image in design space by slicing off the cuff and hanger in the original image file.
12″ X 24″ Fabric Cutting Mat for the Cricut Maker
Sewing machine and sewing tools.
Cutting:
Cut 2- 11″ X 16″ rectangles out of the exterior fabric
Cut 2- 11″ X 16″ rectangles out of the lining fabric
*optional Cut 2- 10 3/4″ X 15 3/4″ rectangles out of lightweight fusible interfacing, then fuse to the wrong side of the lining fabric

You will need to cut 2 sets of stocking pattern pieces- one set of exterior fabric and one set of lining fabric. Use the fabric setting that best fits the types of fabrics you have chosen. If you have fused the interfacing to your lining, place the fabric right side down (so the interfacing is up) on the mat when you cut. I recommend using the rotary blade for all types of fabric cutting. (*note: I chose bonded cotton for my lining since I added interfacing to my fabric, the Maker defaults to the bonded fabric blade, but I chose to go into the tool options and change it to the rotary blade, which is what I always suggest if the cut isn’t too intricate)
Take some of the leftover fabric from one of your lining pieces and cut a 2″X 6″ rectangle to create a loop for hanging in a later step.
Assembly:
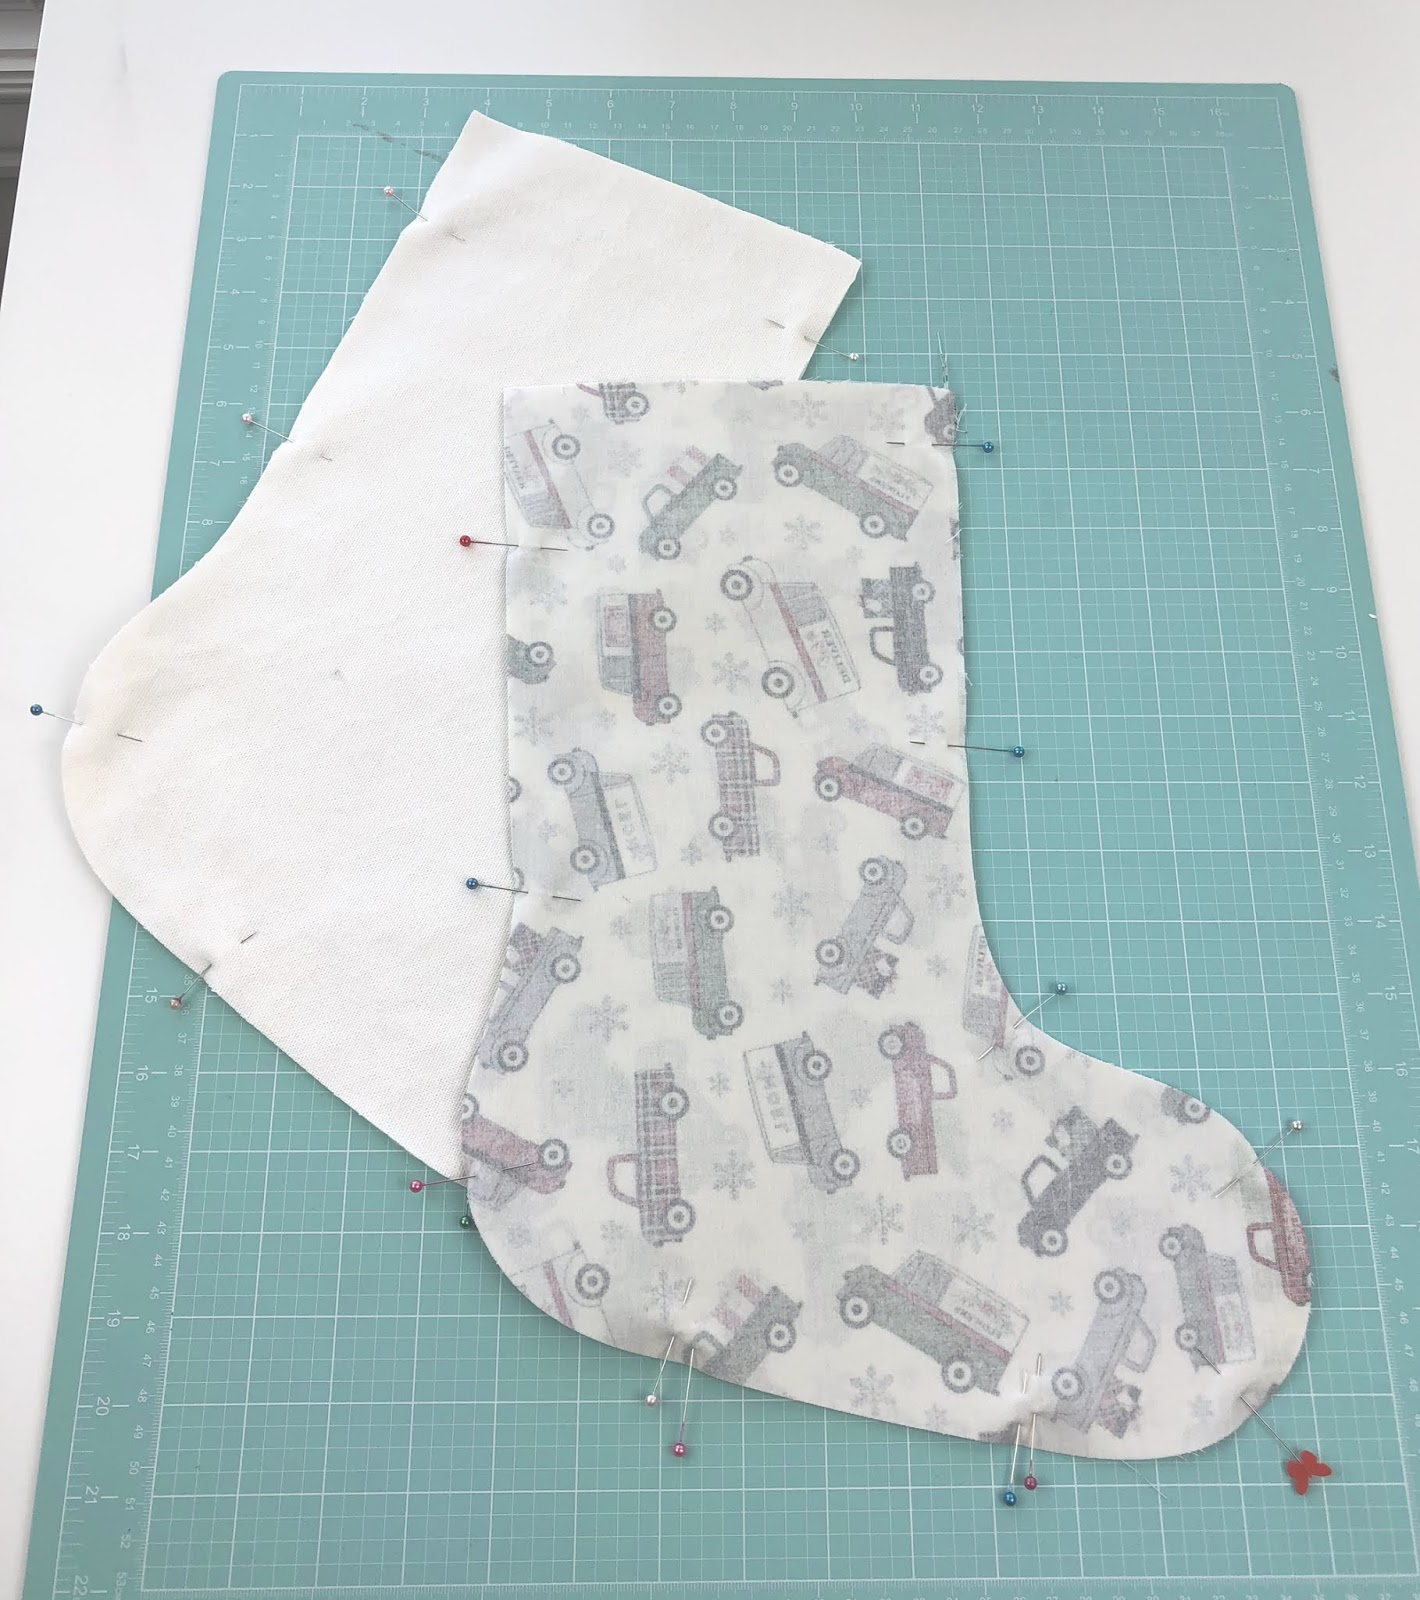
Pin your 2 sets of stocking pieces right sides together. On the set of lining pieces, you will leave an opening in the bottom, straight part of the stocking for turning in the final steps- I find it’s easiest to mark this with double pins, so I don’t forget as I’m sewing.

Sew around both sets of pieces using a 1/4″ seam allowance. Go slowly around the curves, putting the needle down and pivoting your fabric as you go. Back stitch each time you start and stop sewing.
When you are done sewing, clip notches in the curves of your stockings using either a small pair of sharp scissors or pinking shears. **BE CAREFUL to not clip your thread!! Trim all of the seam allowance on the lining piece except where the opening for turning is to reduce bulk inside the stocking.

Take your 2″X6″ strip of fabric and press in half (not shown). Open up this fold and bring the sides in to the center line. Press. Re-fold the first crease to create a strip that is now 1/2″X6″ and press well. Stitch down both sides of the strip.
Turn the outer stocking piece right side out. Push out the seams and press.
Fold the strip you just sewed in half, bringing both raw edges together. Center this loop on the side seam of the exterior stocking piece and pin in place.
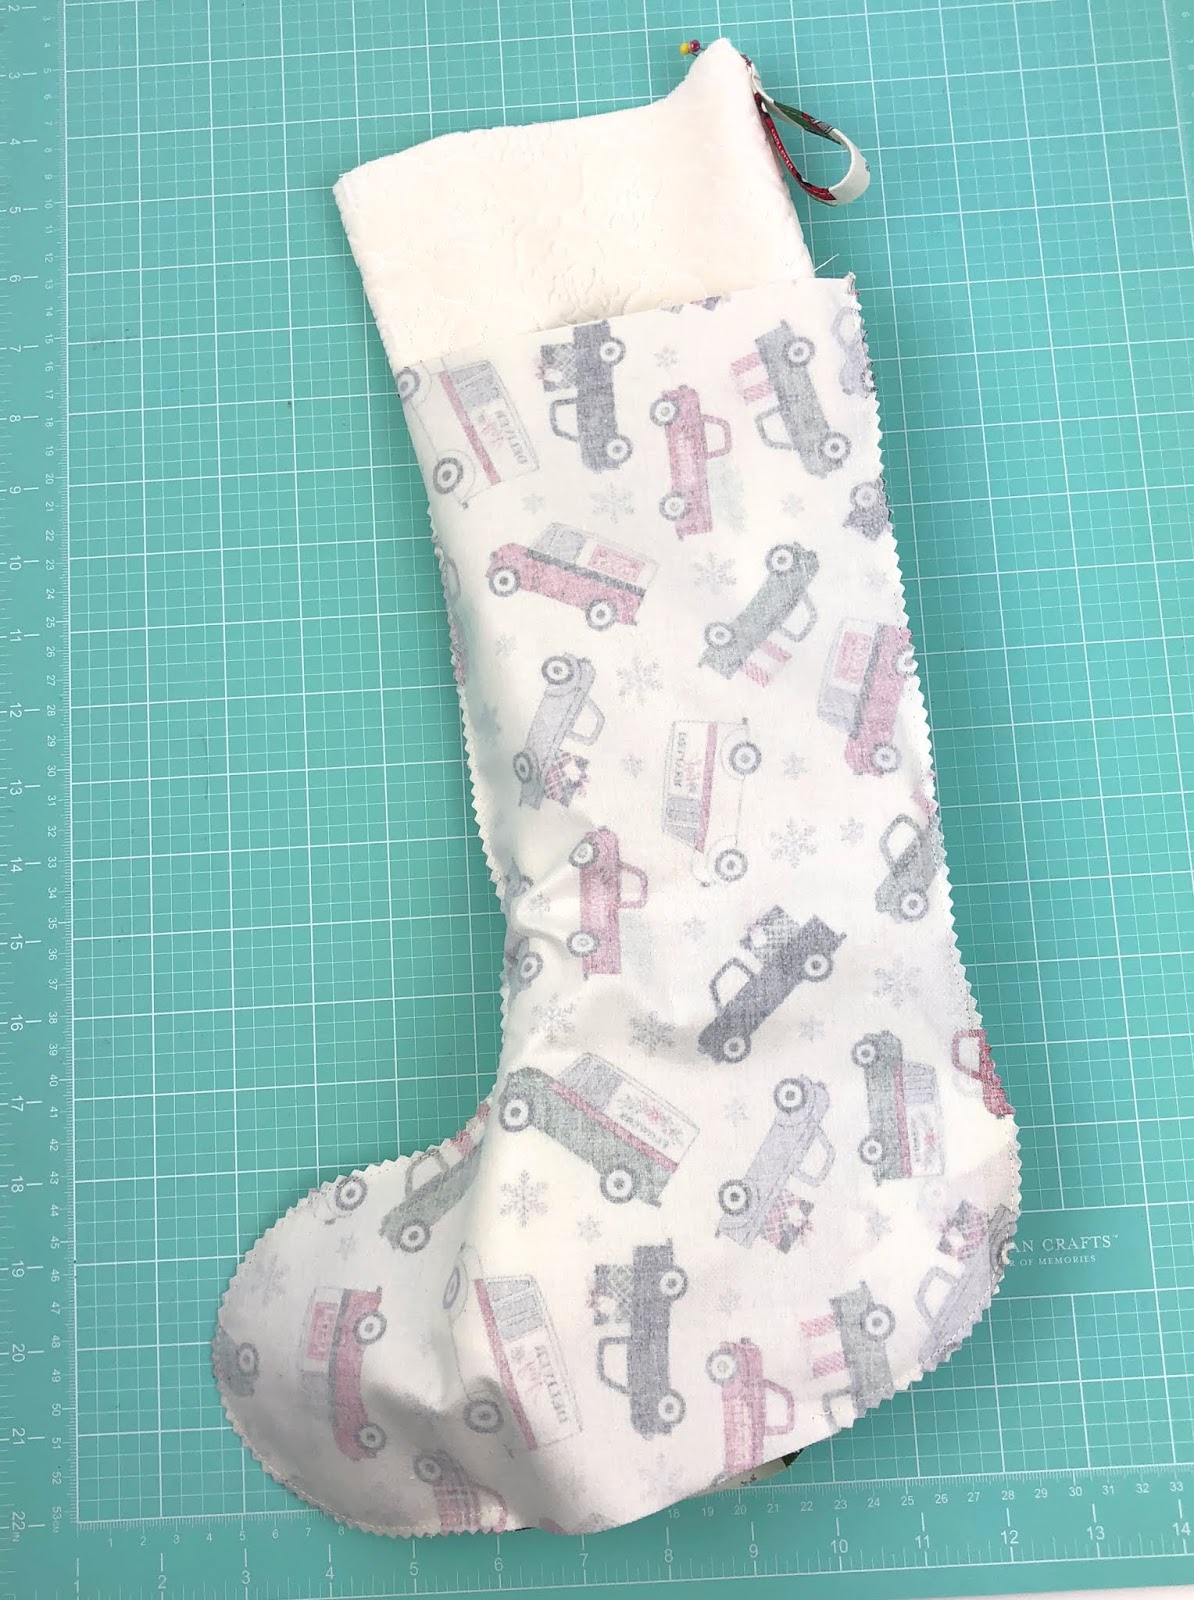
Slide the outside of the stocking into the inside of the lining.

Line up the side seams and pin in place.
Go around the top of the stocking, lining up the two layers and pinning into place.
Sew around this top seam using a 1/4″ seam allowance. *I like to back stitch over the hanging loop to reinforce it. Santa can be generous and you don’t want all the treasures spilling out because your loop fell off!!
Turn your stocking right side out through the hole in the bottom of your lining. Fold the seam allowance of the opening under and stitch closed.
Push your lining inside the exterior stocking. Smooth out the fabric and make sure the top seam is lined up. Press your top seam and the entire stocking. If desired, top stitch around the top of the stocking. *I did not do a top stitch because of the embossed design of the fabric I was using.
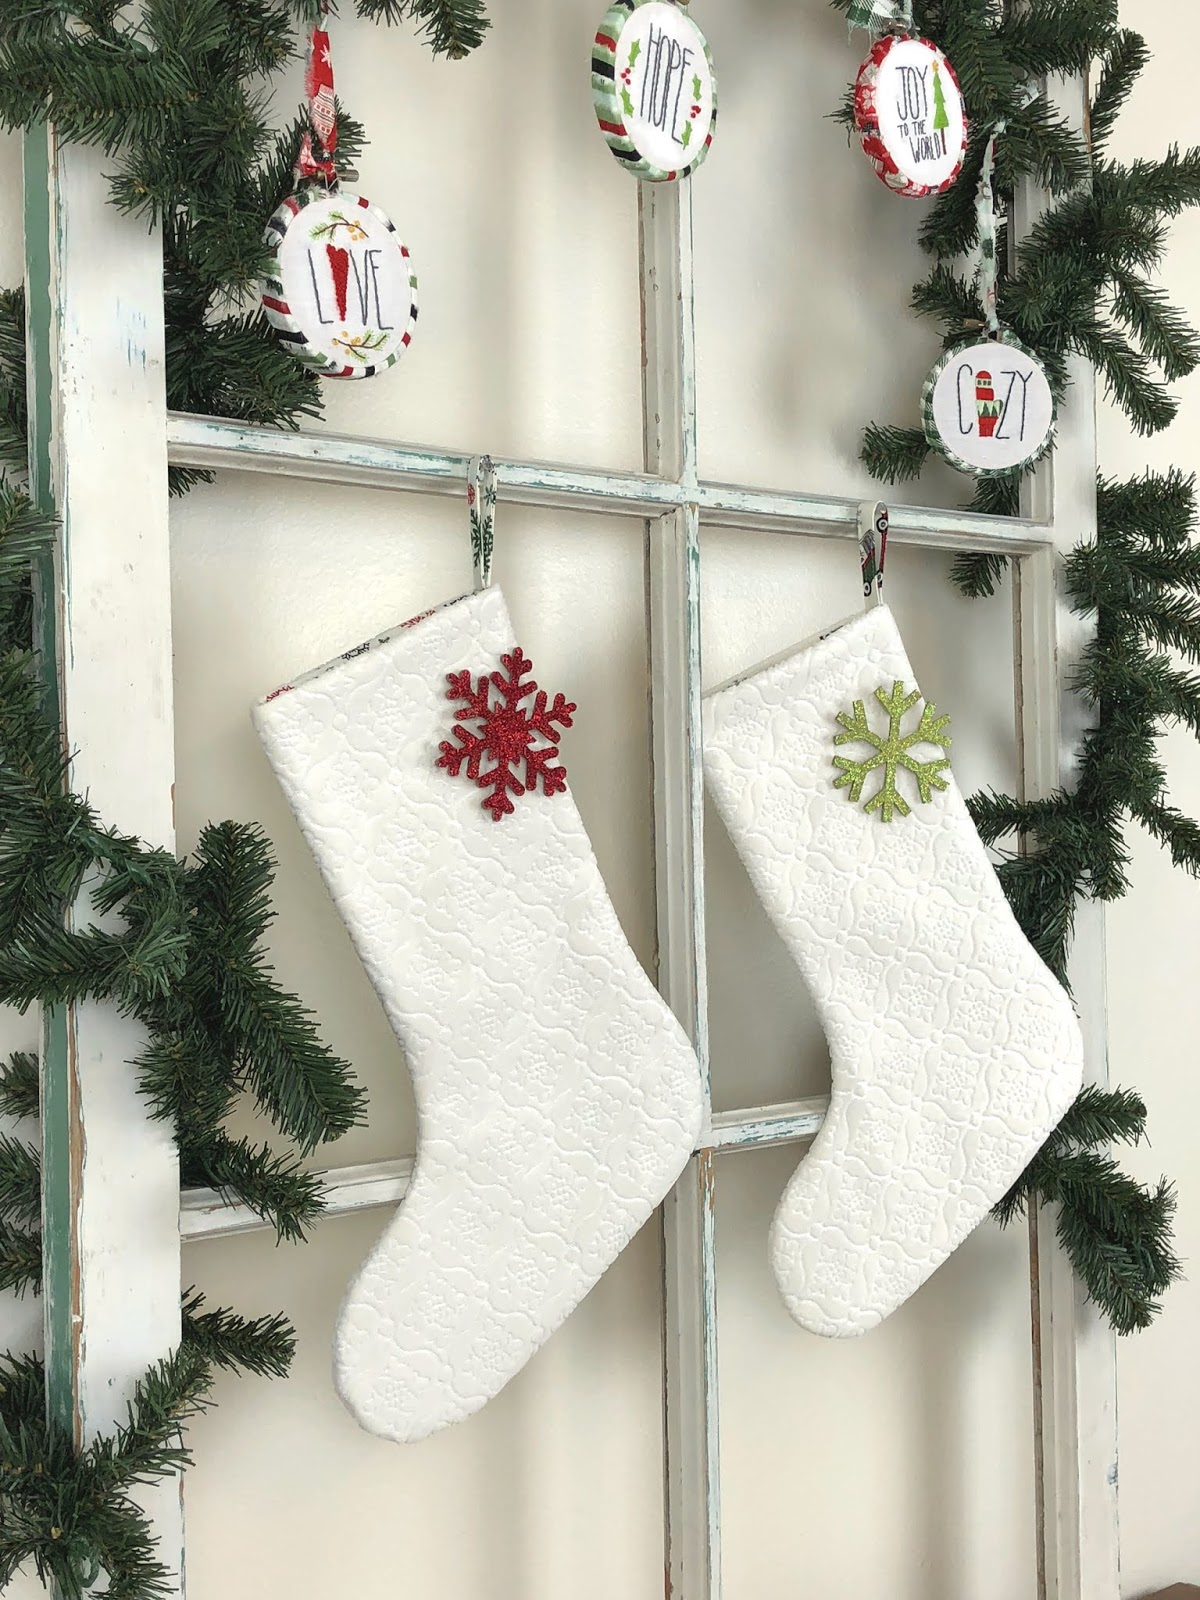
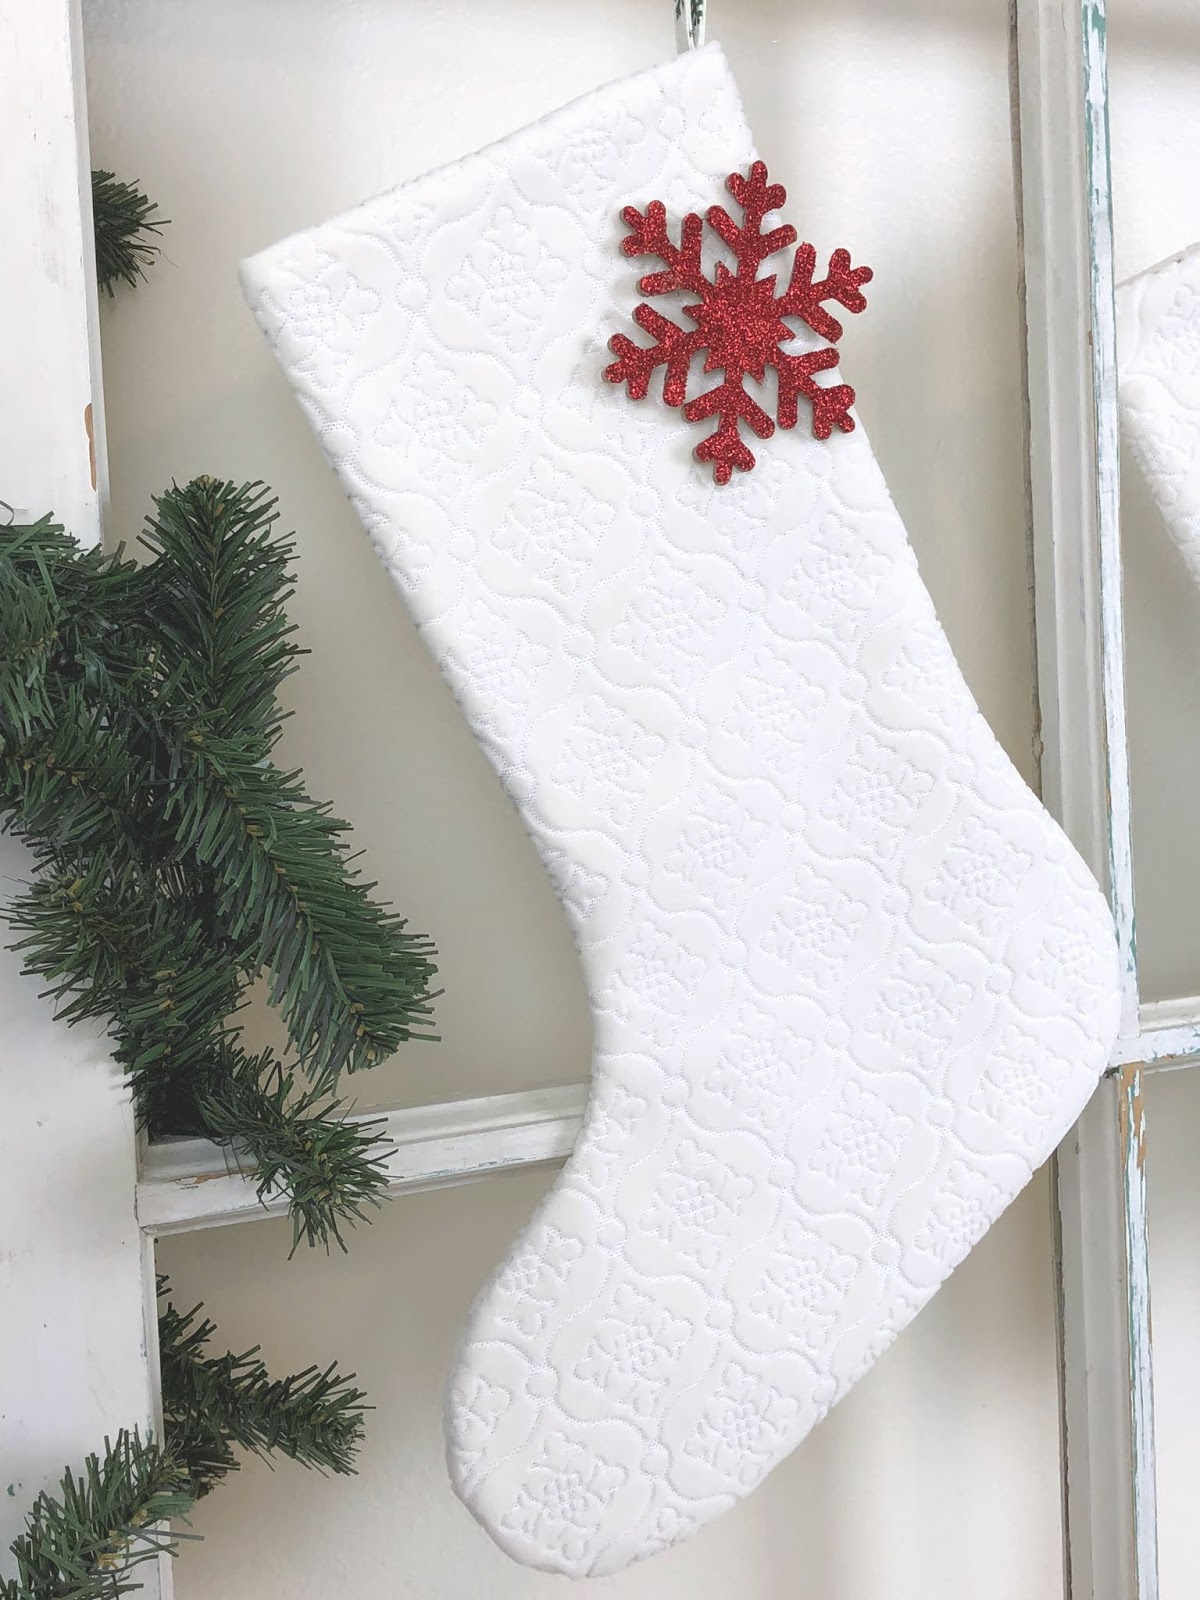
I cut chipboard snowflakes out using the knife blade on my Maker to embellish the stockings. Once they were cut out, I covered them with glue and glitter and hung them on the stocking using monofilament thread. I love the fun element they add!!
So, are you ready to DIY your holiday with the Cricut Maker?? What will you make first? I can’t wait to see! If you make these stockings, use the hashtag #makerstockings so I can see them all- don’t forget to tag me too!
Happy Making friends!
xoxo,
Amy

This is a sponsored conversation written by me on behalf of Cricut. The opinions and text are all mine.