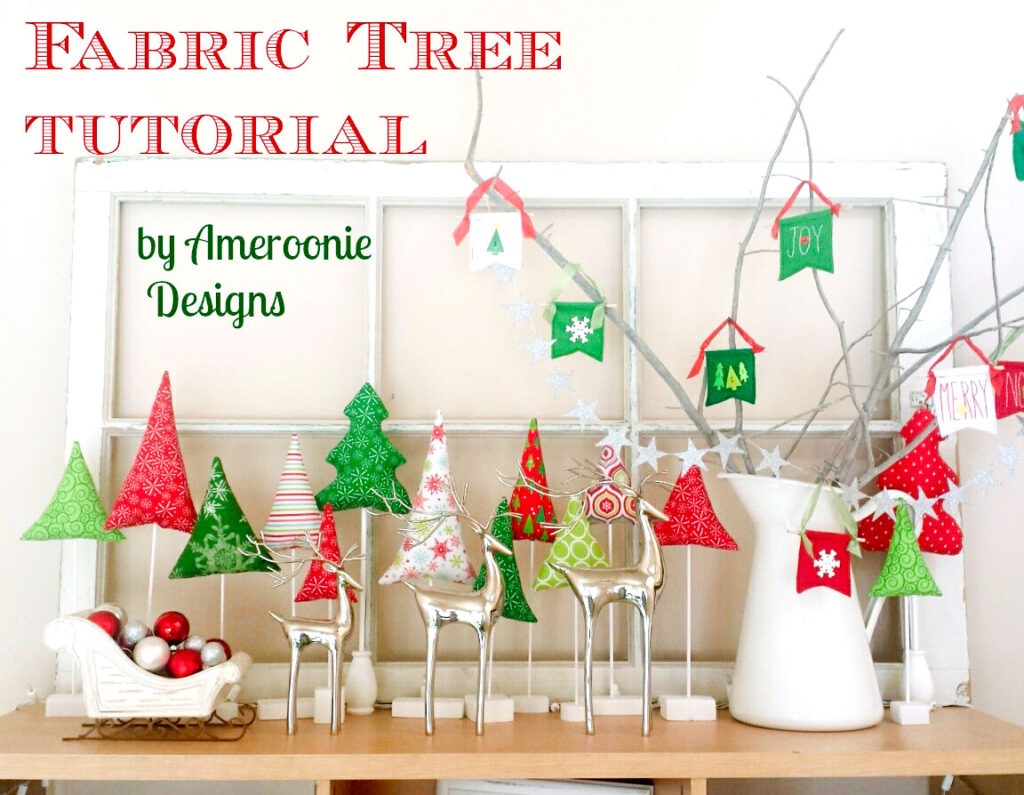
This Fabric Tree Tutorial was originally published 12/16/15 and updated on 12/11/19. This project was first posted on Tatertots and Jello as part of Jen’s Happy Holidays series.
Fabric trees are so much fun to make. They require very little supplies and time to make and can be customized to match any decor. These little trees are addicting. As you can see, I didn’t stop at just a few. (actually- I made a bunch for a boutique I was selling at and these are the ones that were left over.) I typically leave mine simple, but they can also be embellished however you like. Add trim, buttons, sequins or glitter to create your own unique tree. This Fabric Tree Tutorial will show you just how easy it is to whip up your own fabric tree forest!
If you want to see how I used this method to make custom trees for my girls’ room, you can see the holiday makeover in this post.
Fabric Tree Tutorial:
Supplies for Fabric Trees
- Fabric- scraps are great for this, but if you’re purchasing fabric- fat quarters or even fat eights will give you plenty of fabric to work with.
- Fiber fill
- Sewing supplies
- wood scraps
- skewers
- paint (optional)
- drill
Instructions for making Fabric Trees:
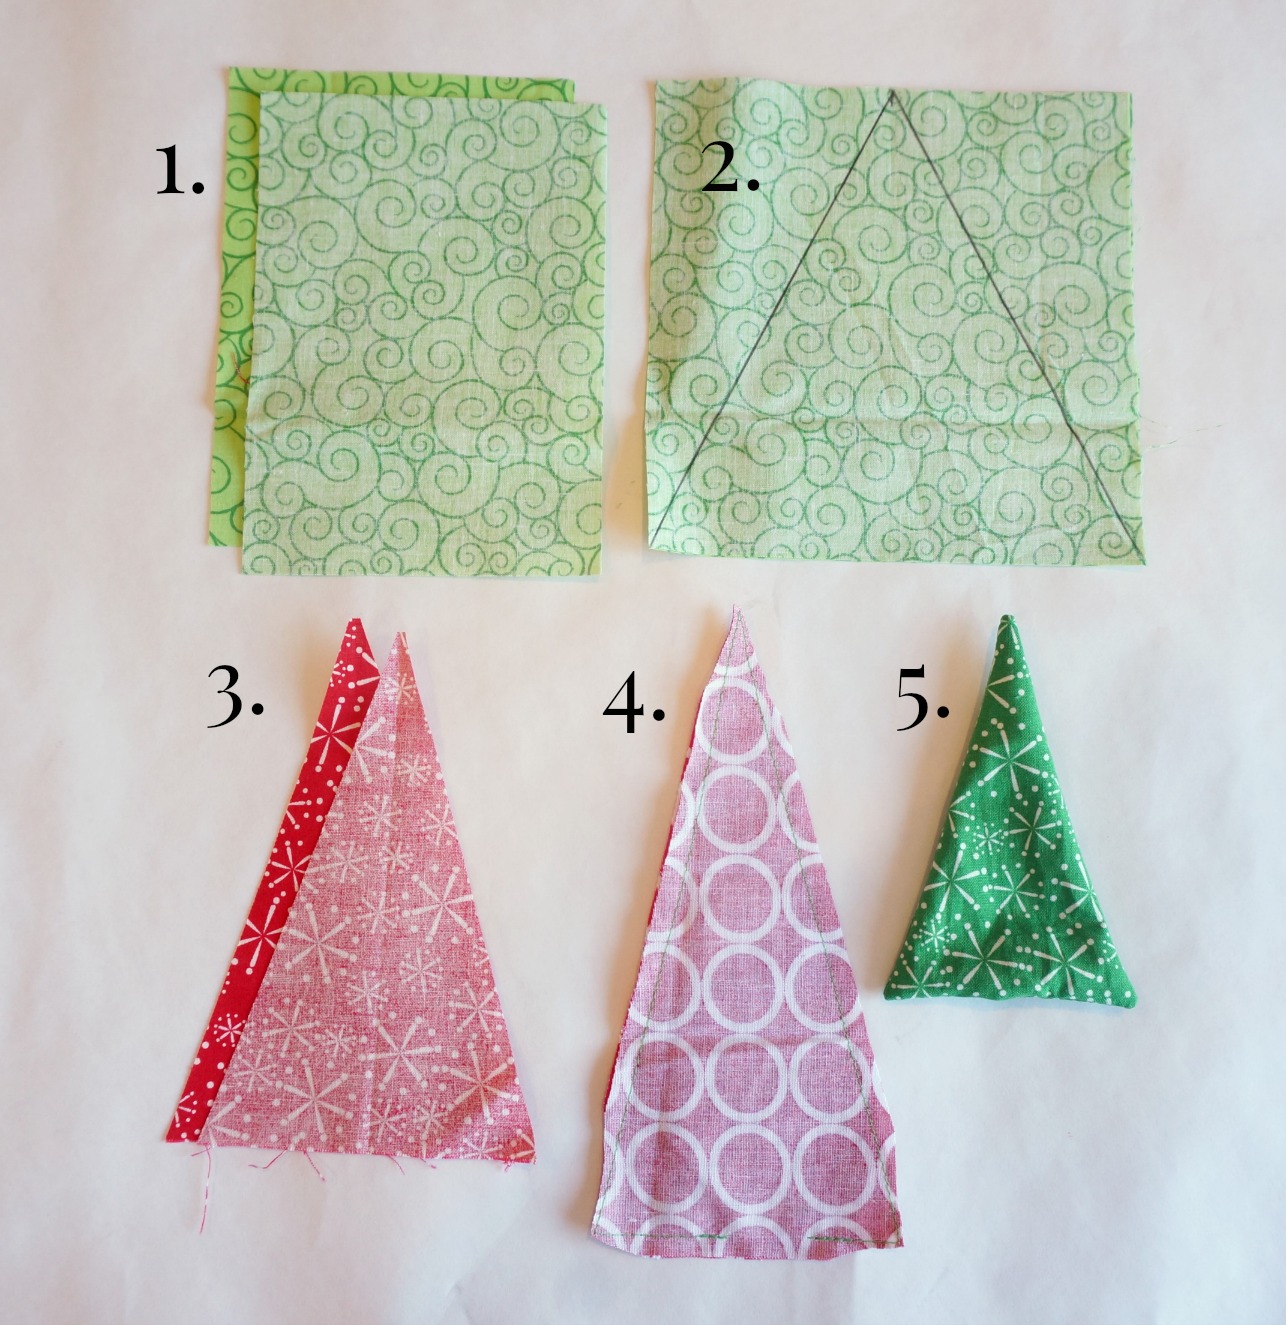
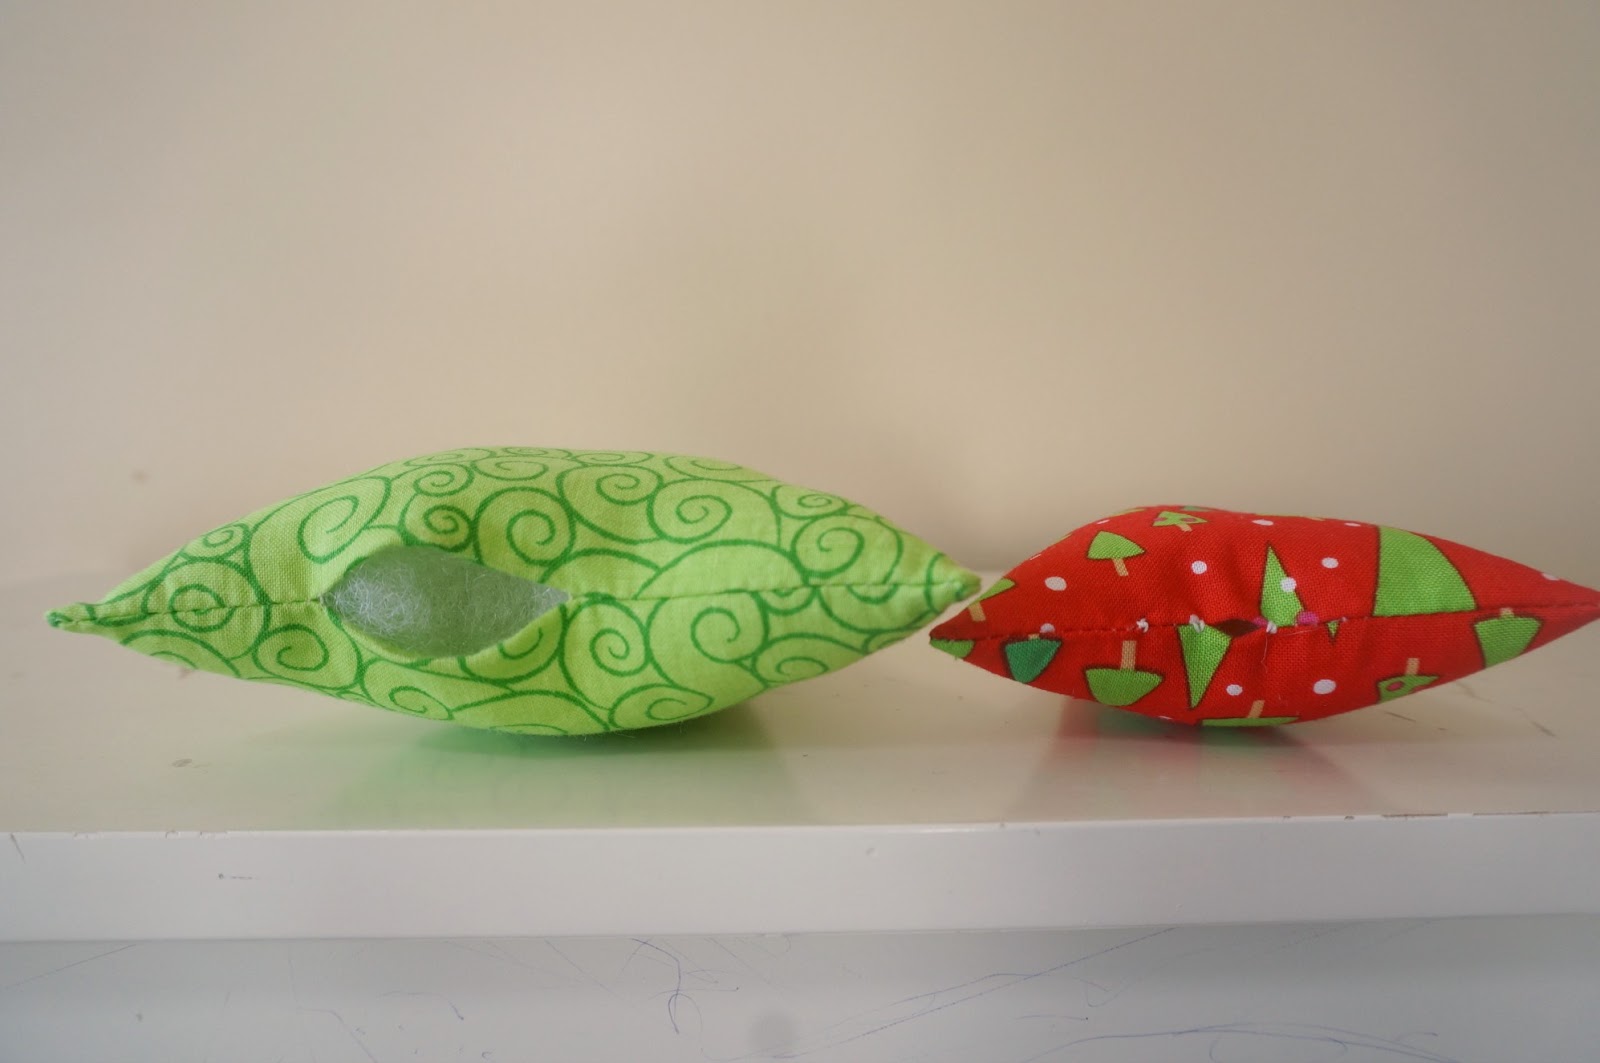
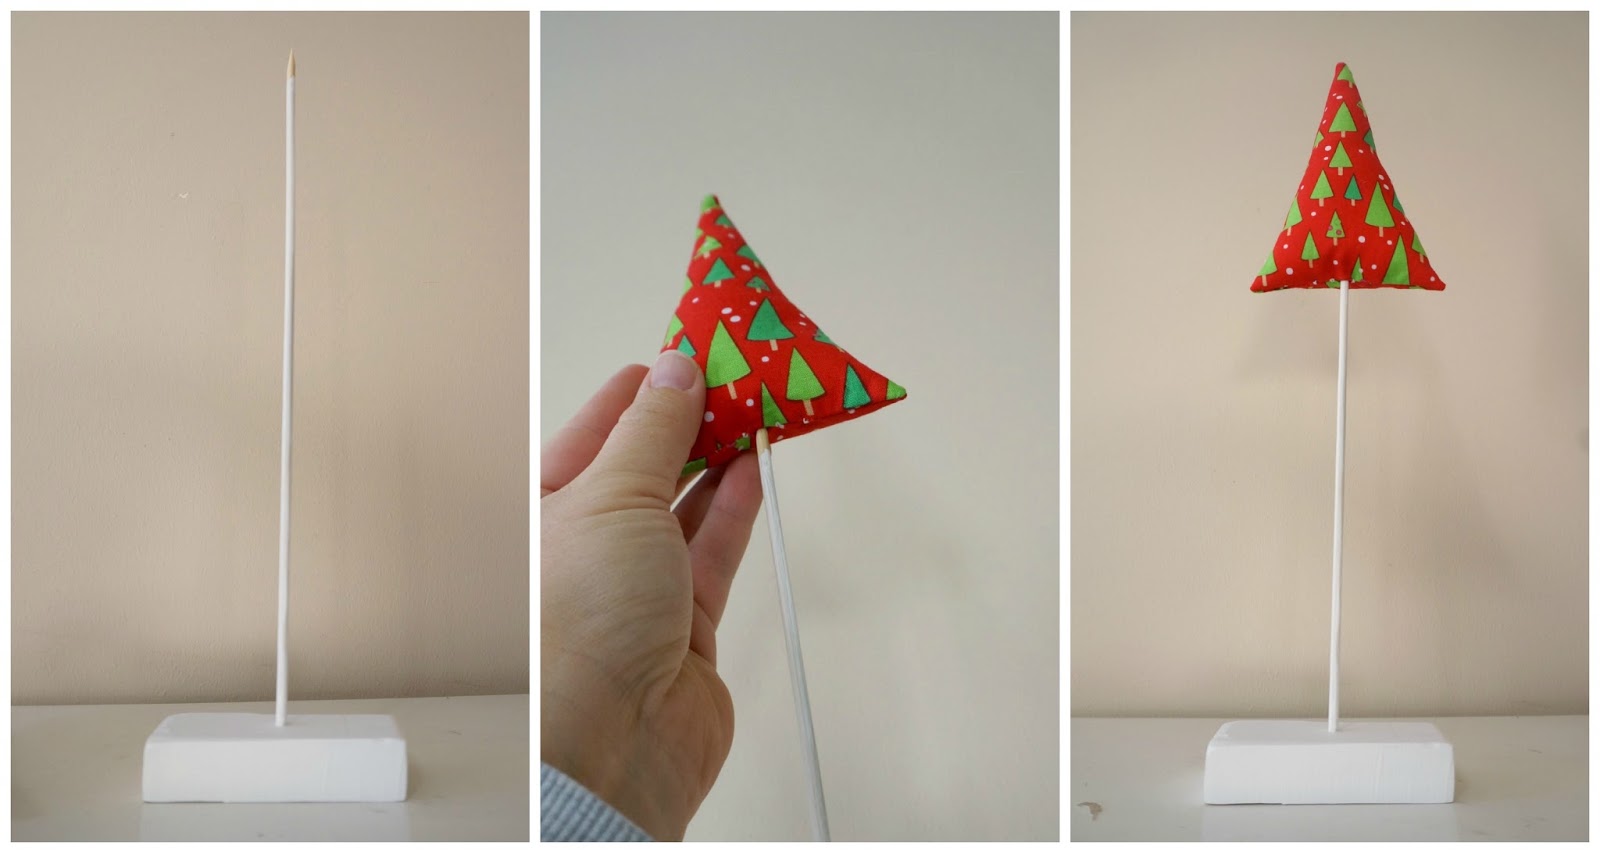
Finishing the Trees:
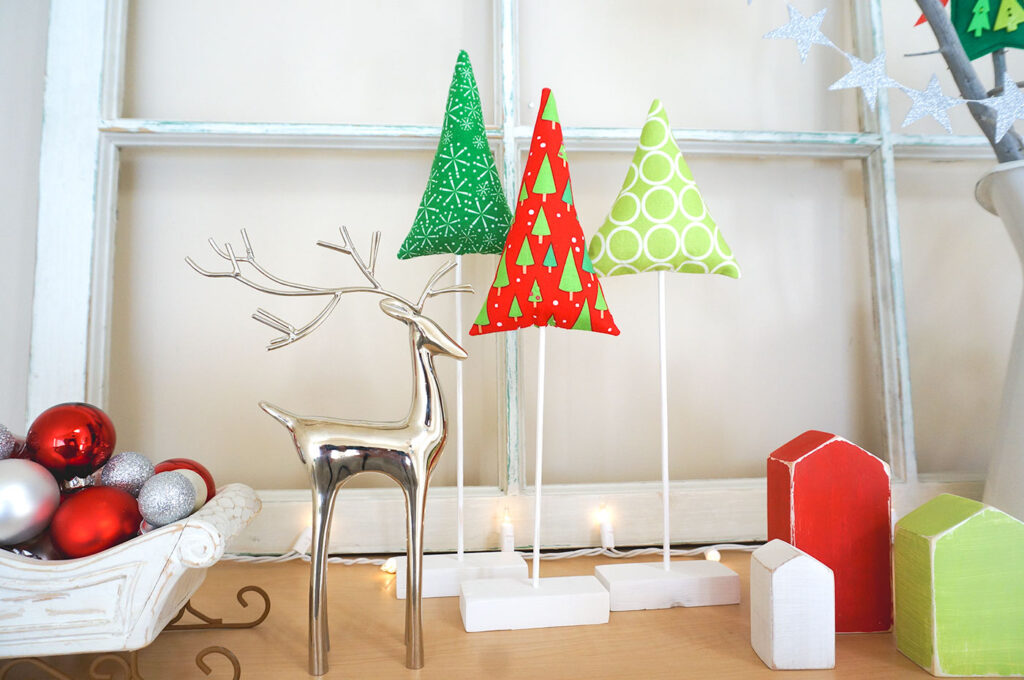
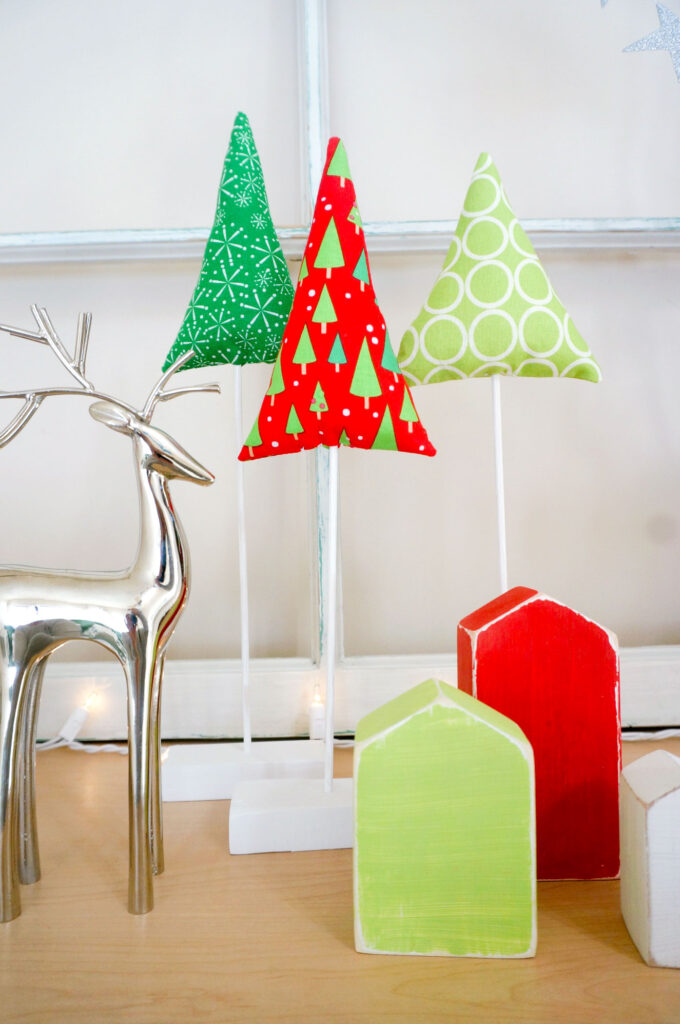
Take your scraps of wood and drill a hole just large enough for your skewer to fit in. My skewers ended up being 3/8″ in diameter. I painted my skewer and wood together, but if you want to be able to pull it out to store it, paint them separately. Now, all you have to do is slide your tree onto the stand. Using a skewer instead of a dowel makes it much easier to slide it on through the stuffing because of the pointy end. Adjust the height of the tree by sliding it higher or lower on the skewer- if you want them even shorter you can cut your skewers.
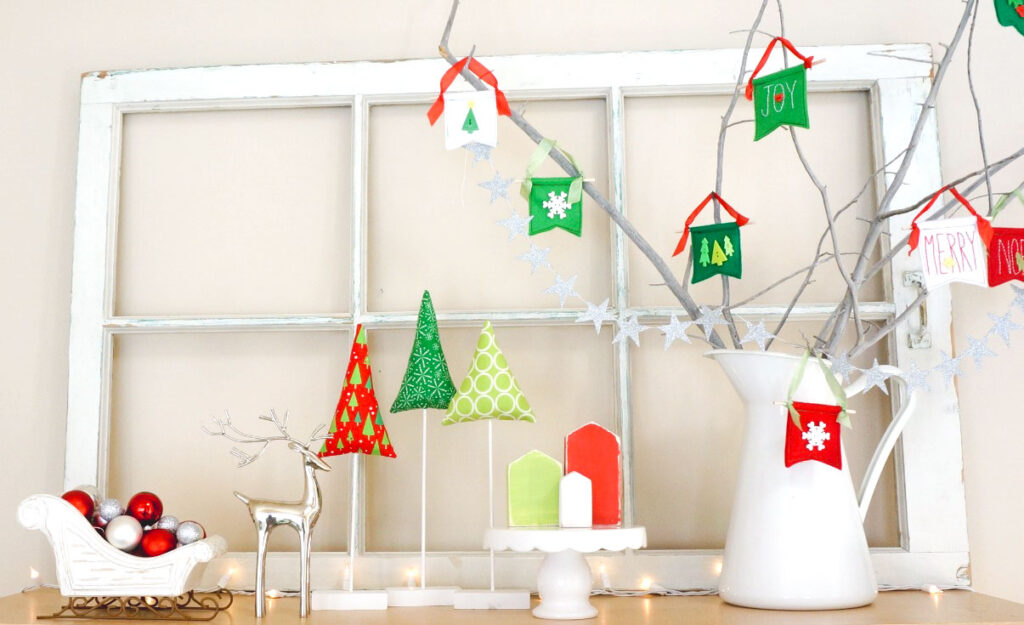
These trees are so much fun to make! With a few supplies and a bit of time you will find yourself with a new addition to your holiday decor you will love.
If you want to keep the ball rolling and make even more simple holiday decorations, you can find my super easy black and white shadow box, with paper trees here. And my Simple Christmas Banner is another fun afternoon project you will love!
I hope you have a blast crafting for Christmas! xoxo, Amy