This is a sponsored conversation written by me on behalf of Cricut. The opinions and text are all mine. This post also contains affiliate links, which means I earn a small commission on purchases made through the link- at no additional cost to you.
Cutting out patterns is probably my least favorite part of sewing. I’d much rather be putting pieces together, than cutting them apart. And that is why Cricut Sewing is my favorite kind of sewing. I absolutely love the Cricut Maker rotary blade, it is small but mighty! Because of the adaptive tool system, and the amount of pressure the blade can exert- you can cut so many different types of fabric. And the fact that the rotary blade rolls over the fabric, instead of a blade dragging across it, the cuts are clean and smooth! Sewing with Cricut is faster and in my opinion, more fun than sewing without!
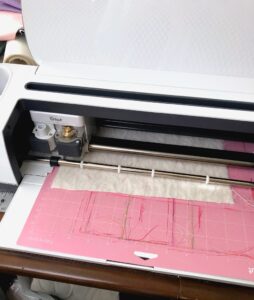
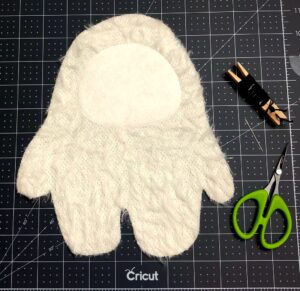
This fun furry knit fabric I found did give the Cricut Maker a bit of trouble cutting through on one of the pattern pieces- but I think it was more a factor of the mat being older and not even, and not selecting the right fabric type for the cut, because the other pattern piece cut at the same time worked just fine. I switched mats for the next version I cut and made sure to press the fabric really well to the mat and it cut much better. There were still a couple of spots where I had to use scissors to cut away the fabric, but next time I will just add a bit more pressure to the cut. (and I will totally be making more- all of my girls want one)
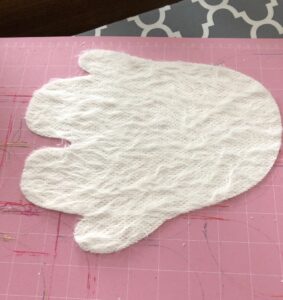
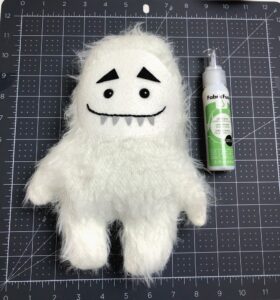
This is the one that cut perfectly, I LOVE cutting fabric with the Cricut Maker.
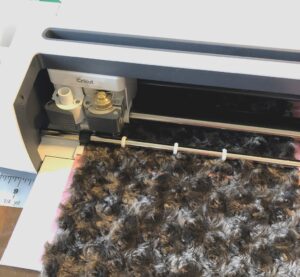
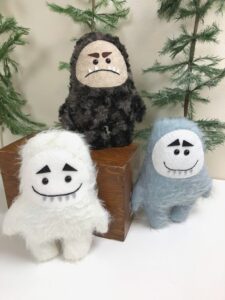
The faux fur fabric for this yeti plush was not a problem at all, cutting easily through on the first try! Although, you will need to clean out your rotary blade and everything else this fabric touches- it sheds like crazy!! The wool blend felt cuts like butter all the time. I used wool blend felt for the face, teeth and eyebrows. Just make sure to change the selected materials for each mat as you go.
This Yeti plush pattern is a Simplicity pattern available through Cricut Design Space. At less than $5 (and seeing that I will be making many of these) it was a great buy! I will walk you through the steps of assembly, since it’s always nice to see pictures. I chose not to have the Maker add the marks on the pattern pieces because I was cutting the fur side up (so right side up). So I just used the pattern on the computer as a guide for placement of the face, eyes and mouth.
Once you have all of your pieces cut out, you are ready to assemble the Yeti. Position the face and sew around. The pattern calls for using an overcast stitch, which works great, but you can also use a zig zag stitch and sew it down with your sewing machine.
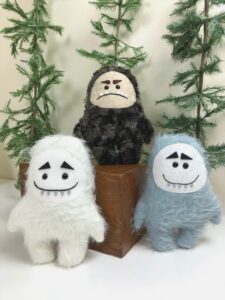
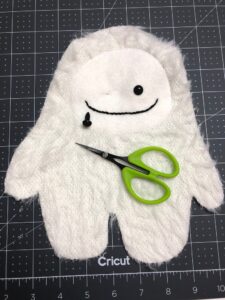
Next, you will need to stitch on the mouth. I made them different for each yeti plush (my daughter who requested the Sasquatch version also requested a grumpy face) and just stitched it down. If you don’t want to wing it, you can use a light mechanical pencil to mark it or use a water soluble pen, just make sure you have time to let the piece dry before continuing.
Safety eyes are super easy to install. Just make a small slit with a pair of sharp scissors where you want the eye to go. Then, push the stem of the eye through the hole from the right side.
Turn the body of your yeti plush over and push the ring on the stem to secure in place.
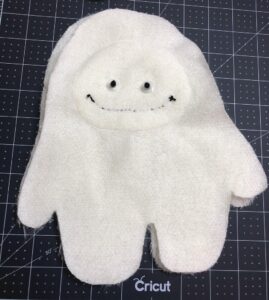
Now we’re ready to put our two body pieces together. I put the back of the yeti right side up on my surface, then place the front of the yeti right side down on top of it. Pin really well around your yeti. *Especially if you are using a stretchy or slippery fabric, it will shift a lot on you as it goes through your machine. Make sure you pin well and take your time sewing it together.
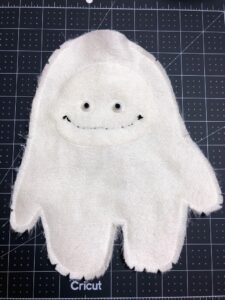
Stitch around the entire monster, leaving an opening at the top for turning.
Clip notches into the outside curves, and cut slits up to the stitching on the inside curves.
Turn right side out and stuff.
Stitch the opening in the top of the head closed.
Now, glue on the teeth and eyebrows. Play around with the positioning of the eyebrows first, they will completely change the personality of your monster.
Once your glue is dry, your monster is done!!
The Cricut Maker makes sewing so much fun! And as you can see, it does a fantastic job of cutting lots of different materials, even thick faux fur and fuzzy knit like this yeti plush! I’m excited to keep pushing the Maker to see how creative I can be!
What will you sew with your Maker?
xoxo,
Amy
For more sewing inspiration with the Cricut Maker:




amy smart
April 28, 2019 at 3:18 pmThese Yeti's are the cutest!!! I love how the each have their own personality.