Are you in the market for a new cutting machine? Wondering if you should upgrade from the Explore Air 2 to the Maker? Not sure at all what I’m even talking about? Well, this post is for you! Today I’m going to tell you why the Cricut Maker is my new favorite sewing tool and some things you should think about if you’re considering a new Cricut. Plus, I’ll give you the how-to on these darling stuffed pumpkins- all cut out with my Cricut Maker! *this post contains affiliate links and is sponsored by Cricut. Opinions and patterns are mine.
First, let’s talk about the differences between the Cricut Maker and the Cricut Explore. If you’ve never seen or used an electronic cutting machine- you are missing out! They make crafting so much fun and open up so many creative doors. The Cricut Explore can cut a wide variety of materials, including cardstock, vinyl, iron-on and much more. But, the Cricut Maker can do all of that and much, much more! With the adaptive tool system, the Cricut Maker has a lot more versatility! The added pressure the Maker has allows the machine to cut through materials such as leather, chipboard and balsa wood! But my very most favorite thing about the Cricut Maker is its ability to cut FABRIC!!! I have had a couple of Cricut machines over the years, and used them for lots of projects, but as my creativity turned more and more toward fabric, I found I was pulling out my Cricut less and less. The Cricut Explore technically can cut fabric- but it has to be backed with something, like interfacing or freezer paper, and even then, it’s not always a clean cut because the blade drags across the fabric to cut it. You can see the pouf I made with my Explore in my post here. Cutting fabric with the Explore is limited to cotton fabrics and usually I found that it was simply easier to cut out the fabric by hand than to go through the process of backing my fabric and then attempting (and not always succeeding) to cut it.
Enter the Cricut Maker!! You guys, this machine has made me so very, very happy! The rotary blade is a teeny tiny dream come true!
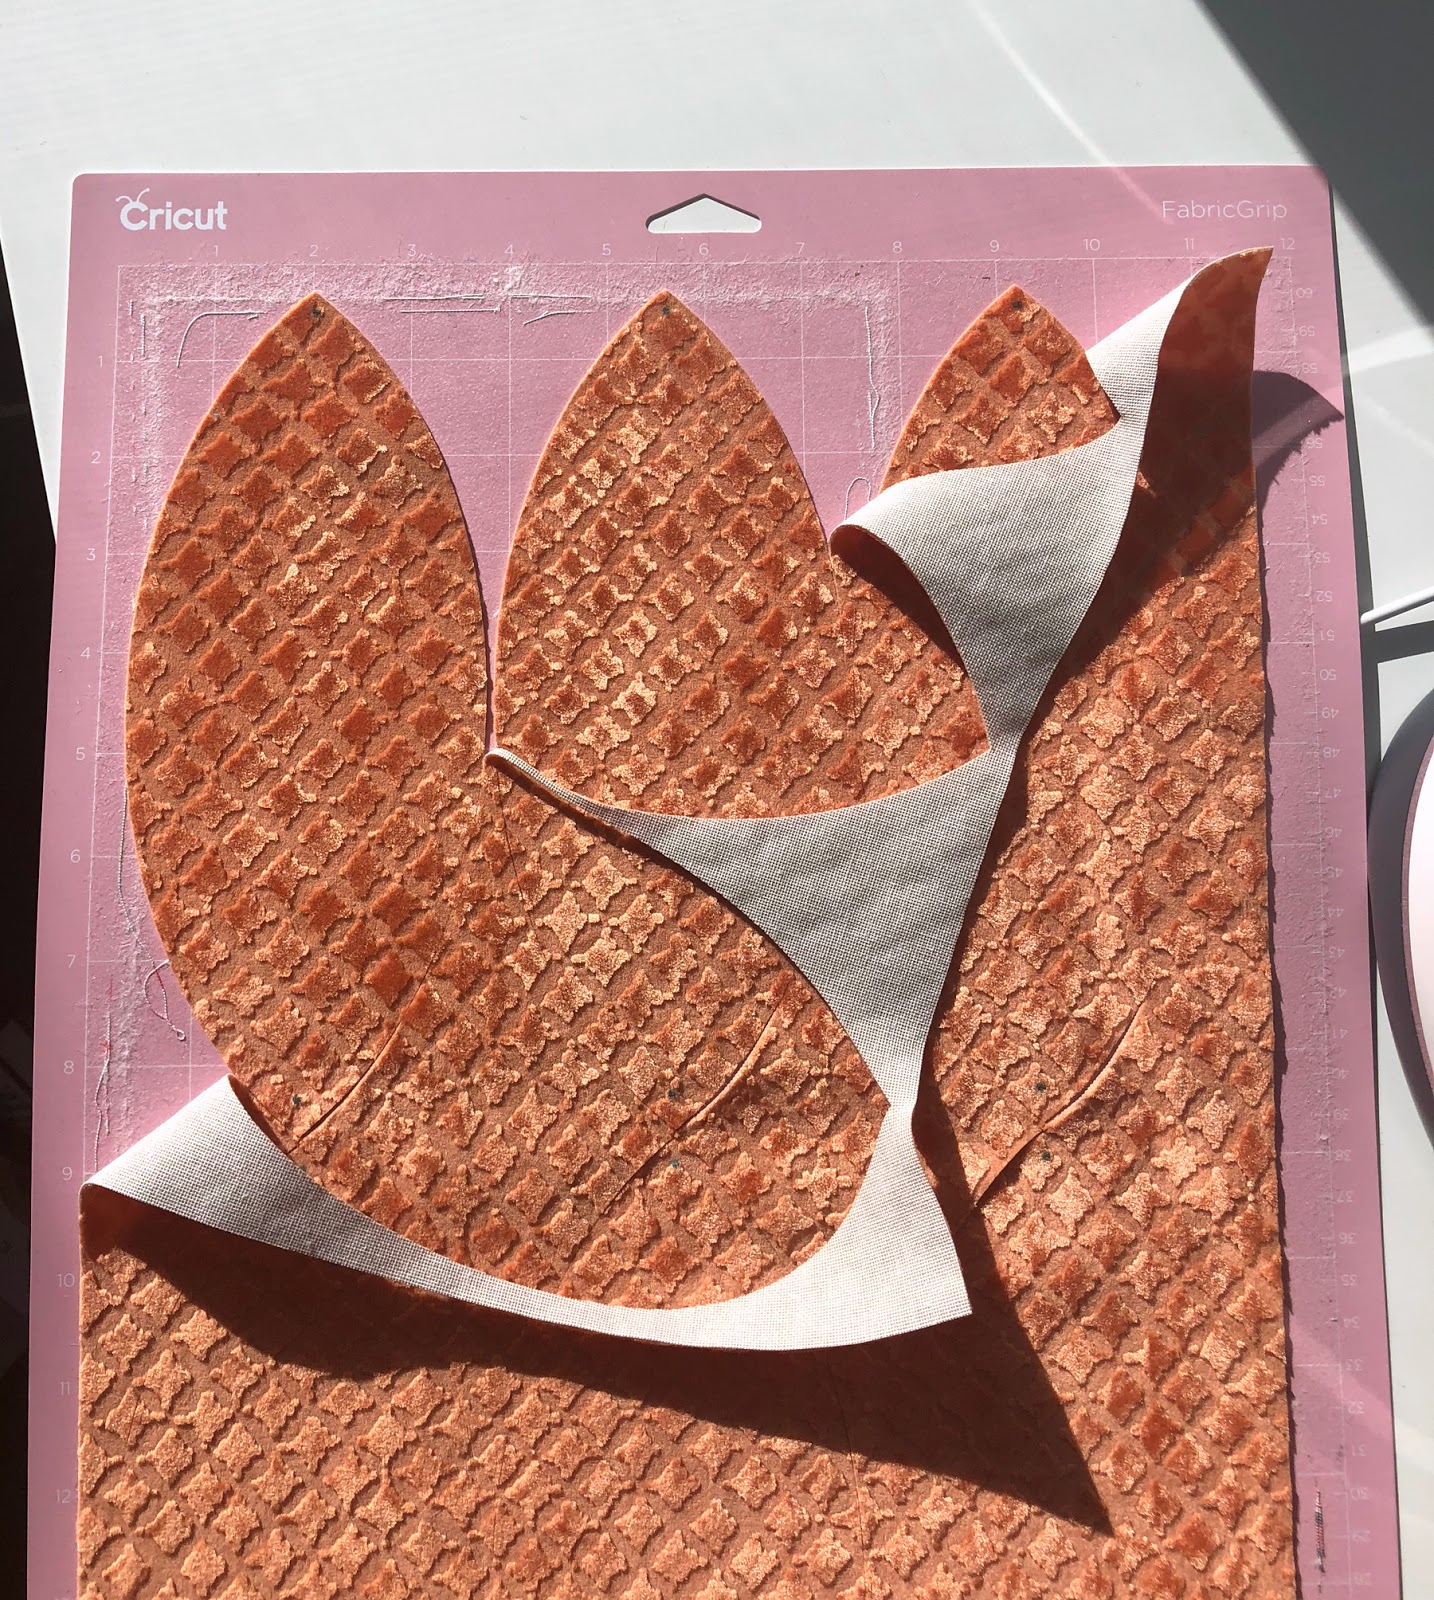
You can see here how cleanly it cut through this embossed upholstery weight velvet fabric!
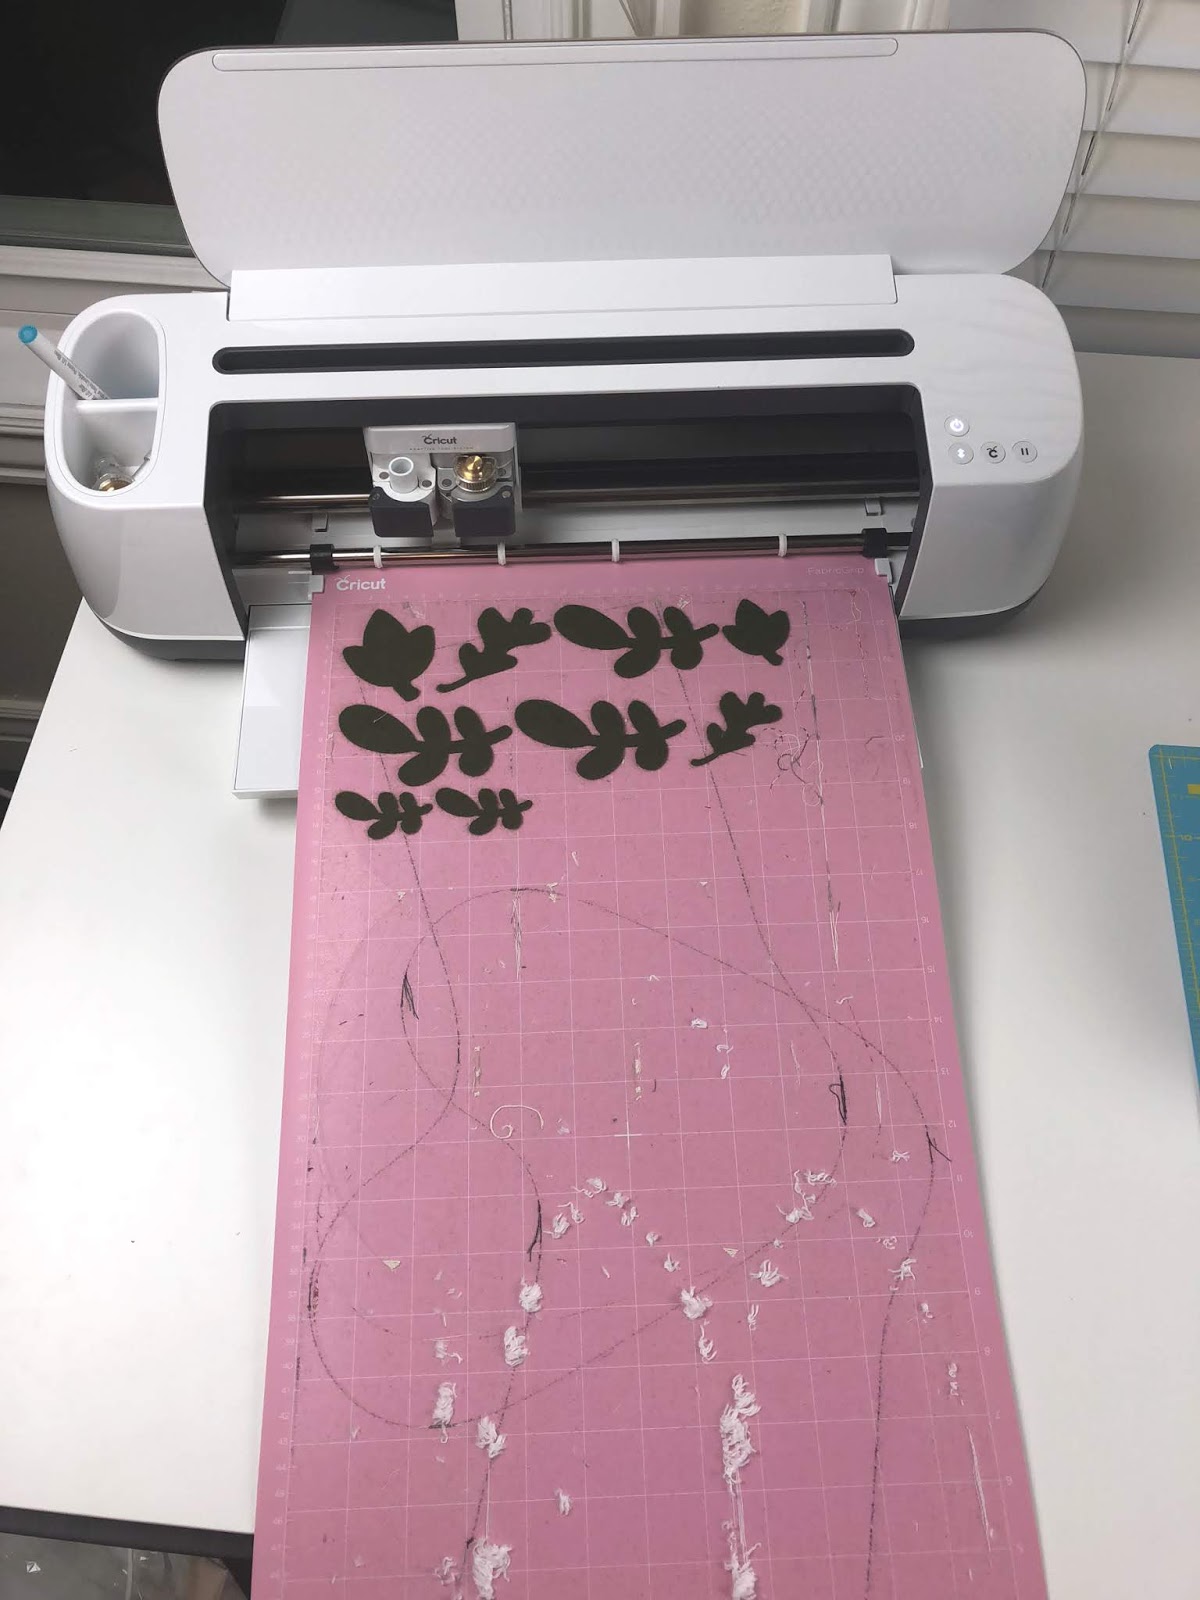
And this wool fabric was no problem at all! look at the details it can cut! I will say that the rotary blade is not meant to cut curves smaller than 3/4″, especially interior curves, it can damage the mat. And, the rotary blade is small, but not that small, so there are limitations to the shapes it will cut, but I have yet to find a fabric this machine won’t cut. (you can see the left over fuzzies from the chenille I cut too! Anyone else hate working with chenille because of all the lint??)
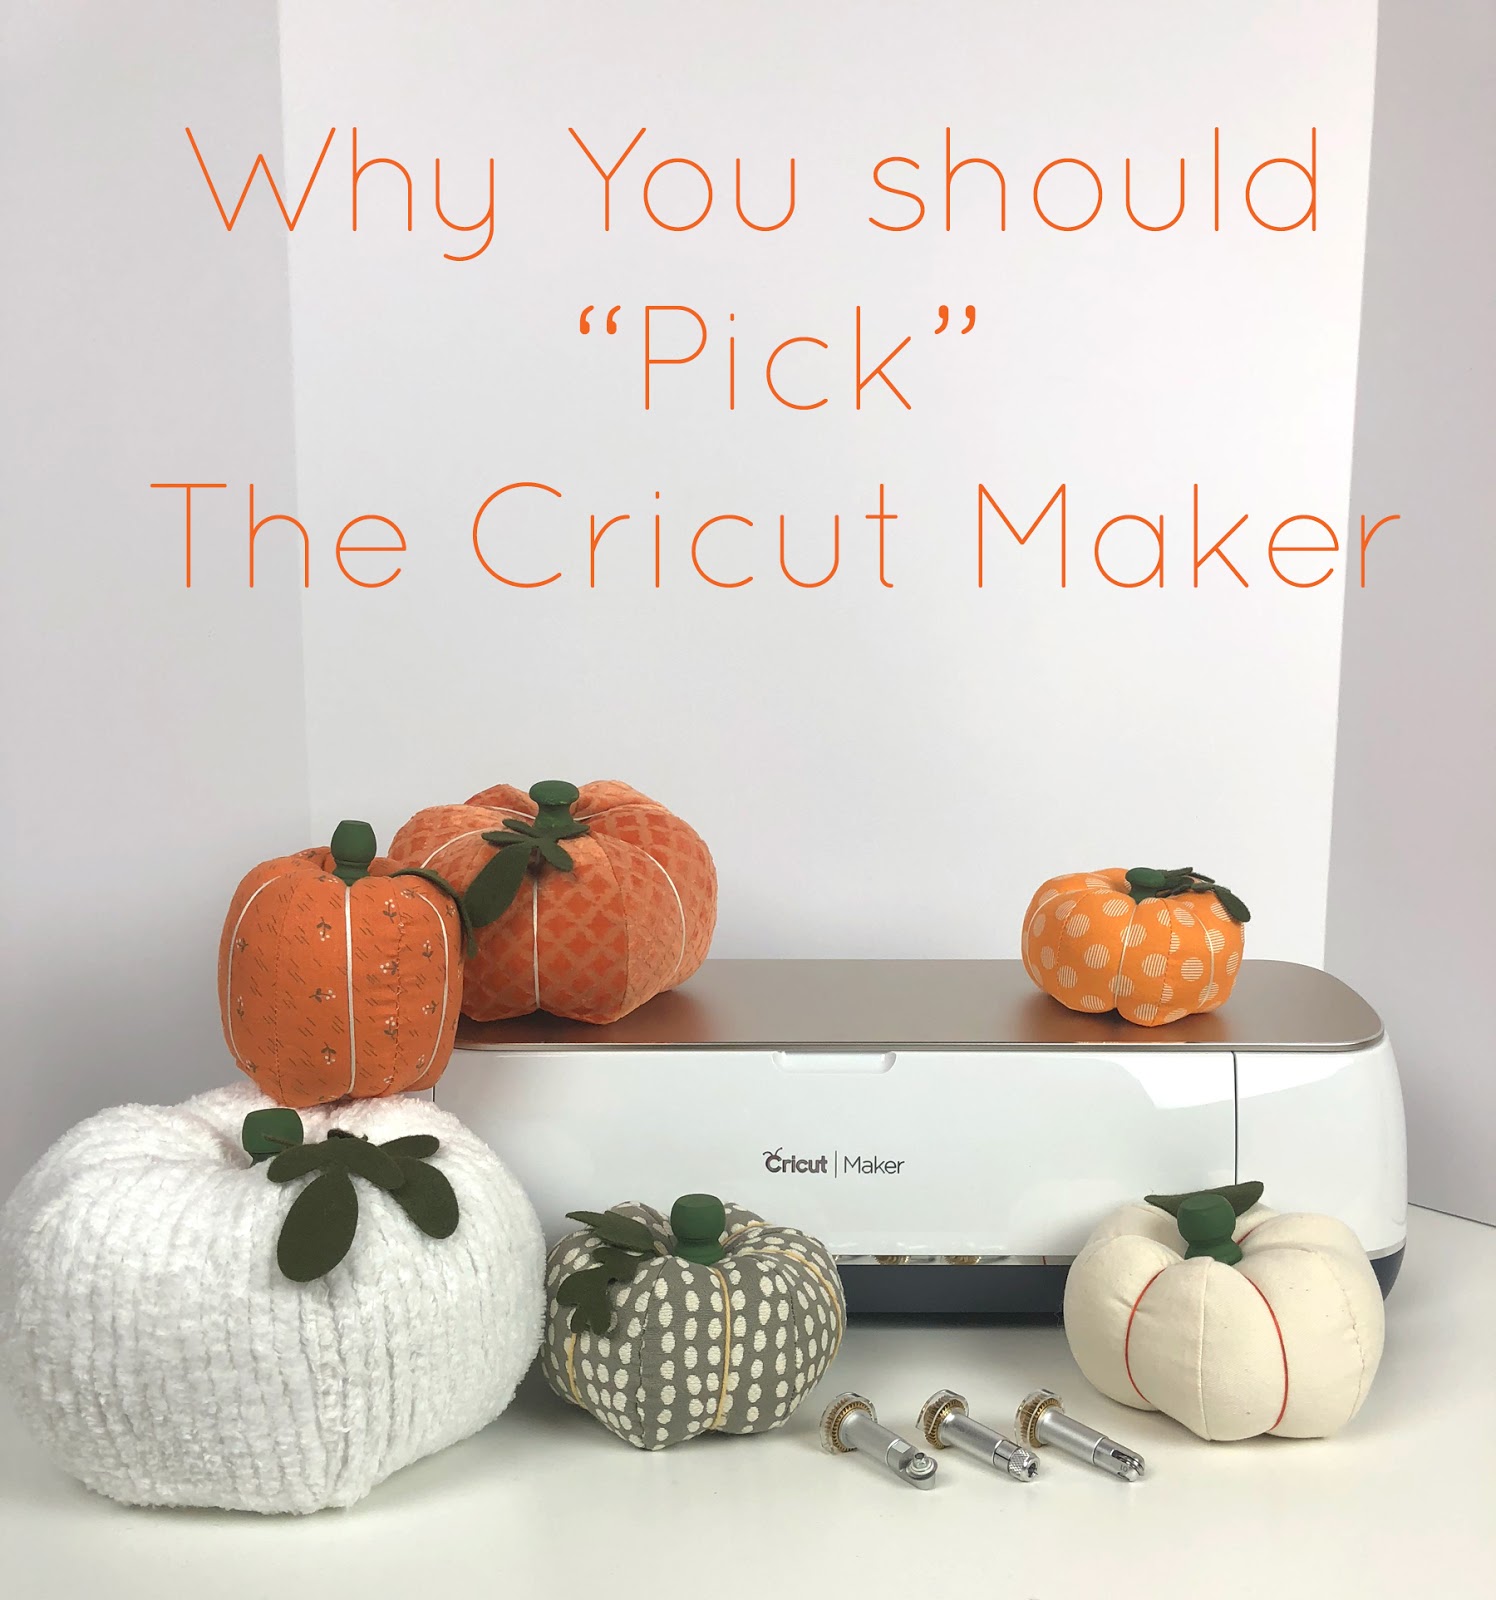
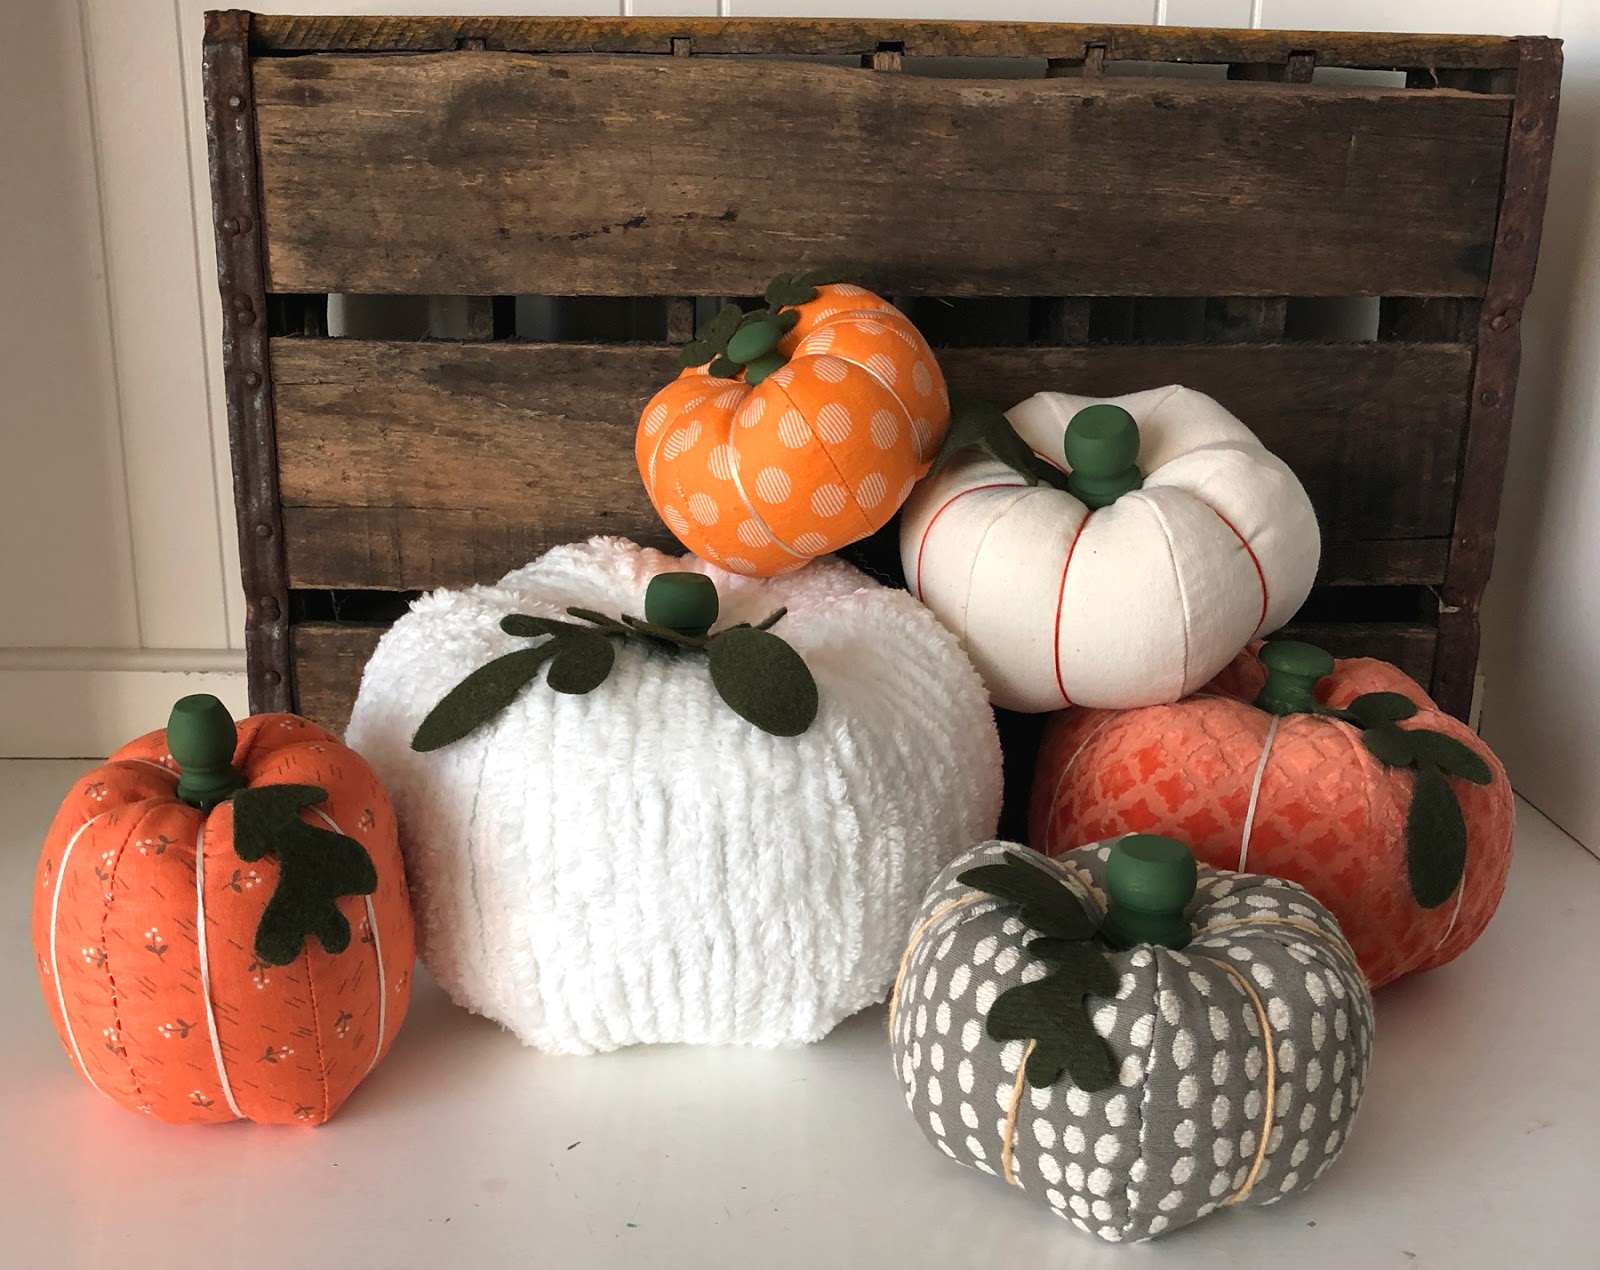
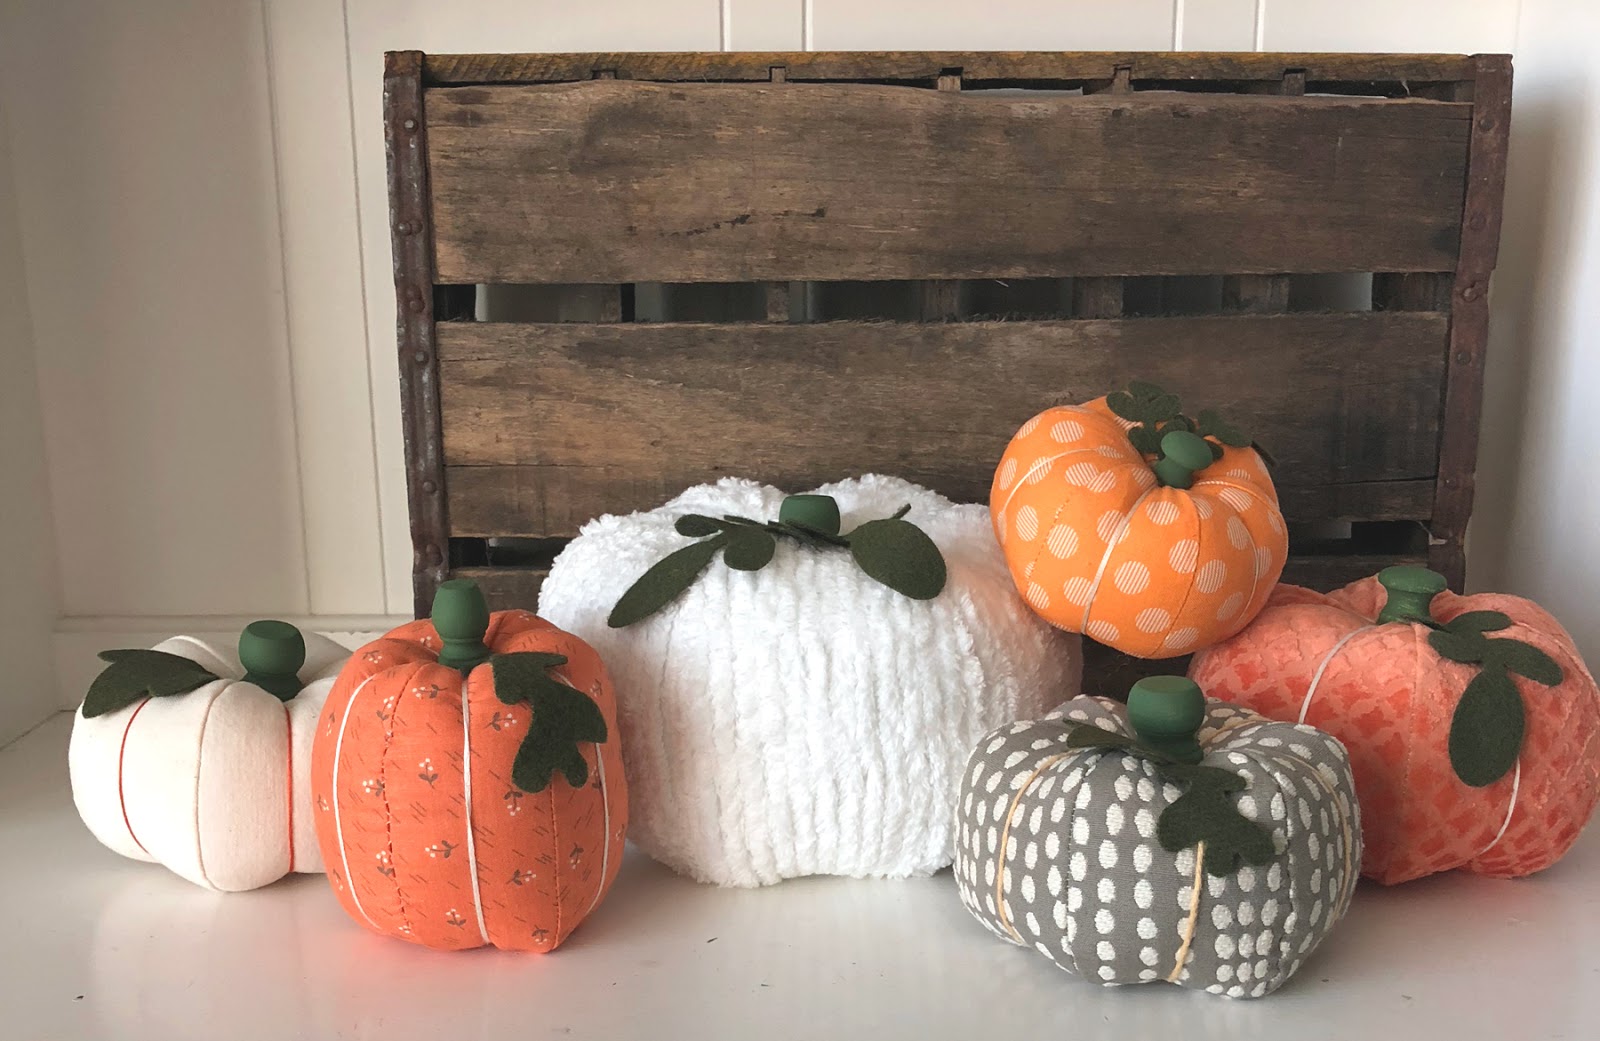
I decided to pull out my bin of thick fabric and sew up a bunch of different textured pumpkins- just to test out the Cricut Maker and see if it would tackle them all. And boy did it!
First, I made the shape for the pumpkin sides in design space (that’s the app that runs the Cricut Machine- it’s free to download and play with and you don’t even need a machine to give it a test run to see if you like it) if you want the file you can find it here. I adjusted the size of the pumpkin sides to make a variety of pumpkins starting with 2.5″ (W) X 5″ (H) (the small cotton fabric pumpkin) all the way up to 4.125″ x 11″ (the chenille one). I placed a dot to be marked at each end of the panel so I would know where to start and stop stitching, but if you adjust the size of the piece, you will also need to adjust the placement of the dots. They should be 1/4″ away from the ends and centered. Set your machine to cut 6 panels and watch the magic happen!
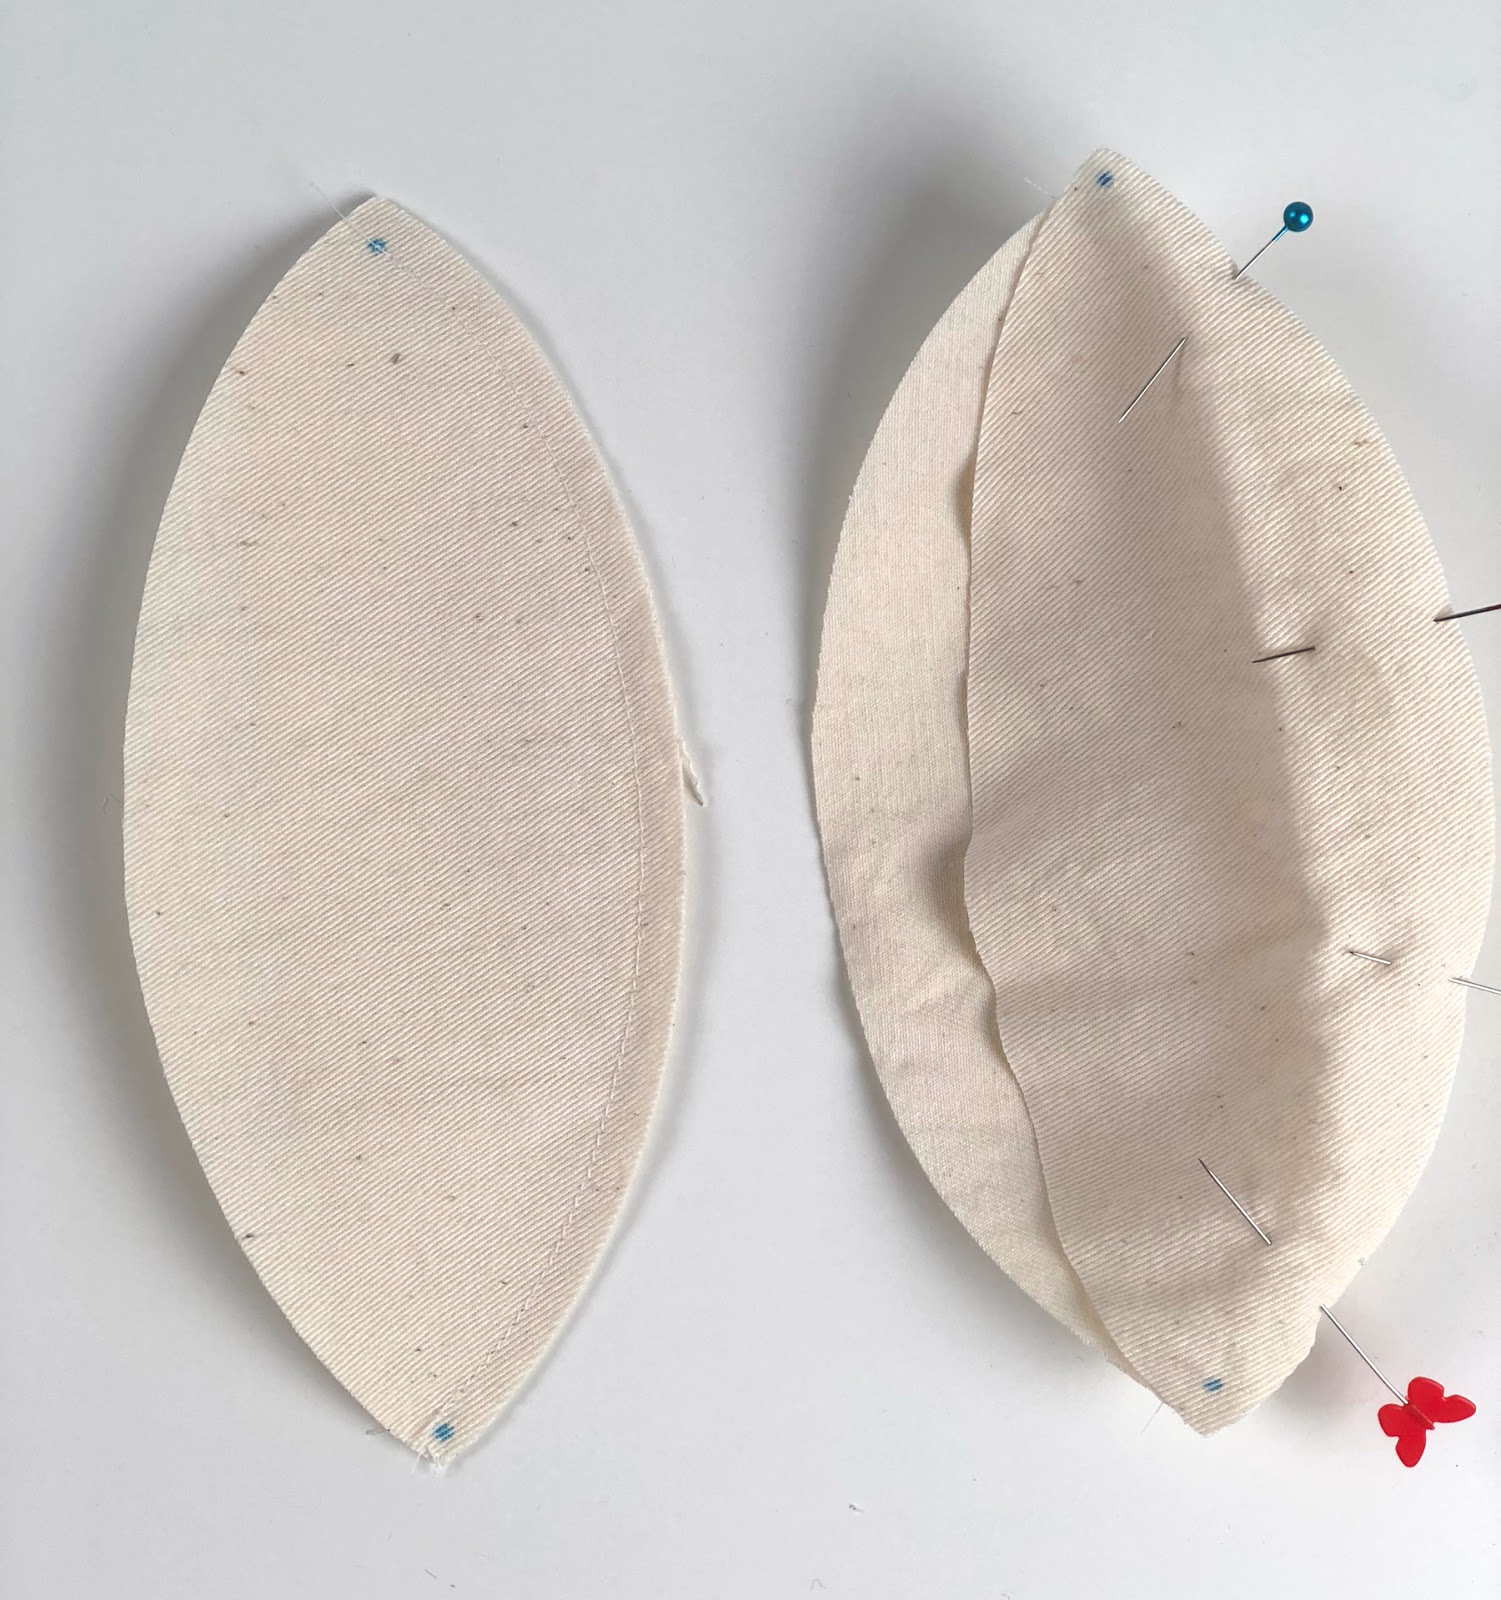
Once you have all 6 of your pumpkin pieces cut out, you will begin by sewing 2 sets of 2 pieces together on ONE side, from marked dot, to marked dot. Then, take a third piece and sew it to one side of your pair, again sew from dot to dot. Finally you will take your 2 pieces of 3 panels and sew them together around the open edges. Make sure to leave an opening for turning!
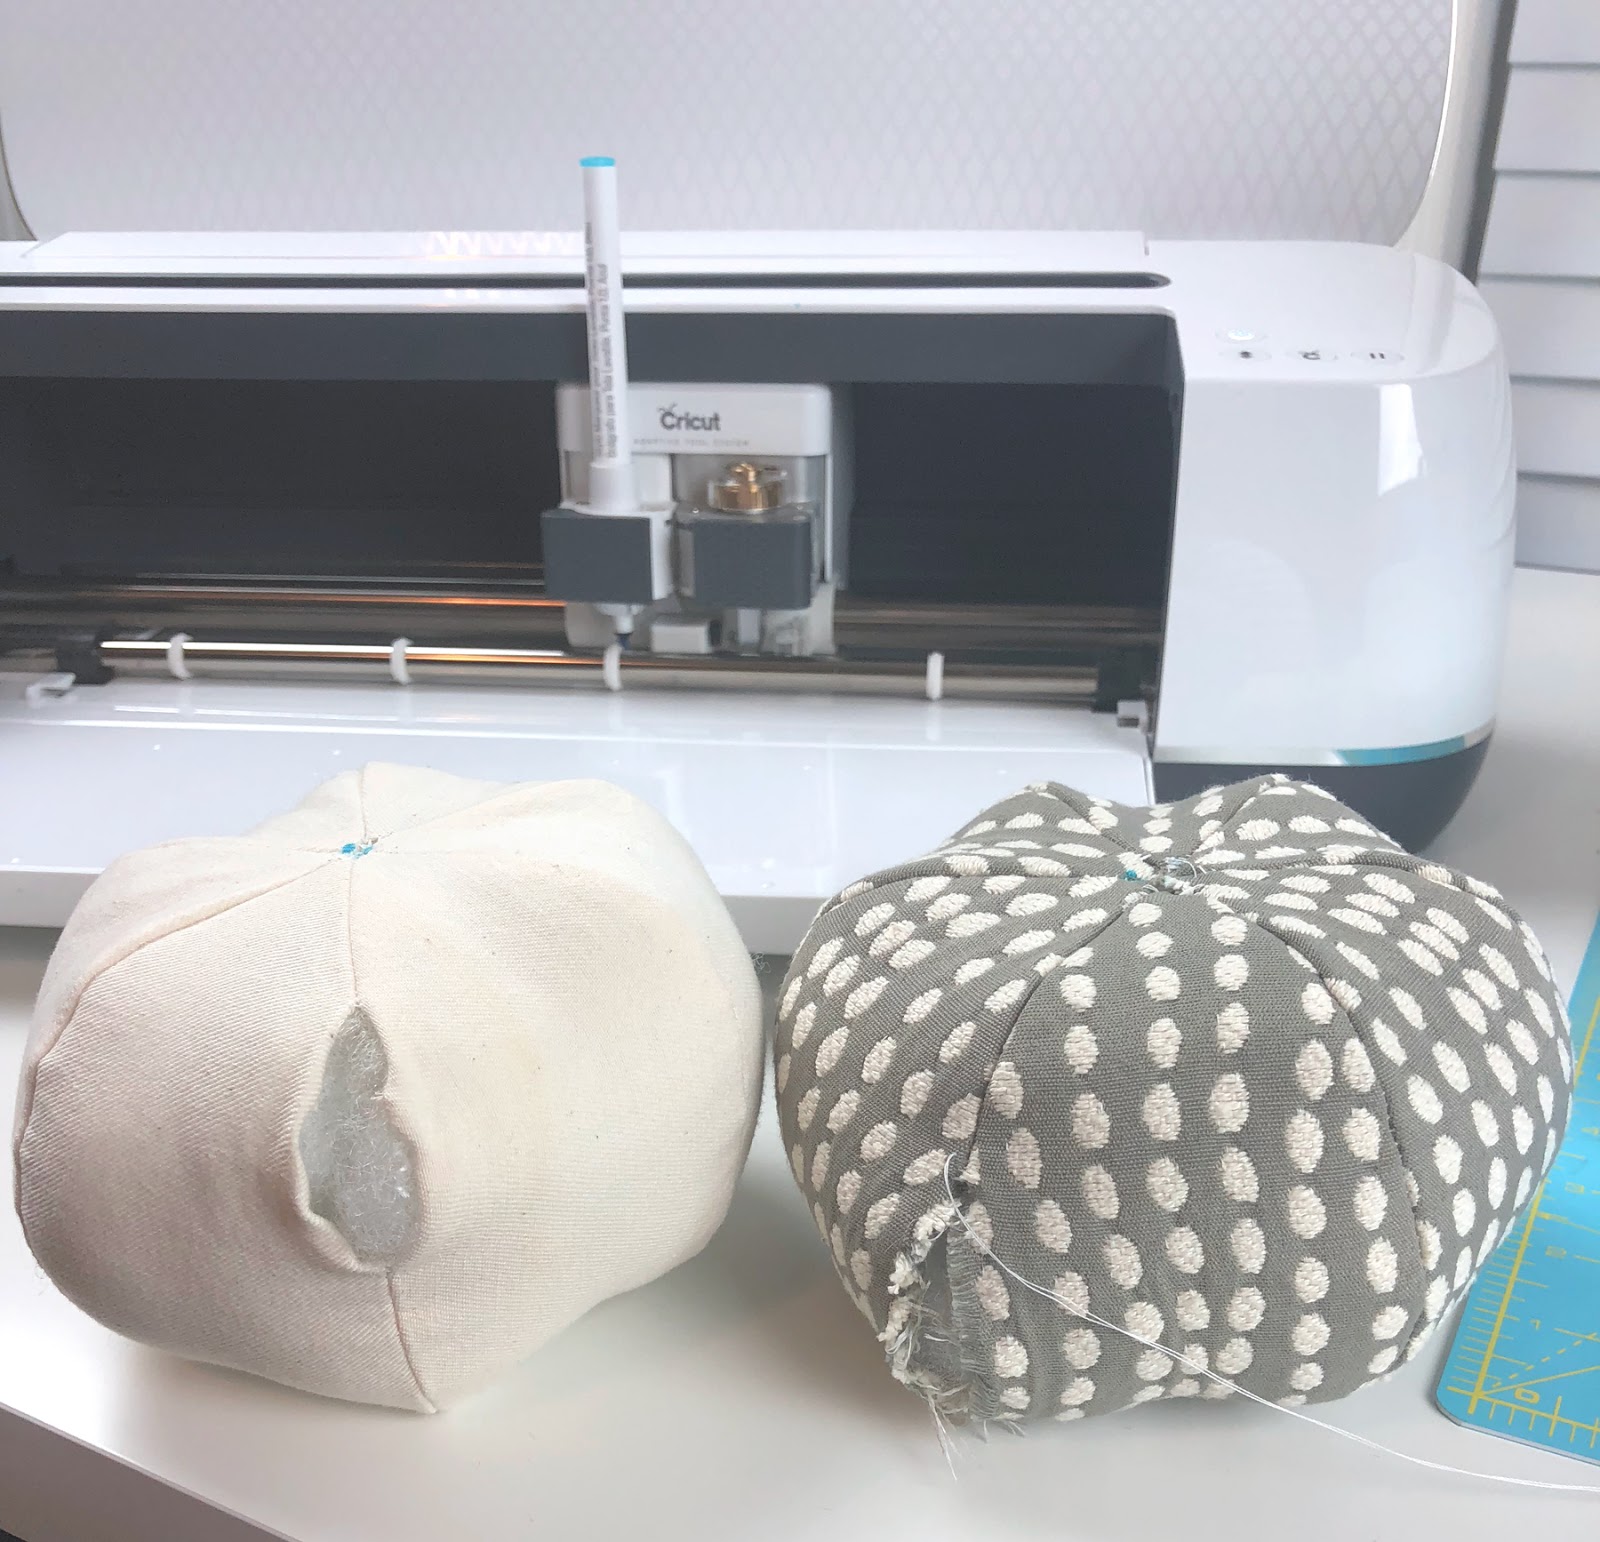
Turn your pumpkin right side out and stuff. Once you have it full, add a bit more stuffing! You want your pumpkin really firm! Use a needle and thread to sew the opening shut.
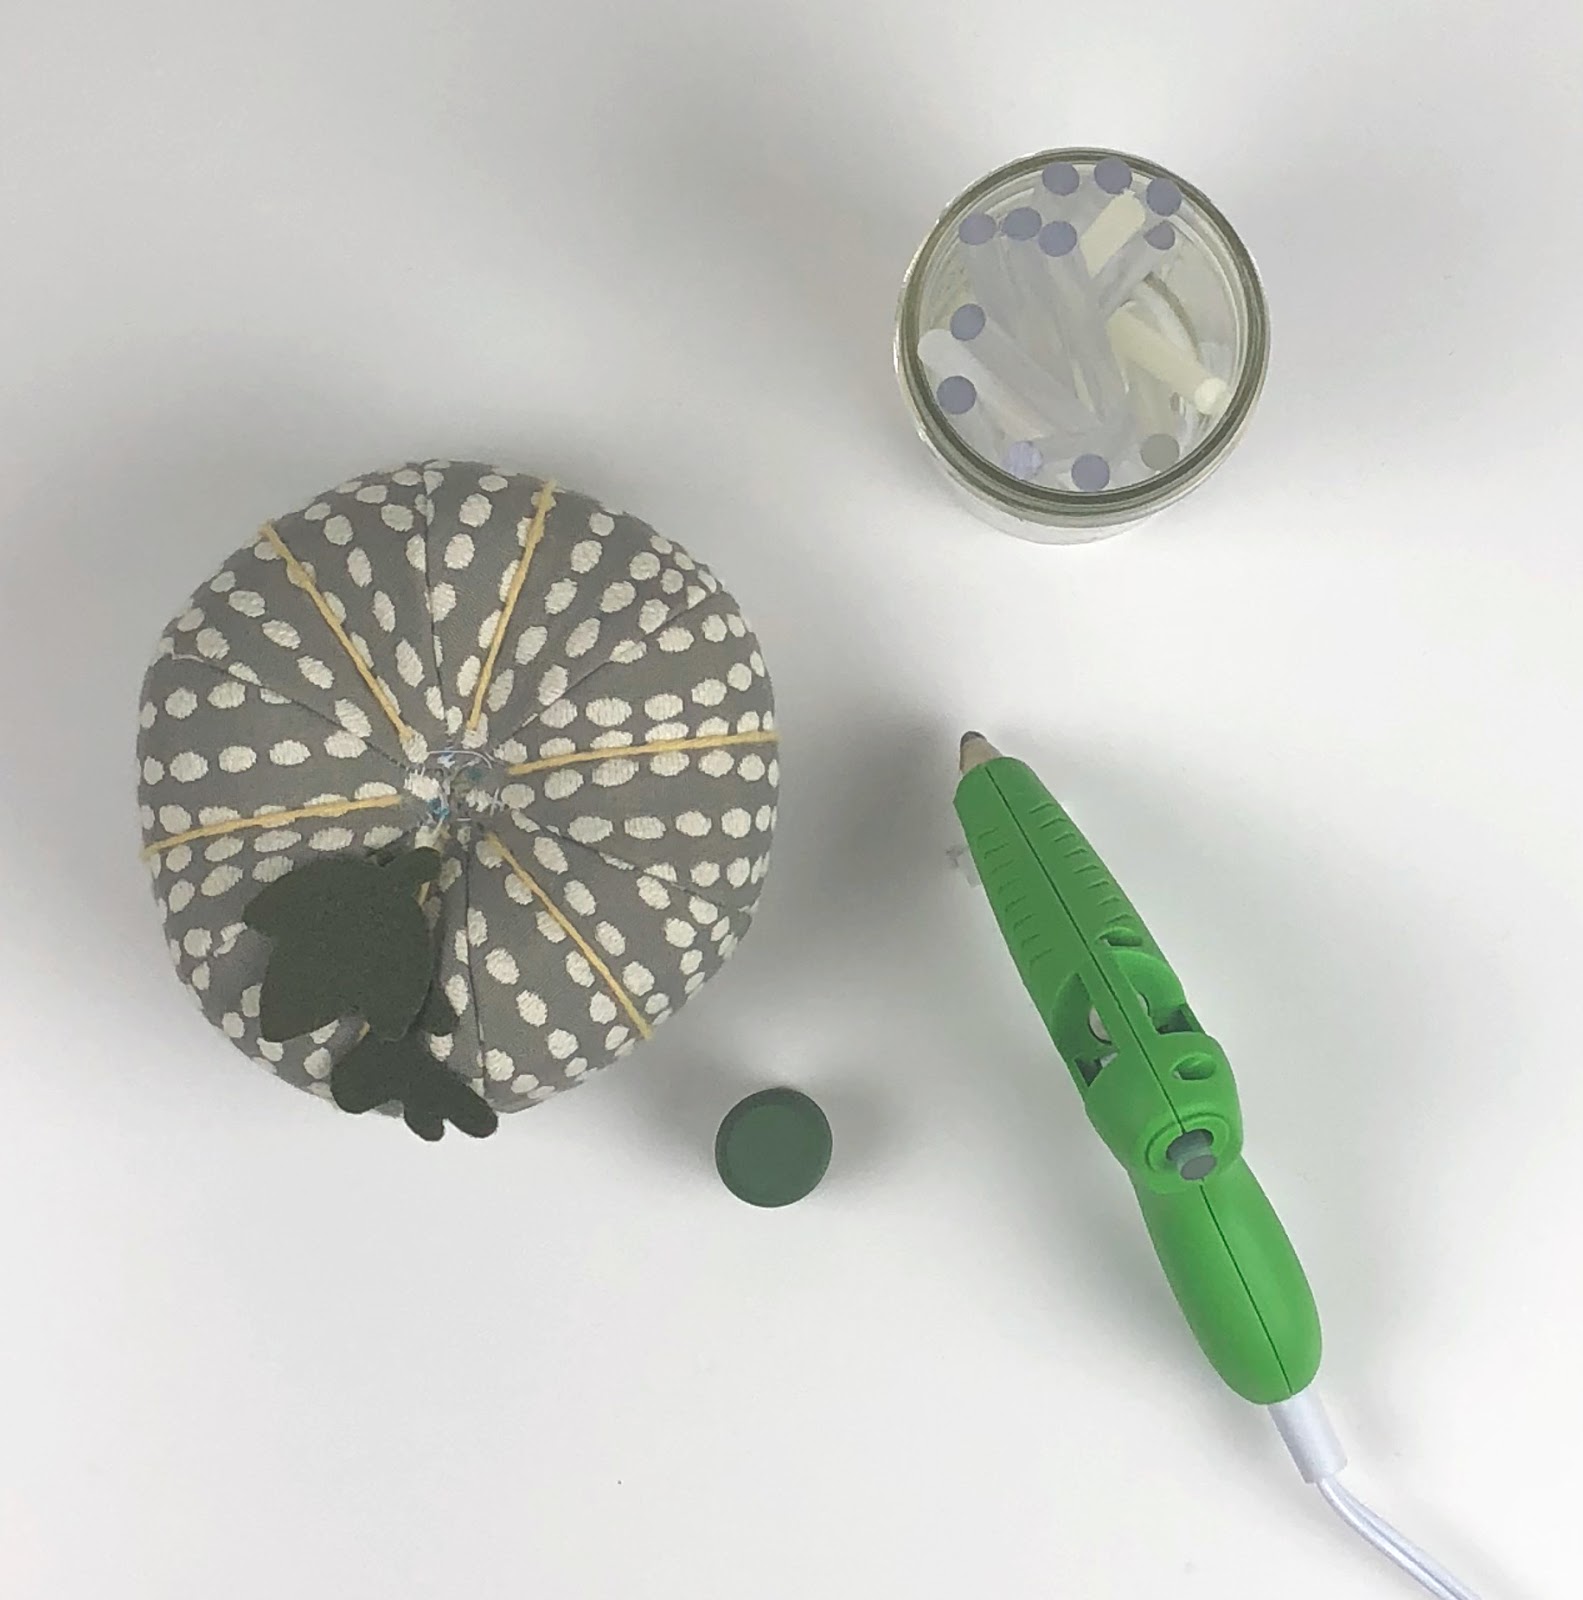
I wanted my pumpkins a bit more tufted, so I took a long needle and some yarn and embroidery floss (depending on the pumpkin) and stitched through the panels pulling it tight to create more ridges in the pumpkin. I finished off my little guys with a wooden knob painted green and the wool leaves I cut out with my maker. (those images are also saved with the project)

I tried chenille, a tapestry thickness upholstery fabric (the gray dot), canvas, and a velvet upholstery weight fabric in addition to cotton and wool. The Cricut Maker cut them all! It is everything I hoped it would be when I first learned about a new cutting machine that could cut fabric!
So, back to our original question, what should you pick, the Cricut Explore Air 2 or the Cricut Maker? If you want versatility, and especially the ability to cut fabric– you have no choice but to get the Cricut Maker. If fabric scares you and you haven’t ever touched a sewing machine in your life? Get the Maker anyway and I will teach you to sew! 😉 But seriously- with adaptive tools like the knife blade, the scoring wheel and my very best friend- the rotary blade- you just can’t go wrong with the Maker!
So tell me, what’s the first thing you’re going to sew when you get your Maker?
xoxo,
Amy
This is a sponsored conversation written by me on behalf of Cricut. The opinions and text are all mine.