 This is the last week of our Love Notes month! Hard to believe February just up and flew by so quickly! I have been wanting to make these forever, and this last Love Note week was just the motivation to do it. I have to apologize for the pictures- it was late and no daylight was to be had.
My kids take hot lunch at school, so I don’t have the opportunity to slip cute little notes in their sacks every day. But, I wanted something that I could use that I could swap out at different times to let them know I’m thinking about them and that I love them. So, yes, I’ve been thinking about doing this since school started, so we’ll just say that I’ve got a jump on next year! Want to make a bunch? Here’s how:
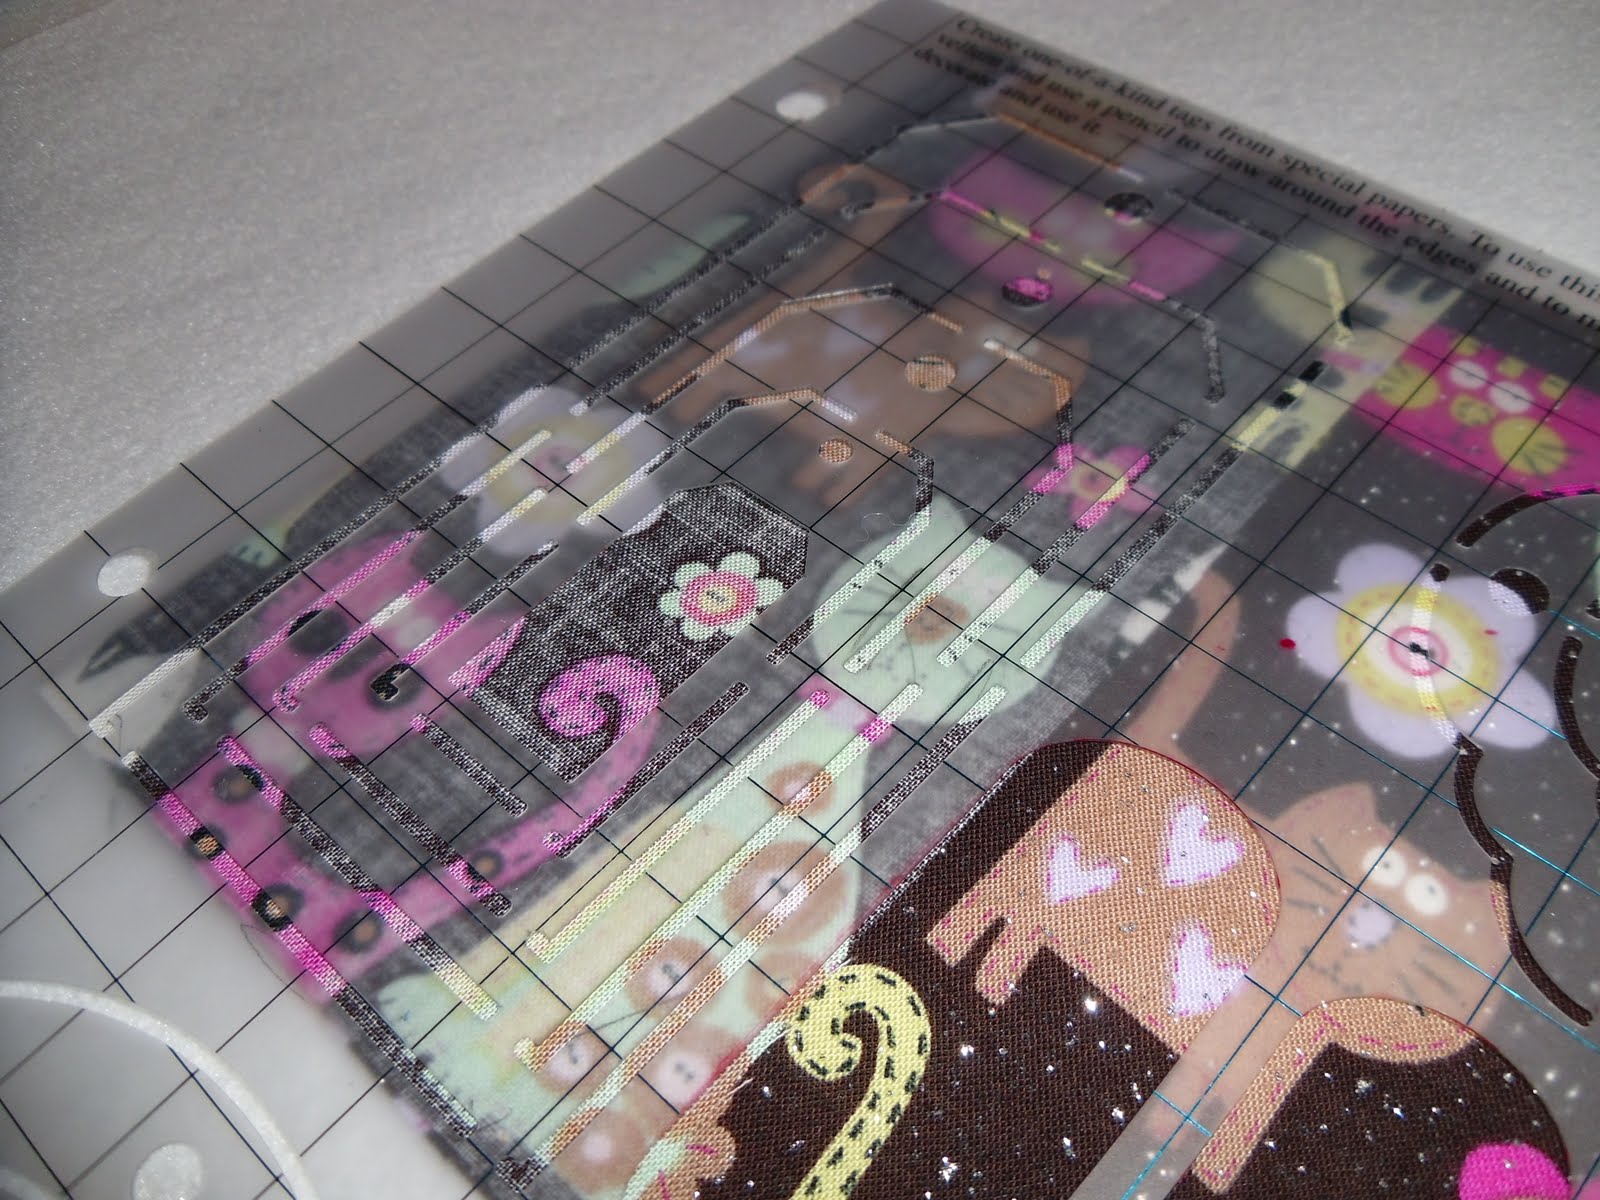 First you will need to trace your tag template onto the wrong side of your fabric. I then folded the fabric over and stitched right on the line, leaving the bottom short side open. Trace the same template on to some Pellon Peltex (it’s super stiff interfacing, you don’t need it to be fusible). Cut out the tag, just on the inside of your traced line.
Trim around your sewn edges, clipping corners and turn right side out. Slide your Peltex tag into the fabric casing. Turn under the bottom edges around the Peltex and edge stitch all the way around.
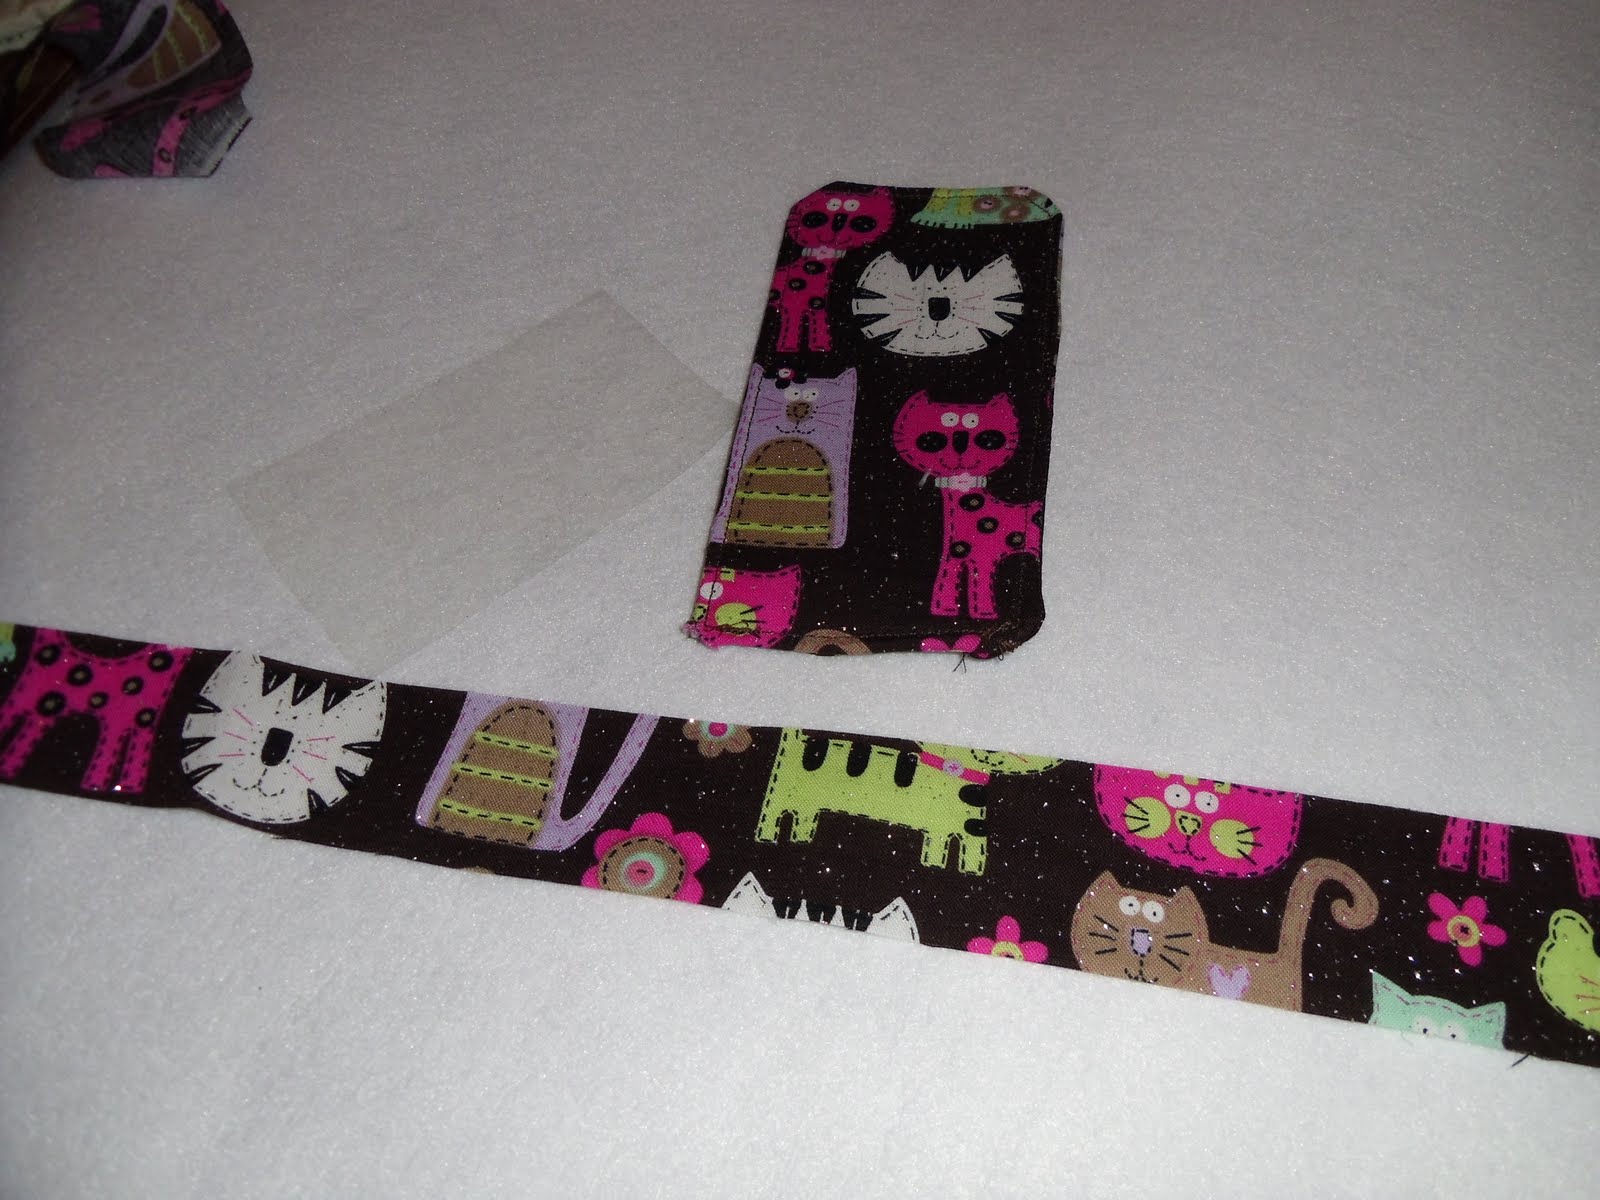
Now you will cut out a piece of plastic your desired size. You will want it to be slightly smaller than the width of the tag you are doing, and leave enough room at the top of the tag for the grommet or button hole. You will also need a strip of fabric 2″ wide, by enough length to go around all four sides of your plastic, plus an extra inch or two. Take this strip of fabric, iron it in half, then bring the sides into the center crease, creating some double fold bias tape (but it doesn’t have to be on the bias).
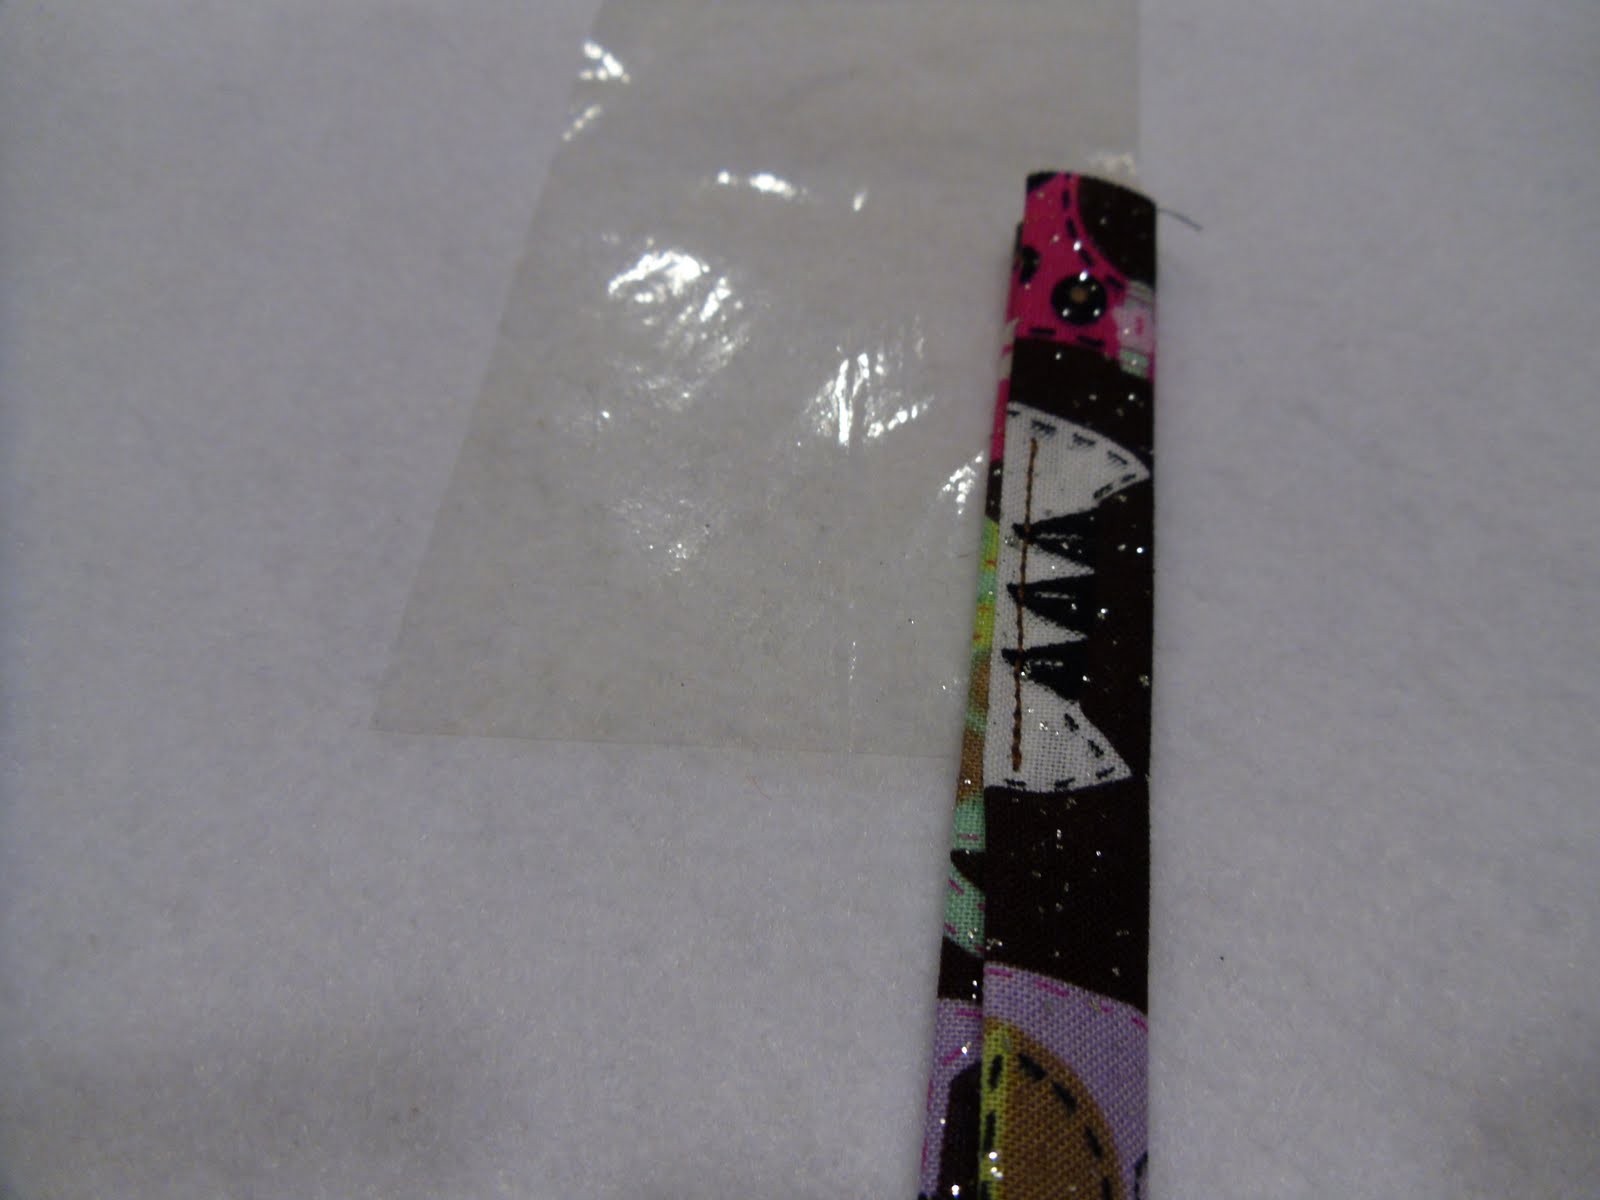
Slide your plastic into the binding, lining the edge up with the crease. Begin on one of the long edges, but leave part of the end unsewn. *If your presser foot or feed dogs touch the plastic, the piece won’t move and you’ll rip a big hole in the plastic. (any guesses on how I know this?) In order to solve this problem, I used binding at least as wide as my presser foot, then I moved the needle as far to the left as I could to get the stitches on the edge of the binding.* Sewing on the Inside edge of the binding, sew up to the edge of the plastic and backstitch. Clip your threads.
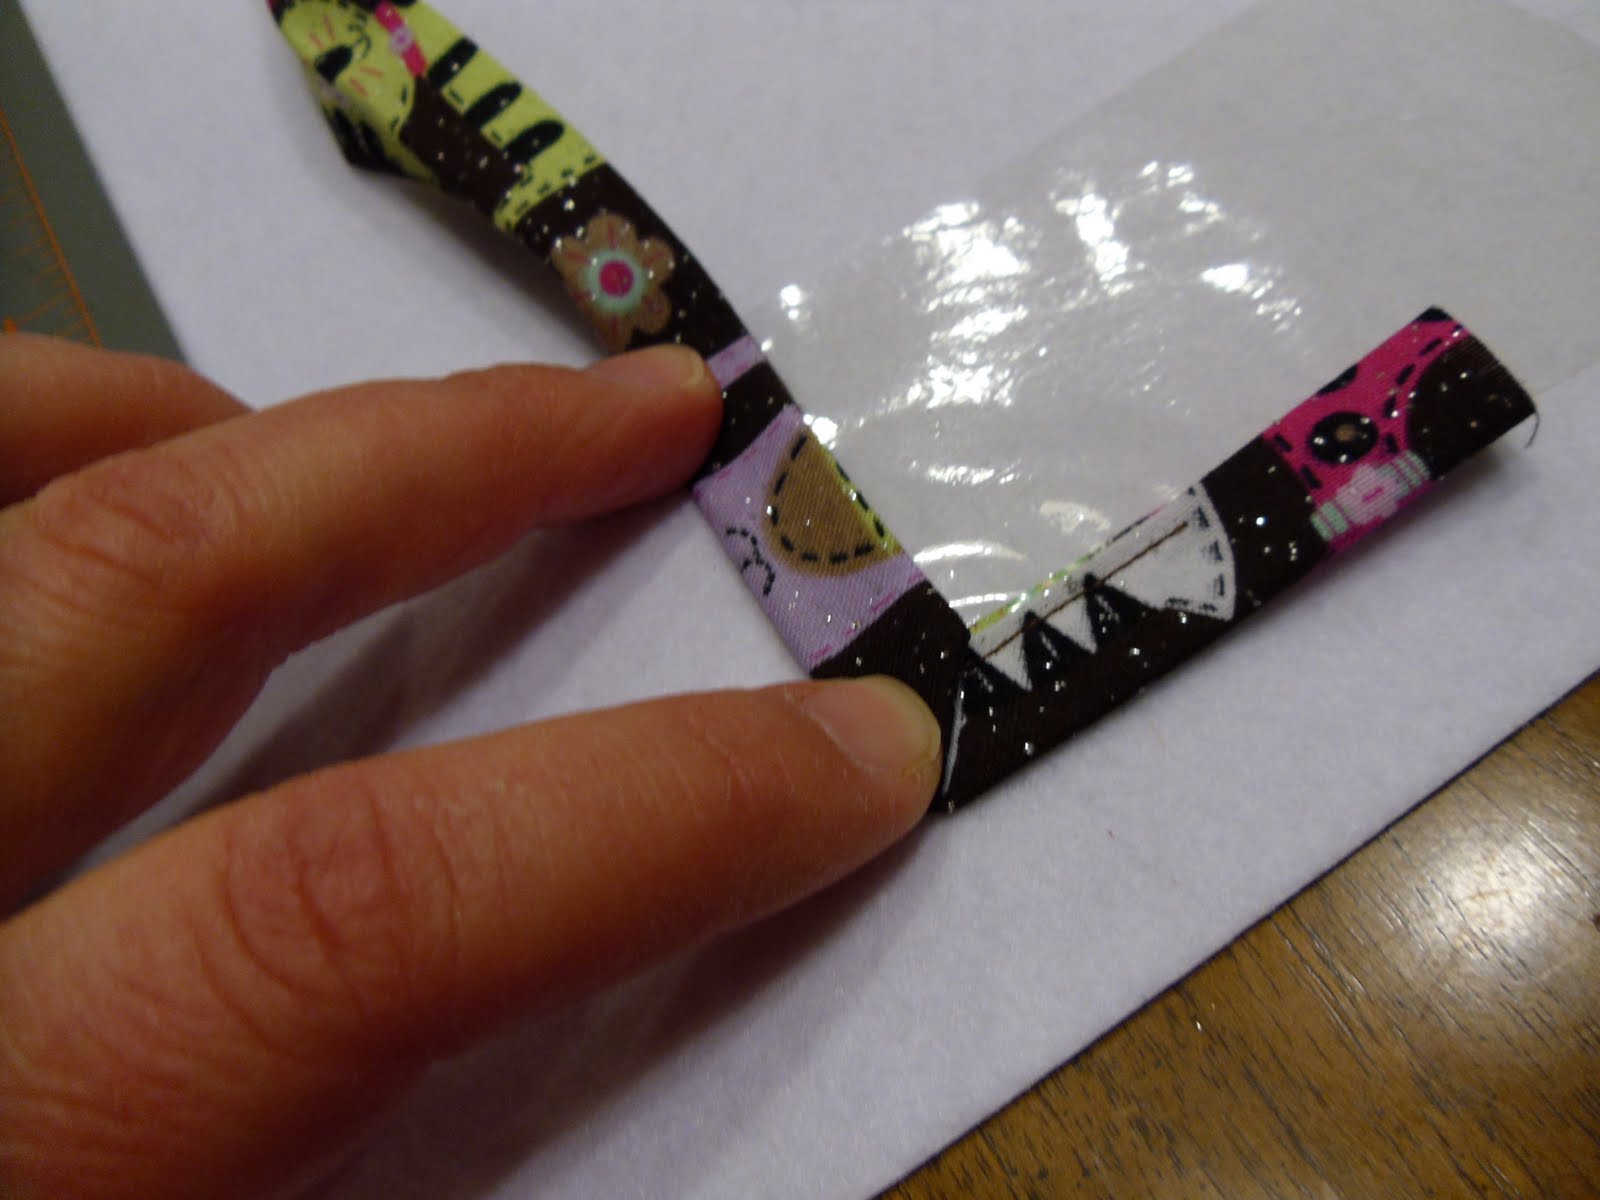 This is where we miter the corners. If you turn the binding 90* and line up the new plastic edge with the crease, most of the work will be done for you. Take the corner fabric and fold it down until it makes a right angle with the previously sewn side of binding. Start stitching where the corners meet and sew until you reach the edge of the plastic again. Repeat for all remaining corners. When you reach the beginning of the bias tape, you have 2 choices, the easy way or the hard way. I chose the easy way. I trimmed the loose tail of binding so it overlapped the end by about 1/2″, folded under the edge and slipped it over the second edge. Stitch down and you’re done. It’s not the most finished look, but not so bad. I’ll show you the hard way another day. 🙂
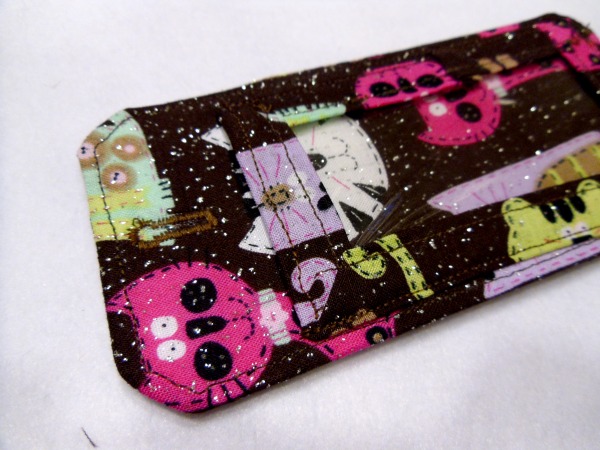 Edge stitch the top edge of your plastic piece. Take your bound plastic piece and center it on the bottom of your tag. Edge stitch around 3 sides, leaving the previously edge stitched side free for slipping paper in.
Now, for hanging. You could put a grommet in here. But since grommets are on my “wish” list and not my “have” list, I settled for a button hole.
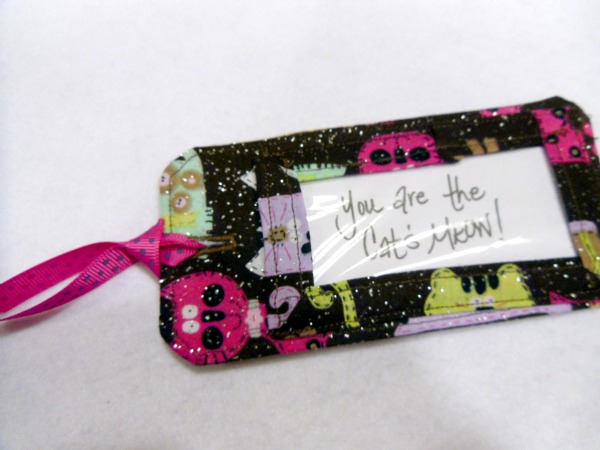
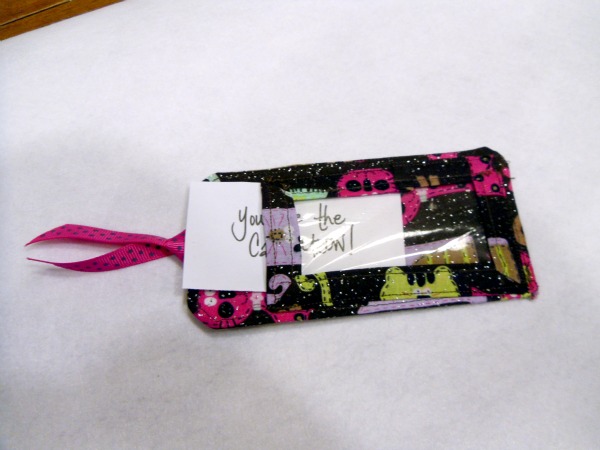 Cut open your buttonhole, put some ribbon through and slip in a sweet note. Now your kiddo or darling or complete stranger will know how you feel about them!
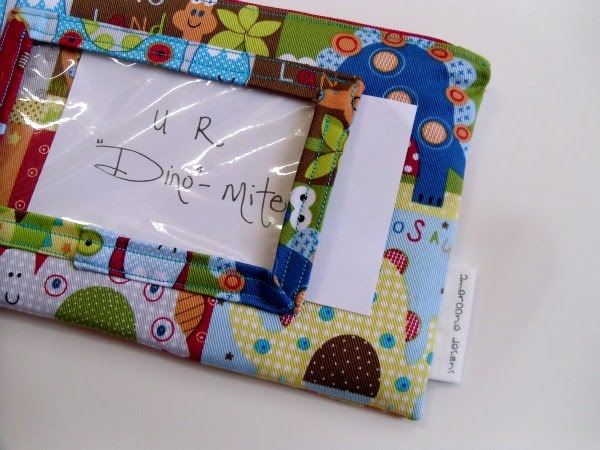
I also did the same thing with a zippered pouch for my boy. He thinks we should continue the notes/treat tradition all year long. And even though I probably won’t do it every day, I think it will still happen every now and then. Cuz that’s kind of the point.
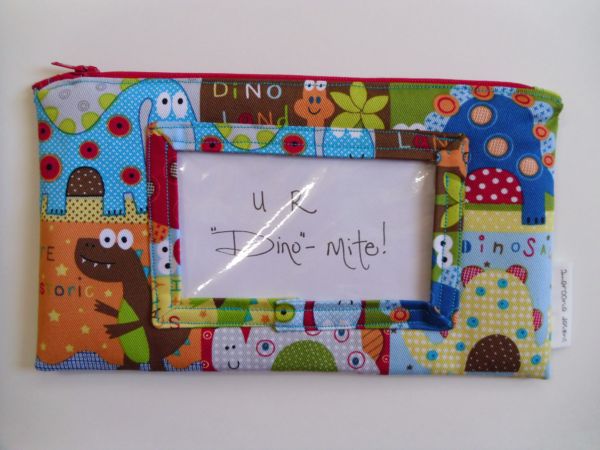
I have been working on the zipper solution. I’m almost there, but I still have a few more experiments to try. (I was a scientist, remember?) I should have at least the first installment this weekend.
So, the take away for February? Even though Valentine’s Day is a whole year away, don’t let that stop you from making sure the wonderful people in your life know how you feel about them!
xoxo,
Amy


Karen
February 24, 2011 at 5:44 pmThose turned out Cute!!! You are such a darling mom. Your kids are incredibly lucky.
Amy @ Increasingly Domestic
February 24, 2011 at 5:45 pmI love the idea of the clear window on the front of a zipper bag!
I am so inspired and amazed by you.
Yourock.com
Andi @ Jane of all crafts
February 24, 2011 at 9:11 pmAww what a sweet idea! Definitely will have to do this for my girls'. And I'm with Amy…you ROCK!
Christina @ AccomplishingMotherhood
February 24, 2011 at 9:23 pmADORABLE!!!!!!! So simple as well!
AllieMakes!
February 24, 2011 at 11:58 pmThose turned out SO cute! Great job! Wonderful tutorial!
Thanks for linking up to Making It With Allie! I can't wait to see what you have for next week!
AllieMakes.Blogspot.com
Gwen @ Gwenny Penny
February 25, 2011 at 1:54 amThese are so sweet, Amy. What an adorable idea. I especially like the zipper pouch… too cute! Love that dinosaur fabric. Can't wait for March's theme.
Let'sMakeADifference
February 25, 2011 at 8:42 pmSo,So cute!!! But I don't think that I could make them:( I'm blog hopping and found your blog. I'm following. Would love for you to check out my blog and follow back! Have a great weekend!
Susan
February 26, 2011 at 3:15 amI saw your link at Tatertots and Jello…cute idea!