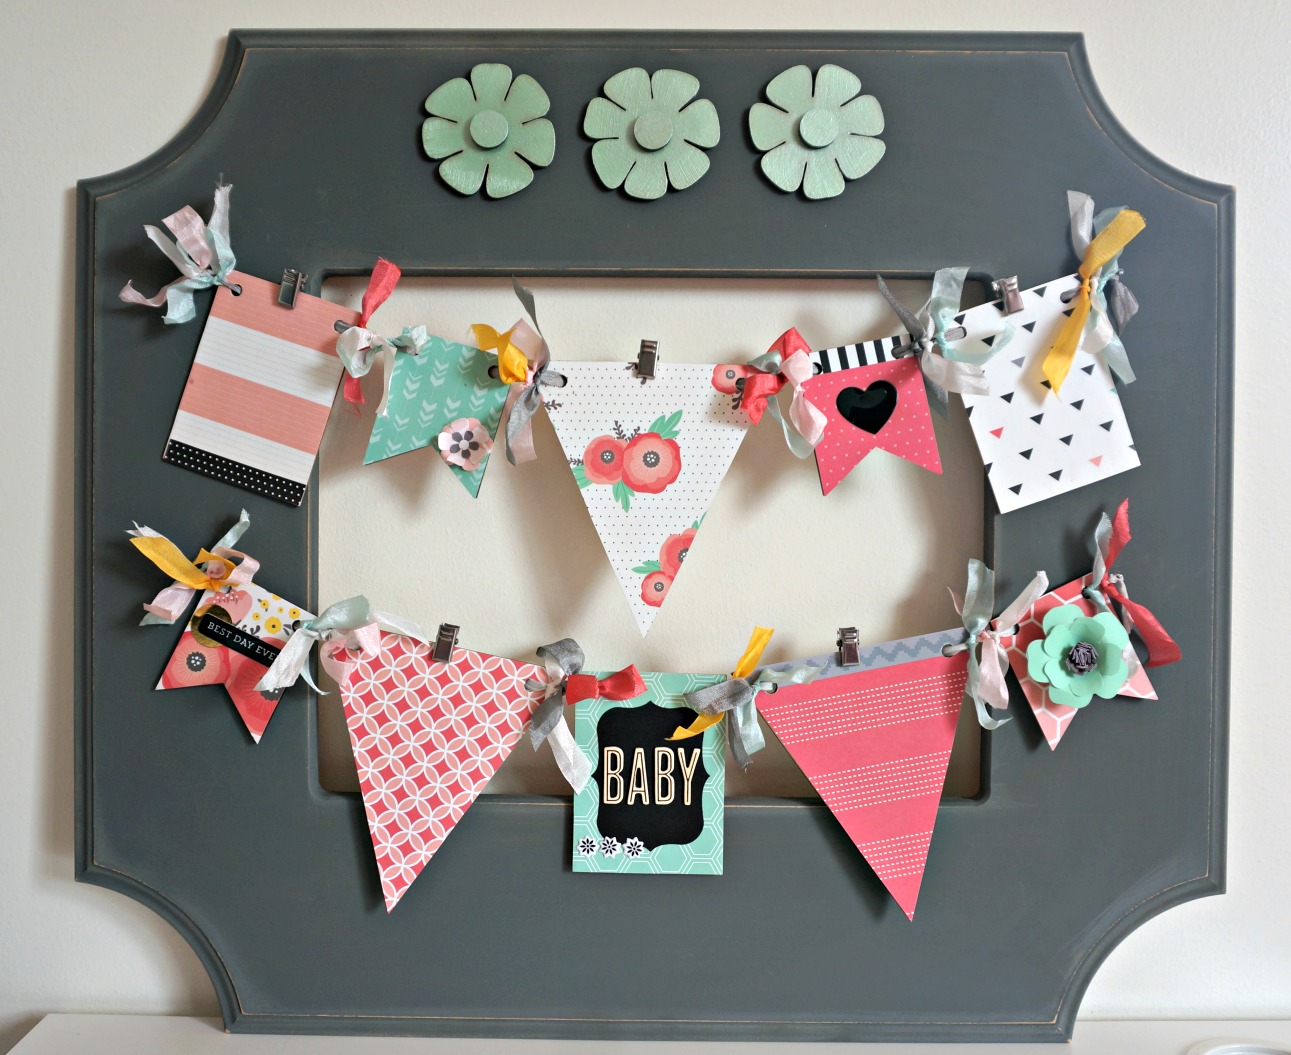
I was given some papers and other supplies to create a project featuring this fun new line by Jen Hadfield for Pebbles inc. I decided to create something for my new nursery. Honestly, I thought I’d wait to post this until I had the final pictures of the nursery done, but the reality is that this is still the only piece I have finished- so I’m just going to post it. I decided to create a photo banner and I’m really excited with how it turned out.

I added ultrasound pictures for this shot, just so you could see what I am talking about. 🙂 I still haven’t printed pictures out of my darling baby- so this will have to do. This project would be so fun for any room, you could make it much less girly by adjusting the papers- but I can’t wait to build a gallery wall around it for my daughter.
Here’s how to make your own:
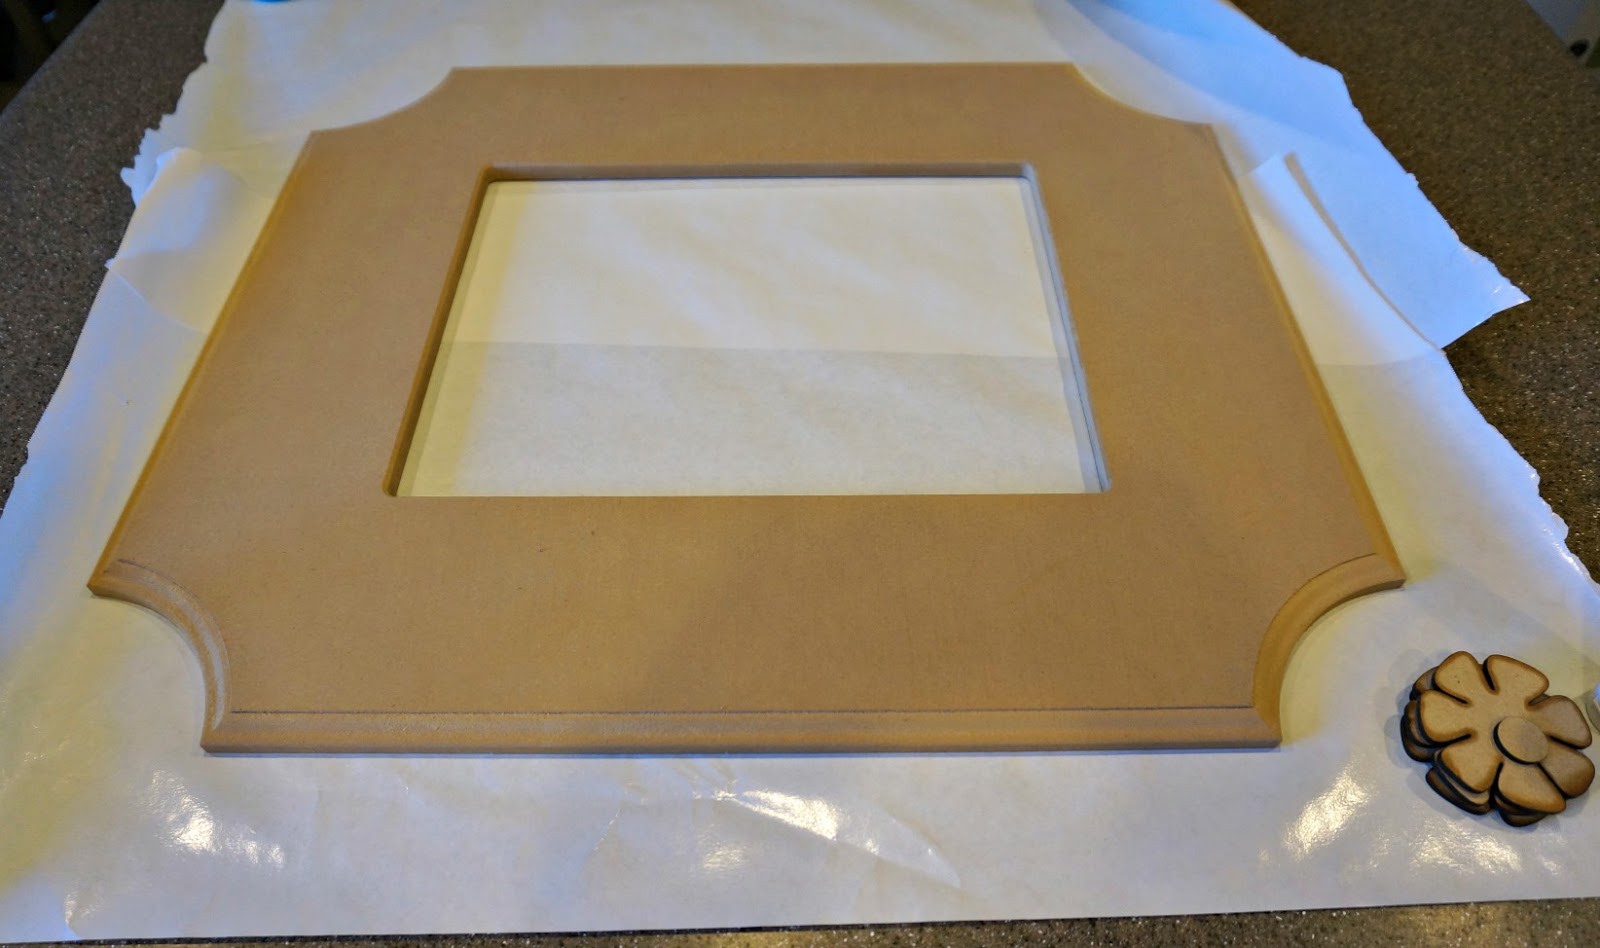
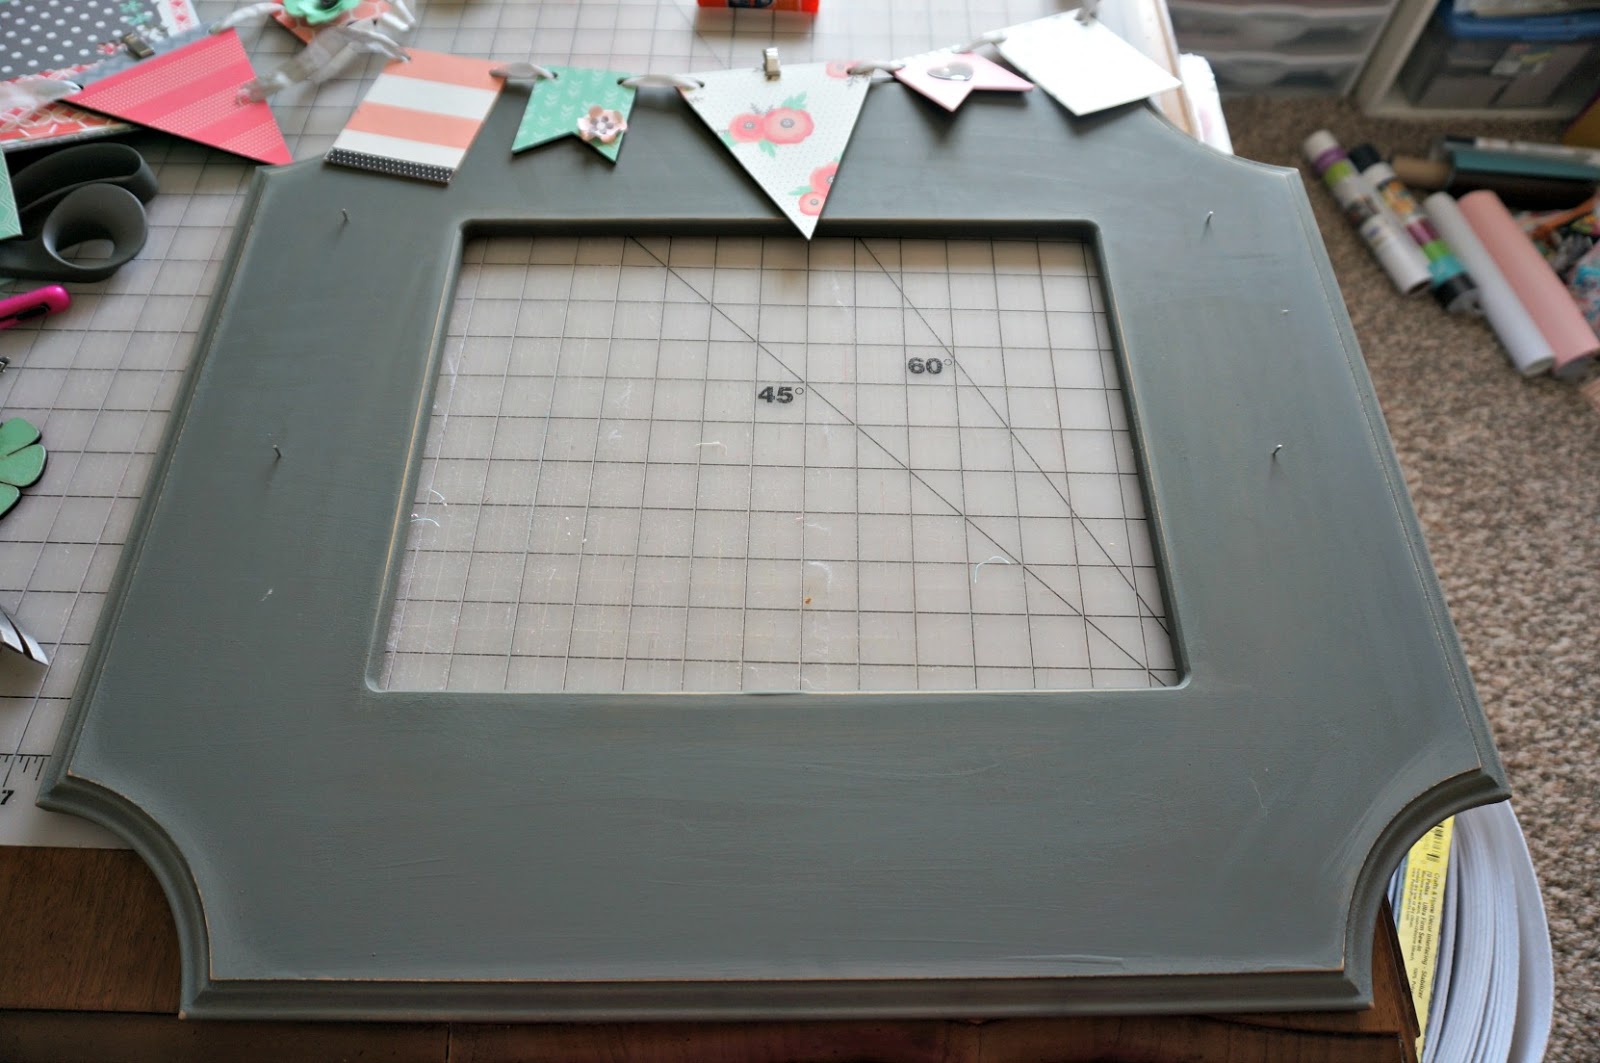
You will need a large frame. I used a shaped frame, but you could also use a regular or thrifted frame. I wanted to add some interest to the frame, so I decided to add these wood cut out flowers- you could create a similar look using chipboard or different wood shapes.
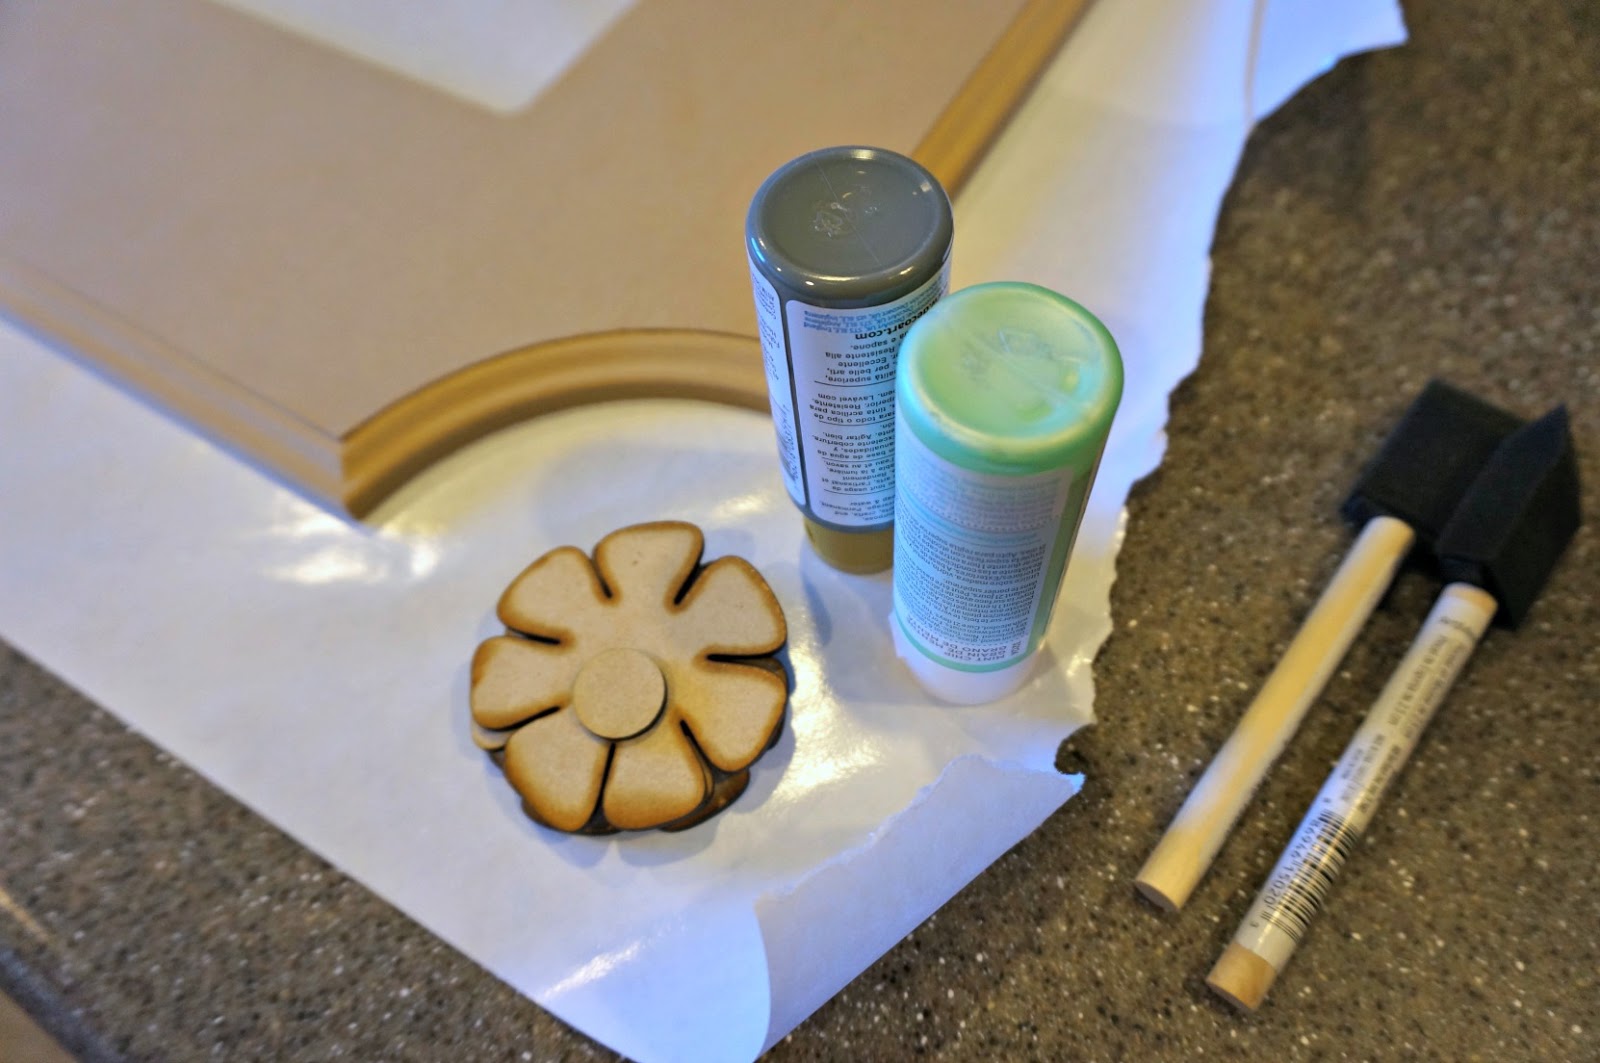
You are also going to need paint and brushes to get your frame the color you want. Another option would be spray paint.

You are also going to need plenty of gorgeous papers and embellishments. I used the puffy stickers, gold foil stickers, gold Thicker- alphabet stickers, dimensional paper flowers, chalkboard labels (not shown) and two sided cardstock from Jen’s new Home + Made line. I also used some flower punches, seam binding ribbon, pennant shapes (both chipboard and wood) and Mod Podge from my own stash.
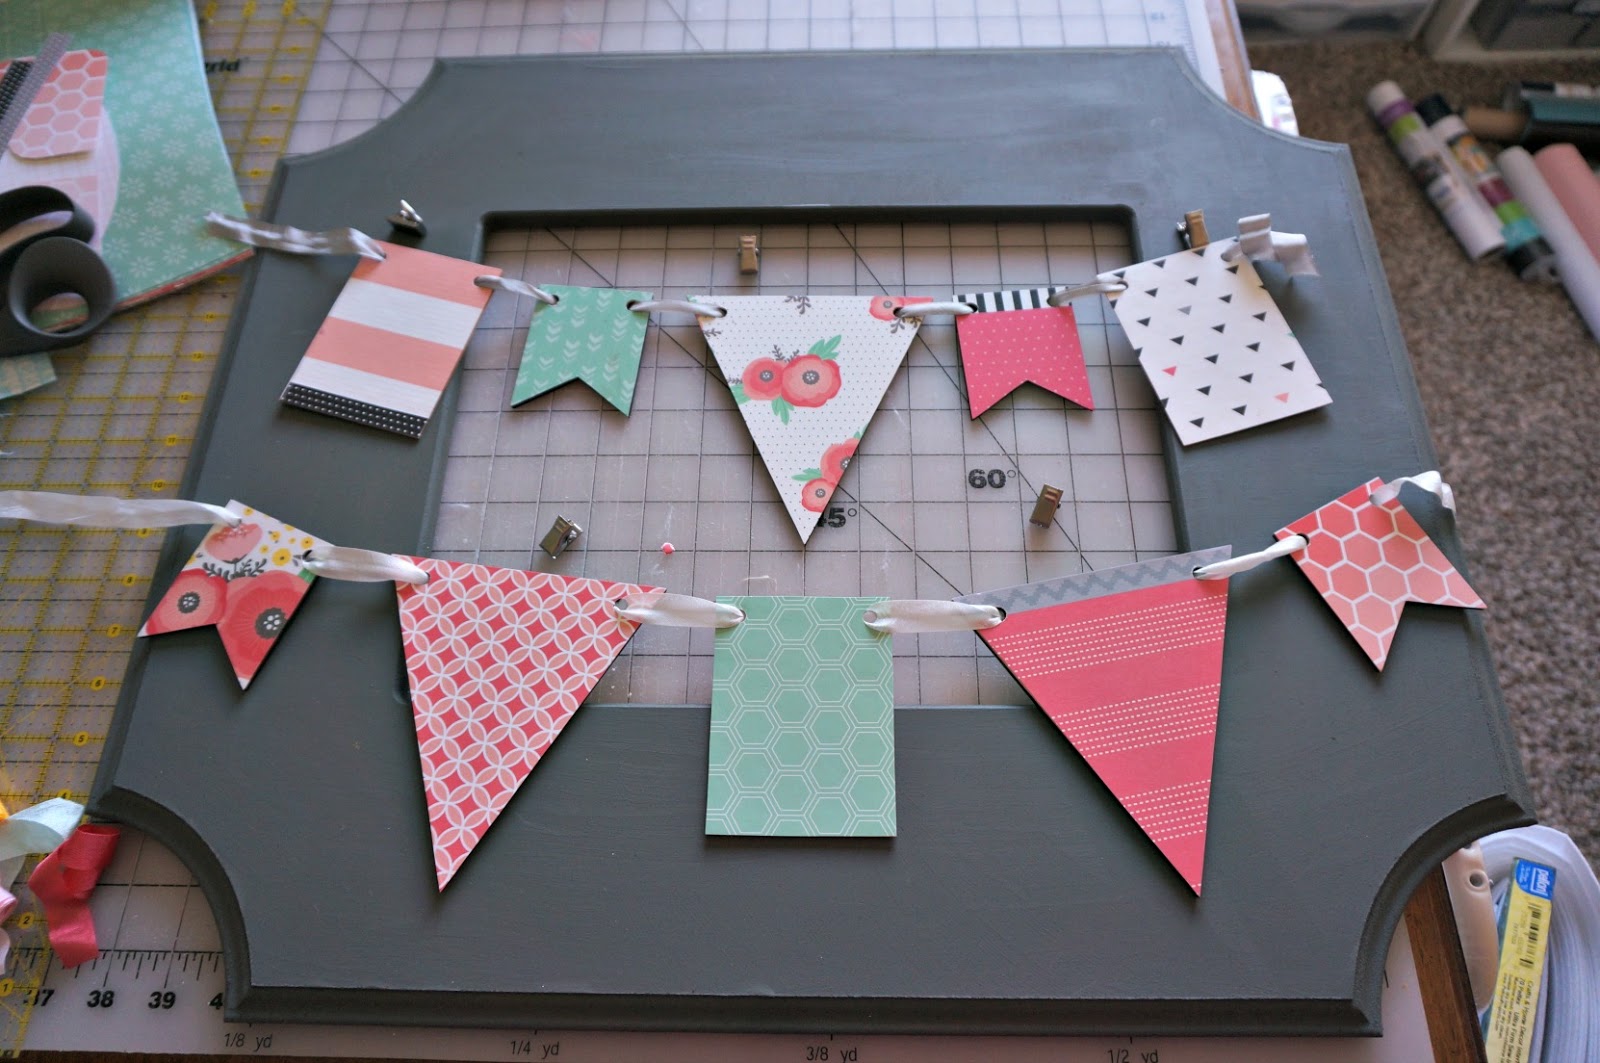
To begin you will want to paint your frame and any embellishments. You will also want to cover your pennant shapes with papers of your choosing. I used Mod Podge to do this. Arrange your banner pennants to your liking before stringing them onto the ribbon.
I found that the trickiest part of the project for me was getting the placement of the banners just right. I loosely arranged them on the frame and then made sure the nails lined up and were evenly spaced. When I went to tie the banners on the nails, it took a bit of adjusting to get them hanging the right way. Just tie your knots loosely at first, and then when you like how they look, go back and tighten everything up. You may also want to add some glue to make sure everything stays in place.
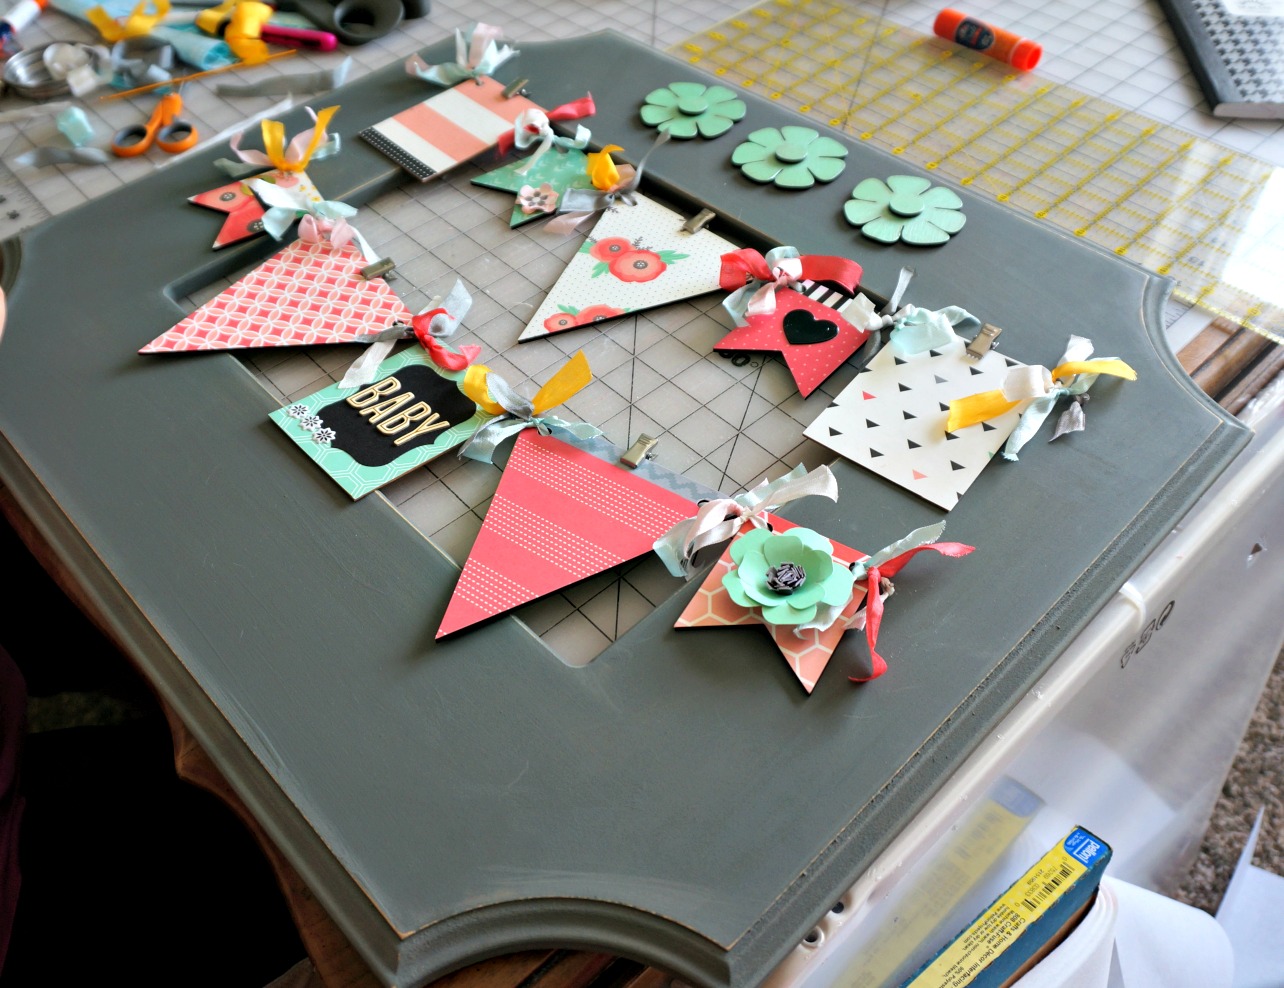
The last step is by far my favorite, embellishing everything! Add stickers, dimensional flowers, ribbons and anything else that makes you happy. I used clips to make the pennants into mini clipboards to hold my pictures. You could also use mini clothes pins or bulldog clips to attach your pictures, or another option would be to use washi tape.


Or, even if you didn’t want to add pictures, it would absolutely darling as just a fun art piece with the banners.
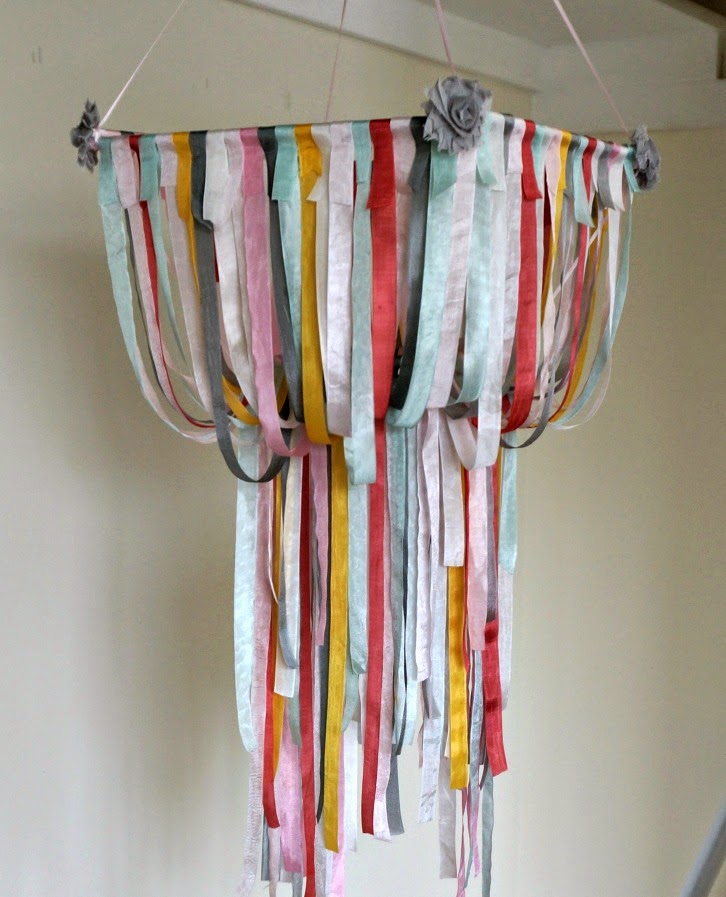
I’m really excited to get all the pieces together for the baby’s nursery, including this ribbon mobile.

Maybe I’ll make another one of these dimensional floral art pieces using the colors from the paper line.
It’s probably time to get going on her room- she’s going to be walking before it’s done at this rate.
XOXO,
Amy

