
So this is the latest in a long line of my favorite pillow ever! I started out following a tutorial for a pleated pillow that I saw…somewhere. I could have sworn it was on Moda Bake Shop, but when I went to get the link, I couldn’t find the tute anywhere. In a last ditch effort to find it, I went to One Pretty Thing and searched pillows and there it was- but the link to Moda didn’t work! No wonder I couldn’t find it. 🙂 Luckily she watermarked her picture, and I could find the name of the blog from the thumbnail on One Pretty thing. Anyway, that was a long story about where my inspiration for this pillow came from, it’s from Quilting in the Rain and she calls it her Hello Spring! Strippy Pillow. I loved the pillow so much, I immediately (well almost) went to my favorite Quilt shop (Material Girls Quilts in West Jordan, Utah) and found a couple of jelly rolls that were on sale. The first pillow I made I followed her tutorial exactly, but then I started thinking, instead of cutting off the extra length of the strip, what if I pleated that length into the row? So I tried it, and I LOVE it!!!
I took a few pictures to show you how I did it:
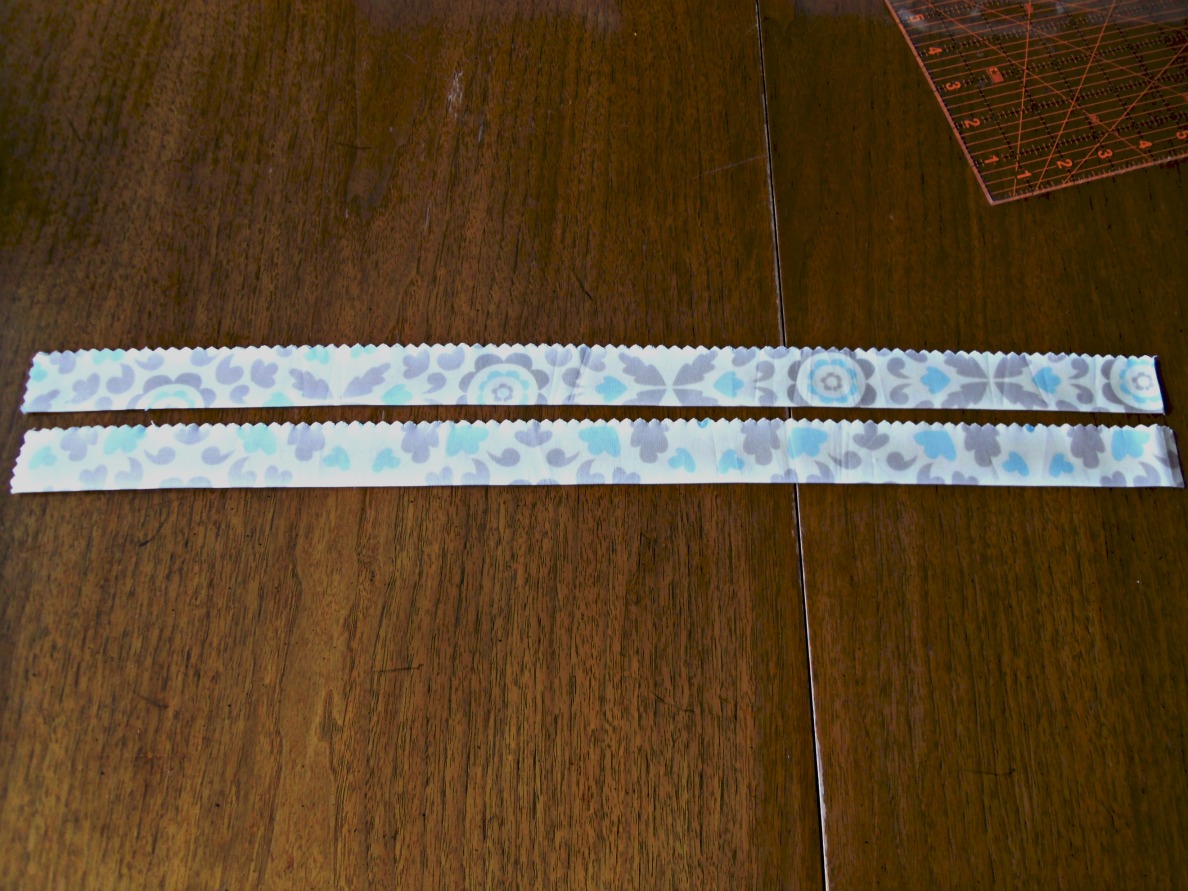
First you will want to read the original tutorial to get a basic idea of how the pillow is made. (I am making a 16″ pillow so my base for the pillow front and back is 17″ to allow for seam allowances)

Take your first strip and line it up 1/2″ above the bottom of the front cover piece. (you will notice in the picture that I did not do this- I lined it up with the bottom of the piece, it makes things a little messy in the final step, so just give yourself the seam allowance from the beginning. 🙂 ) As you sew the strip down, using a 1/4″ seam allowance, randomly add pleats to the row, using up the extra fabric in the strip so the sides of the strip line up with the sides of the cover piece. All of your pleats in this row will go in the same direction, making it easier to sew down. 🙂
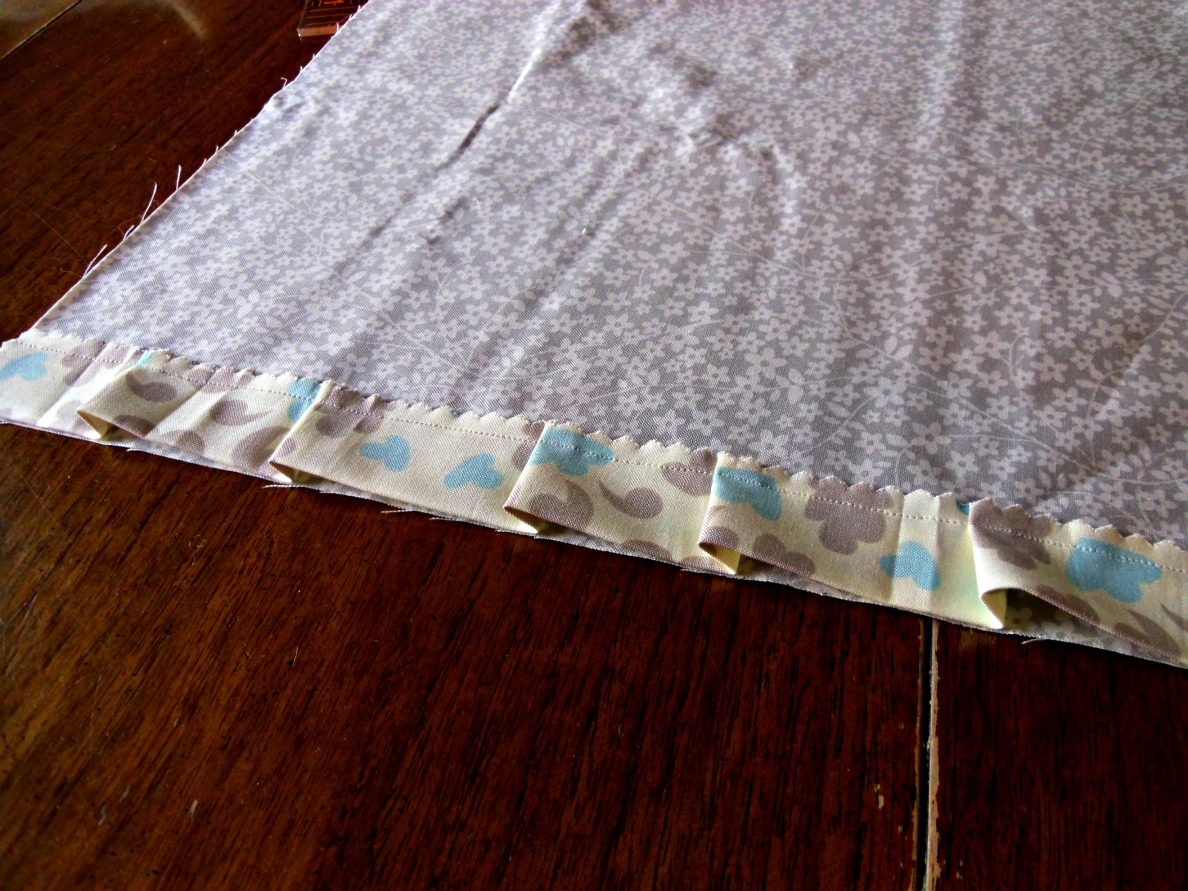
Your first row is done.

Now measure a line 3/4″ above the top of the sewn strip and mark it with a pencil or other tool. You will cover up this line, so no need to worry about it being water soluble or anything. Continue marking lines every 3/4″ up the front base fabric. You may need to adjust the width just a bit so you end up with the right amount of spacing for the top row. (it should be line up with the top edge of the fabric, or very close to it- you want to make sure the seam sewing the strip to the base is covered by the seam allowance of the finished pillow)
Now we’re ready to add our second row of pleating.
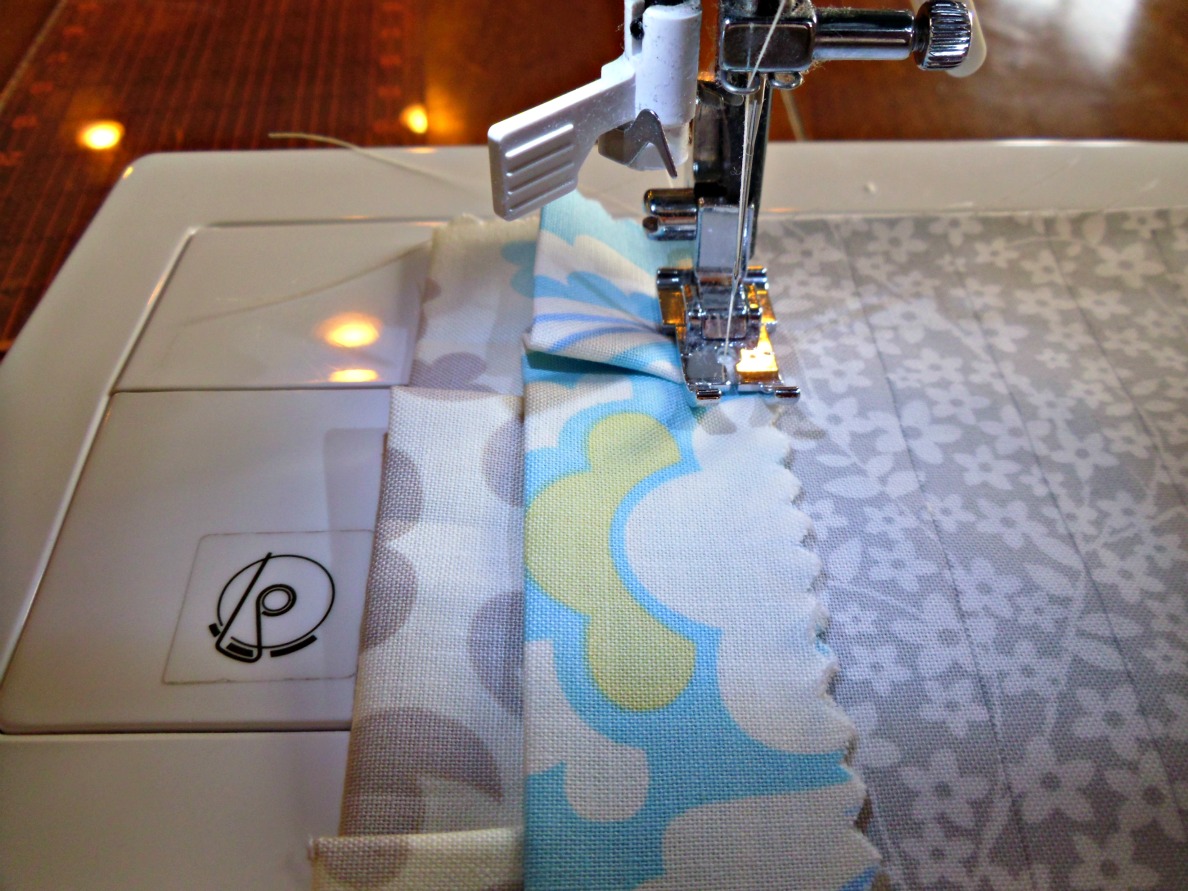
Now turn your top piece so you’re sewing the opposite direction of the last strip and begin sewing your fabric down, lining up the to of the strip with your drawn line. Continue to randomly add pleats, making sure your pleats are offset from each other. I varied the depth of the pleats and the spacing to give it some variety and dimension.
Repeat for each new strip, alternating the sewing direction so the pleats are changing direction on each row. When the pillow front is finished, press down the pleats so they lay flat against the cover. Finish off your pillow in whatever method you like best, making sure you don’t catch your pleats in the top or bottom seam allowances.
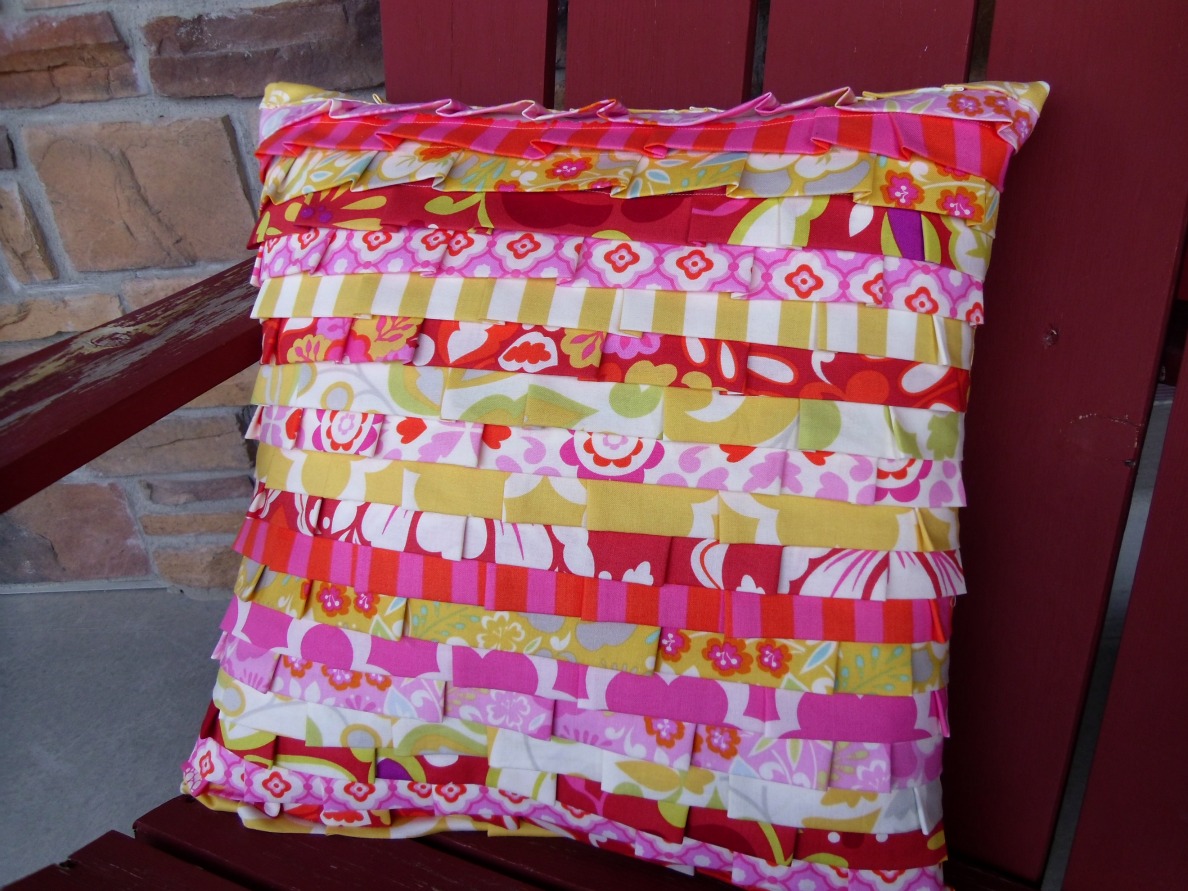
If, after you add your pillow insert, you feel like the top pleat won’t lay down (mine never do) and it exposes the top seam of the row underneath it, you can take a needle and thread and blind stitch the top row down so it will lay flat and all the seams will be covered.
Now go enjoy your gorgeous pleated layers pillow.
Have a great day!
XOXO,
Amy
p.s. I am going to skip the boutique update post this week. Gwen is flying into town tonight for SNAP and we’re going to be partying all weekend. I’ll be back on Monday with a Mom-day post and next week will (hopefully) be jammed with boutique goodness. We’ll see you then.
Linking up to Tip me Tuesday on Tip Junkie.


Sandy
April 18, 2012 at 2:19 pmI made one of these too! I love your addition of the pleats, it really looks great 🙂
Summer
April 18, 2012 at 2:20 pmYou are the pillow queen! I love it! I'm totally going to hire you to make pillows for me when we move into our new house. 🙂 (PS – So excited to see you tomorrow!!!)
chris
April 18, 2012 at 2:28 pmMy goodness this is adorable. Enjoy SNAP and give Gwen a hug for me. 🙂
Bethany @ A Fish Who Likes Flowers
April 18, 2012 at 6:02 pmI love this pillow idea! So easy too! Have a great weekend.
Lorene (just Lu)
April 18, 2012 at 7:13 pmAmy, I love it! You come up with the BEST pillows. See you tonight! 🙂
Michele Pacey
April 23, 2012 at 3:00 pmSuch a pretty addition to "Amy's pillow collection"!
I hope you had a great weekend. Will be interested to read about your adventures!
Debra
April 24, 2012 at 2:06 amI love this! The pleats are amazing!
Polkadot-pretties
April 30, 2012 at 2:51 amLove this project!!!!!
I currently have a Crafty linky party going on, i would love you to link this project up !!!
http://polkadot-pretties.blogspot.co.uk/2012/04/you-inspire-linky-party_28.html
Claire xox
Jenny
April 30, 2012 at 2:51 amOh my goodness, I LOVE this pillow! I am so glad I found your blog and I can't wait to meet you at the Breathing Space retreat! I would also love if you would add this to my
Lovely Things Thursday linky party!