The fabric for this post was provided by Riley Blake Designs for participation in the Wild at Heart blog tour. The project and opinions are my own.

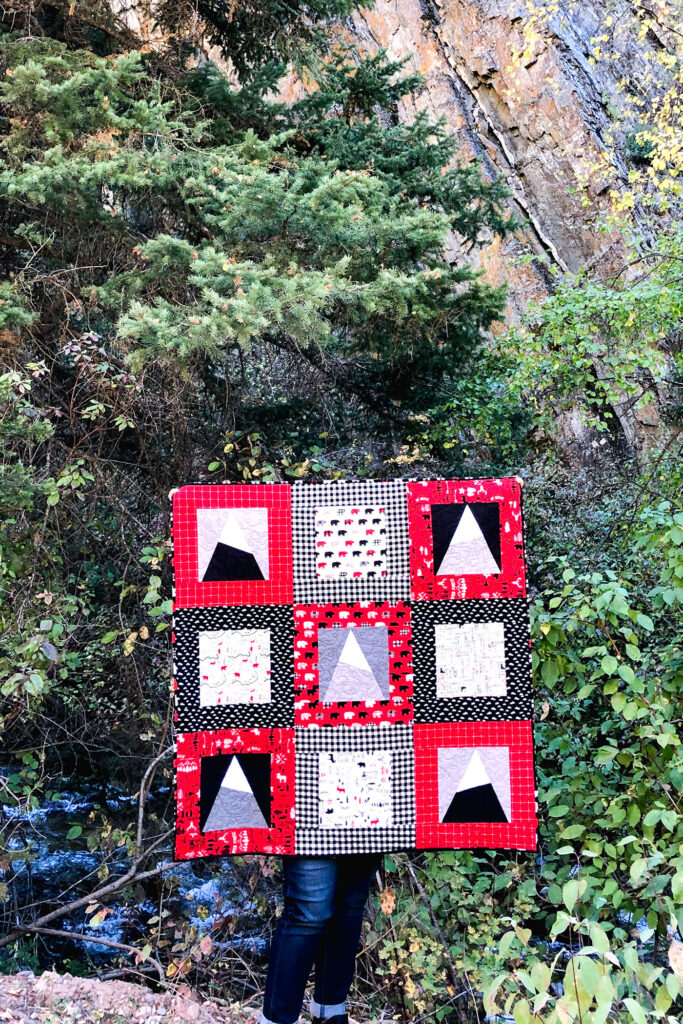
Cooler air. The smell of dirt. The sound of a stream running over rocks. Even just imagining these in my mind brings a sense of calm and peace. I am most at home in the mountains. This Mountain Top Quilt is inspired by my love of the mountains and the feelings they create for me. The improv mountain blocks are fun and quick to make and the alternating blocks are the perfect place to feature your favorite fabrics.
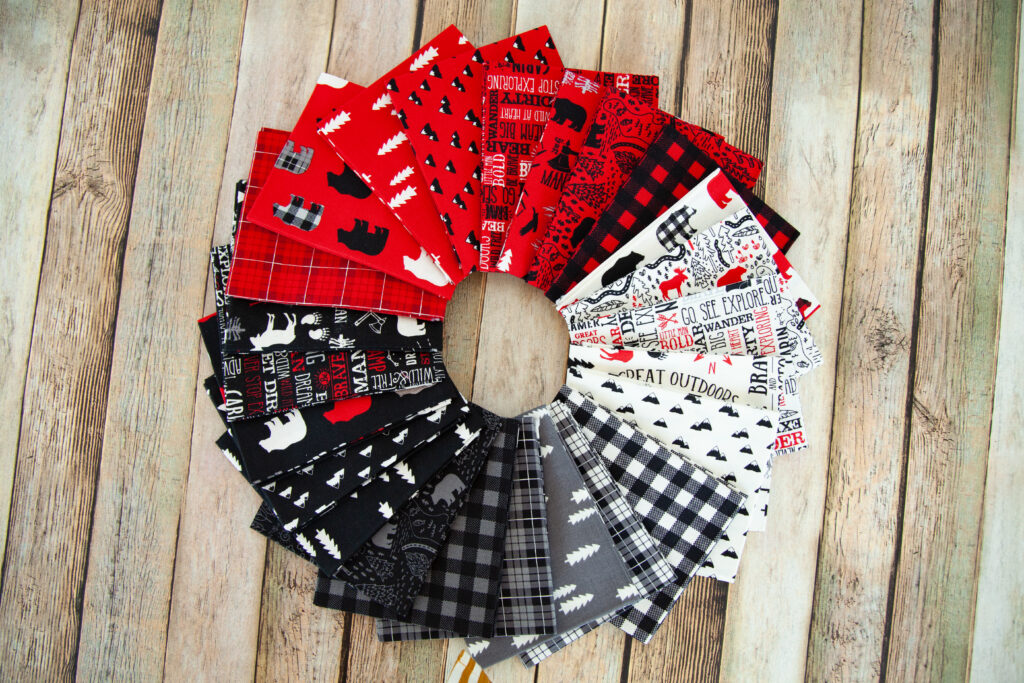
Wild at Heart is a new fabric line by Lori Whitlock for Riley Blake Designs and I knew it would be perfect for this Mountain Top quilt. I adore the mountain prints and the trees too, but really, there’s not a single print I don’t love!
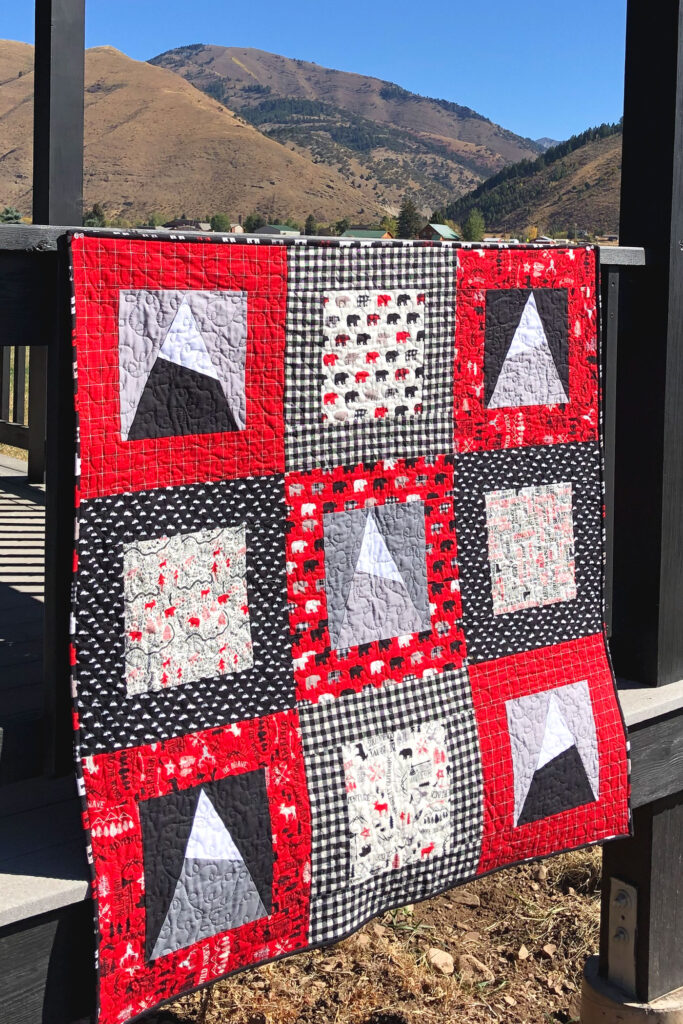
The fabric speaks to the theme of this quilt perfectly! I first designed this snow capped mountain block for a mini quilt on the Diary of a Quilter blog. The block is based off her modern tree block which is referenced in the post on her blog. All of the instructions for making the improv mountain blocks as well as assembling the entire quilt are found below. The quilt finishes at 45″ square- a generous sized baby quilt.
Mountain Top Quilt Pattern
All seams are 1/4″. Please read all directions before beginning.
Supplies:
- 4- 3/8 yard cuts for sashing pairs (in my quilt I used 2 red and 2 black) and 1- 1/4 yard cut for center sashing (red) if this fabric is directional, make sure the cut is generous- at least 9 1/2″.
- 5- 11″ squares in black, light gray and dark gray
- 5- 6″ (W) X 7″(H) rectangles in white- I wanted all of my mountains to have a white snow cap, if you aren’t worried about this, you can skip the steps for shaping the white fabric and just go straight to cutting the angle on the top.
- 4- 9 1/2″ squares in feature fabric
- 1 1/2 yards of fabric for backing
- 1/3 yard fabric for binding
- batting for quilt sandwich.
Fabric cutting for sashing:
There is a bit of a trick to getting all the sashing pieces cut for two blocks from a 3/8 yard cut of fabric. I apologize for not having pictures for this step.
- First, cut a 3 1/2″ (H) X WOF strip. Sub cut this strip into 2- 15 1/2″(L) X 3 1/2″(H) strips.
- Next, cut 4- 9 1/2″ (H) X 3 1/2″(W) strips (the direction of the print if there is one should be with the 9 1/2″ height).
- Finally, cut 2- 3 1/2″ (H) X 15 1/2″ (L) strips.
Making Improv Snow-capped mountain blocks
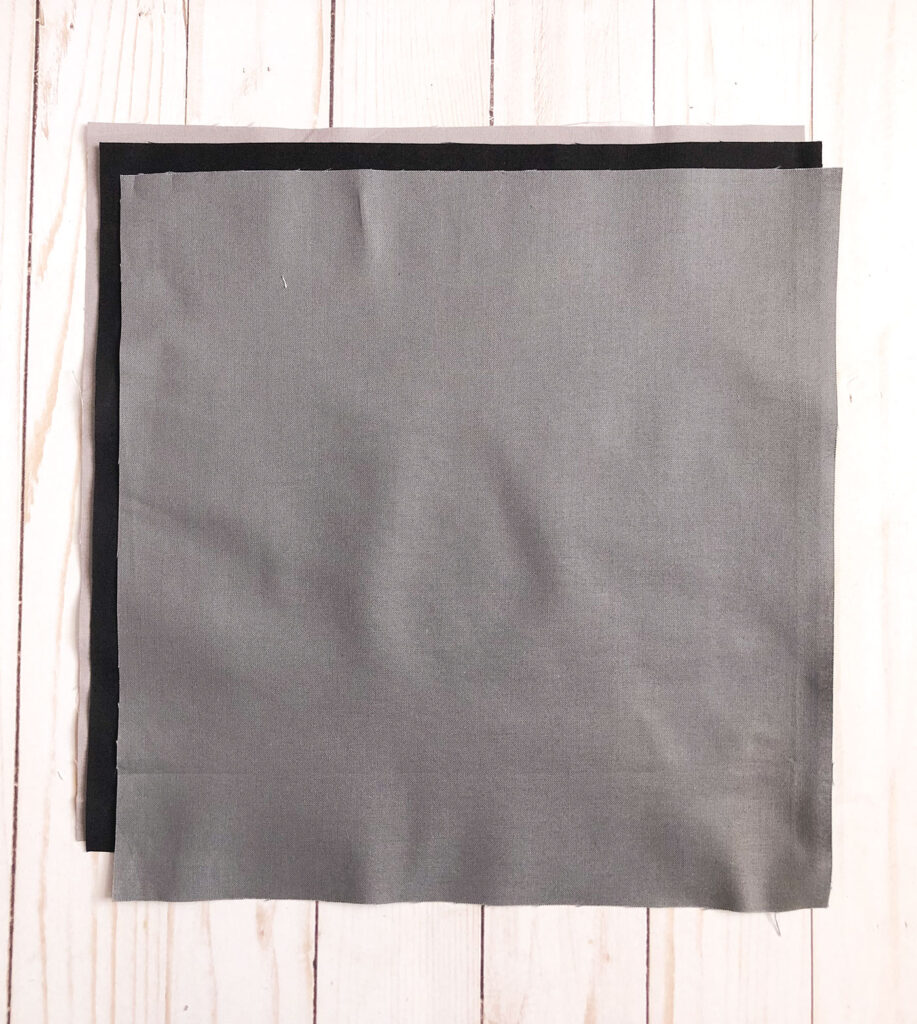
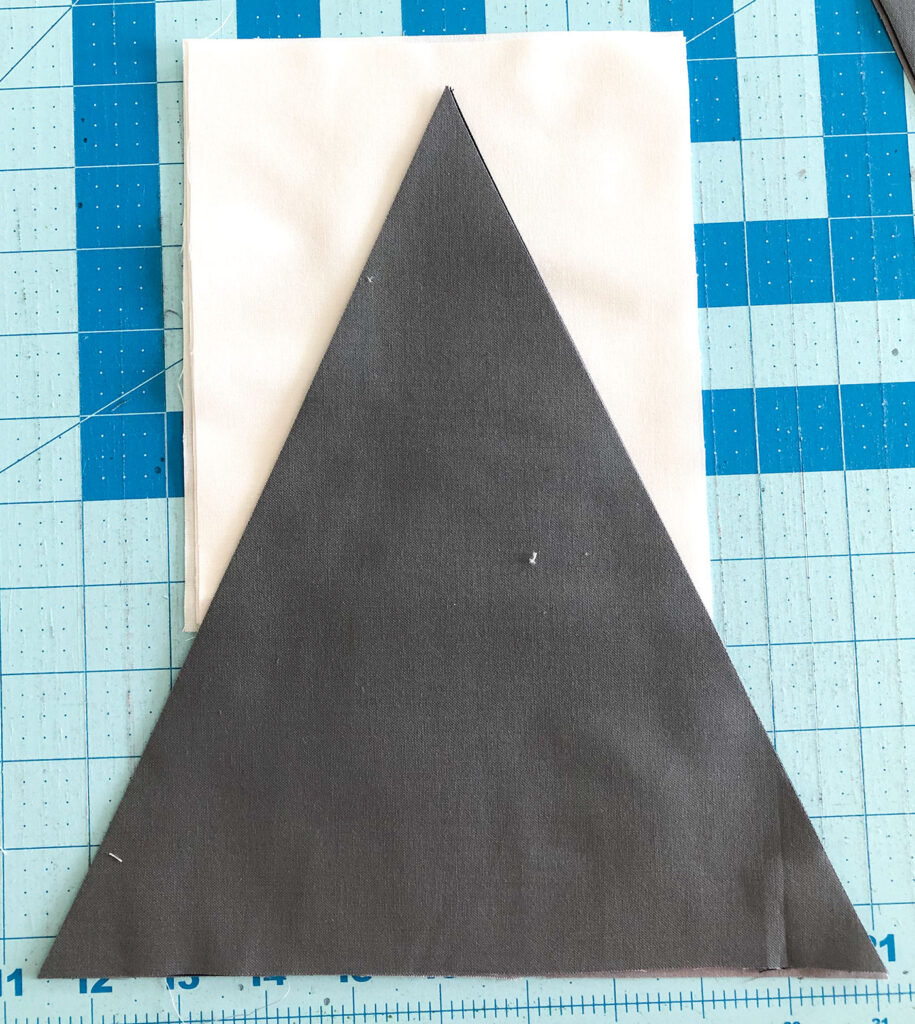
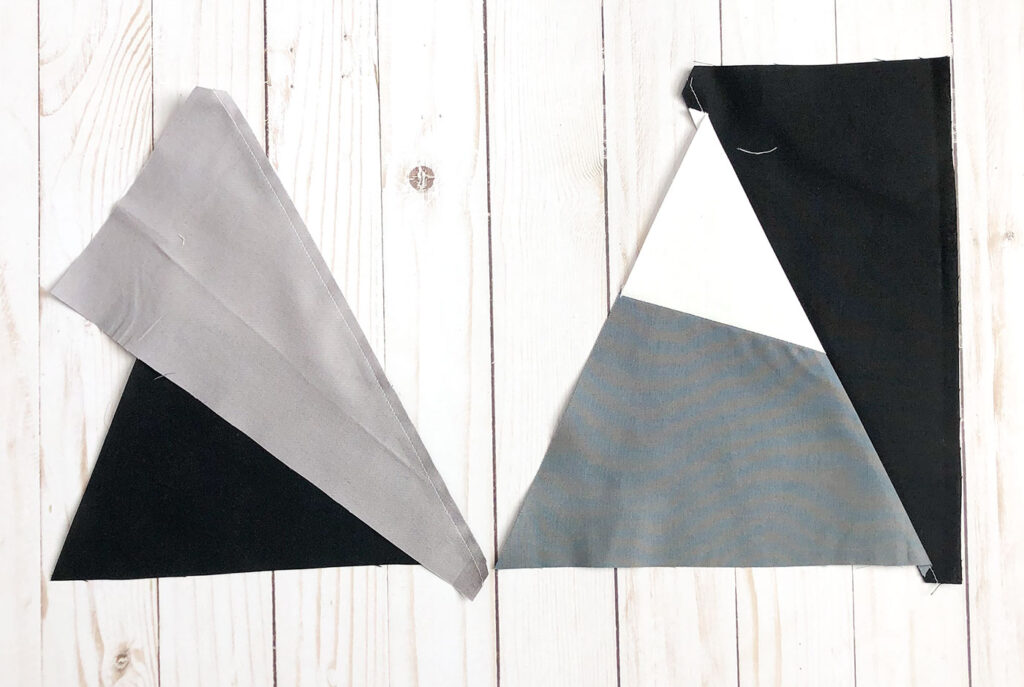
Begin by layering your solid fabrics one on top of the other. I prefer to work in two groups- one of three fabrics and one of two fabrics.
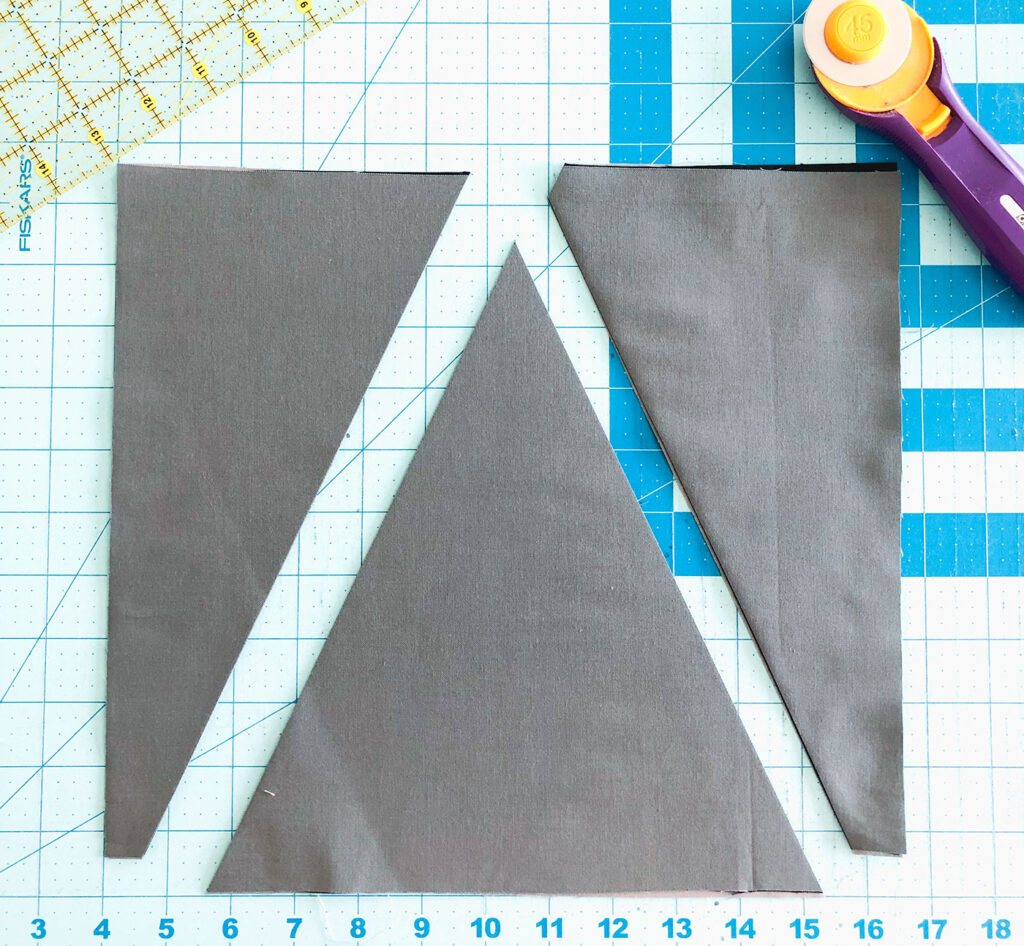
- Cut one side of your mountain- be sure to leave at least 1/2″ of fabric from the edge of the square to the bottom of the mountain. (the left piece in this picture)
- Move the cut side away from the square.
- Cut the second side of the mountain. Again, leave at least 1/2″ of fabric on the bottom between the edge of the mountain and the edge of the fabric, as well as leaving 3/4″ of fabric from the top of the mountain to the top of the fabric.
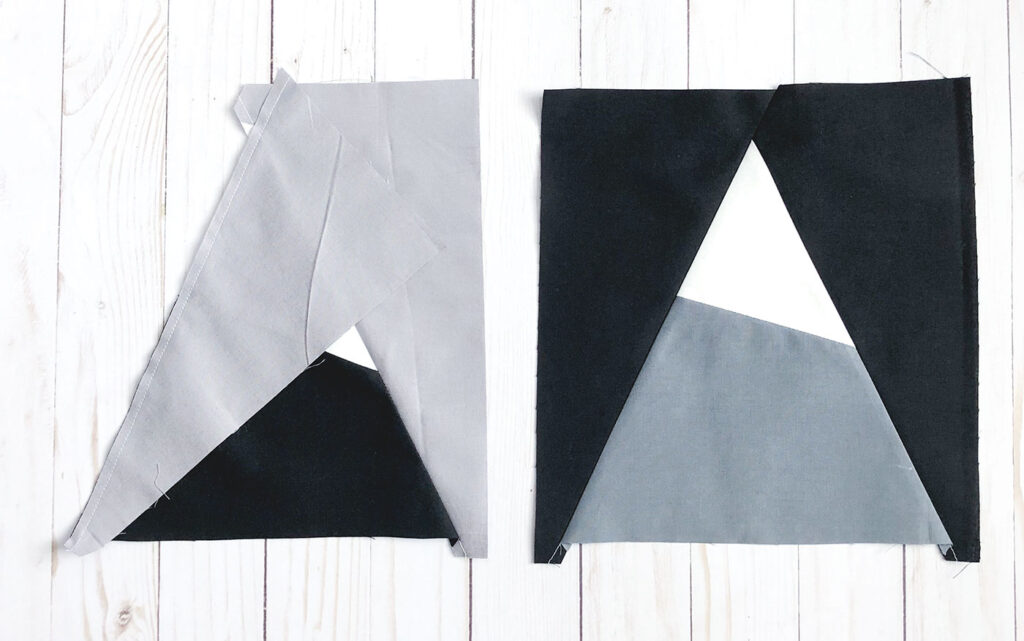
Place your mountain fabric on top of the white fabric, lining up the two sides of the mountain with the bottom corners of the white fabric.
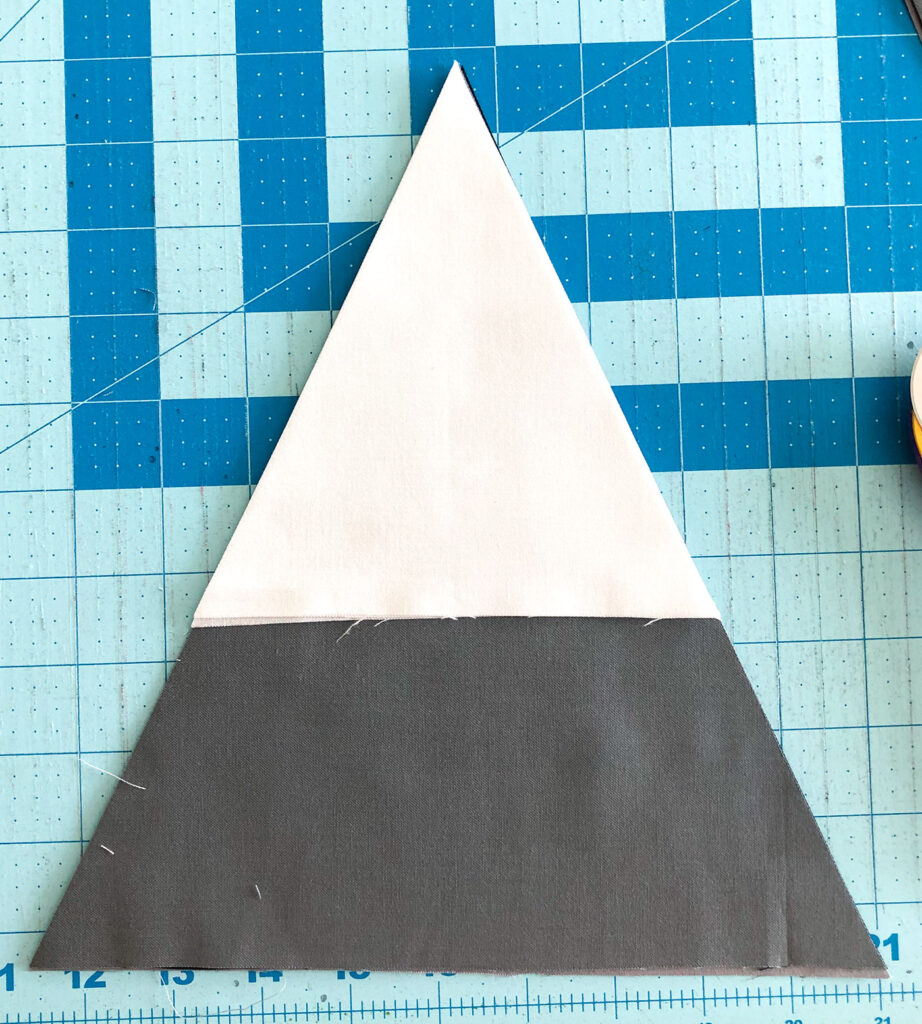
Trim the white fabric along the edges of the mountain peak.
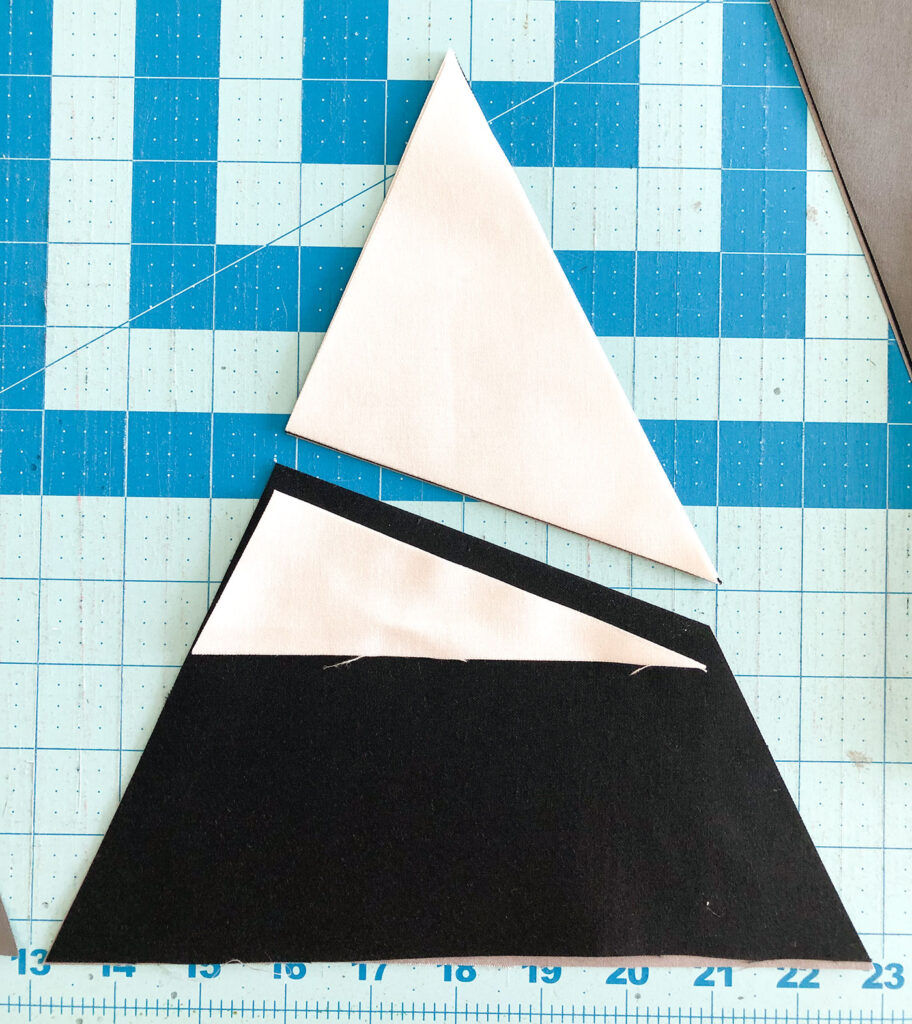
Use a ruler and rotary cutter to cut an angle through your snow-cap. It doesn’t matter which direction you go- I alternated between the two groups. Discard the small white remnant as well as the dark colored mountain tops. Move the top mountain base to the bottom of the pile so the colors for the blocks are off-set.
Assemble Snow-capped mountain blocks:
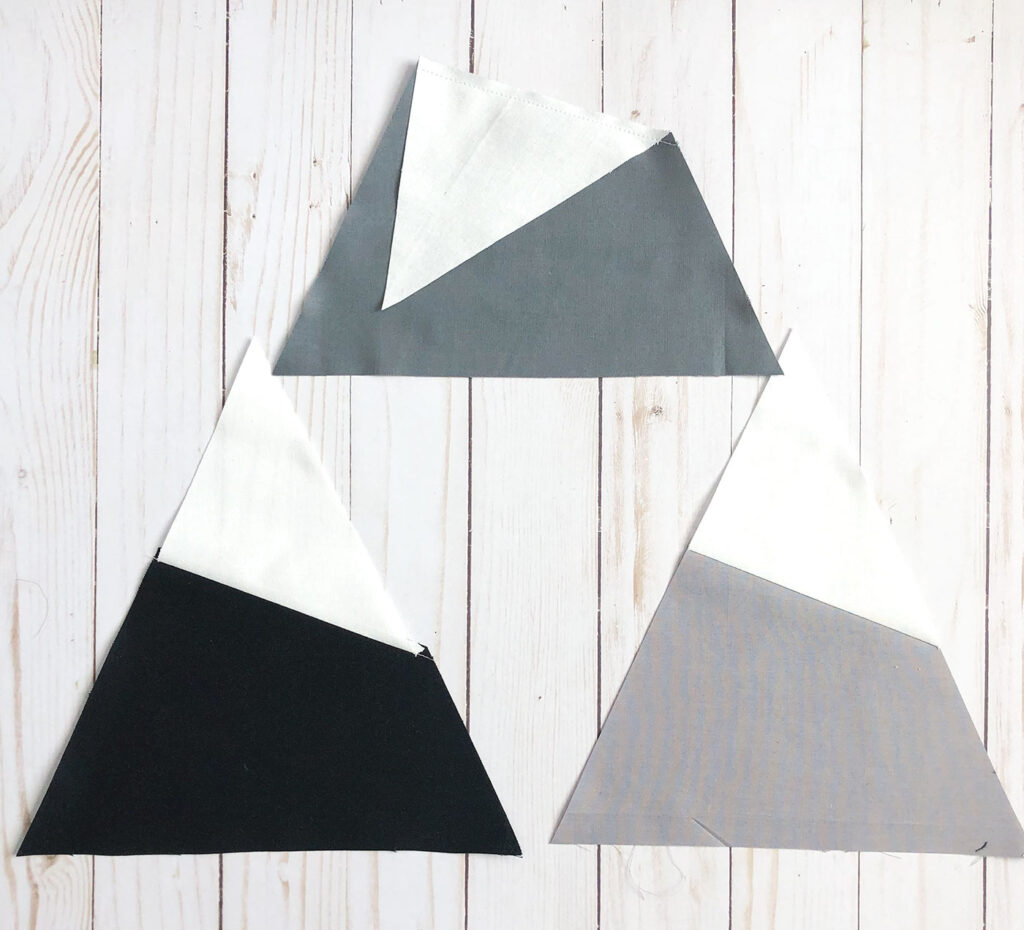
- Take one mountain base and a snow-cap piece and place the snow cap right side down along the angled side.
- Sew across the seam.
- Press the snow up and away from the mountain base.
- Trim the mountain base using the angles from the snow cap as your guide.
- Place the shorter background piece (the second piece cut away) right side down on the right side of the mountain piece. Center the fabric on the mountain.
- Sew down the side seam.
- Press the seam allowance toward the mountain.
- Place the last background piece right side down on the left side of the mountain, again, center the fabric.
- Sew along the seam.
- Trim the fabric from the first background side using the seam allowance as your guide.
- Press the seam allowance toward the mountain.
- Trim your mountain block to 9 1/2″ square- I start with the bottom, using the straight edge of the mountain base as the guide. When trimming the top of the block, leave at least 1/2″ from the top of the mountain to the top of the fabric- this may require you to go back and trim a bit off the bottom of the mountain to get the size of the block correct. Center the mountain as much as possible when trimming the sides of the block down.
Add sashing and assemble Mountain Top quilt

- Decide on the layout of your sashing and blocks.
- Sew the two 9 1/2″ (H) X 3 1/2″(W) strips to the sides of your mountain and focus fabric blocks using a 1/4″ seam allowance.
- Press the sashing away from the block.
- Sew the 15 1/2″ (W) X 3 1/2″ (H) strips to the top and bottom of your blocks.
- Press the sashing away from the block.
- Sew the blocks into rows of three. Press the seam allowances toward the mountain blocks (if using the same layout as shown).
- Sew the rows together.
- Make your quilt sandwich and quilt as desired.
- Cut 5- 2 1/2″ X WOF strips of binding fabric. Sew together, press in half and attach binding to quilt using your favorite method.

Now you are ready to enjoy your new quilt. This is a fun and easy quilt to make, perfect for gifting!
If you are looking for other fabulous gift ideas you might like this Child Sized Backpack Pattern.
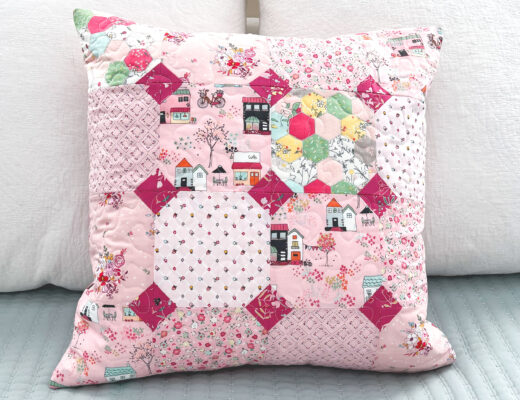
Or, if you are looking for a gift for a friend- this set of nesting pouches is one of my favorite projects!


Wild at Heart – Mountain Top Quilt + Tutorial! – Riley Blake Designs
September 30, 2020 at 9:38 am[…] stop on our Wild at Heart Project Tour takes us to AMEROONIE DESIGNS, where Amy is sharing her fabulous Mountain Top Quilt, featuring fabric from the Wild at Heart […]