I was sent some Poly-fil bags to use to participate in the 80th birthday celebration for Fairfield World. The project and opinions are all my own.
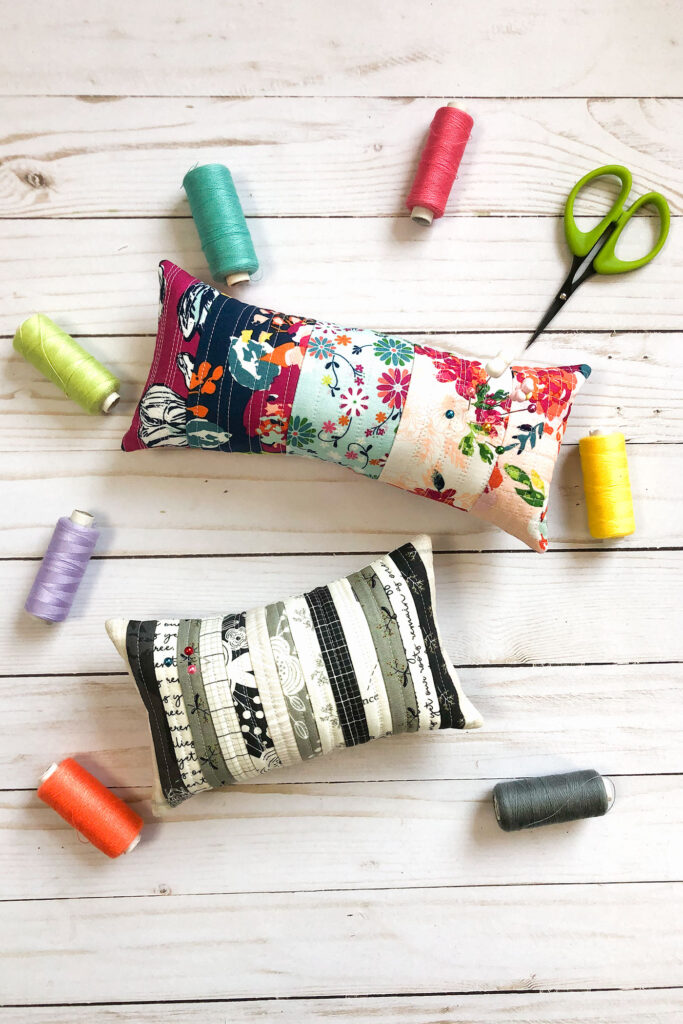
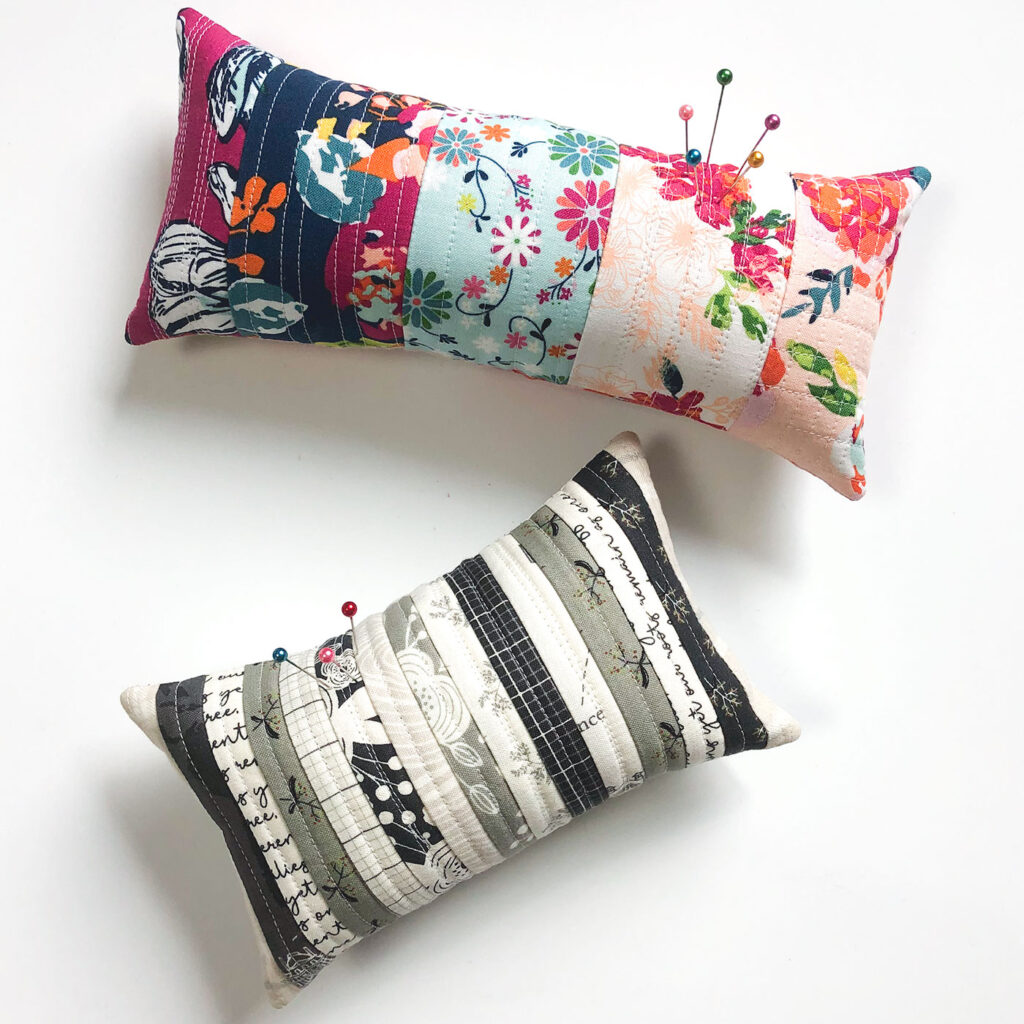
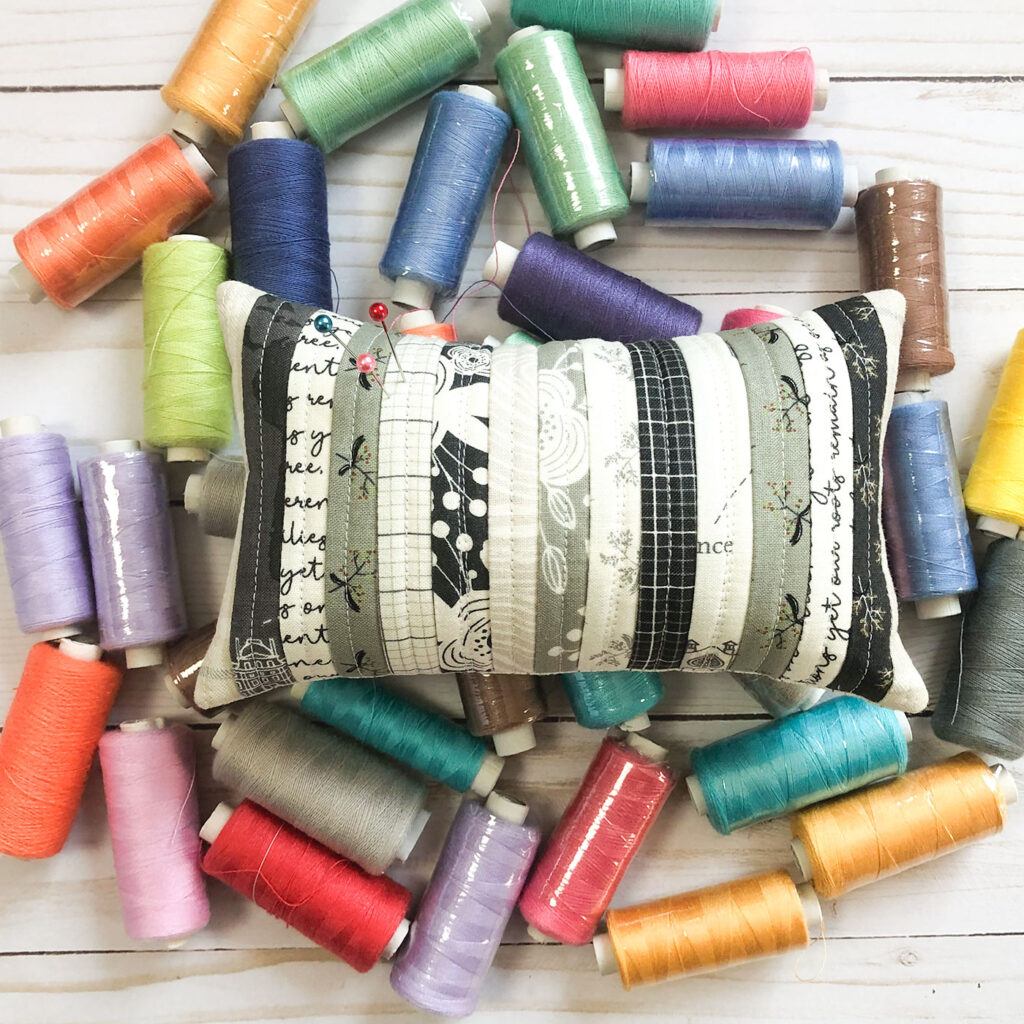
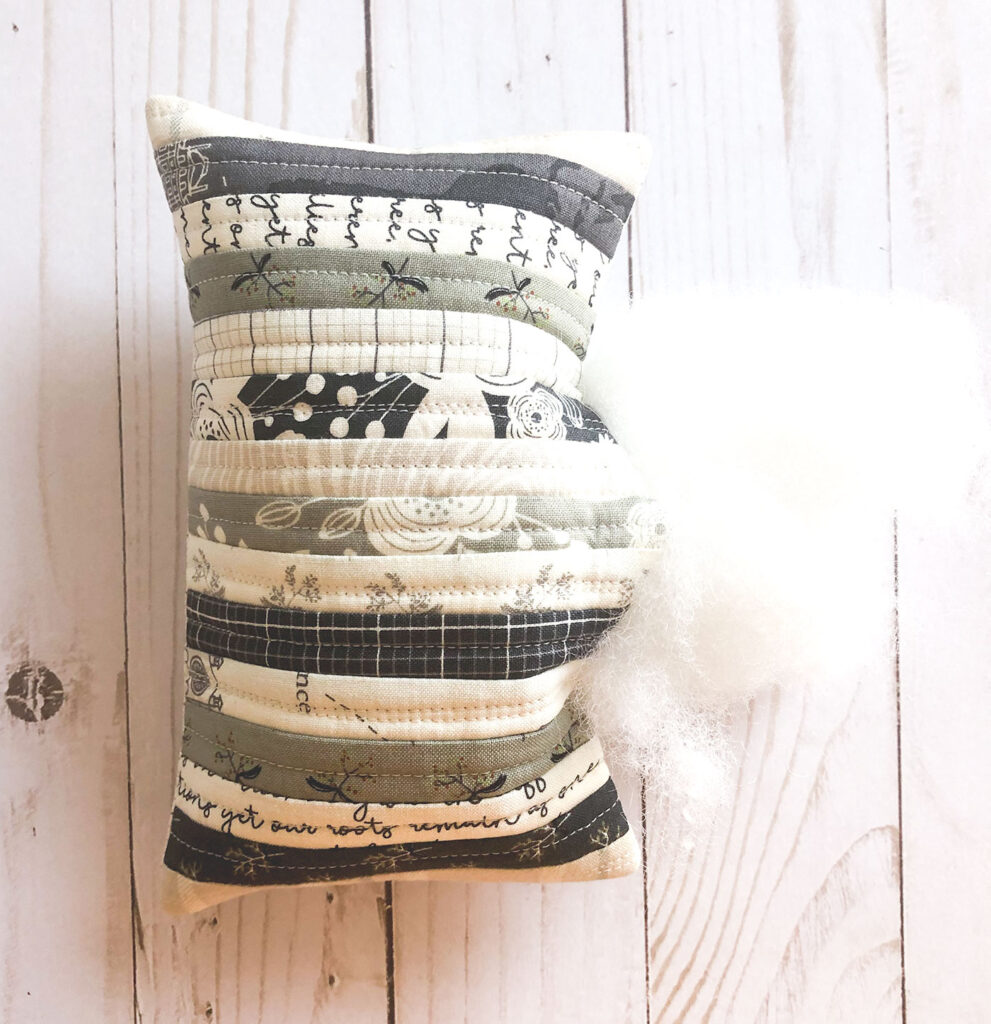
Years ago I made myself a brand new pincushion, one with an attached scrap bucket, out of my favorite fabrics. It hadn’t been finished a week when one of my daughters came into my sewing room, took my fabric scissors and cut through the fabric holding the scrap bucket!! I was so upset! I ended up having to cut off the scrap bucket, which left me with a usable, but unsightly pin cushion. That I still use. (insert face palm here) But not anymore! This scraptastic quilt-as-you-go (QAYG) Strip Pincushion is a fun and simple sew- which you know is absolutely my jam!
Perfect for leftover strips from cutting, or remnants of 2 1/2″ precut strips this pincushion lets you use up some of your favorite fabrics and batting scraps. If you want another scrap busting idea, these chapstick holders are a useful and quick project!
Scraptastic Strip Pincushion using QAYG
Supplies:
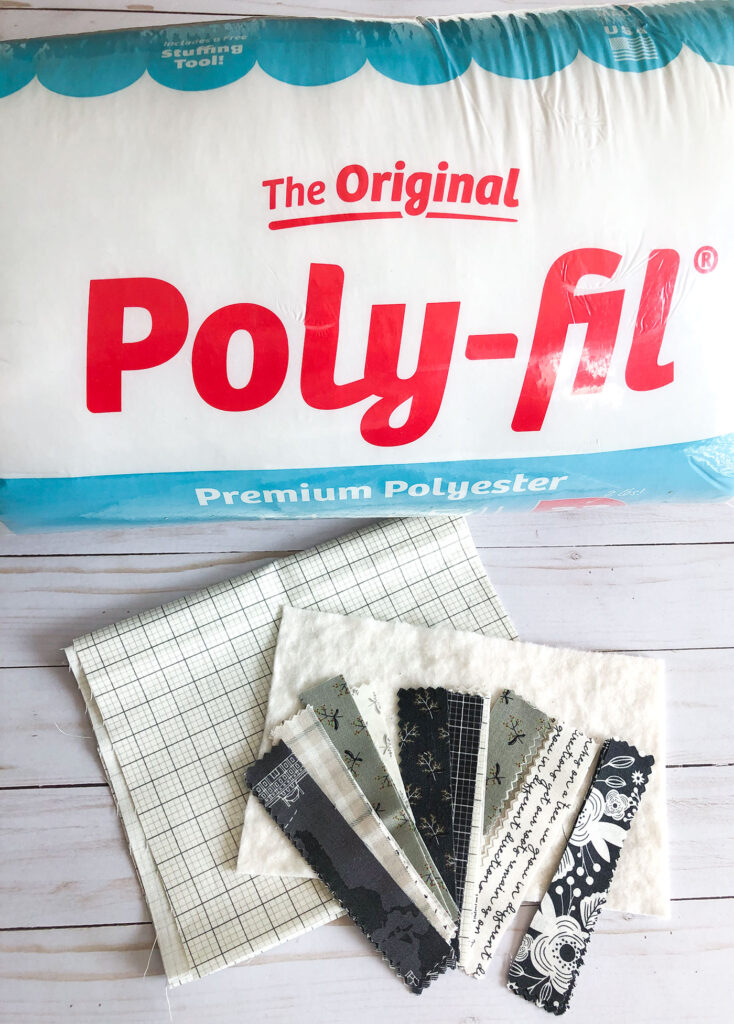
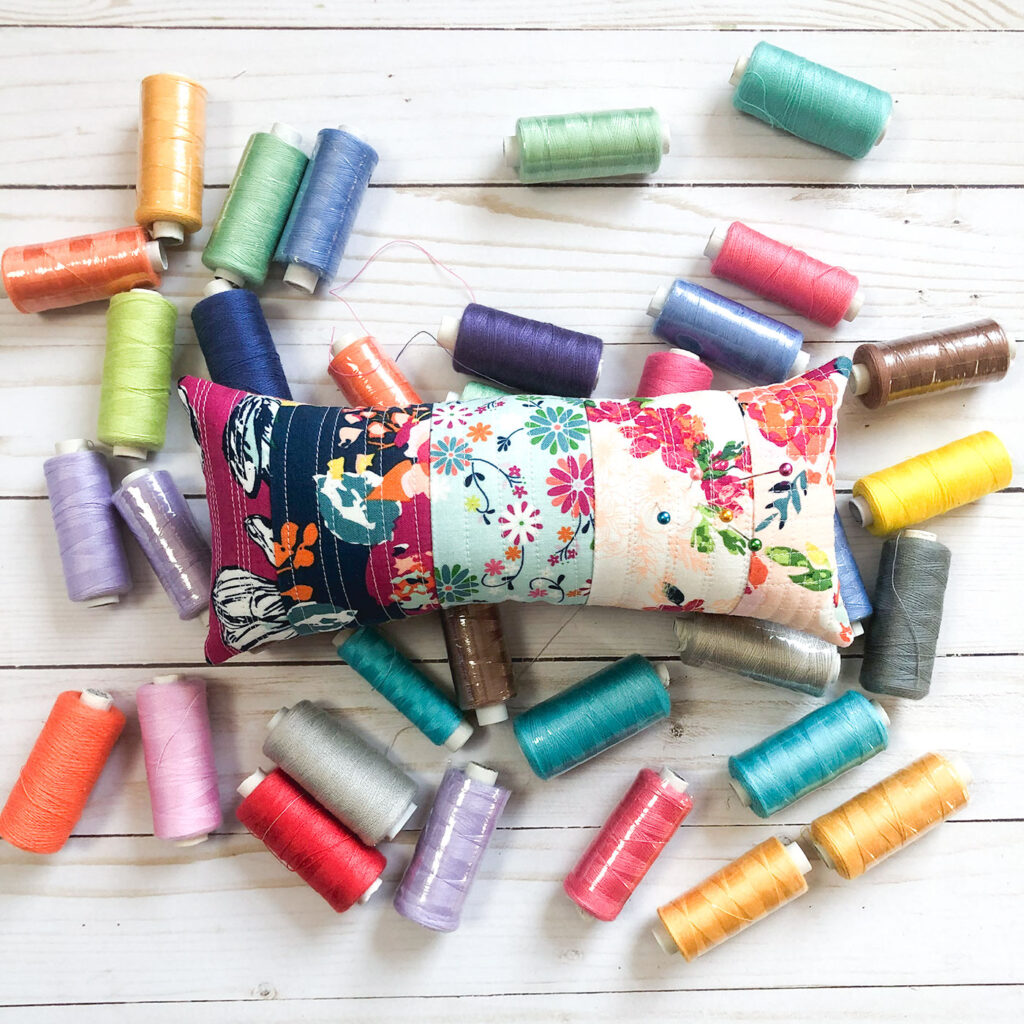
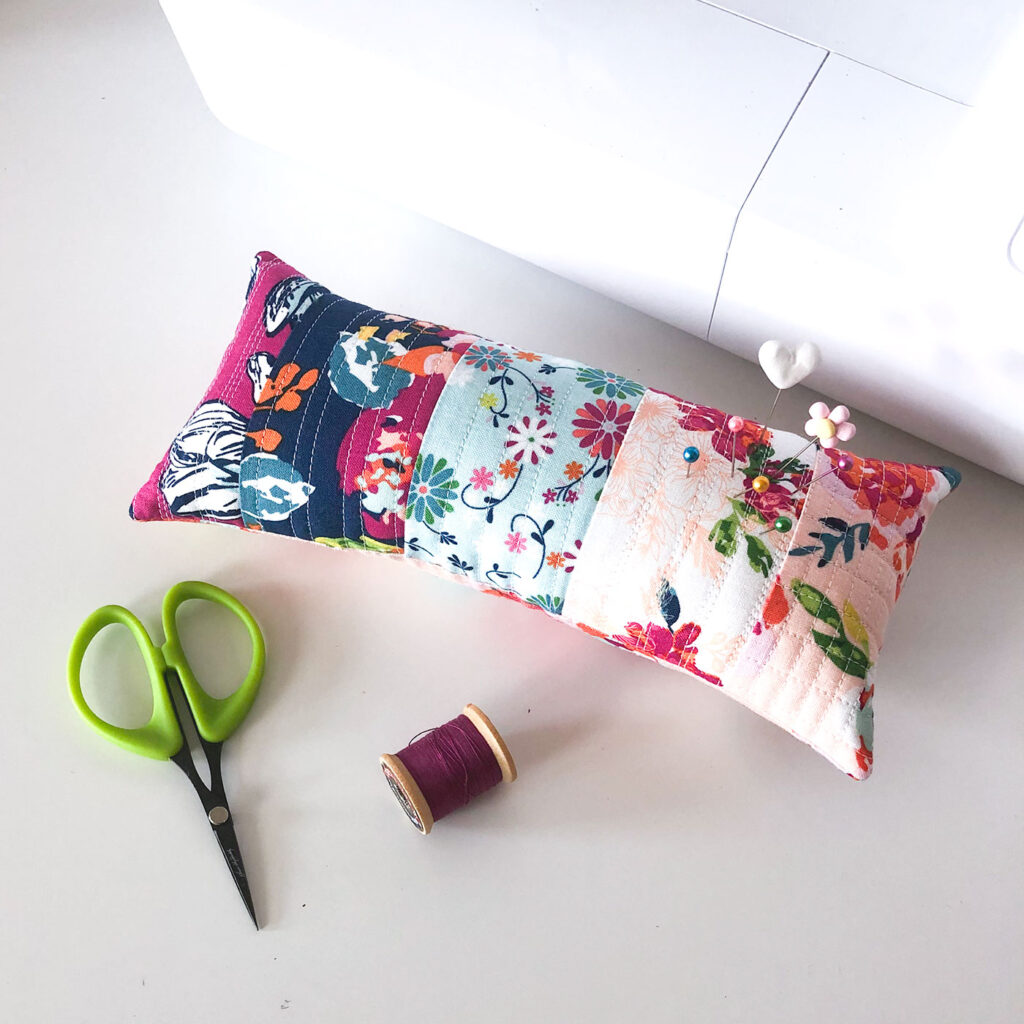
- Scrap piece of batting- I prefer cotton or natural fiber batting for this project so you don’t have to worry about melting it with your iron as you QAYG. Any size will work, just keep in mind the length of your scrap fabric strips as you square up your batting. The batting for this neutral pincushion using My Heritage fabric from Riley Blake Designs measured 4 1/2″ (high) X 7 1/2″ (wide), the batting for the colorful pincushion in Bloom fabrics also by Riley Blake Designs measured 4 1/2″ (high) X 9 1/2″ (wide).
- Scrap strips of fabric. As soon as I cut these strips of My Heritage fabric from 5″ squares for a different project, I knew I wanted to sew them together into a project. They are only 1″ wide and honestly, don’t make for a very good pincushion as there is just too much fabric in the seam allowances. I recommend using wider strips (at least 1 1/2″ wide) for most of your strips. They do not have to all be the same width. The Bloom strips are precut 2 1/2″ leftovers.
- Fabric for the bottom of your pincushion.
- Poly-fil polyester stuffing
- muslin or scrap fabric to created a weighted bag for the pincushion.
- Filling for the weighted bag- I use rice but you can also use crushed walnut shells, plastic pellets or beans.
QAYG Pincushion top:
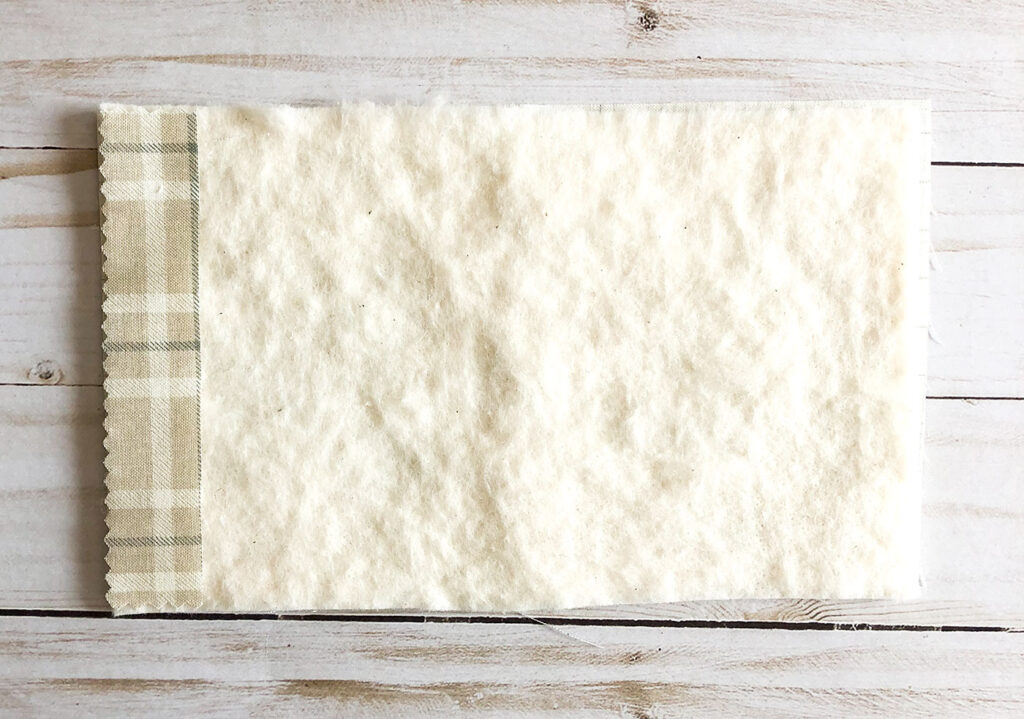
- Begin by squaring up your batting to your desired size. I DO NOT back the batting with fabric when adding the fabric on top as it makes the pincushion top too thick and difficult to insert pins into.
- Next, lay your first fabric strip on one side of the batting.
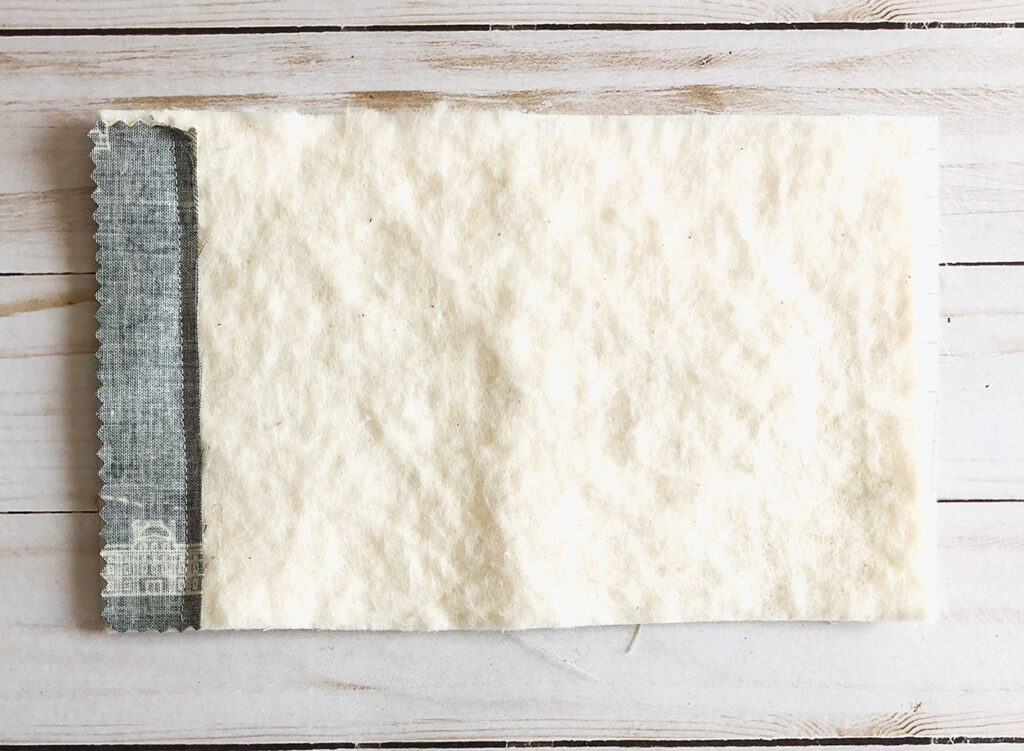
- Third, place your second fabric strip, right side down, and lined up with the right edge of the first strip.
- Now sew along this edge using a 1/4″ seam allowance.
- Press the second fabric strip away from the first fabric strip.
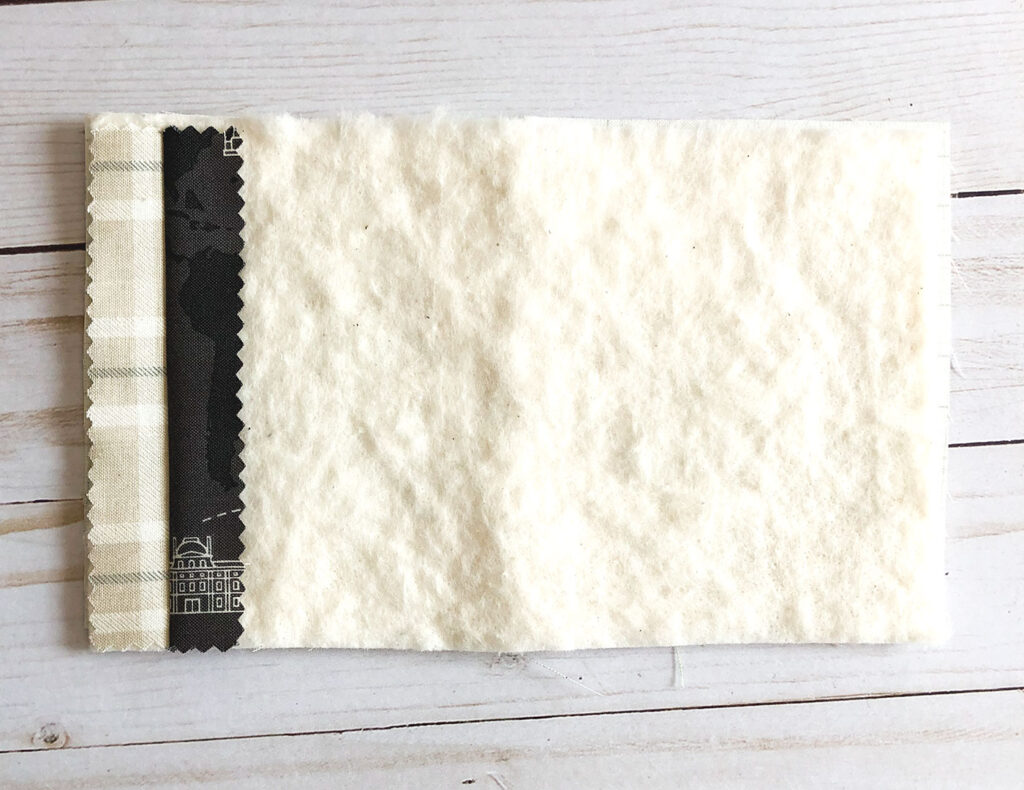
- Add some quilting to both strips.
- NOTE: you do not want to add too dense of quilting to the strips or it will make inserting pins into the pincushion difficult. I quilted a single line down the center of most of the strips, adding a second quilting line on just a few of them.
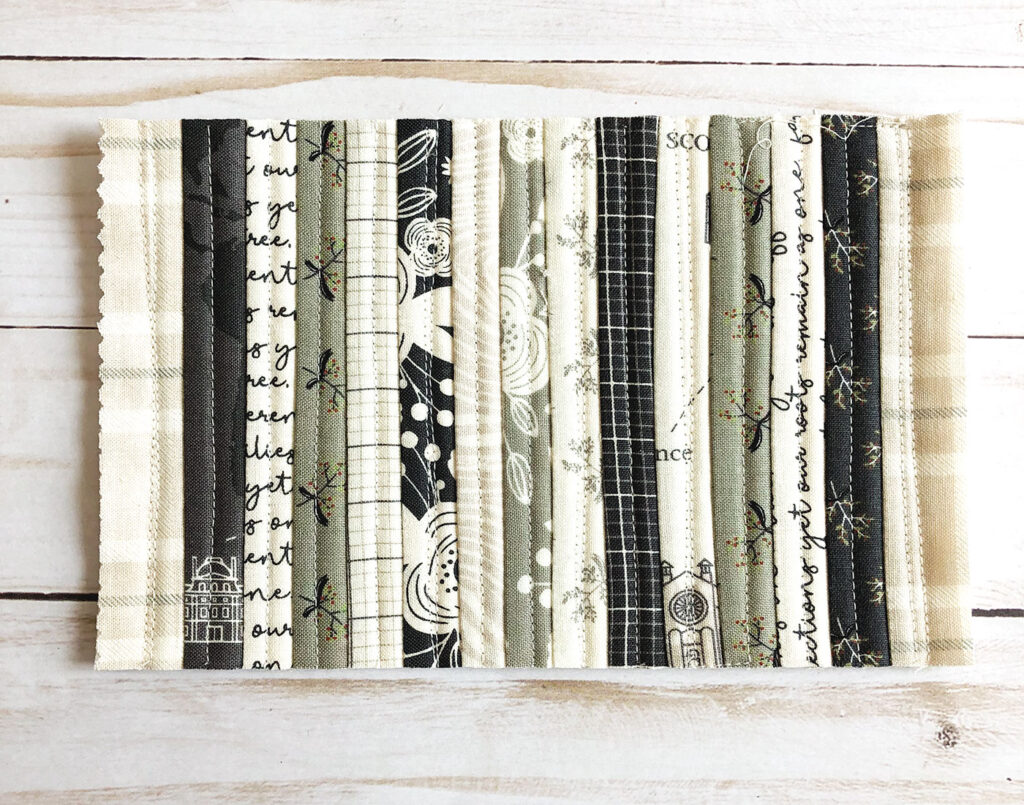
- Repeat across the span of your batting, adding strips and quilting them.
Assembling scrappy Strip Pincushion:
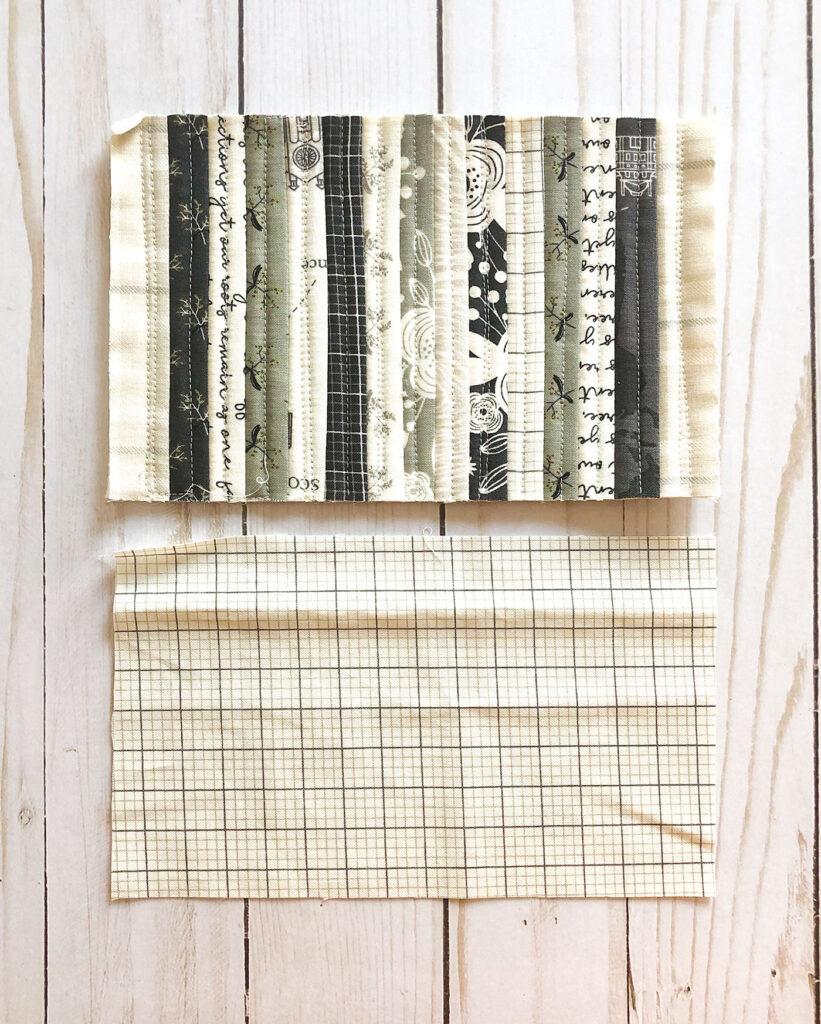
- First, square up your quilted pincushion top.
- Measure the final size of the pincushion top and cut a piece of your bottom fabric to the same size.
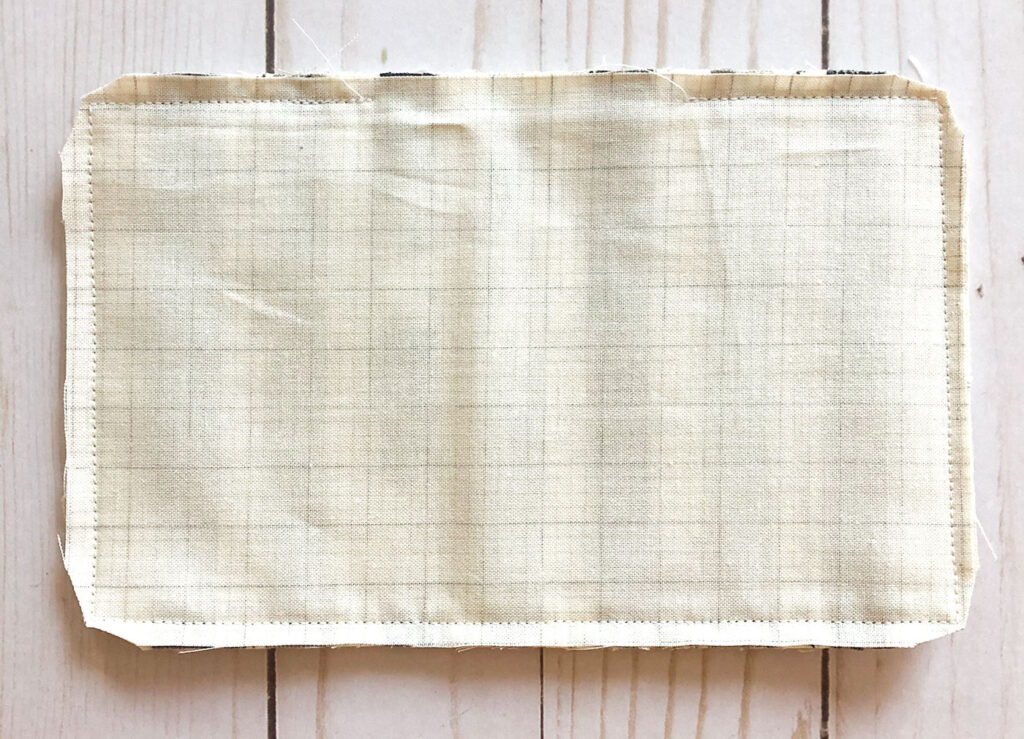
- Next, sew around all four sides of the pincushion using a 1/4″ seam allowance.
- Leave a generous 2-3″ opening for turning on one long side.
- Clip the seam allowance from the corners.
- Finally, turn the pincushion right side out and press well.
Sew weighted insert for pincushion:
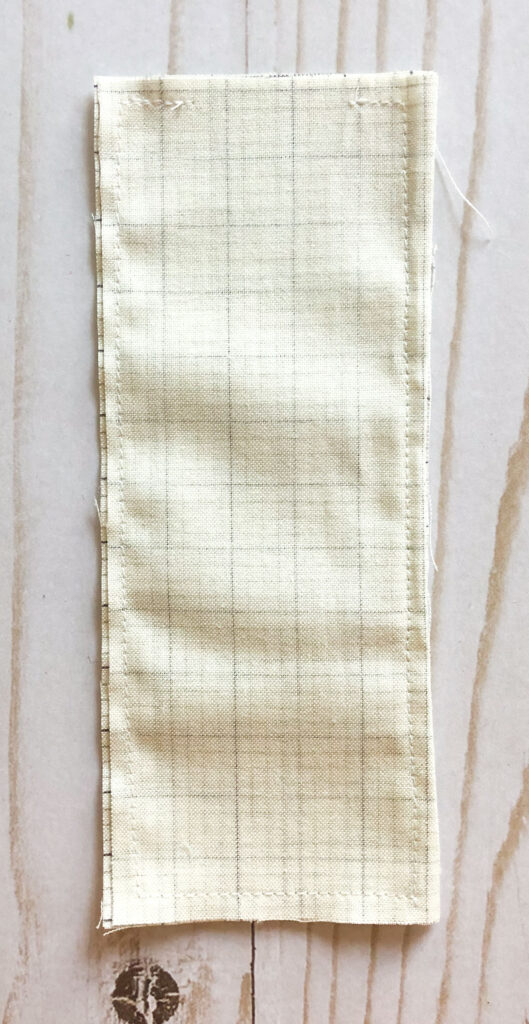
- Begin by cutting two pieces of scrap fabric or muslin to the height of your batting measurement -2″, and the width of your batting measurement – 1″. For the neutral pincushion I cut them to 2 1/2″ (height) X 6 1/2″ (wide).
- Place them together.
- Sew around all four sides leaving a small opening on one short end.
- Fill your pouch with your weight of choice, again, I used rice)
- Sew the opening shut.
Finishing your Scraptastic Strip Pincushion
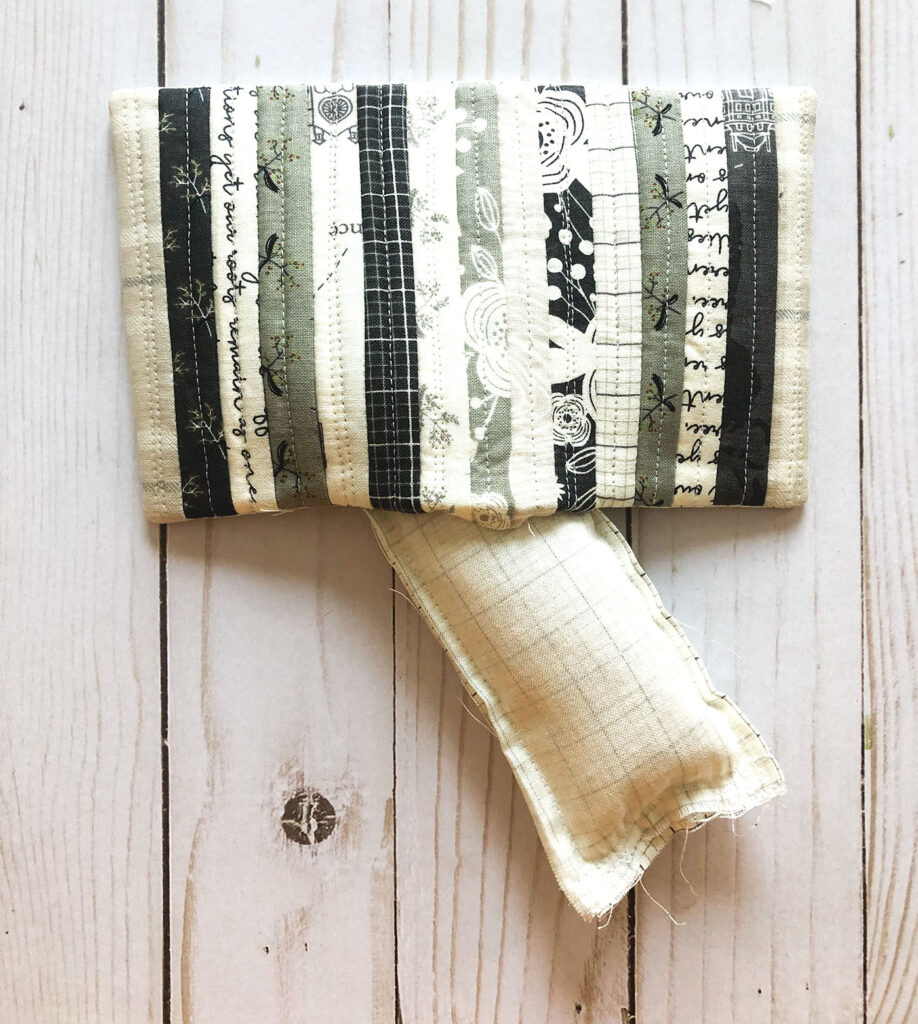
- Insert the weighted pouch into the pincushion.
- Next, stuff your pincushion full of Polyfil.
- Be sure to get stuffing into the corners and all around and on top of your weighted pouch.
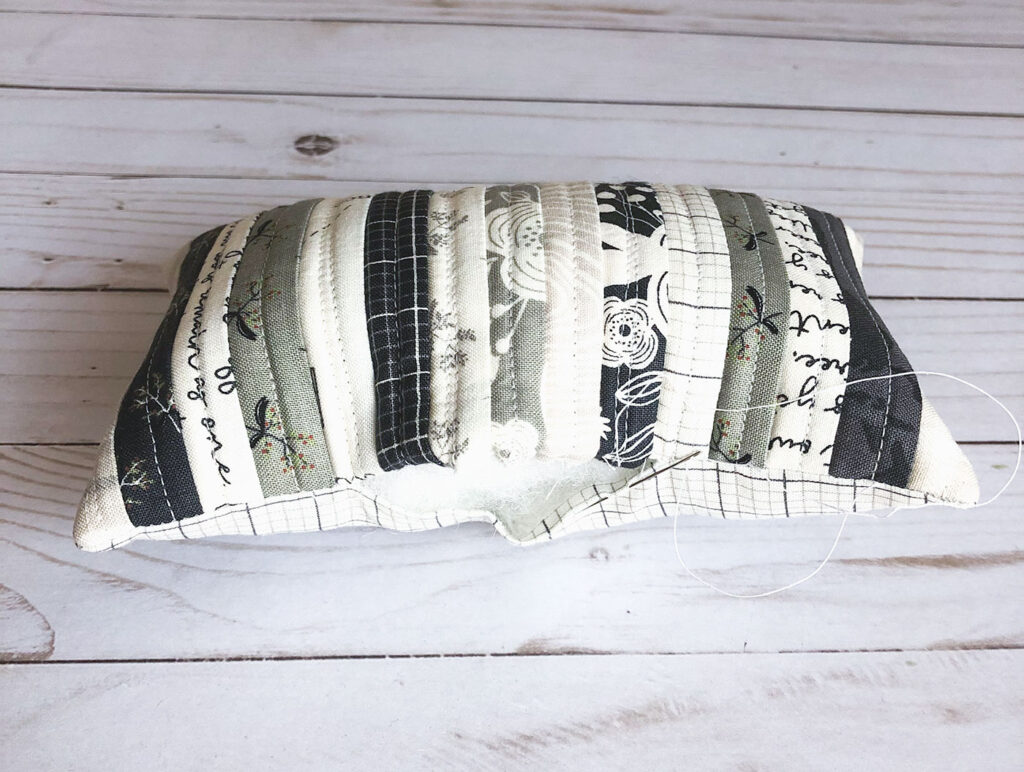
- Finally, use a needle and thread to hand sew the opening in your pincushion shut.
Quilt as you go is such a fun technique. You can see another version of how I use it in this mug rug tutorial. And although I use it as a shelf pillow and not actually a pincushion, this rainbow pincushion is an enormously fun project to sew!

