I recently had my stash of Riley Blake Designs woven wool pulled out to create a project (you can find the Patriotic Hoop Pattern here) and while it was out I decided to design a new pincushion for my sewing space. I had made one years ago, and while I like the shape of it, one of my kids had taken my sewing scissors to the hanging flap and it has never been the same. Since I have been having so much fun with wool applique, I decided to combine my need for a new pincushion with my desire to play with the techniques of wool applique a bit more and came up with this fun Rainbow Wool Applique Pincushion.
Small projects are the perfect way to try out or practice techniques without committing lots of time or resources. And if you are making something useful, you can always use it, even if you don’t love how it turned out! 😉
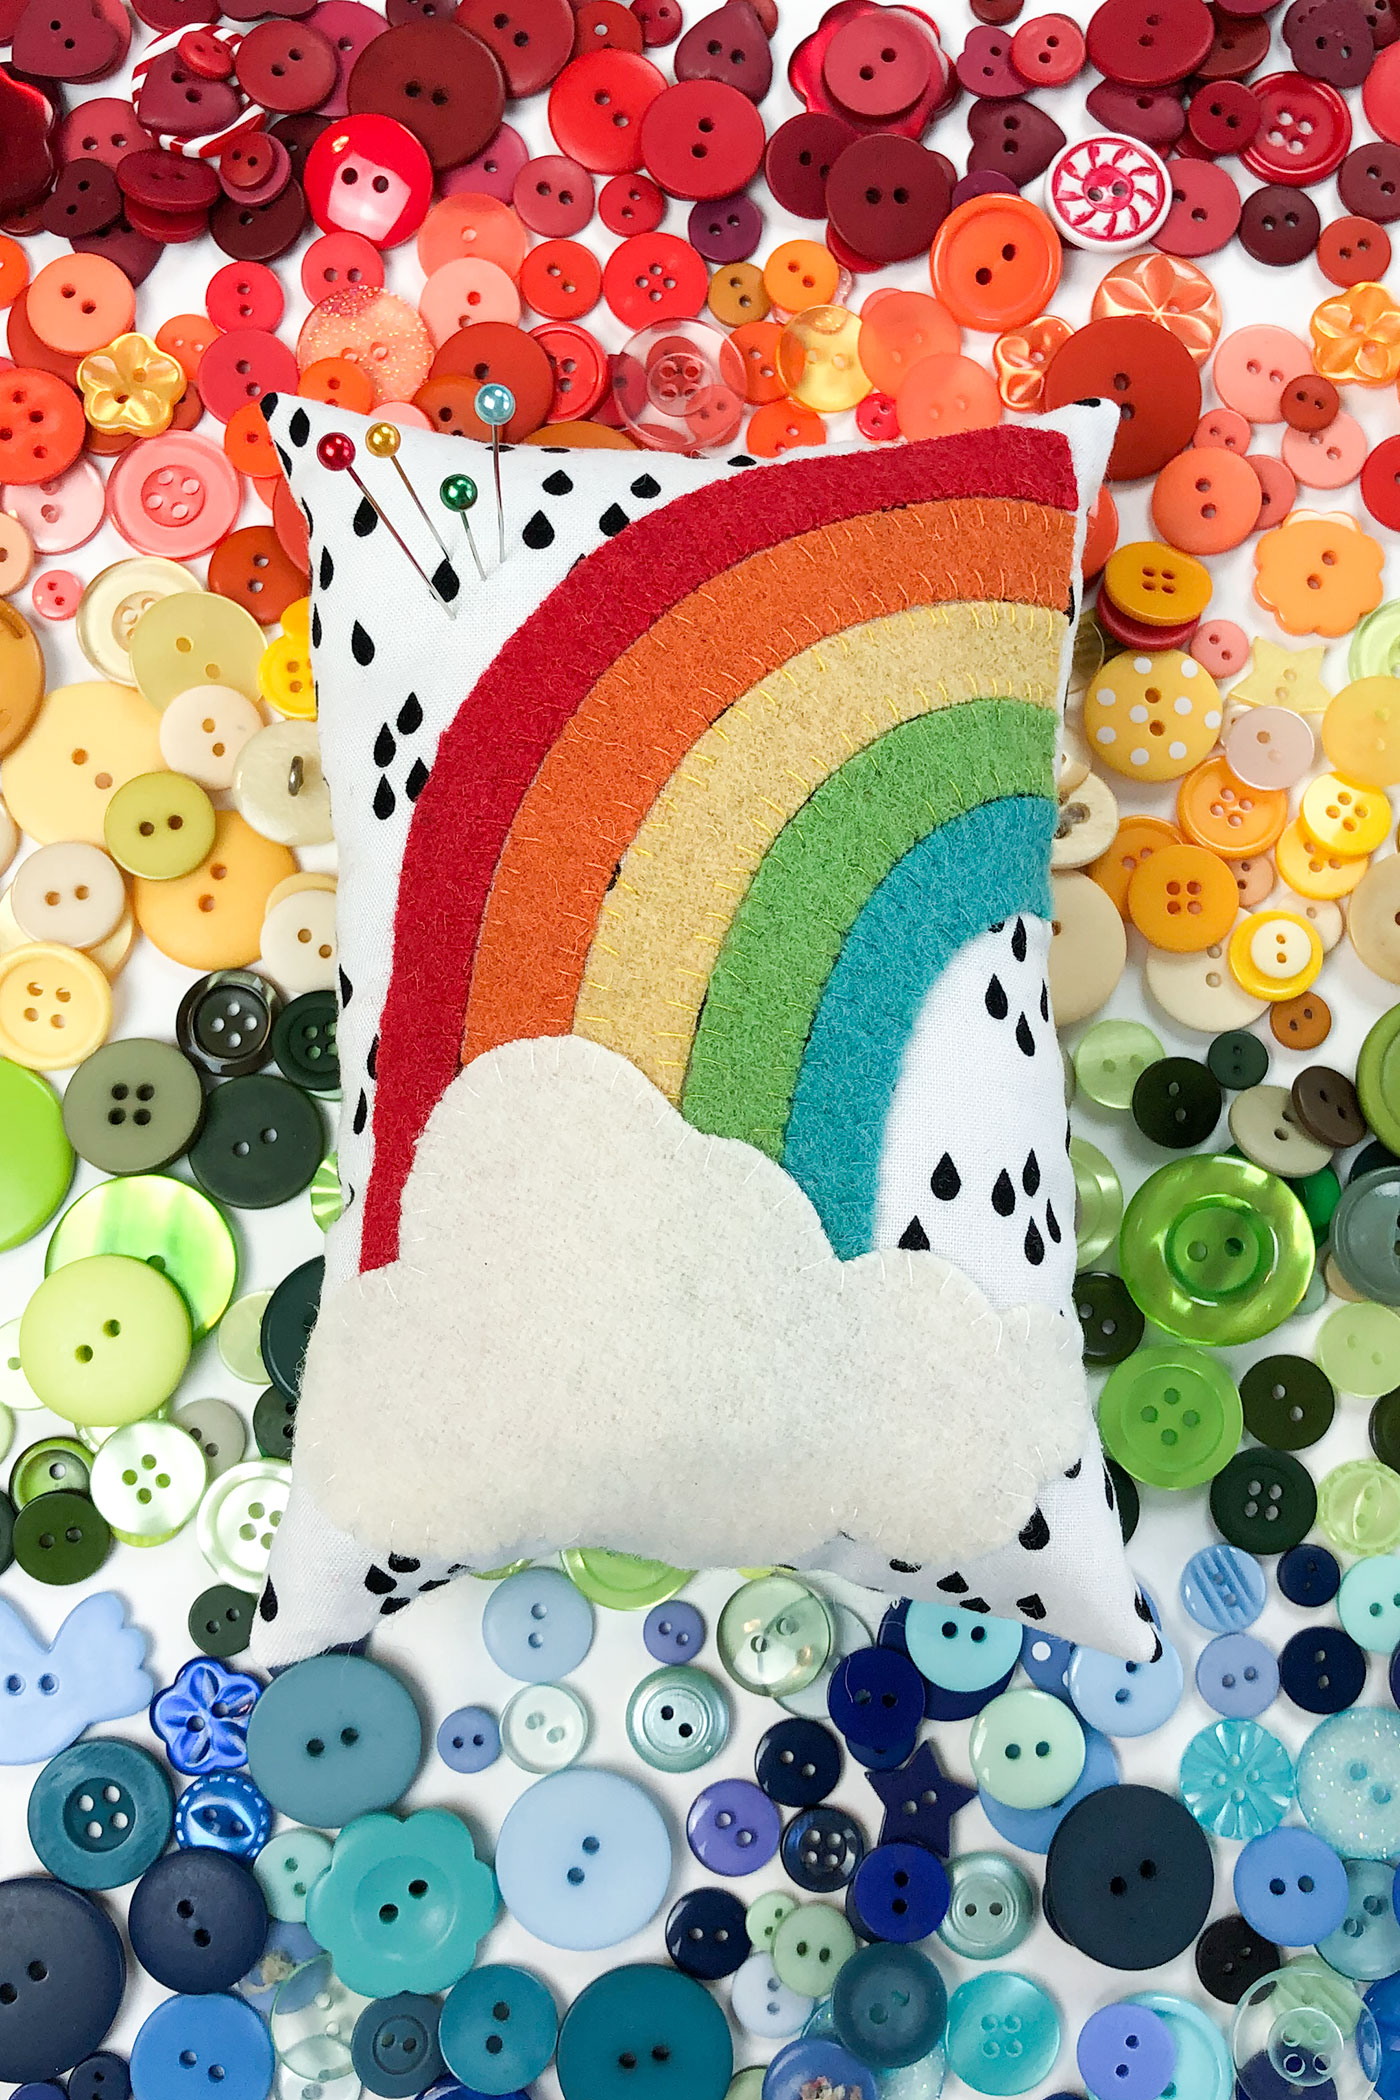
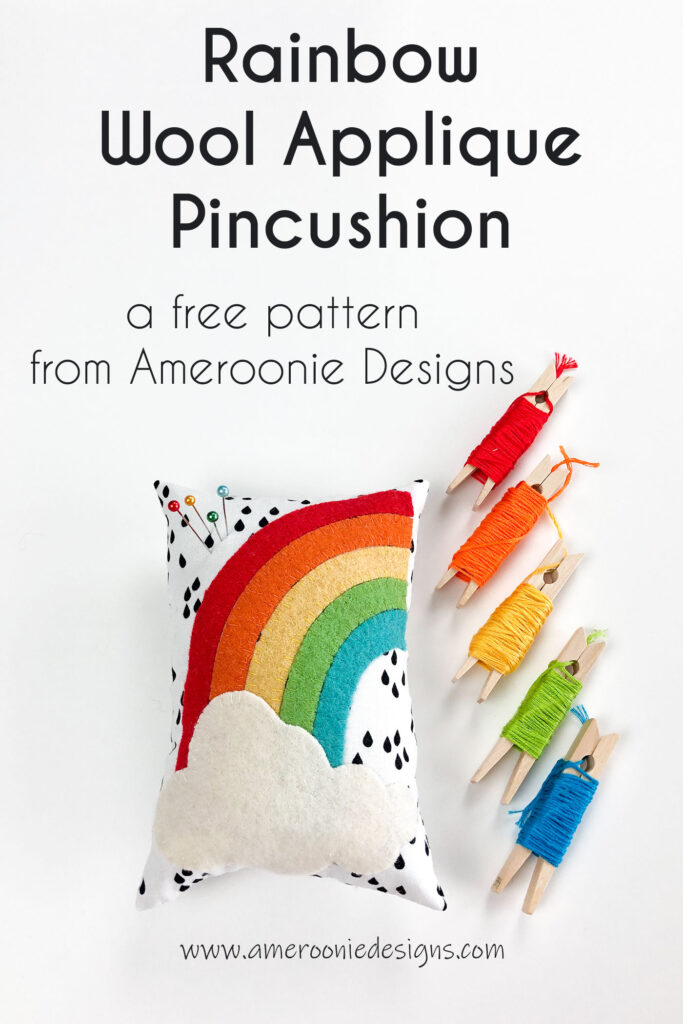
Rainbow Wool Applique Pincushion Pattern
Supplies:
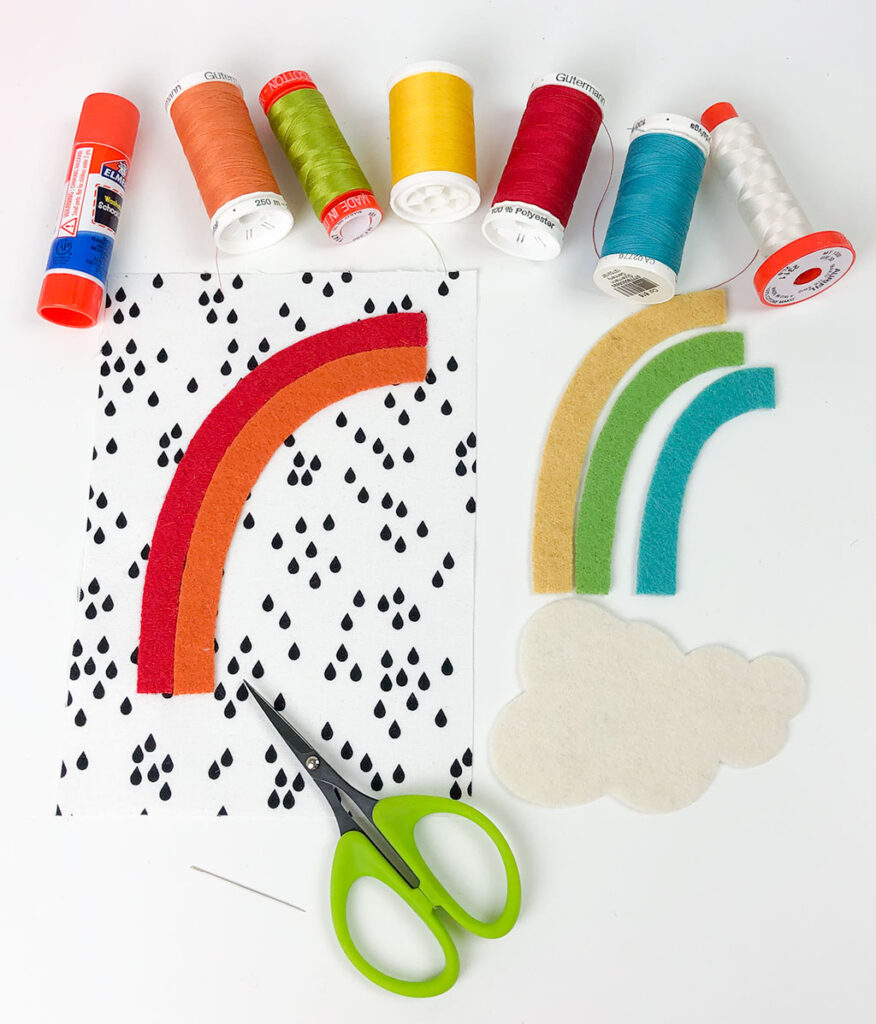
- woven wool in rainbow colors and white- you may want to felt it more before cutting out pattern
- Thread to coordinate with wool colors.
- Fabric for front and back of pincushion- 2- 5″ X 7″ rectangles
- Scissors and Needle
- Pattern Pieces
- Fiber fill, rice, poly beads or crushed walnut shells to fill pincushion
- Glue stick
- Freezer Paper for cutting out pattern pieces
Stitch Rainbow Applique
- Trace or print your pattern onto the paper side of freezer paper. Cut apart pieces leaving a slight margin around each piece.
- Use a medium heat iron to fuse the waxy side of the freezer paper to the wool. Cut out each piece then peel away paper backing.
- Take the red rainbow piece and add a small amount of glue stick to the back side of the applique piece. Position on the front fabric piece as desired- make sure to leave room for the seam allowance.
- Stitch around the red rainbow piece using a blanket stitch or a small whip stitch.
- Repeat steps 3-4 for the rest of the rainbow- orange, yellow, green and blue.
- Add the cloud to the bottom of the rainbow, again make sure to account for seam allowances.

Assemble Pincushion
- Place the back fabric piece right sides together on top of the front fabric piece.
- Sew around all 4 sides of the pincushion, leave an opening for turning on the bottom seam of the pincushion. Use a 1/4″ seam allowance.
- Clip the seam allowances on the corners.
- Turn the pincushion right side out.
- Stuff the pincushion with filling of choice. I prefer to make a small “bean bag” filled with rice or poly pellets to weigh down the pincushion- I make it about 3″ square (or whatever size the scrap I am using is). I put the bag in the pincushion and then stuff around it with fiber fill.
- Stitch the opening in the bottom of the pincushion closed.
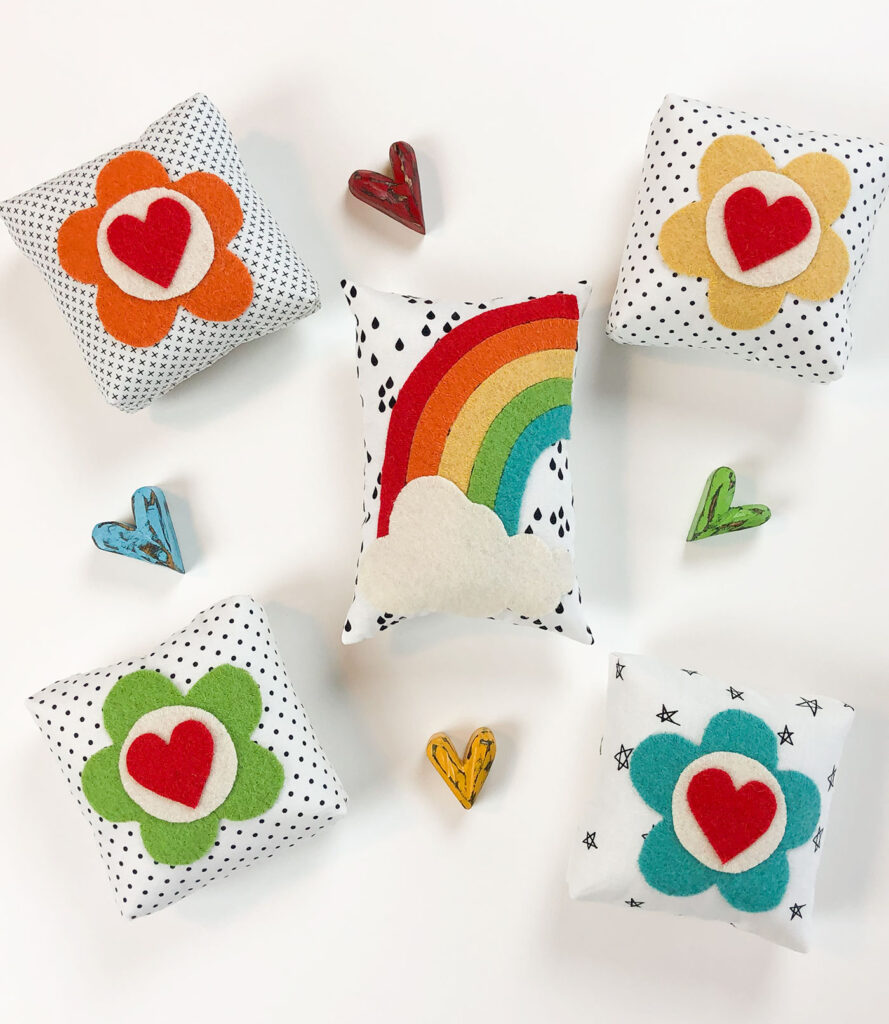
I also made a flower applique pattern that I am sharing over on The Polkadot Chair Blog. Make up a whole bunch to use as bowl fillers in a darling girl’s room or to brighten up a sewing studio.
And, if you are having fun with all the applique projects, you might want to try this Springtime Showers Mini Quilt or if you want to try out a new technique on a small project, this Felt Flower Mini Hoop Wreath is a fun, quick project to get started making felt flowers!
Happy Making Everyone! xoxo, Amy


Diana
June 1, 2019 at 7:01 pmReally sweet!
Amy Chappell
June 5, 2019 at 10:13 pmThank you so much Diana!