This is a sponsored post. I was given a Cricut EasyPress to use and review. All opinions and projects are my own.
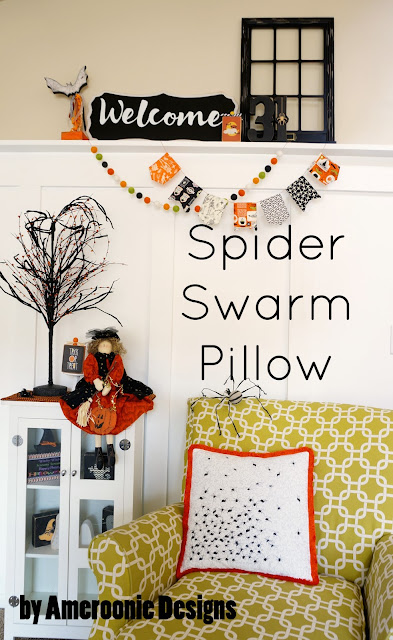
I love having the ability to customize my projects and Iron on is such a fun way to do it. My problem with using iron on is getting it to adhere well to my projects. It always seemed to lift and peel. I have discovered that the problem wasn’t the vinyl I was using- it was me. Not only was I using an iron, I wasn’t heating the vinyl nearly long enough. Enter the EasyPress. The large heating surface heats evenly across the entire plate and a built in timer makes sure I don’t stop before it’s ready. It’s so easy now to create projects that use iron on vinyl with confidence. Behold: The Spider Swarm pillow!!
I’m definitely one who prefers cute over creepy when it comes to Halloween decorations, but I don’t mind a bit of skin crawling fun here and there. This spider swarm pillow fits my style perfectly.
Want to make one of your own? Read on:
Supplies:
fabric for pillow cover: 1/2 yard white fabric
black iron on vinyl
trim (optional)
sewing supplies and vinyl cutting tool
16″ X 16″ pillow form
Cutting:
1- 16″ X 16″ square white fabric
2- 12″ X 16″ rectangles white fabric for back
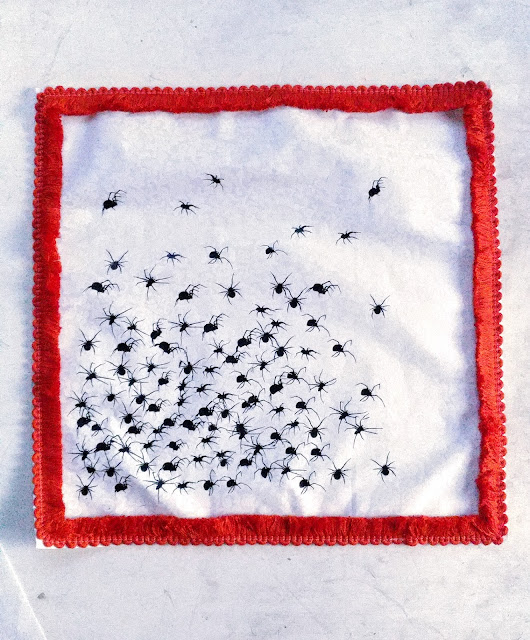
Using your Cricut Maker, or other cutting machine, cut spiders out of black iron on vinyl- I used 4 different spiders, resized them and turned many of them different directions to create the swarm. One thing I didn’t do, was make sure the spiders weren’t touching each other- something I would definitely change next time. Using the BrightPad made the weeding process much easier- it takes a while, but it’s worth it (I think!) Since you can only cut 12″ wide on the mat, I made the swarm fit within the 12″ and then cut a few more spiders on another mat to individually scatter around the white edges.
Pressing:
Use EasyPress to adhere vinyl to pillow front. A couple of things to note- when placing your swarm, remember to leave room for your seam allowance (1/4″). I also left a bit of room on the bottom and sides because often pillow forms are squishy and you don’t see that part of the pillow and I wanted to make sure you saw ALL the spiders. 😉 This project would be a million times faster if you just created the swarm and then pressed it onto a premade pillow cover- like ones you can find at Ikea. But, the envelope closure of this pillow makes it a fairly straightforward sew- which lets you customize both the background fabric and add any trim or embellishments you might want.
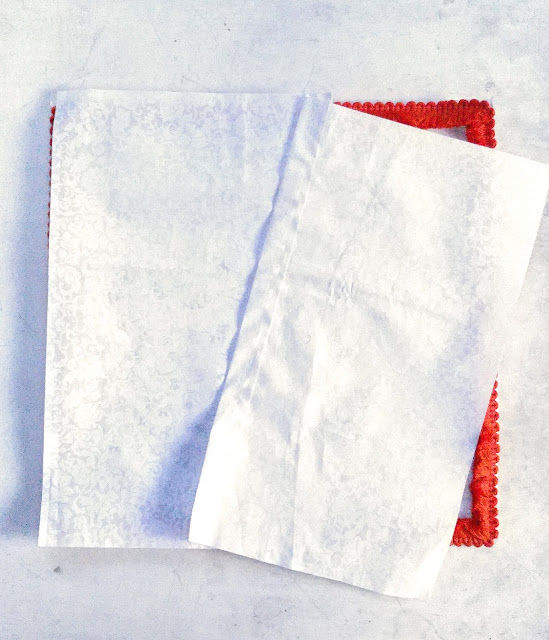
Take one of the pillow back pieces and press one 16″ side over 1″, then again another 1″ to create a finished edge. Top stitch down hem. Repeat for second back piece **Tip: If fabric is directional, make sure the sides you create hems on will overlap once placed on pillow back.
Assembly:
If adding trim to edge of pillow, baste the trim down on the pillow front
Take your first pillow back piece and lay on the top of the pillow front, right side down. Line up the raw 16″ edge with the side of the pillow and line up the top and bottom. Place the second pillow back piece, right side down, on top, lining up the opposite 16″ side from the first piece. The two back pieces should overlap. Pin well, especially where the pieces overlap. Sew around all four sides of pillow using a 1/4″ seam allowance.
Turn right side out and add a pillow form. Just like that, you have a new pillow!
Now all that is left is to enjoy your creepy new decoration!
Happy Halloween!!
This is a sponsored conversation written by me on behalf of Cricut. The opinions and text are all mine.


