This is a sponsored post written by me on behalf of Cricut. All opinions are 100% mine.
This post contains affiliate links. Purchases made through these links will result in a small commission for me at no additional expense to you.

The Cricut Joy is a new, tiny cutting machine that packs a big punch. Perfect for cutting vinyl, paper or iron on– this compact tool is easy to transport, set up and get cutting. The block, card and tags for the sunshine countdown were all made using the Cricut Joy and its tools. Together they make a box of sunshine perfect for sending to friends for birthdays or just as a pick me up during these challenging times. Shall we explore all the fun things this new machine can do?
Sunshine Box with Cricut Joy Tutorial
One of the best things about the Cricut Joy is how easy it is to set up and get making. No more clearing off table tops or hauling the machine, mats, materials and laptop out, just plug it in and get cutting! In 15 minutes or less you can have a finished project. What’s better than that? Need labels in your kitchen? Bring the Cricut Joy in and create right where you need it. Personalize a gift, make a last minute card, this happy little cutting machine will get you creating anywhere fast!
Countdown Tags with Cricut Joy pens:
This countdown is quick to whip up using pre made muslin bags. Make the waiting as much fun as the actual event!
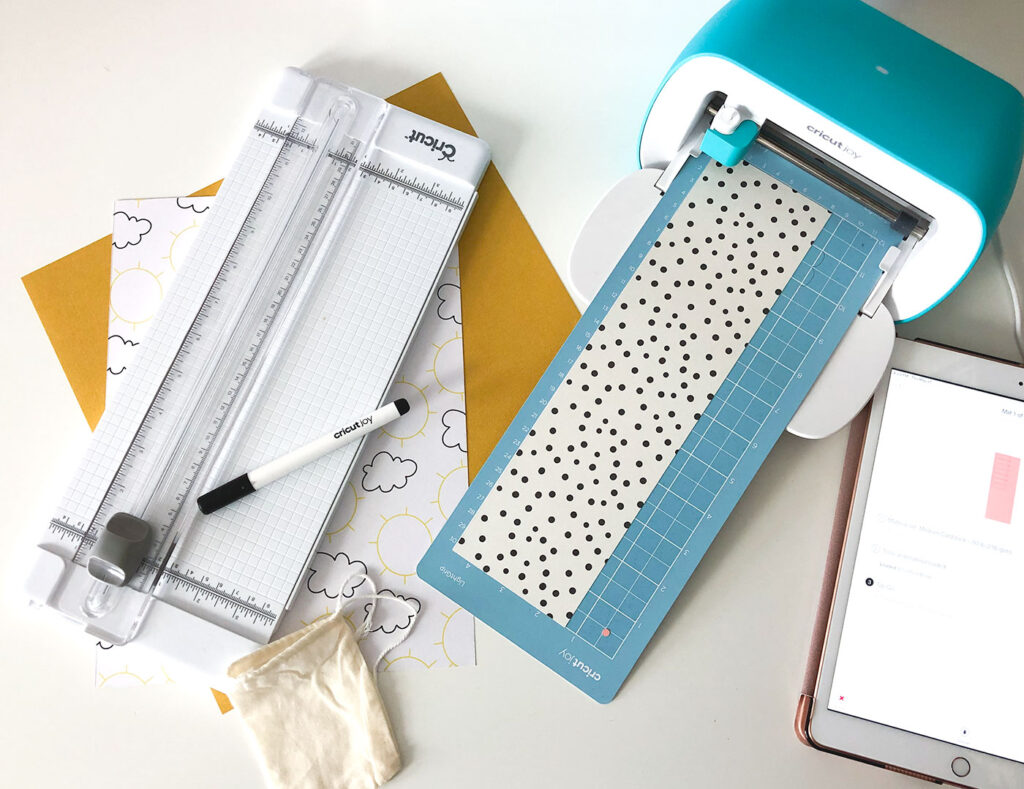
You will need two pieces of paper, a black Cricut Joy pen and a mat. You can find the project file in Design Space here. I am using a piece of Rad and Happy specialty paper and a piece of coordinating Cricut brand cardstock.
Use your Cricut paper trimmer to cut a 4″ wide piece of each paper. Follow the cutting instructions in design space to cut out the background tag (from the Rad and Happy paper).
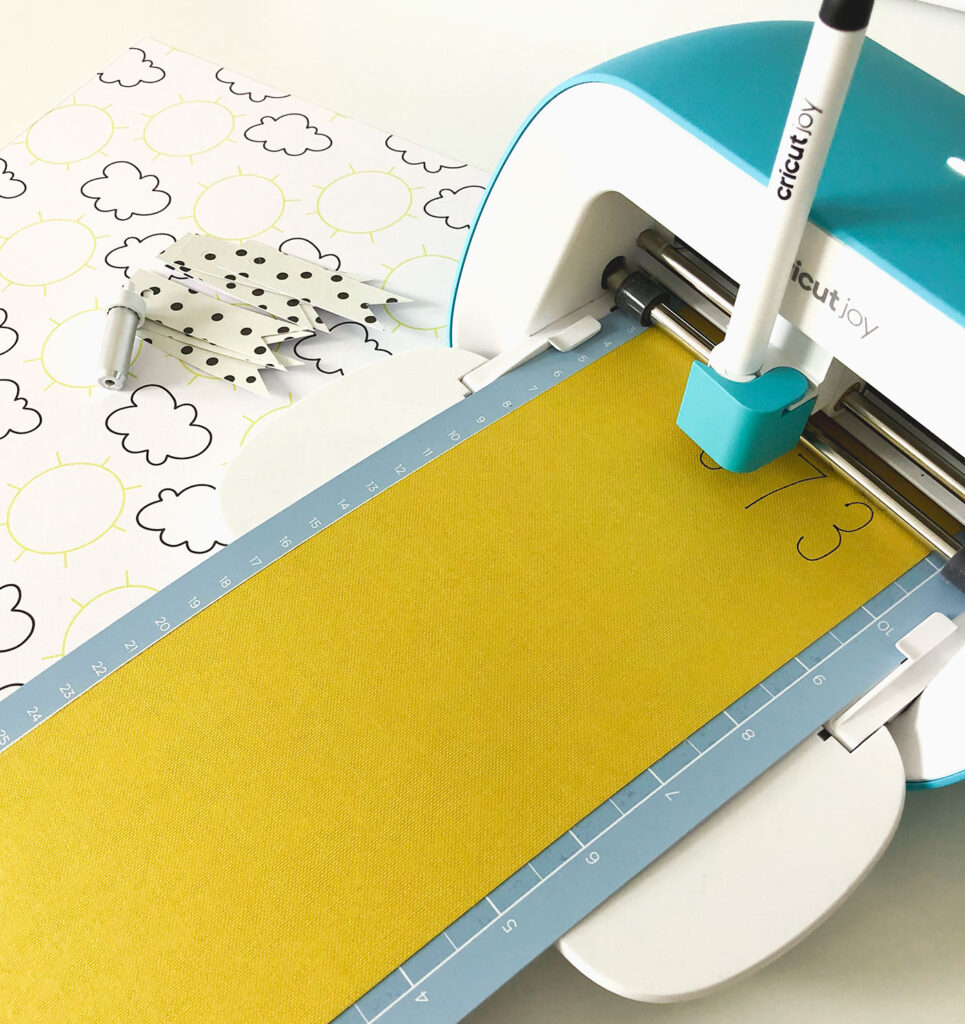
- Next, you will insert the Cricut Joy pen into the machine to proceed with the next step.
- Load the cardstock onto the mat and write the countdown numbers and cut out the inset tag using your Cricut Joy. The Cricut Joy has its own special pens that are sized to fit the housing of this mini machine- they make adding sentiments and markings a breeze. With a range of colors and widths there are so many ways to customize your written projects!
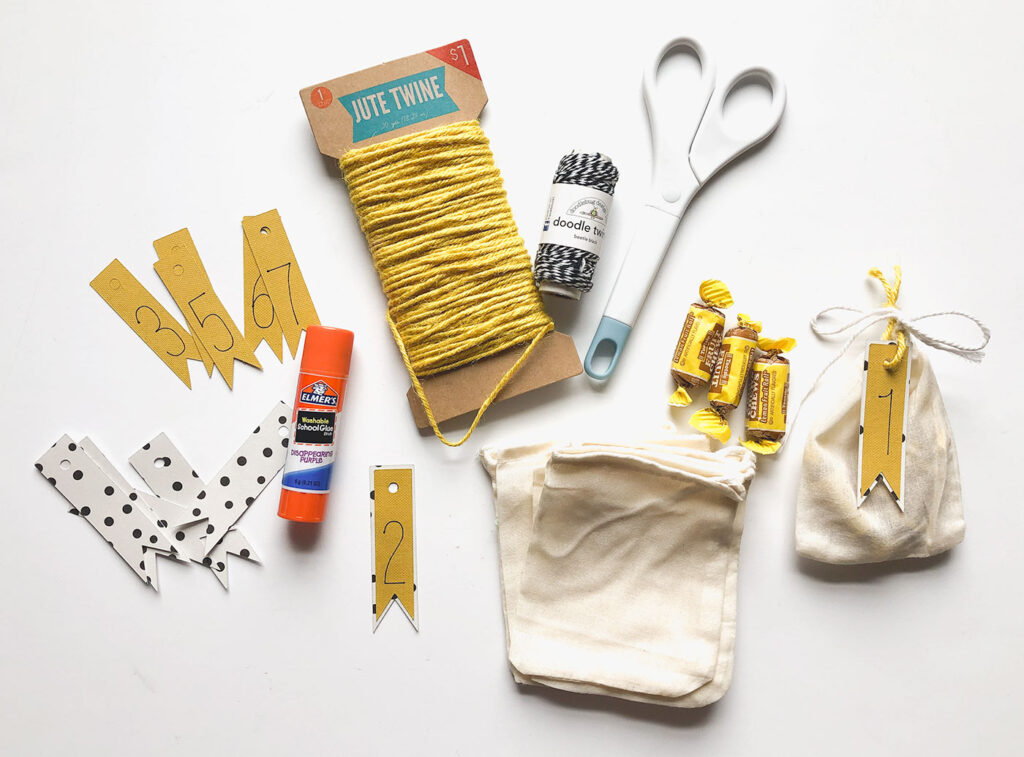
Use a glue stick to attach the numbered inset cardstock tag to the background tag. Fill your bag with treats or a note and close. Finally, use twine to attach the tag to the bag. Easy and quick!
You are My Sunshine Card
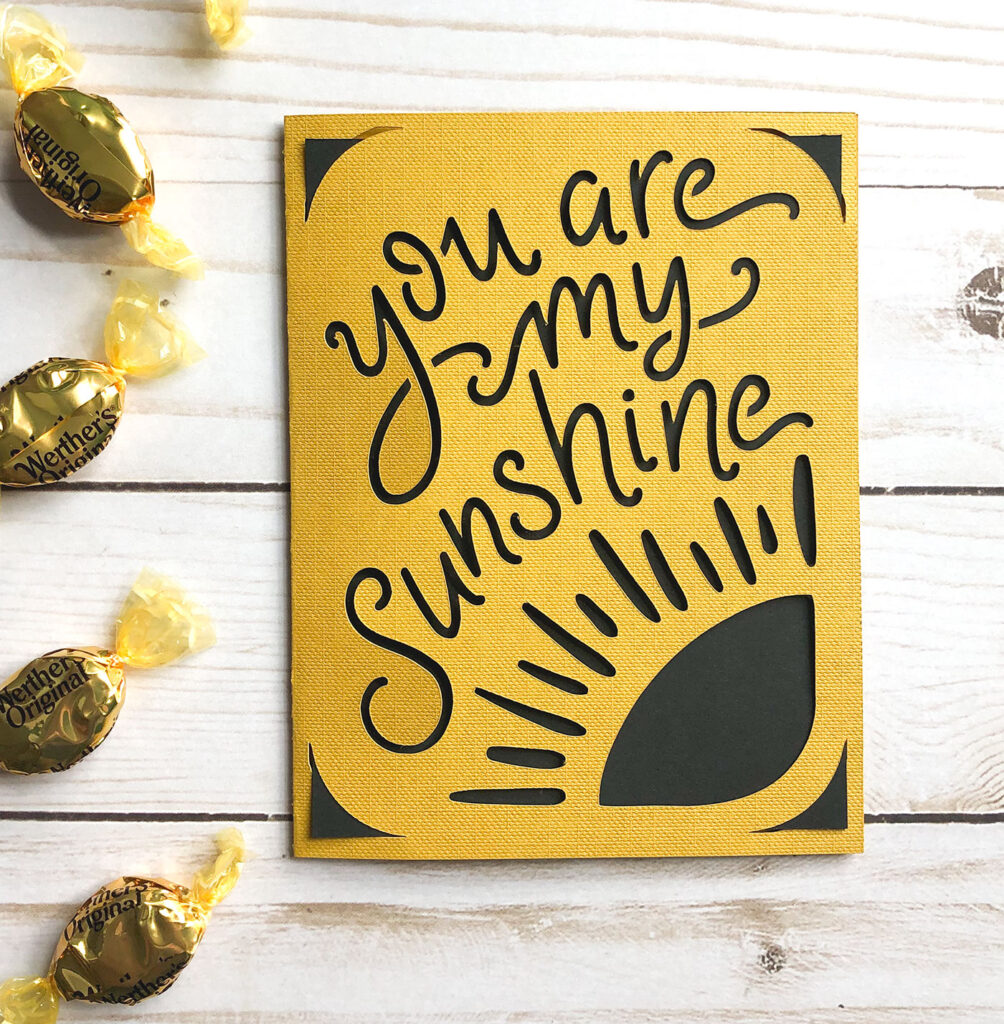
The unique card cutting mat that comes with the Cricut Joy is one of my favorite features of this new machine! Use the available insert card sets, or cut your own card blanks to create custom color combinations for these intricate but amazingly simple cards!
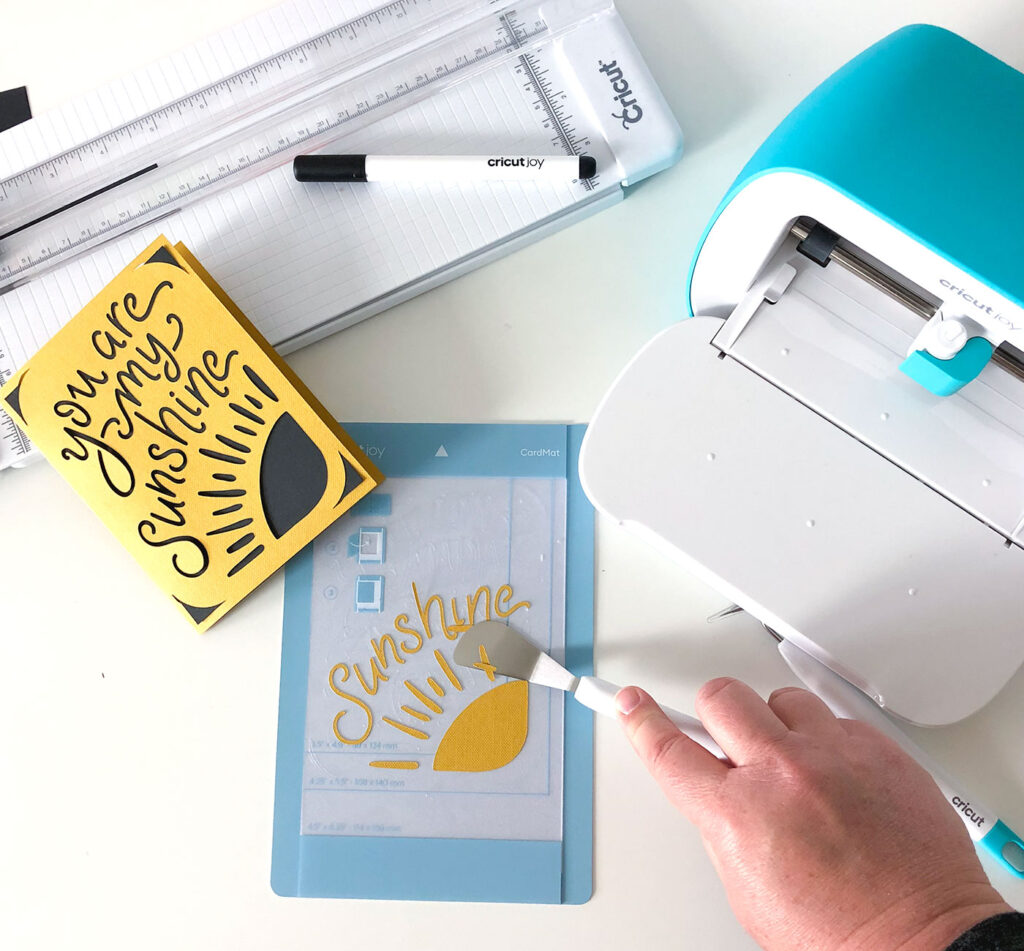
The card slides into the divided mat allowing the machine to cut only through the front of the card. Slide the card insert into the corner slits to reveal your message. The You are My Sunshine card is included with your Cricut Access account.
Hello Sunshine Mini block sign:

This little shelf sitting sign will bring sunshine to anyone’s day. With a bit of vinyl and some paper, turn a plain wood block into a message of happiness! The Cricut Joy can cut vinyl without even needing a mat! By using the new Smart materials you can bypass the need for the mat and get right to cutting! Available in vinyl, and iron on of all types there is sure to be a smart material for your project!
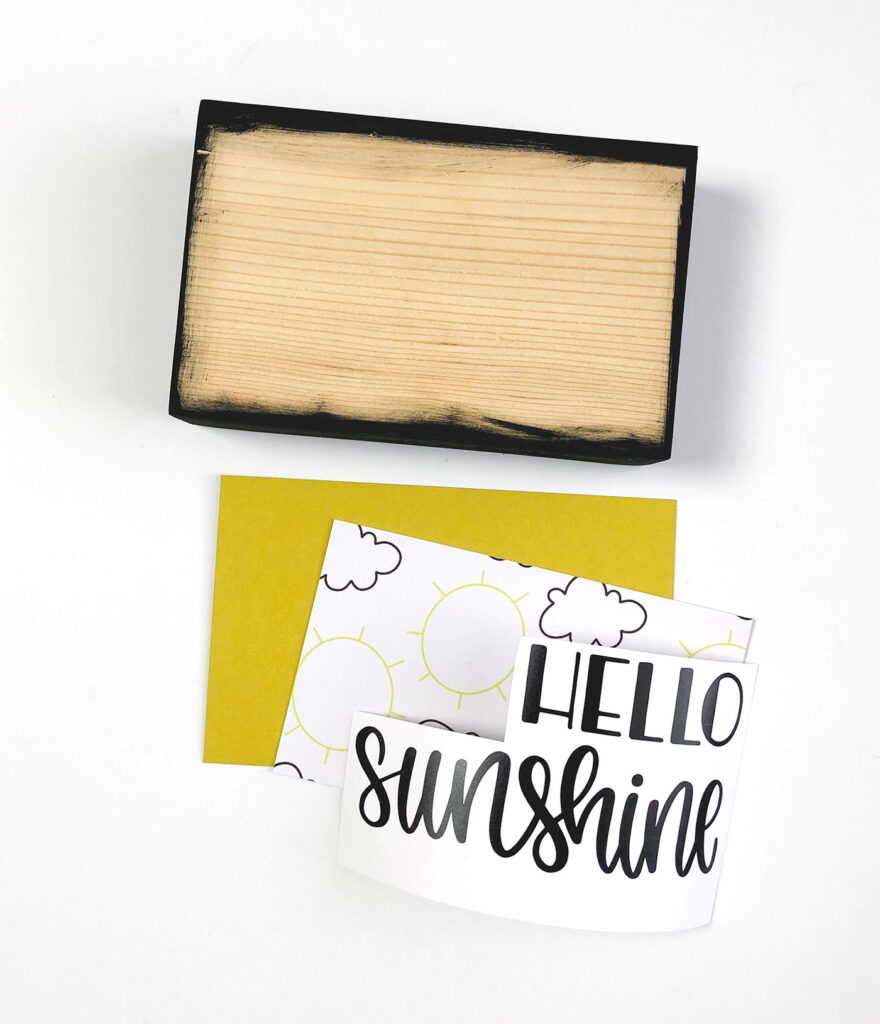
My sign is sized to fit a 6″ wood block, you can make yours to fit whatever size of wood you are working with.
- Begin by painting the edges and back of the wood block.
- Next, cut your background paper to the size of your wood and your feature paper 1/4″ smaller than your background paper.
- Then, use glue to adhere the paper to the wood block and allow to dry.
Use Criut Joy Smart Vinyl in black to cut out your “Hello Sunshine” phrase. You can find the file for this project on Design Space here. Finally, use transfer paper to pull the vinyl off the backing paper and place it onto your sign.
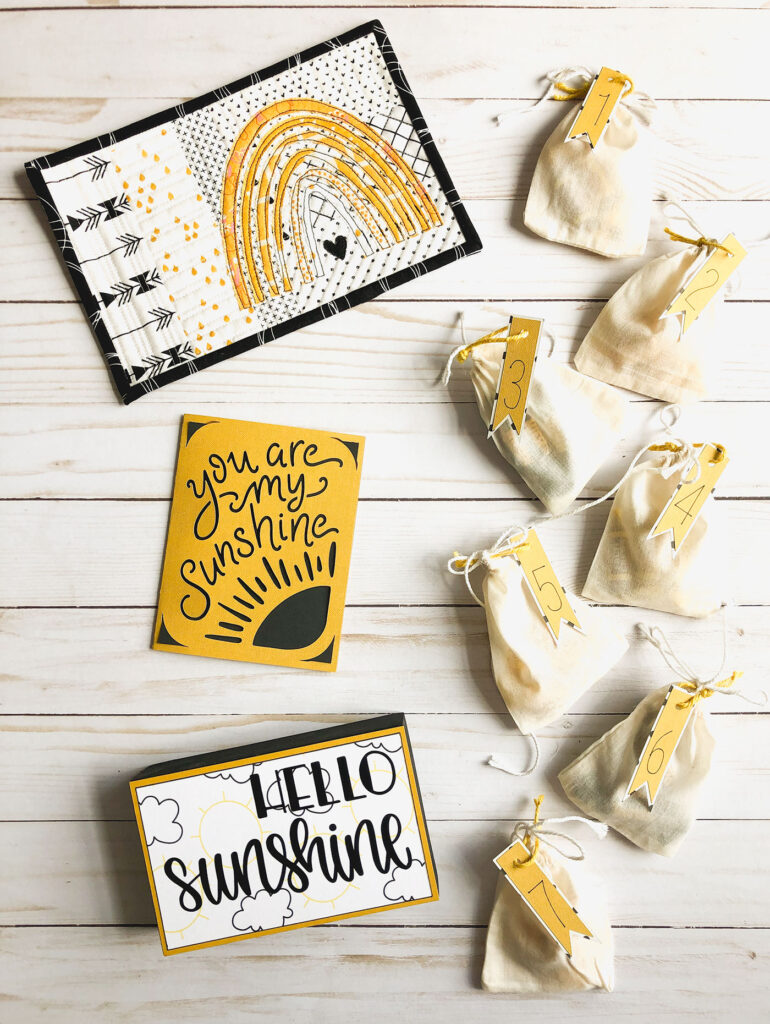
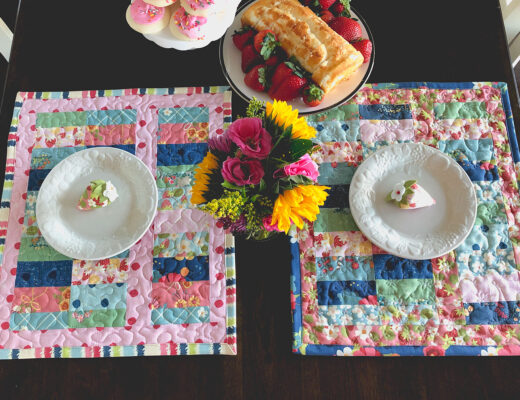
And just like that you have created three little projects in no time! Together they make a darling gift idea for birthdays, holidays or just to brighten someone’s day! I added a Mini Rainbow mug rug in yellow to coordinate and love how it all looks together!
Wrapping it up
So why would you want a Cricut Joy? Especially if you already have a Cricut Maker or Explore Air 2 machine? Personally, the ease of use and size of the machine make it a game changer. Especially for those small projects that only need a few cuts on a single material, this machine makes is so easy and quick. Plus, with the Smart Materials you can create cuts up to 20′ long because you no longer need a mat! Being able to create anywhere I need to with ease is also an incredible plus.
If you want to find out more, head to the Cricut website to find out more about the Cricut Joy and all that it can do! This fun machine is available now in stores and online!