

What is better than sending your little trick or treaters out on Halloween night and seeing their faces light up as they fill their bags with candy? Watching them do it with a totally adorable, embellished trick or treat bag!! This pattern will show you how to make a darling trick or treat bag that is perfect for carrying around as they gather all those delicious bites.
*Supplies for this post were provided by Therm O Web and Riley Blake Designs. The project and opinions are my own.
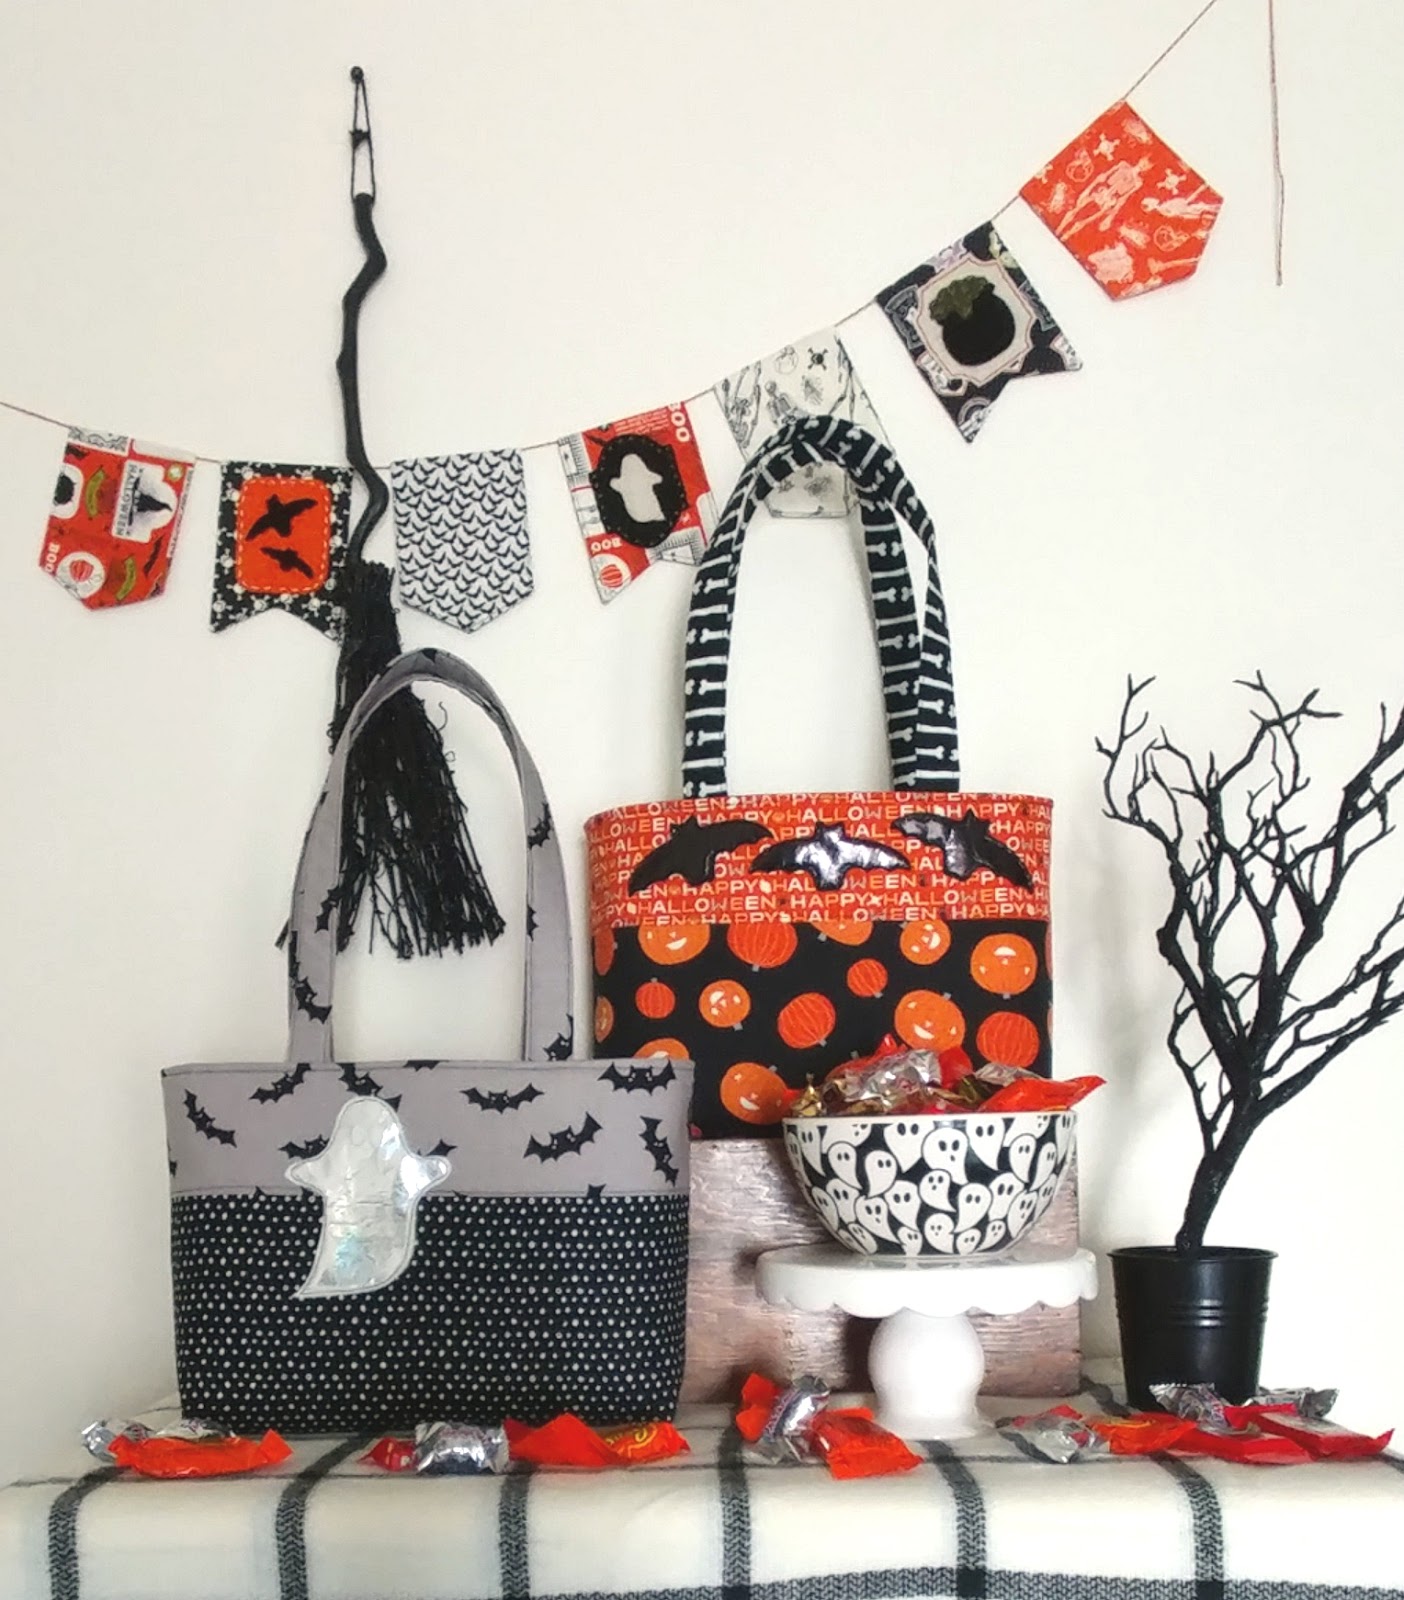
These bags are a really fun, quick sewing project and your littles are sure to love them, I know mine really do!!
The fabric for these bags was provided by Riley Blake Designs and is the Cats, Bats and Jacks line and it is so cute! The best part?? It has Glow In The Dark elements!! I just love it!
Supplies:

Fabric- You will need at least 3 fat quarters, if using yardage, you will need 1/3 yard cuts from at least 2 prints.
Fusible Fleece- I used Heat n Bond fusible fleece provided to me by Therm O Web
Heavy Weight Interfacing- I used this Heat n Bond product (also provided by Therm O Web) – this will give your bag quite a bit of body, which will help it keep its shape through all the adventures of Halloween night!
Sewing tools
If you want to create embellishments like I did for your totes, you can find the tutorial and links to the pattern pieces over on the Therm O Web blog. You can also embellish your tote with buttons, ribbon, pom pom trim, or whatever your heart desires!
Cutting:
from fabric-
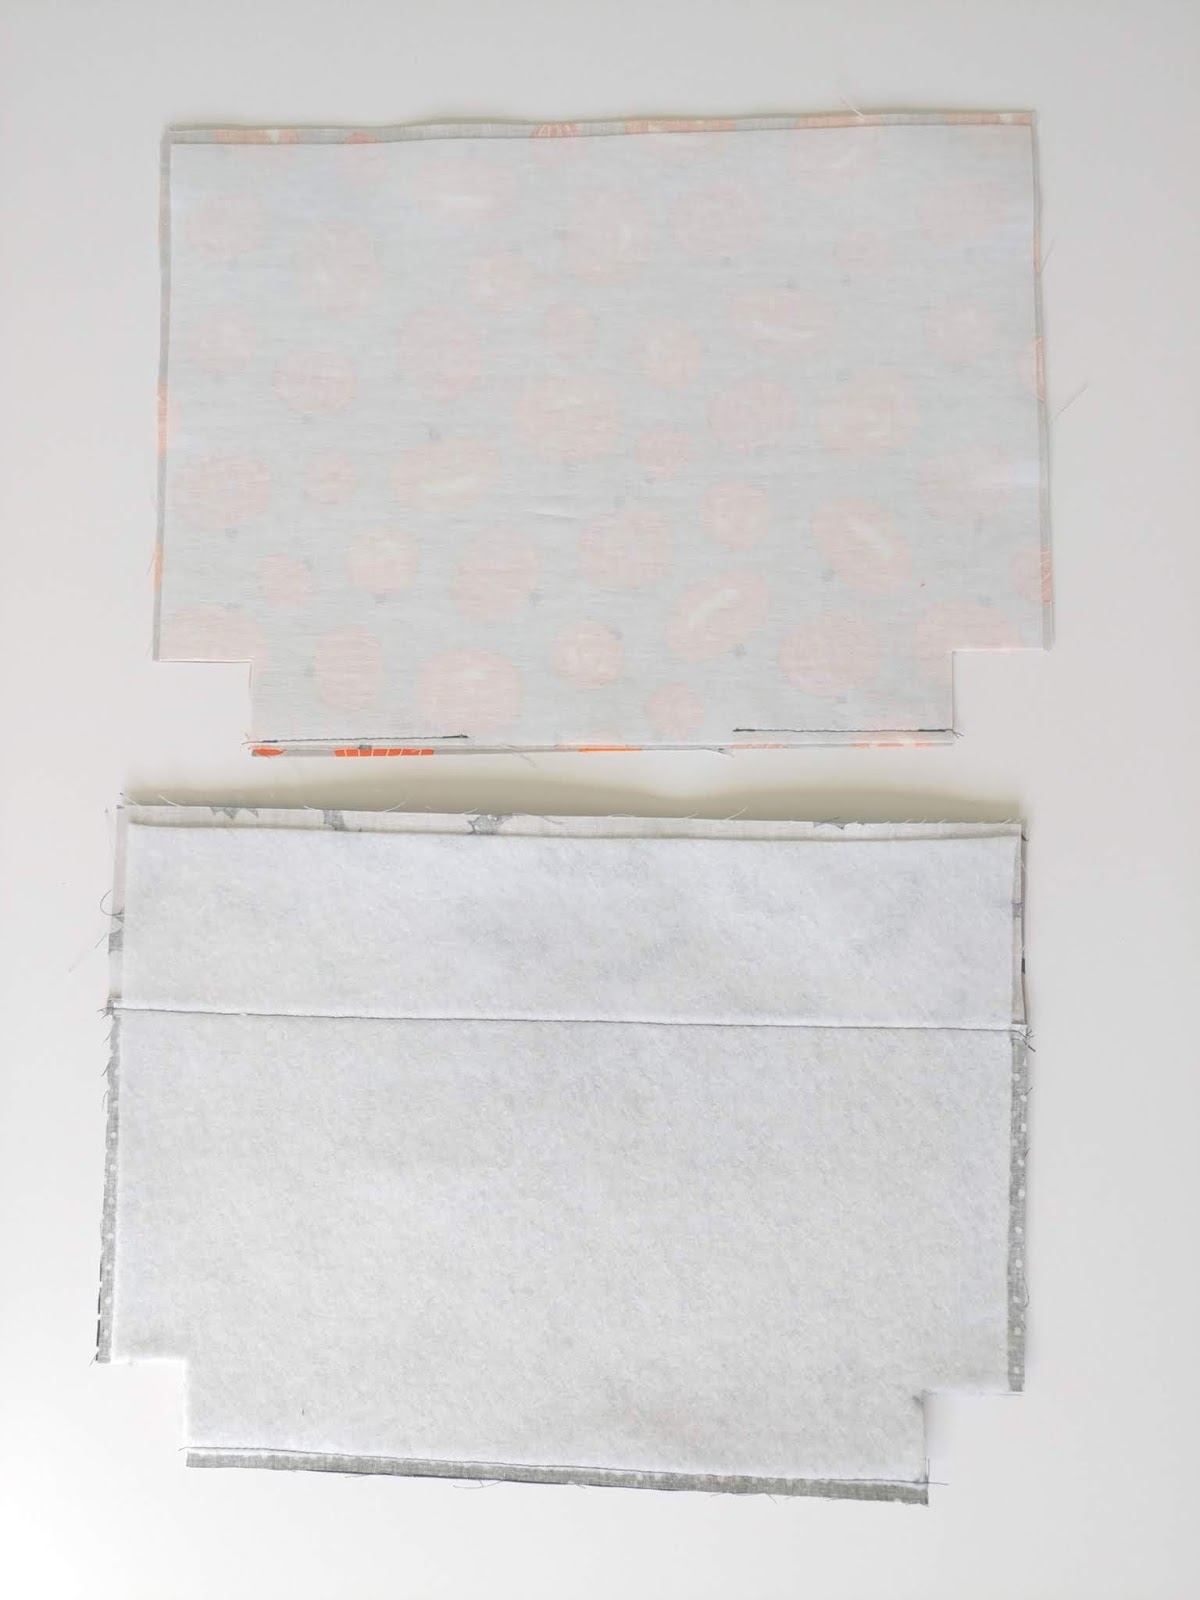
2 – 3 1/2″ X 14″- accent on outside of tote
2- 7″ X 14″- base of outside of tote
2- 10″ X 14″- lining of tote
2- 4″ X 21″- straps
from fusible fleece:
2- 9 1/2″ X 13 1/2″ for outside of tote
2- 7/8″ X 21″ for straps
from heavy weight interfacing:
2- 10″ X 14″ for lining
Assembly:
*all seams are 1/4″
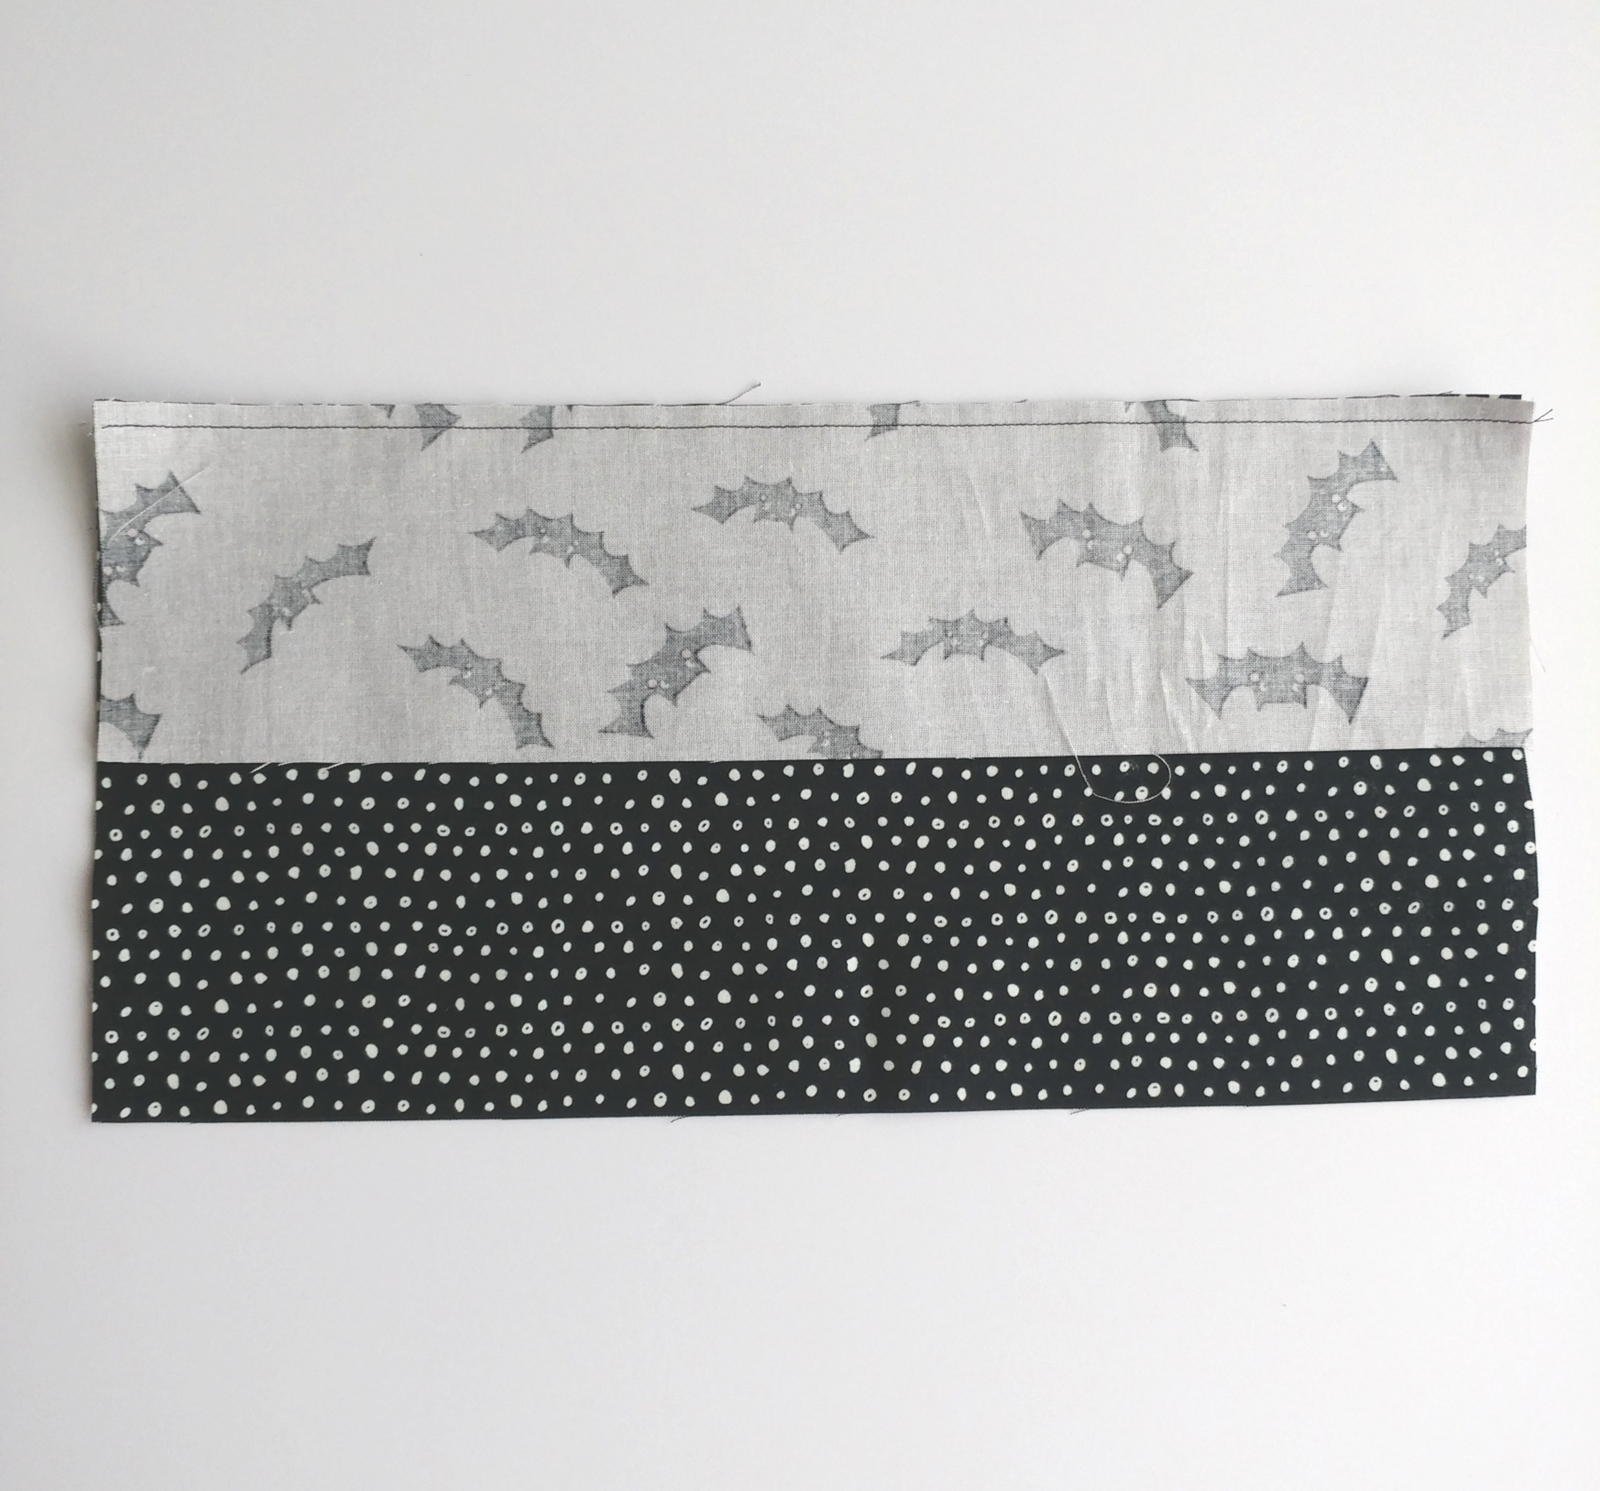
Sew the accent piece to the top of the bottom outside piece. If you are using a directional print, make sure it’s the bottom of the accent piece you are sewing to the top of the base piece.

Press the accent piece away from the base piece.
Fuse the fusible fleece to back side of the completed outside pieces.
While you are at the iron, fuse the heavy weight interfacing to the wrong side of the two lining pieces as well.
Top stitch along the seam on both of the exterior pieces.
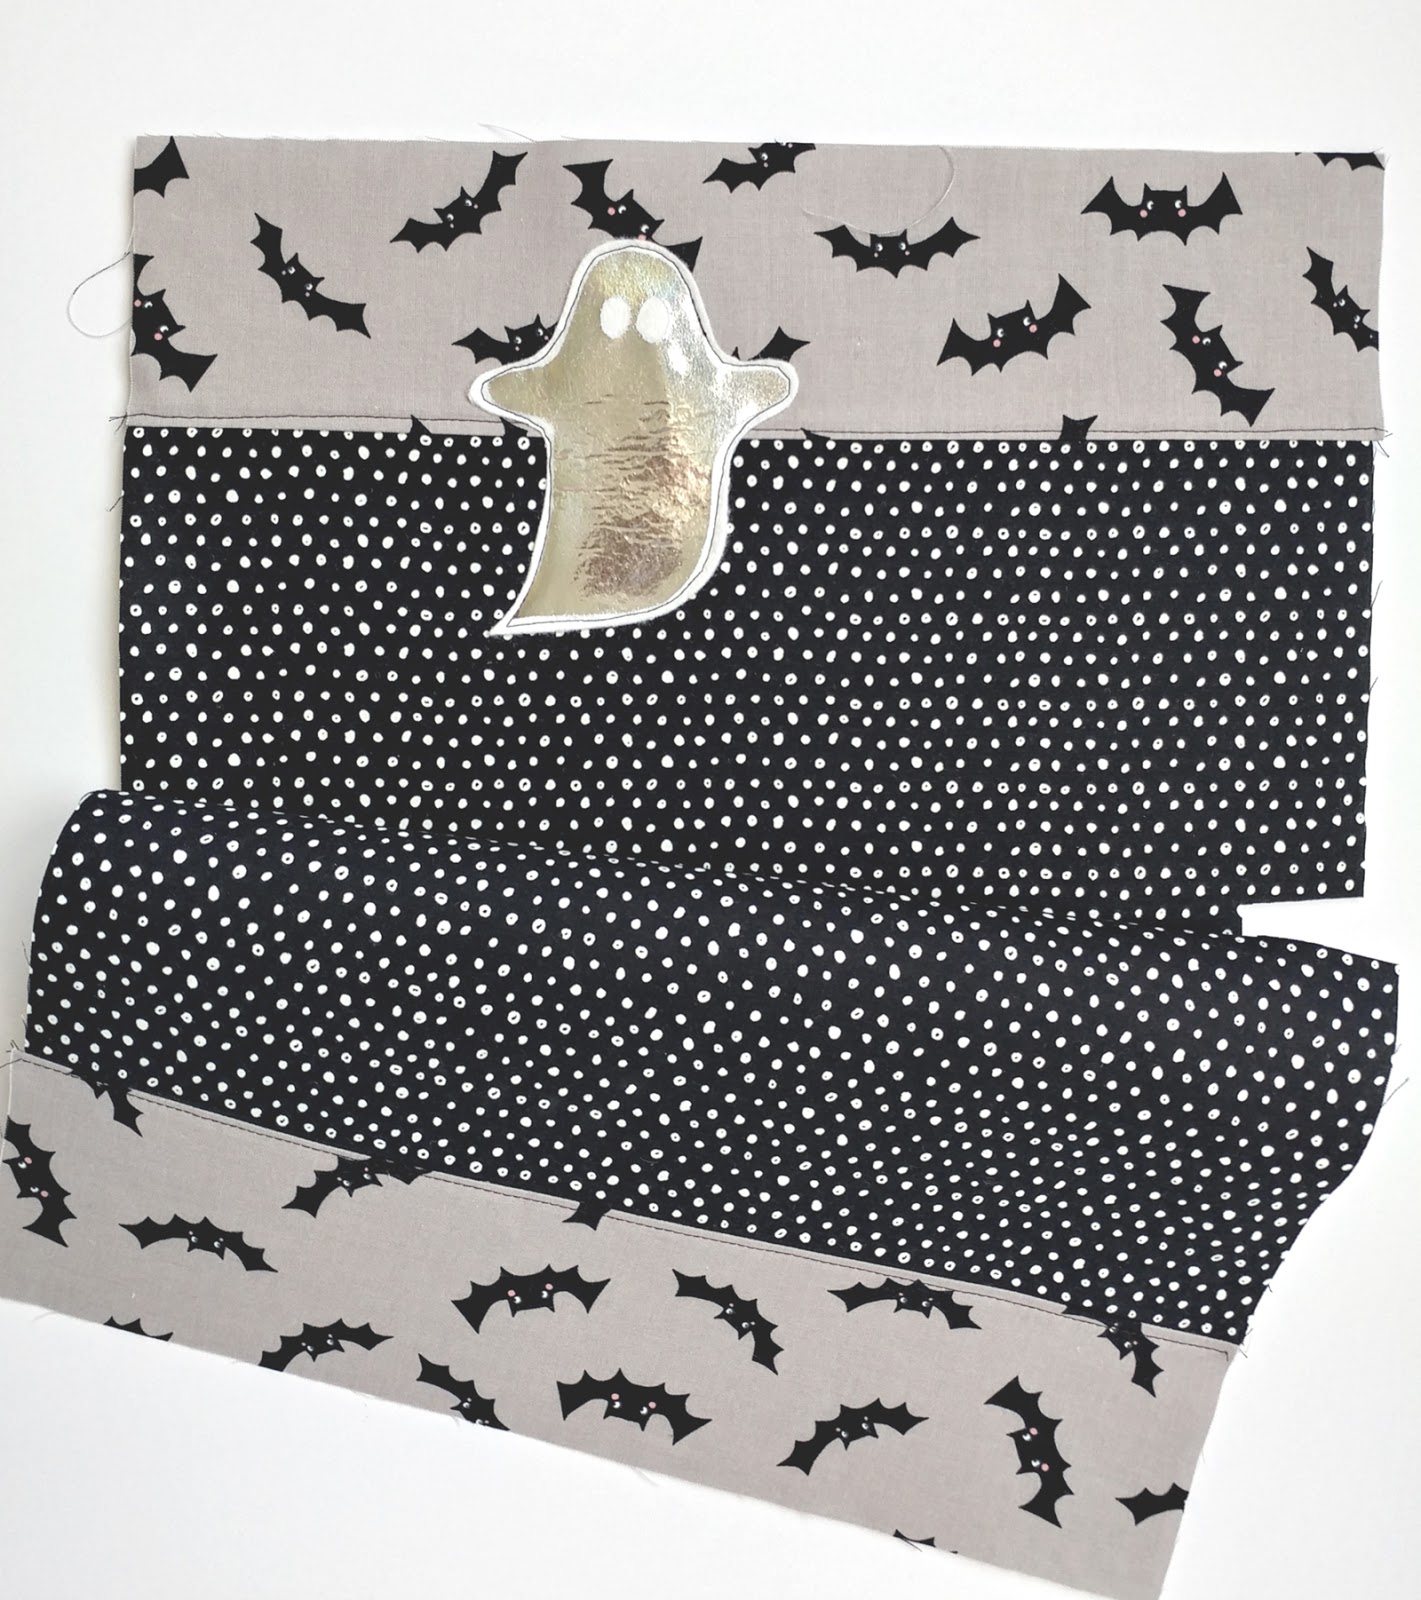
This is also when you will add any embellishments if you are sewing them onto the bag. If you are going to glue or adhere them in another way, you can wait until it’s finished.

Now it’s time to make the handles. I am showing the steps on a smaller piece of fabric so you can see the whole thing, you will do this with your 4″X 21″ pieces of fabric.
First- press the strips in half along the length, so your pieces now measure 2″ X 21″
Next- open up that fold and bring the raw edges into the center crease, press each side. Your strips will still be 2″ X 21″ but now, the raw edges will be in the center of the strip and not on one side.
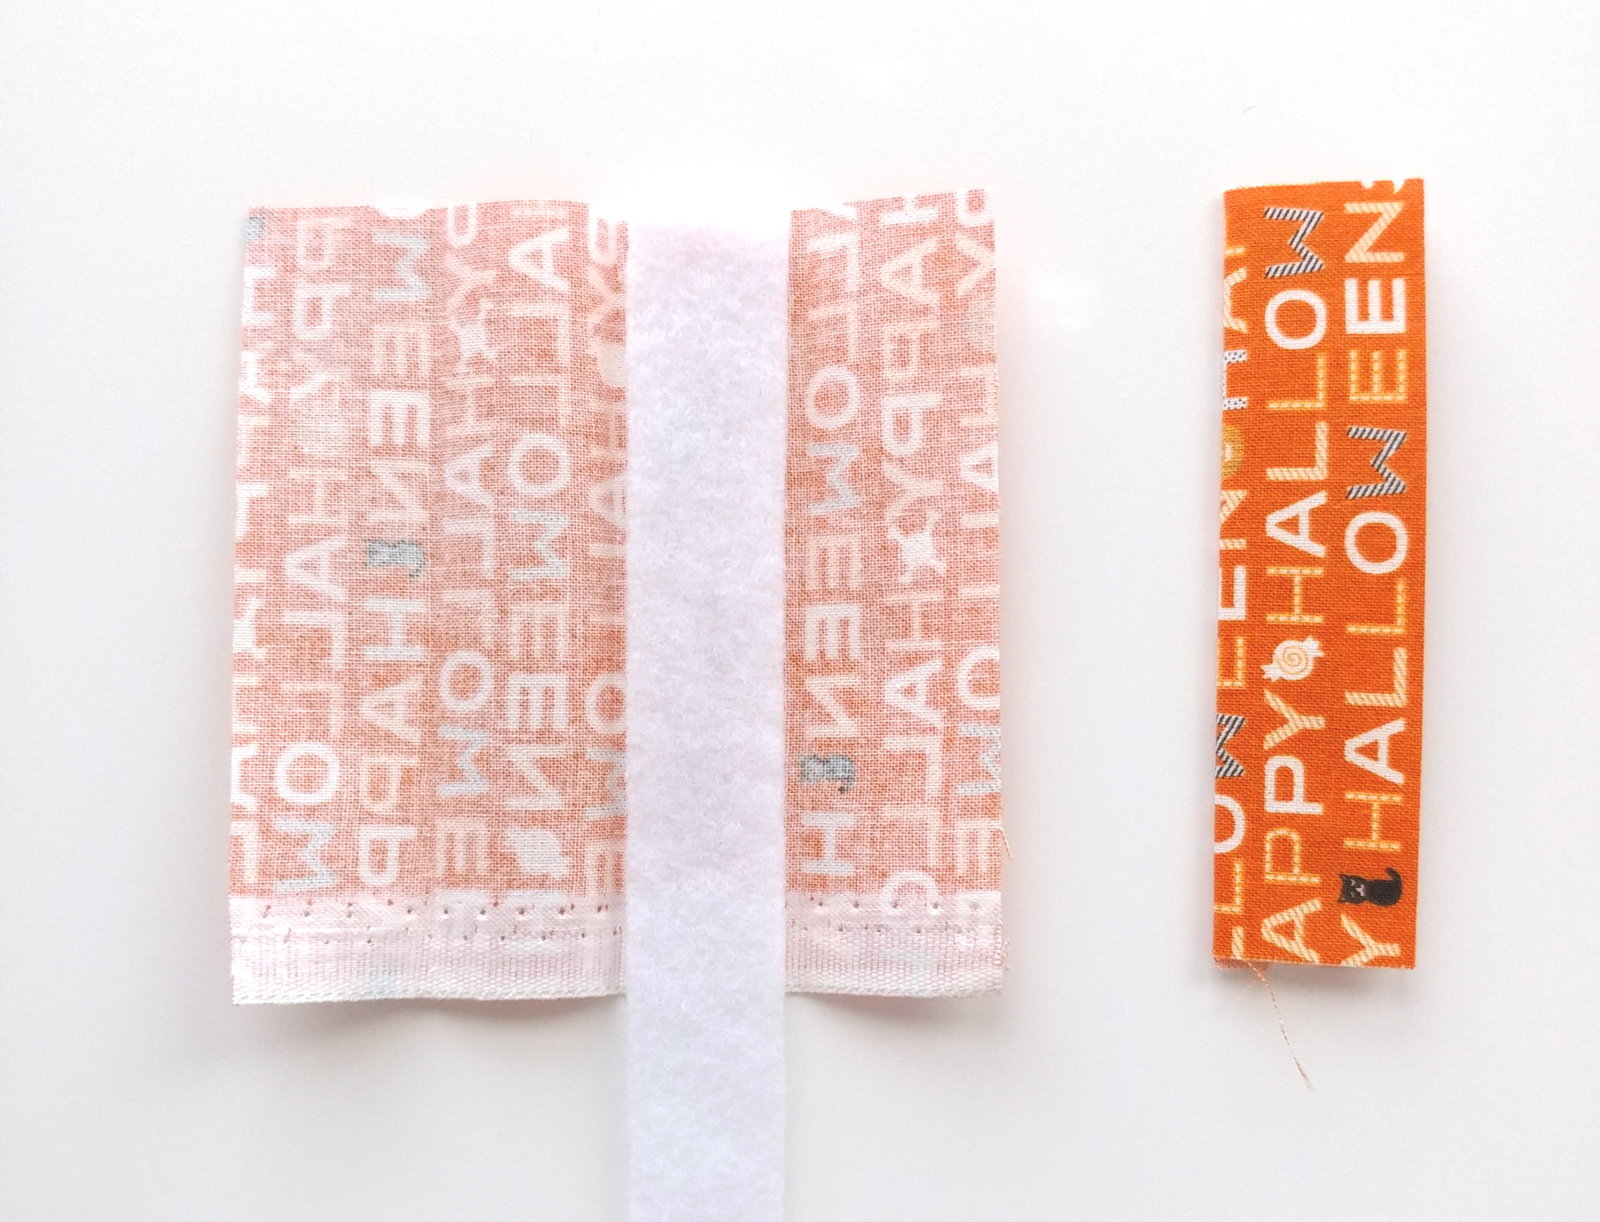
Open up your folds and take your 7/8″ X 21″ piece of fusible fleece and place it next to the center fold line. Fold the sides back into the center and the fold the center crease- the strip should now measure 1″ X 21″ with the fusible fleece tucked inside. Use your iron to fuse the fleece to the fabric and reset your creases. Top stitch down both sides of your handles. Set aside.
Take your outside and inside pieces and mark 1 1/2″ squares in the bottom two corners. Cut out the squares.
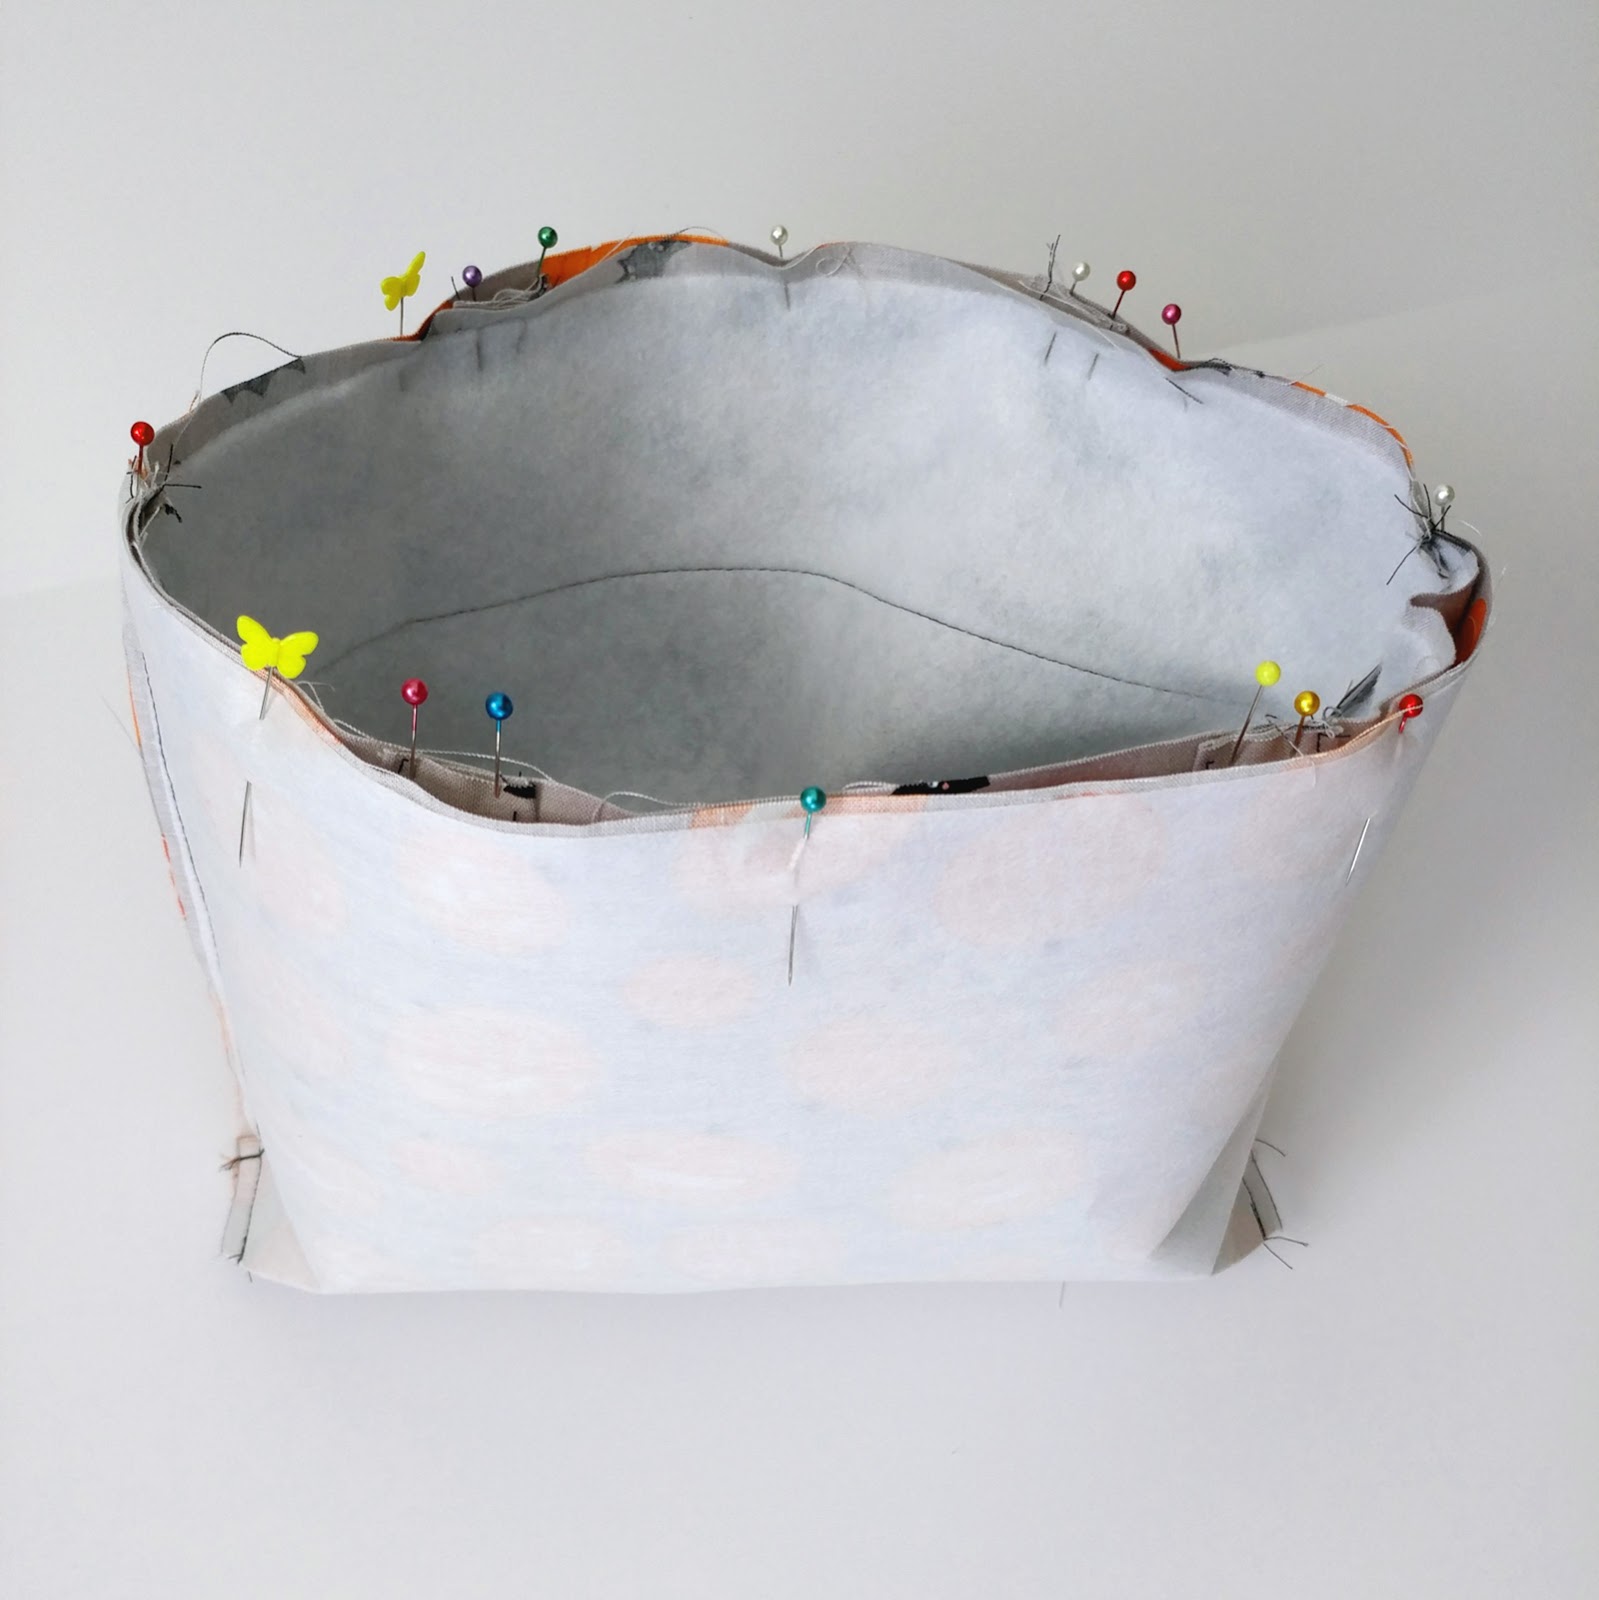
Place your outside pieces right sides together and sew along the bottom seam. Repeat for the lining pieces, but make sure to leave an opening for turning (as shown in the picture). Sew along both side seams as well for both the outside and lining.

Box the corners of the bag. Pull the corner of the cut squares out and away from each other. The bottom and side seams will line up and create a straight line. Nest the seams together so the bottom seam goes one way and the side seam goes the other, pin in place. Sew along this straight line, make sure to back stitch at the beginning and end. Repeat for both corners of the outside and lining pieces.
Turn the exterior of the bag right side out.
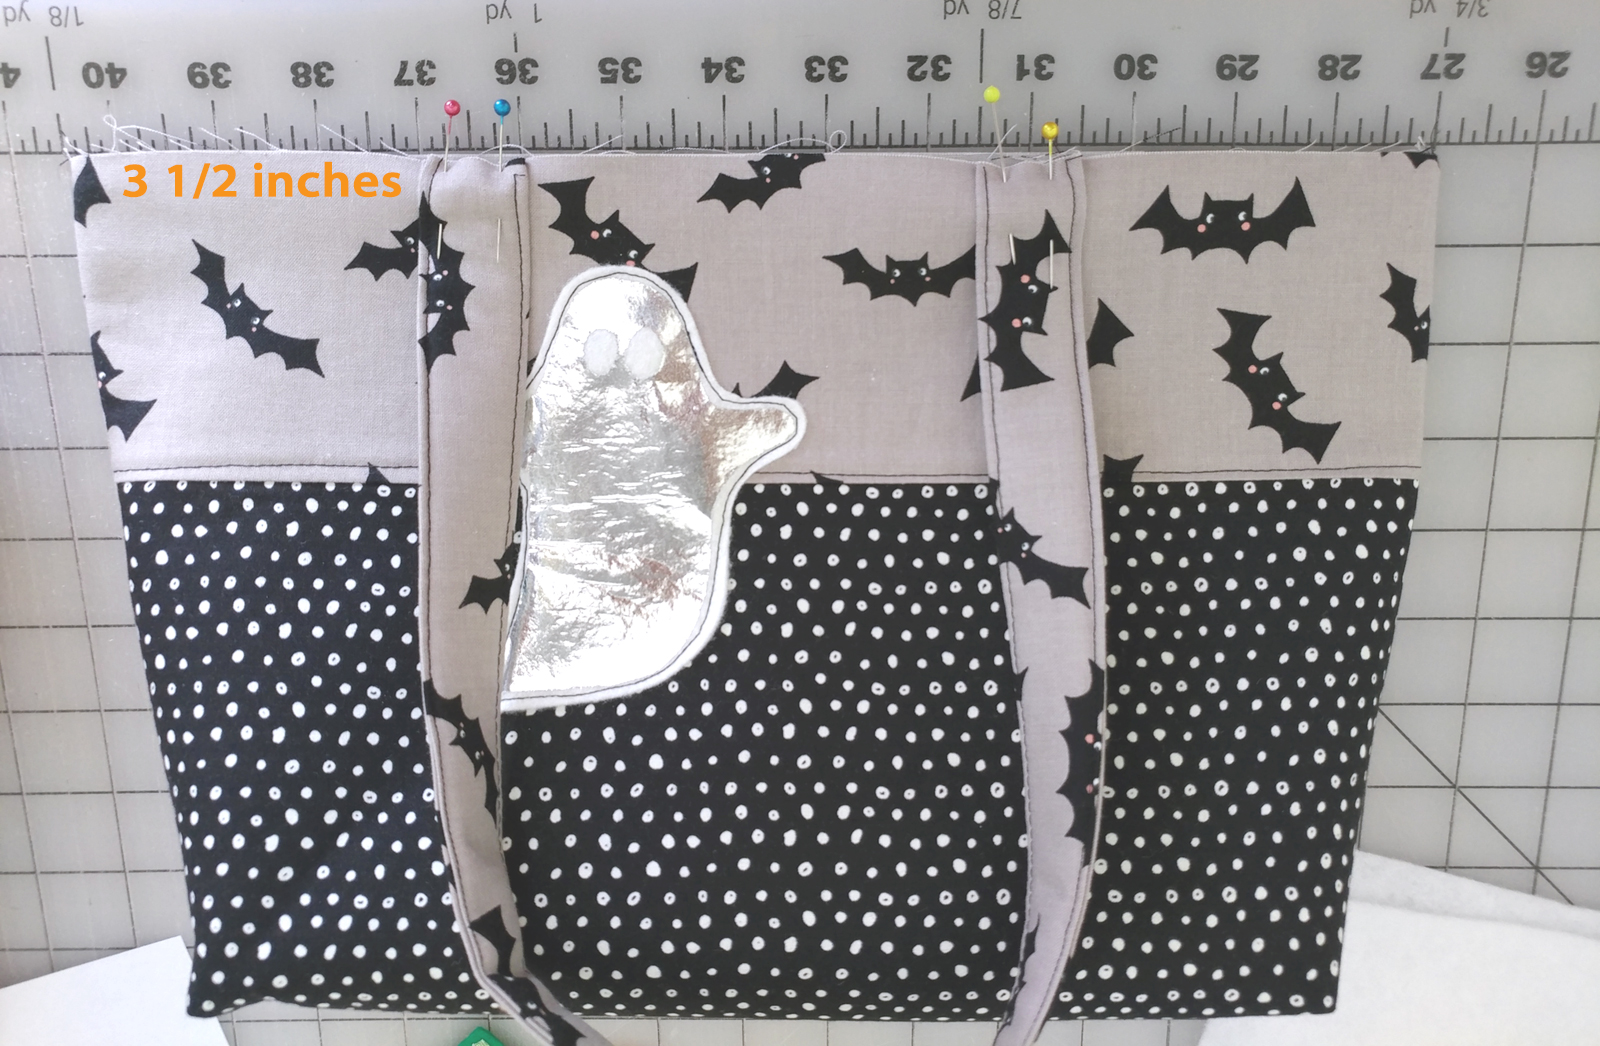
Pull the side seams out flat to create a straight line across the top of the bag. Measure 3 1/2″ in from the side seam and line up your handle. The raw edges of your handles should be straight with the top of the bag. Pin both handles in place.
Tuck the exterior of the bag inside the lining of the bag. Line up the side seams first and pin around the entire top of the bag. Sew around the top of the bag with a 1/4″ seam allowance. *TIP I back stitch across the handles as I’m going around to reinforce them and give the bag more stability.
Turn the bag right side out through the opening in the bottom of the lining. Line up the seams of the opening and sew them shut. Push the lining into the outside of the bag and line up the top seam, press well. Top stitch around the entire opening of the bag.

Now all that’s left is to gather your treats!!

Happy Trick or Treating!!
xoxo,
Amy

