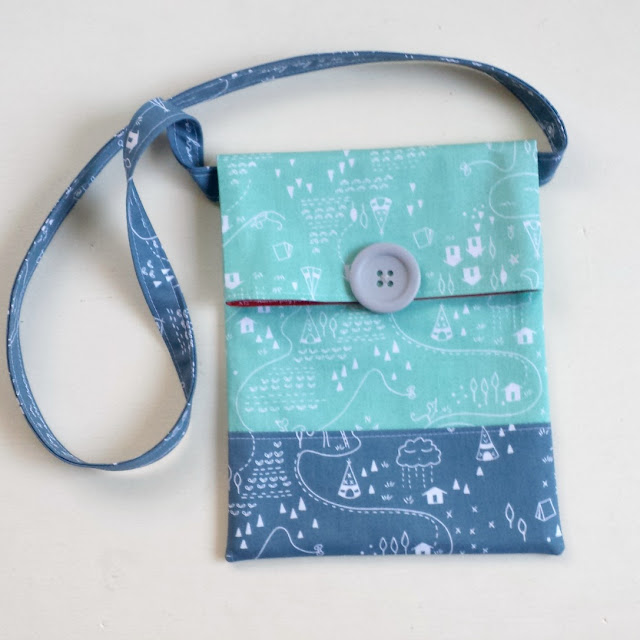
The first time I saw this line of fabric, I knew just what I wanted to make with it. A fun, simple sling bag that would be loved and used often, but so easy to make I wouldn’t feel bad when it got dirty, worn and loved.
This Greatest Adventure fabric just screams summer adventures to me and is available now in retail stores. And if you want to make a simple Sling Bag of your own, read on. This would make a great project for a summer sewing camp or just a fun quick project to whip up.
I’m posting this simple sling bag tutorial as part of The Summer Sewing Series at The Polkadot Chair, you can find all the different projects in the series here.
SIMPLE SLING BAG TUTORIAL
Supplies Needed for your Simple Sling Bag:
- 1/4 yard accent fabric
- 2 fat quarters, 1 for exterior, 1 for lining
- Large button (optional)
- Sewing supplies
Simple Sling Bag Cutting Instructions:
- from the 1/4 yard cut:
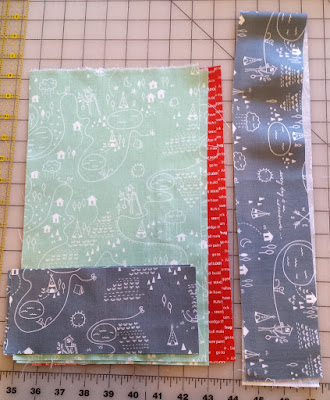
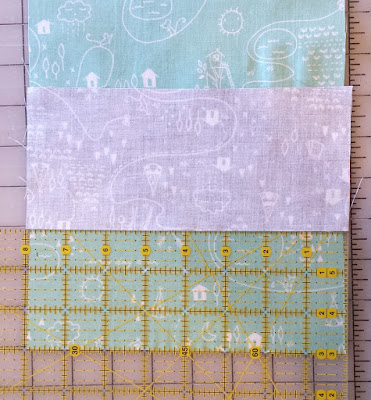
- 1- 3″ strip by Width of Fabric, trim down to 36″ long
- 2- 3 1/2″ X 8″ pieces
- from each fat quarter cut:
- 2– 8″ X 13″
Sling Bag Strap Preparation:
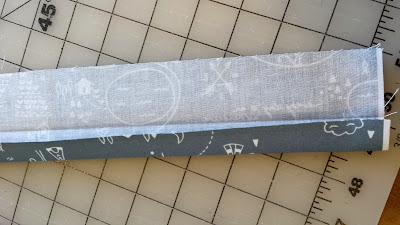
Take the strip of fabric, press in half along the length. Open up the halves and fold the long edges into the crease. Fold along the crease again to enclose the raw edges. Edge stitch along both sides of the strap.
Simple Sling Bag Tutorial – Sewing Instructions:
*use 1/2″ seam allowance unless noted otherwise
- Take the first exterior piece, place right side up.
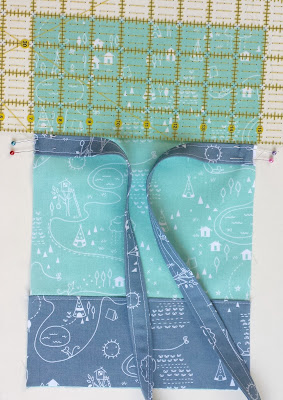
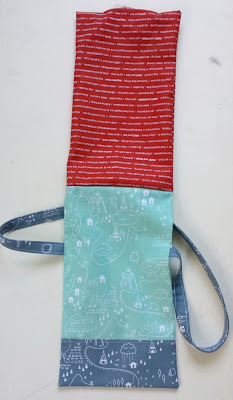
- Place one accent piece 3″ from the bottom of the exterior piece, right side down. Make sure the accent piece is upside down (if prints are directional)
- Using a 1/4″ seam allowance, sew the accent piece to the exterior piece
- Fold down the accent piece and press.
- Top stitch along the top edge of the accent piece.
- Repeat for the second exterior piece.
- On one exterior piece, line up the two raw edges of the strap 4″ down from top. Baste or pin into place.
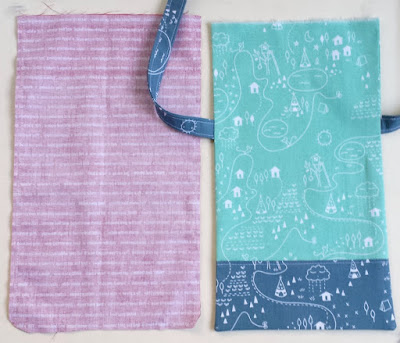
- Place the two exterior pieces right sides together. Sew around the two sides and bottom.
- Place the two lining pieces right sides together. Sew around the two sides and bottom, leaving an opening in the bottom 3″- 4″ wide.
- Clip the bottom corners of both the exterior and the lining.
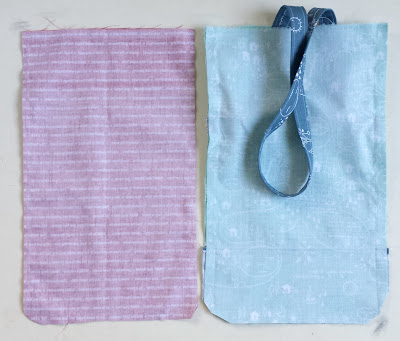
- Turn the exterior of the simple sling bag right side out.
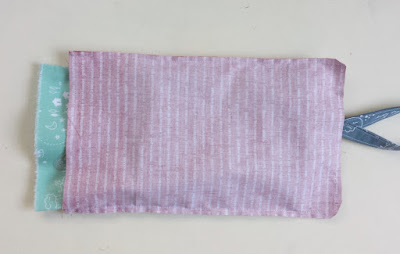
- Slide the exterior of the bag into the lining of the bag. Line up the side seams and the top edge, make sure the strap is out of the way.
- Sew around the top of the simple sling bag.
- Turn the bag right side out through the opening in the bottom of the lining.
- Sew the opening in the bottom of the lining closed.
- Push the lining into the exterior of the bag. Fold along the sewn line and press. Top stitch the simple sling bag opening.
- If you want to, sew a large button onto one side of the opening, this will help it to stay closed a bit better, but isn’t really necessary if you prefer to leave it off.
I couldn’t resist making a little change pouch to match and a notebook cover as well. I’m hoping my daughter will use the notebook to record all the adventures we are trying to do this summer. So far she’s loving taking this simple sling bag with us on hikes to hold her water and snacks, and the change pouch in the bag as she walks to the neighborhood convenience store to get a treat with her brother and friends.
If you make your simple sling bag, I’d love to see! What are you sewing this summer? Let me know in a comment below!
xoxo,
Amy






Anne
June 26, 2016 at 7:15 pmThat is an awesome bag! I've got a Craft Gossip post scheduled for later today that features your tutorial: http://sewing.craftgossip.com/?p=88525 –Anne
Christine S
August 10, 2016 at 5:42 amso cute, thanks!
mamageese
August 30, 2016 at 3:14 amJust found this as a link from polka dot chair. This is such a super little bag to make. I've got 3 granddaughters of sewing age and I cannot wait to have them come over to sew this up!! SUPER! Thx much 😉
Unknown
August 4, 2018 at 4:49 pmLove the bag! What are the finished dimenions? Thanks!
Anonymous
September 15, 2018 at 2:46 amThanks for this wonderful pattern. I’m go8ng to use up some of my old VTG tableclothes and alter the size a bump it and make more…