Covering a clipboard with paper is pretty easy, but I have found out a few tricks (after making dozens of these) that might come in handy.
This is my first tutorial, so any feedback would be great.
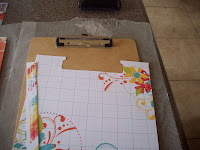
First you’ll need a clipboard, paper, mod podge, old credit card (or something to smooth out the paper, craft knife, emery board or sand paper, paint (optional) and ribbon (also optional)
 If you decide you want to paint the clipboard (so the edges aren’t the kraft color, and if you don’t want the back plain) you will want to do that first and allow it to dry. On this one I liked the natural look of the MDF without the paint.
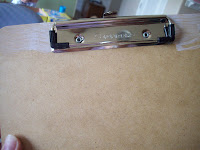
Next you’ll cut out the paper to fit the clipboard. It’s a good idea to make a template out of copy paper before you cut into your scrapbook paper, it will help with the adjustments for the “clip” part. A regular 12X12 piece of paper will be just short for a standard clipboard, so I like to use a coordinating piece to fill in the gap- at the top or the bottom, instead of trying to “piece” together a repeat in the pattern. I also cut the paper just a “smidge” (very technical) larger than the clipboard, it’s nice to have some “fudge” room when gluing the paper down. Do a test run with the paper to make sure you’re happy with the fit. Cover the clipboard with a thin layer of Mod Podge and place your paper on top. This is where the credit card comes in handy to help smooth all the air bubbles out.
Let dry.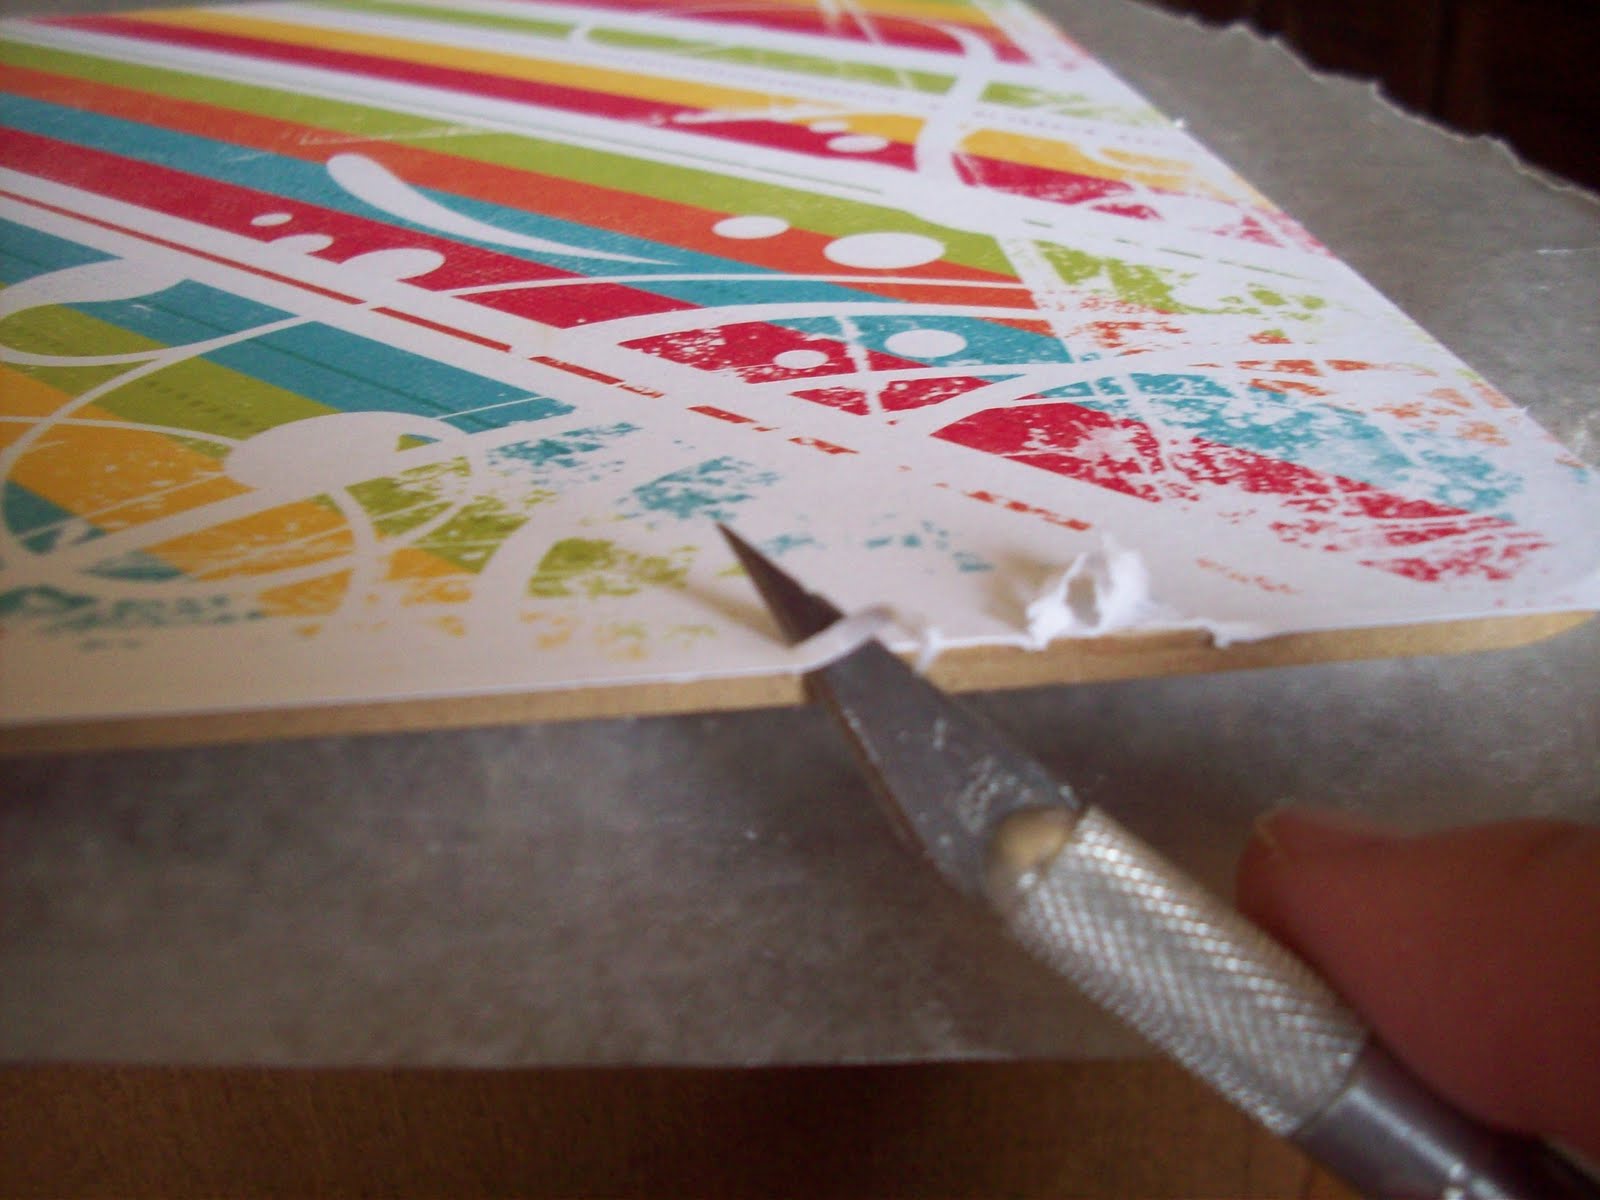 When it’s dry I like to take a craft knife around the edges and trim up the paper, it’s easier than trying to perfectly line up the edges from the beginning.
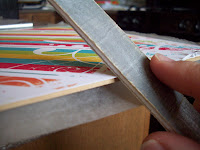 After the big pieces are cut off, go back with an emery board and file off any rough edges.
 Take small 3-4 inch sections of coordinating ribbon and tie on the bar of the clipboard and you are done!


Karen
July 30, 2010 at 12:02 pmnice job. very follow-able. 🙂
~Rosanne
February 17, 2011 at 5:37 pmThanks for sharing this. My daughter and I made one and had a few issues, but this will help out alot. Thanks for sharing!
LeAnn ~ My Day In The Making
November 19, 2011 at 5:02 amI have the perfect person I would love to make this for! Thanks for sharing it. I like that pictures you use dot help understand that process.
Jamie
March 12, 2012 at 5:06 pmHi! I was visiting over at I'm Topsy Turvy today and ran across your guest post about the decorative clipboard tutorial. I hope you don't mind, I featured it on my blog today with a few others.. I had linked to I'm Topsy Turvy at first but she said I needed to post to your URL which I promptly did (so sorry about that!) I'm new to blogging so I'm still learning the ropes.. Anyway, I have linked back to your tutorial here and I hope it's okay that I've featured your clipboard 🙂
Yo can see it here:
http://crafteronabudget.blogspot.com/2012/03/super-cute-diy-embellished-clipboards.html
Thank you so much for sharing this… I love it!