An invisible seam zipper is a great way to add a closure to your pillow covers. Set in the bottom seam, the zipper will keep your pillow together without interfering with the overall look of the pillow. It’s a great option for larger pillows that need a bit more room to insert the pillow form. This tutorial will walk you through all the steps to make your own Pillow Cover with an Invisible Seam Zipper. If you’d rather watch a video- you can find the how-to here on my YouTube channel.

- To begin cut your pillow back fabric to the same size as your pillow front.
- Place them right sides together. (make sure the fabrics are going the right directions)
- Get your zipper- it should be no smaller than 2″ shorter than the width of your pillow. (for example: the pillow I am making is a 20″ pillow. I would want a zipper that is at least 18″ in length) *you could probably get away with a 17″ zipper, but the smaller the zipper, the harder it will be to get your pillow form inside the cover. You can always use a zipper than is longer.
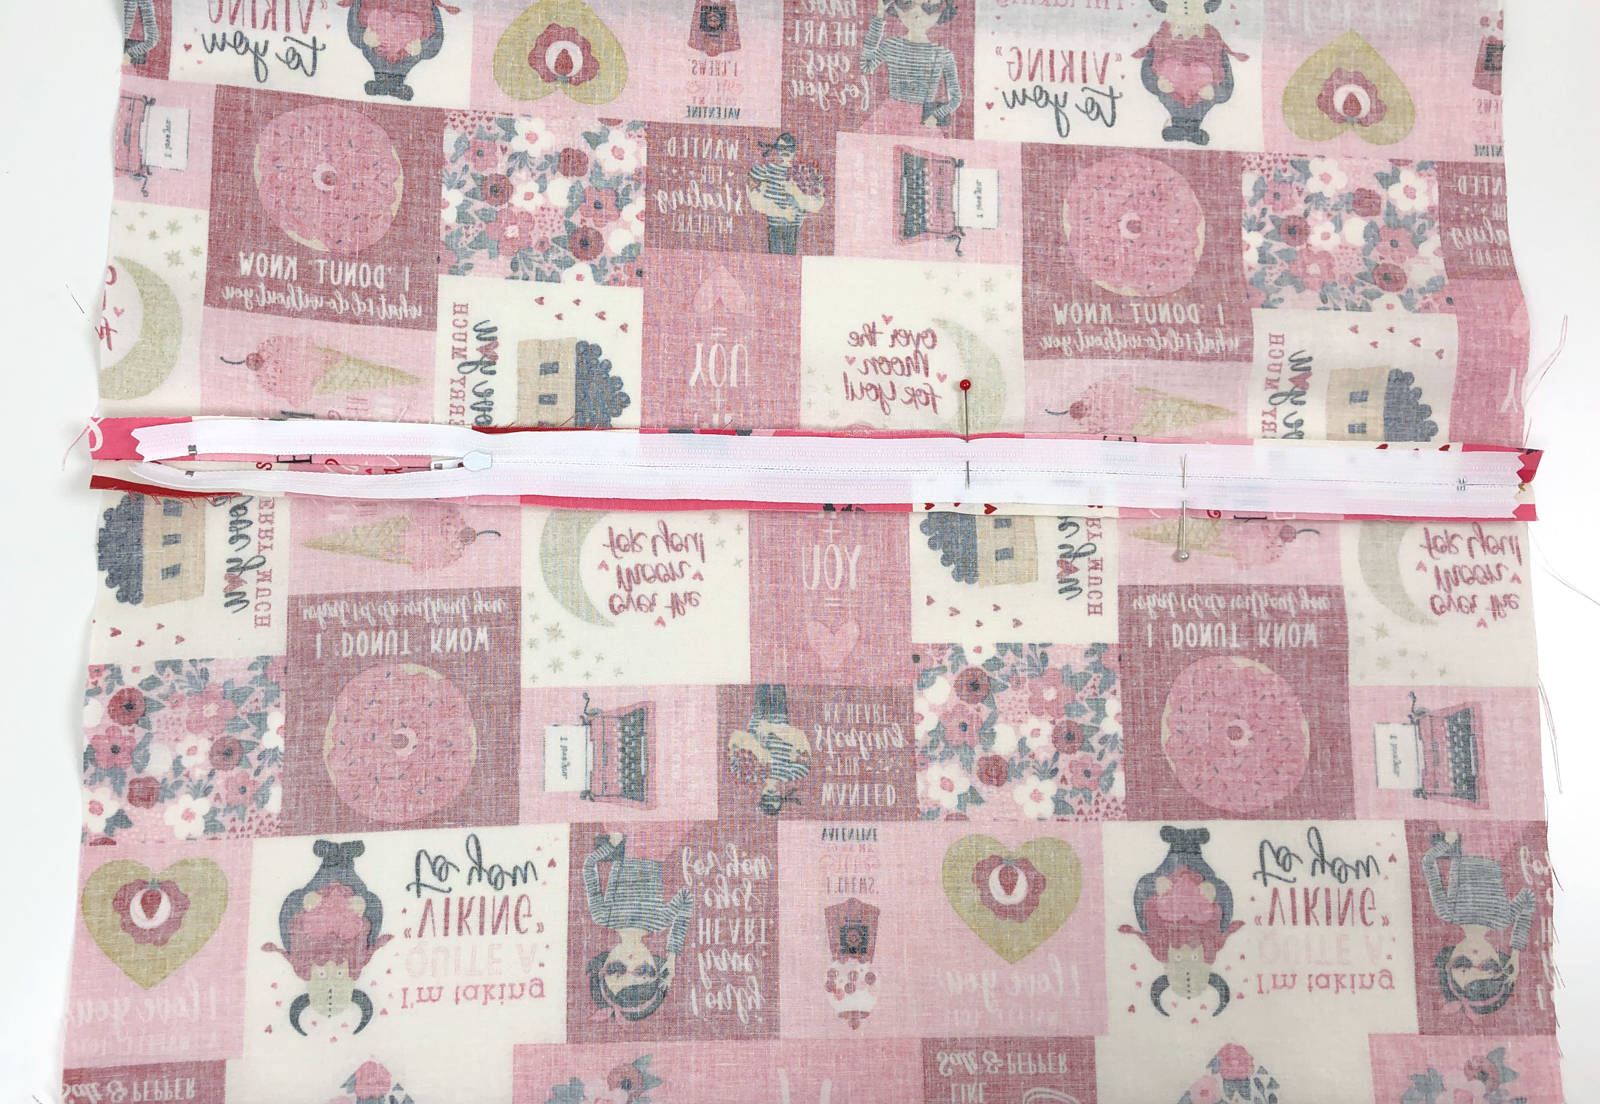
- Center your zipper on the bottom seam. *if you are using a zipper that is longer than your pillow cover, you can omit this step.
- Mark the bottom seam where your zipper begins and ends (the actual zipper teeth, not the zipper tape) *if these marks are not far enough away from the side seams, just mark 1″ in from each side of the pillow cover on the bottom seam.
- Sew along the bottom seam using a 1/2″ seam allowance. IMPORTANT: Begin using your regular stitch length, when you get to your marks (either 1″ from the side or where the zipper begins) switch your stitch length to a basting stitch to sew the area between the marks. When you get to the second mark, return to your regular stitch length.
- Press your bottom seam open.
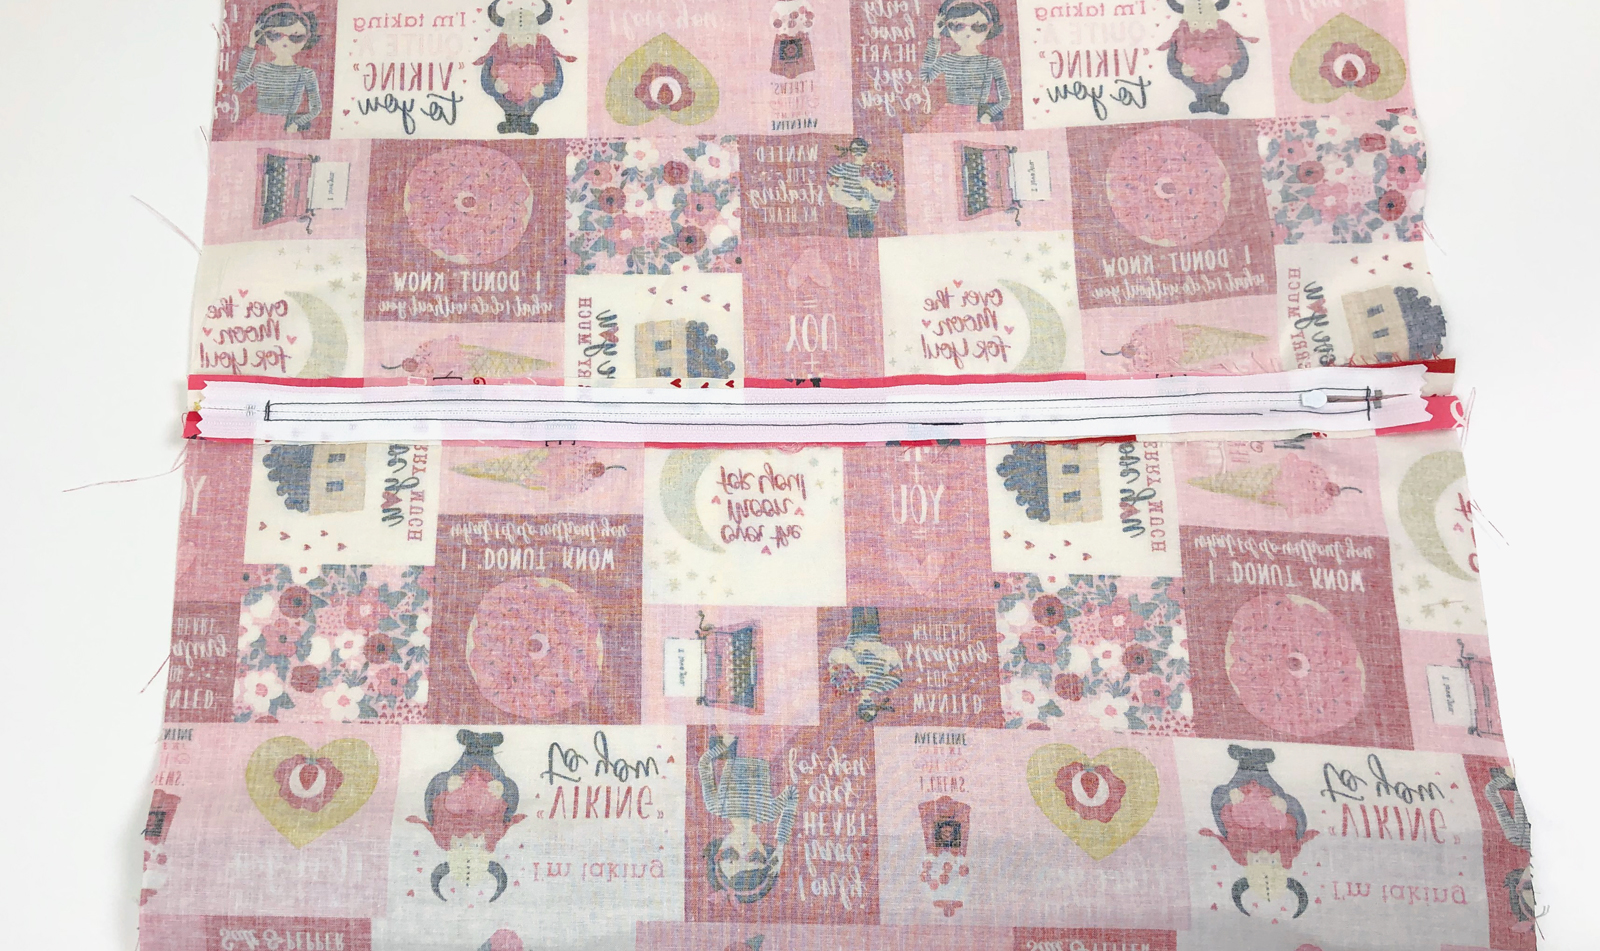
- Center your zipper on the seam between the marked areas. Pin in place. Make sure your zipper teeth are lined up with the stitches of the seam.
- Sew around the zipper using approx. 1/4″ seam allowance from the zipper teeth- at least make sure you are sewing wider than the zipper pull. Back stitch a couple of times each time you sew over the zipper teeth to reinforce the zipper. *watch for the metal pieces on your zipper- do not sew through them. When you need to move the zipper pull to sew around it, leave your needle in the down position, raise your presser foot and slide the zipper pull out of the way. Continue sewing until all 4 sides are sewn around the zipper.
- Trim off the zipper tape on the ends of the zipper.

- Use a seam ripper to cut the stitches along the seam where the zipper is. Use the back stitching areas on either end of your zipper as your guide for starting and stopping.
- Pull out the thread pieces.
- Open your zipper half way.

- Line up the front and back of your pillow cover.
- Fold the bottom seam allowances up toward the pillow cover.
- Sew around the remaining three sides of the pillow. Back stitch where you start and stop.
- Turn the pillow cover right side out.
- Insert pillow form.

Now step back and enjoy your new pillow!
I will be sharing the directions for the banded pillow cover here on my blog soon!
Happy Sewing!
xoxo,
Amy