This Bunny Hop Pillow was first published April 9, 2011 and was updated 3/7/2020.
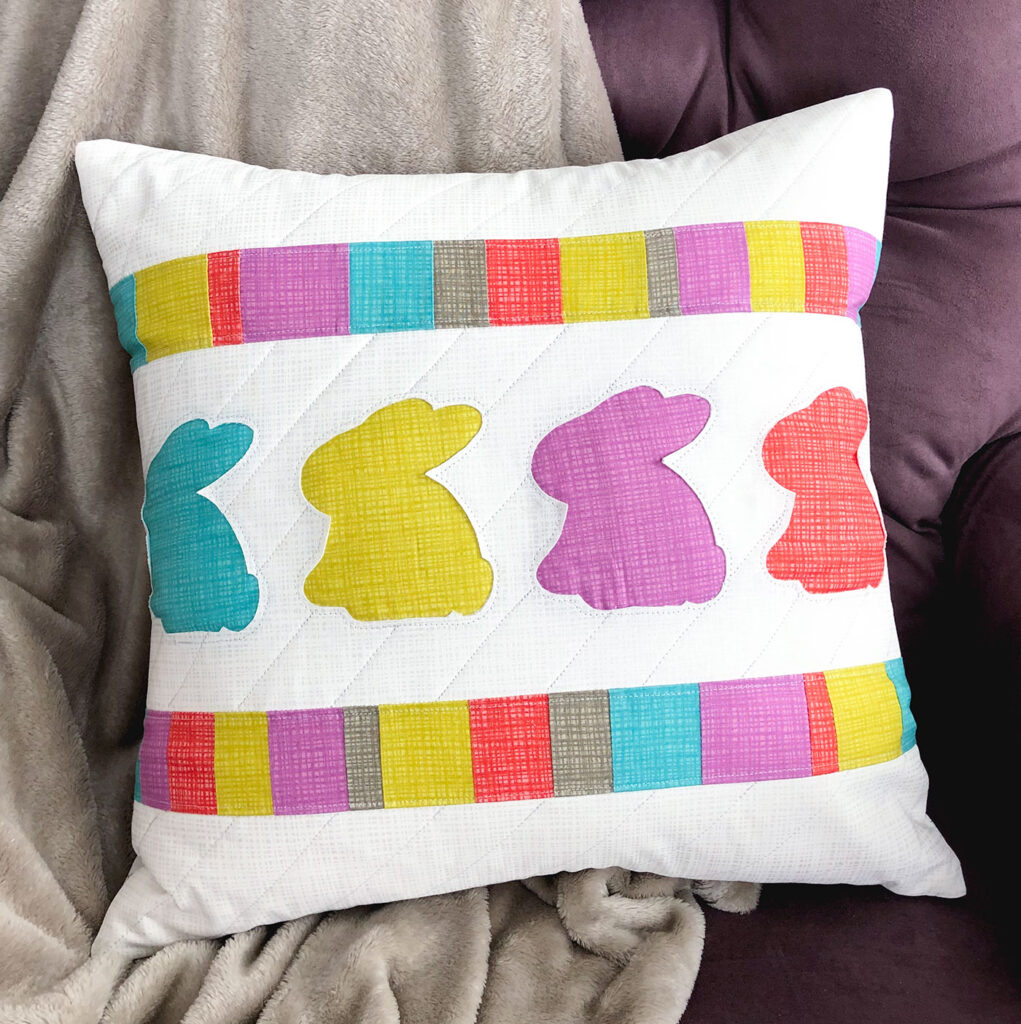
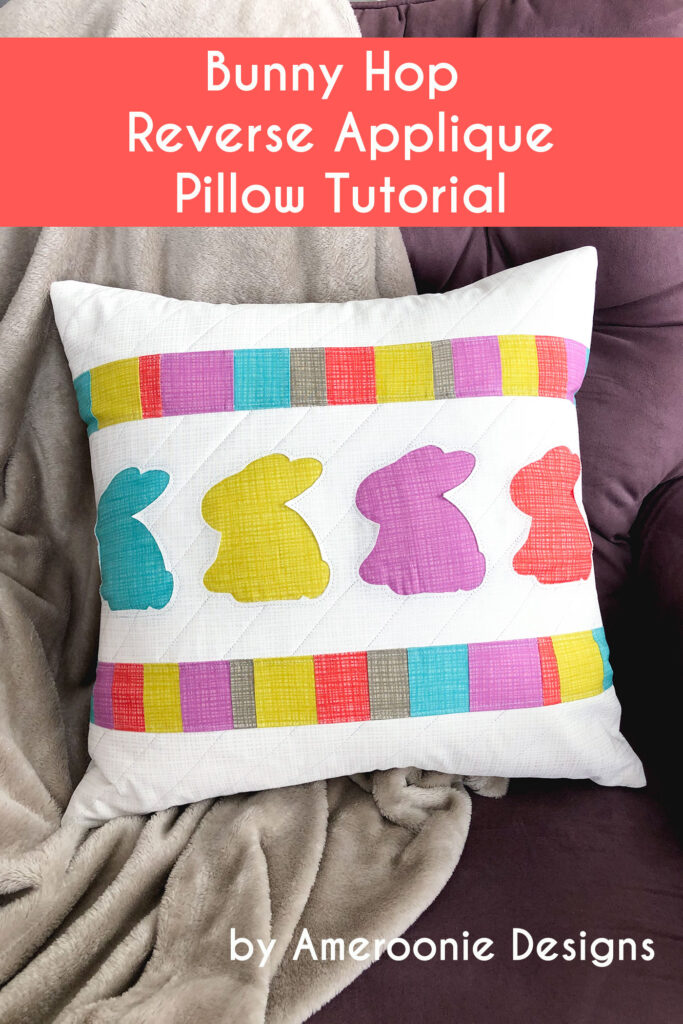
This bunny hop pillow continues to be one of my favorite Spring decorations. With reverse applique and just a bit of piecing this pillow has a sophisticated look while being fairly simple to execute. I am updating the post a bit from it’s original publication to reflect new measurements and clearer images.
Bunny Hop Pillow Tutorial
All seam allowances are 1/4″ unless otherwise indicated.
Supplies:
- Fabric- I am using Texture basics from Riley Blake Designs. You will need:
- fat quarter of white
- fat quarter for back
- 4- 5″ X 10″ (minimum size) pieces of colored fabric for bunnies and pieced border
- 18″ Pillow form
- 16-18″ zipper (if desired for pillow closure)
- 19″ X 19″ square of batting if desired
- Bunny Template
- Medium weight fusible interfacing to back bunny panel (optional, but recommended) cut to 7″ X 19″
Cutting:
- From the white fabric cut:
- 1- 7″ X 19″ strip for bunnies
- 2- 4 1/2″ X 19″ strips for top and bottom
- From each of the colored fabrics cut
- one 4″ X 5″ rectangle
- Subcut remaining 6″ strip into 5″ long and varying width strips- I cut mine anywhere from 1″ wide to 2 1/4″ wide
Creating Reverse Applique Strip
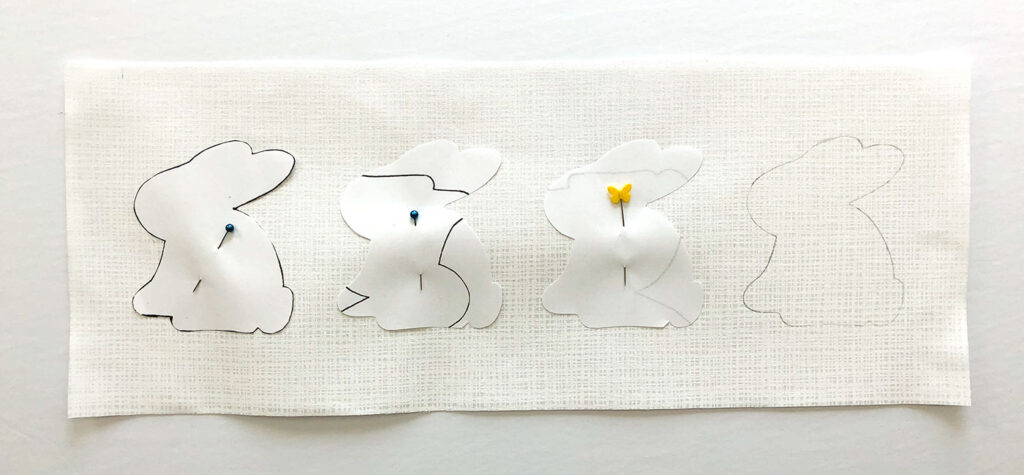
- Print off the bunny template and cut out the bunnies.
- Fuse the medium weight interfacing to the back of the 7″ X 19″ strip.
- Center and distribute the bunnies evenly across the fused strip, leave more space on the outside of the bunnies. Mine were 1 1/2″ from top and bottom and I had a 1″ gap between them.
- Lightly trace around each bunny.

Pin the rectangle of colored fabric behind each bunny. You may find it helpful to use a light box or bright window to help you place the fabric. Pin into place well.
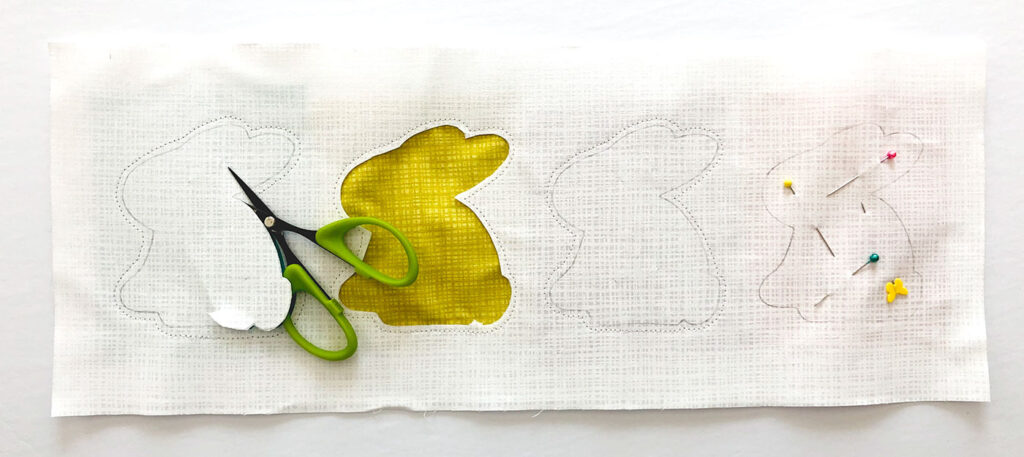
- Sew around the traced line of the bunny 1/4″ away.
- Carefully pull the white fabric away from the colored fabric and cut out the bunny right on or just outside the traced bunny line. *It is much more important that the cutting is accurate rather than the sewing.
Finish Bunny Hop Pillow Front
- Sew the strips of colored fabric together to create a pieced strip at least 19″ long using a 1/4″ seam allowance.
- Press all the seams in one direction.
- Sub cut your pieced strip into 2- 2 1/4″ X 19″ strips.
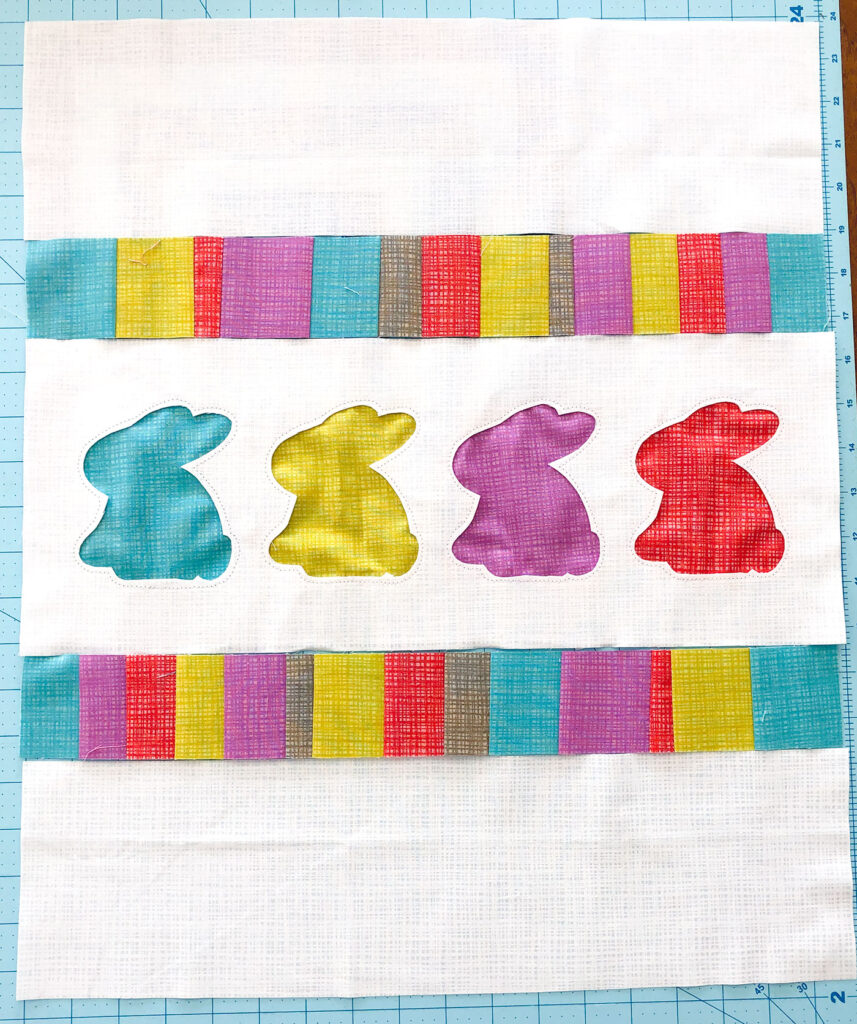
- Sew your pieced strips to the top and bottom of the bunny strip.
- Add the 4 1/4″ X 19″ white strips to the other side of your pieced strips.
Finish Bunny Hop Pillow

- If desired, baste the pillow front onto the square of batting and quilt.
- Trim down the pillow front to 18″ X 18″.
- Create a pillow back using desired method. I used a covered zipper back for this pillow.
- Sew pillow back to pillow front, right sides together- I prefer to use a 1/2″ seam allowance for this to make a more snug fit. Turn right side out and press out the seams.
- Insert your pillow form and enjoy your new pillow!
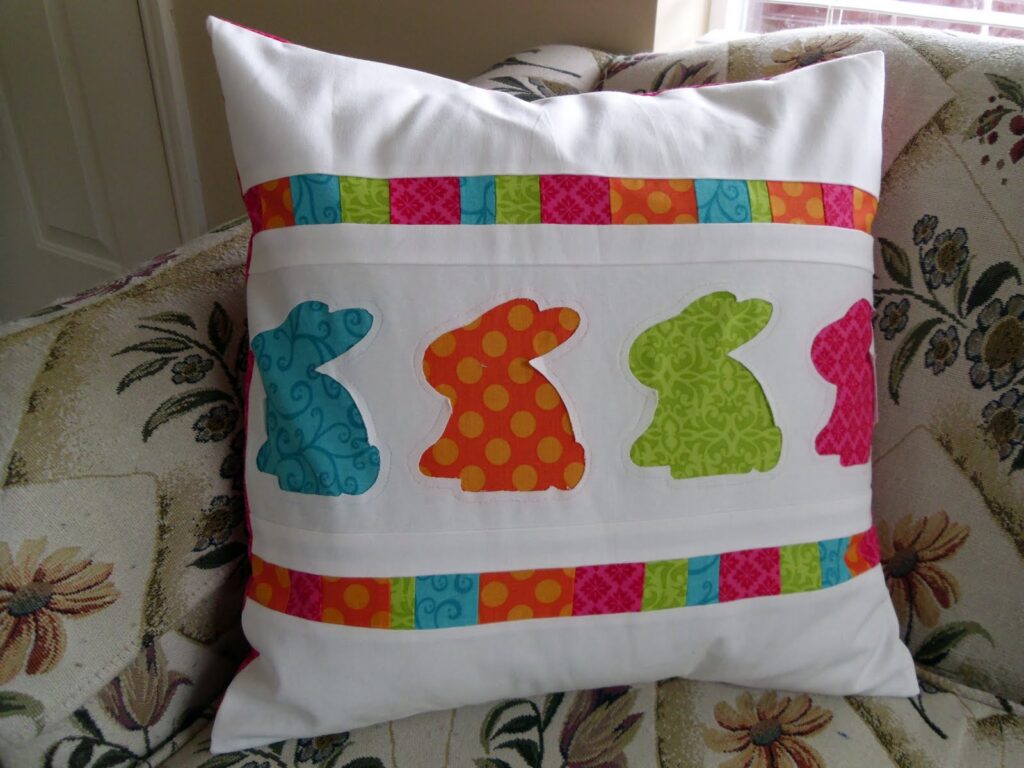
You can see the original pillow here. I still love the colors in this pillow, but the photography leaves a little to be desired. 😉
For more spring projects you might like this Scalloped Skirt tutorial for the perfect Easter outfit, or this Springtime Showers Mini Quilt that would be so fun to coordinate with your new bunny pillow!
Happy Springtime Sewing my friends! xoxo, Amy


Connie the crafterbug
April 9, 2011 at 7:34 pmI love it! it is so happy and cute. I just love your blog!
Connie
Steph @ Crafting in the Rain
April 11, 2011 at 3:35 pmThat's really cute. I love all the bright colors!
Richmond Thrifter
April 12, 2011 at 2:02 amSO CUTE! I really need to get a tutorial from my mother on my sewing machine! Im missing out on so many fun projects! Love this!
Madigan at madiganmade
April 12, 2011 at 2:04 amThis is such a fun pillow! Using a cookie cutter for a template was a great idea. Too cute.
Sybilline
April 12, 2011 at 2:42 amSuch a cute pillow!
Karenkay
April 12, 2011 at 6:16 pmI love your pillow, and will be making these for friends. Thank you so much for the tutorial!
The Autocrat: Haley
April 12, 2011 at 10:26 pmLove it!! Those bunnies are just too stinkin' cute!
Laura @ Our House Of Joyful Noise
April 13, 2011 at 2:11 amWell, this bunny pillow totally inspires me to learn to sew, once and for all! I LOVE it!! The color combination is just awesome too.
Melanie
April 13, 2011 at 2:46 amLOVE this! I'd love for you to come link this up at my Tuesday Time Out Linky Party! The link is below!
Smiles,
Melanie
Reasons To Skip The Housework
Tuesday Time Out Link Up Party
Jaclyn
April 14, 2011 at 4:11 amThis is really Cute! I just love the color combination! Its great!
http://www.simplycadence.blogspot.com
Holly
April 14, 2011 at 4:14 amVery cute and colorful! I've never seen the reverse applique…thanks for sharing your technique!
Visiting from CSI.
Caroline
April 14, 2011 at 10:42 amVisiting from CSI. I love this – your colour choices are fantastic!
Jasey
April 14, 2011 at 12:27 pmLove it! Way too cute! I love how you appliquéd from the back!
Happy Day,
Jasey @ Crazy Daisy
crazyjayzplace.blogspot.com
Anonymous
April 14, 2011 at 2:16 pmI love this! My children would adore those bunnies 🙂 I found your blog through "Get your craft on" and will definitely be following for more tutorials!
Steph Jacobson
April 14, 2011 at 2:57 pmSo cute–I love the bright colors!
southernscraps
April 15, 2011 at 3:03 amThis is adorable. I love the colors!
Katie @ EyeSpyDIY
April 15, 2011 at 2:31 pmThat is so cute and clever! The bright colors are great!
Oxford Impressions
April 15, 2011 at 9:31 pmSo colorful and cute. Right up my alley! I love rabbits and great fabrics. Good combination!!
Amy @ Positively Splendid
April 16, 2011 at 10:39 pmSo not only do we share a name, we also love the same color palette! Amy, this is phenomenal! I shared it in my Saturday Seven lineup this week. 🙂
http://www.positivelysplendid.com/2011/04/saturday-seven-no-7.html
heather {WhipperBerry}
April 18, 2011 at 3:02 ammiss ameroonie it made my day to see you sweet bunny pillow! Missing you!
kisses
heather
LOTCP
April 19, 2011 at 12:43 amFound you through Tip Junkie- this is too stinkin' cute!
Katie
April 22, 2011 at 12:43 pmOMG! I can't get over how cute this pillow is! Please link it up to SewWoodsy.blogspot.com!
Rachel Hauser
April 28, 2011 at 5:00 pmYes, great color combo. Thanks for joining in on the Pillow Party!
Jackie Forster
March 29, 2013 at 4:26 amThis is so cute thanks for sharing I have featured it on my blog with a link back here 🙂
http://xkawaiicutiex.blogspot.co.uk/2013/03/everything-easter.html
Texture – Bunny Hop Reverse Applique Pillow Tutorial – Riley Blake Designs
March 10, 2020 at 10:24 am[…] stop on the Texture Project Tour takes us to AMEROONIE DESIGNS, where Amy is sharing her super cute Bunny Hop Reverse Applique Pillow Tutorial with us! Amy used […]
Texture Fabric Blog Tour | projects by Ameroonie Designs
March 10, 2020 at 11:58 am[…] Bunny Hop pillow and Fabric carrots are also free tutorials you can find right here on my blog. I love how they pair […]