I am pleased to be a HUSQVARNA VIKING Ambassador for 2022. Mentions of my Opal 690Q sewing machine in this post are directly related to this relationship, but all projects and opinions are my own.
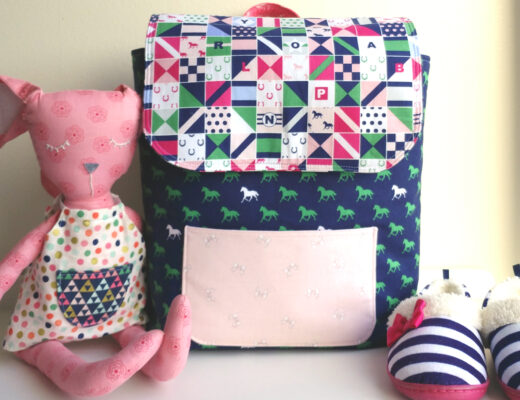
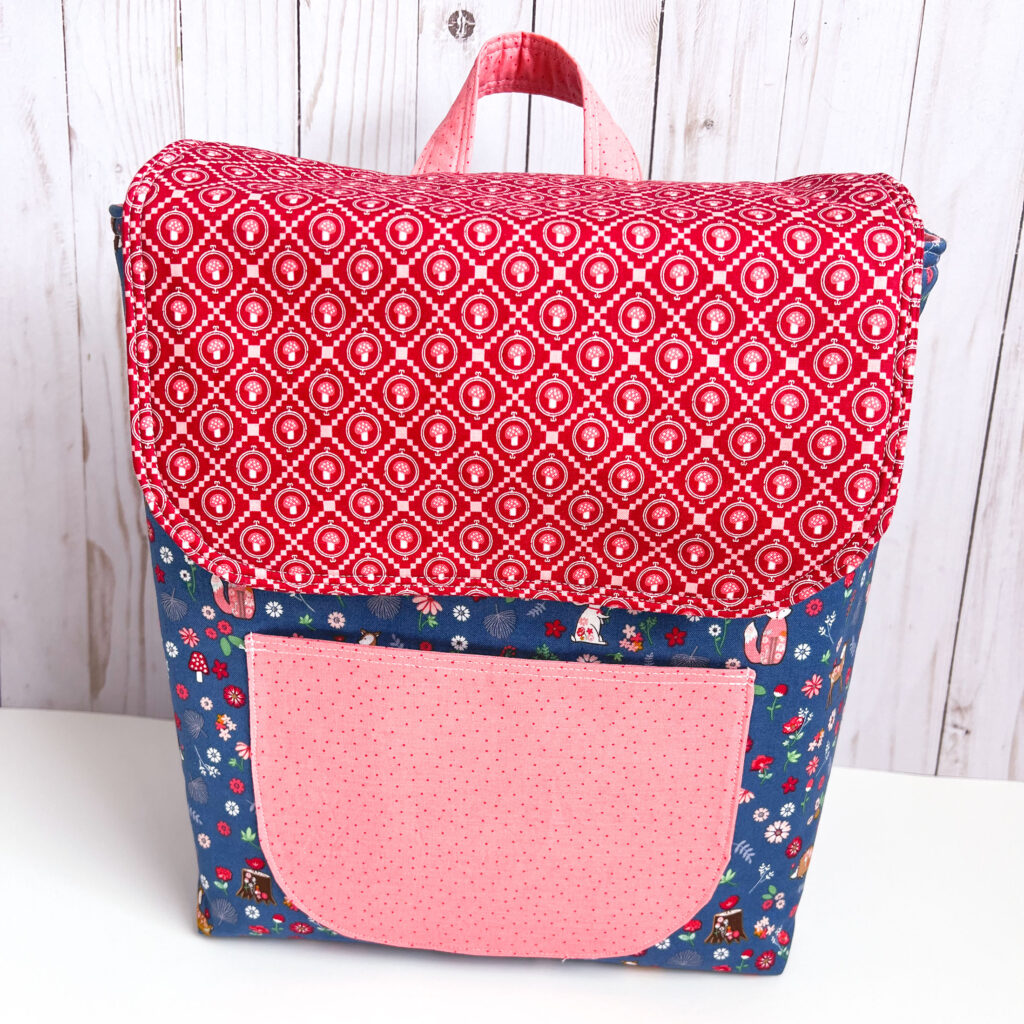
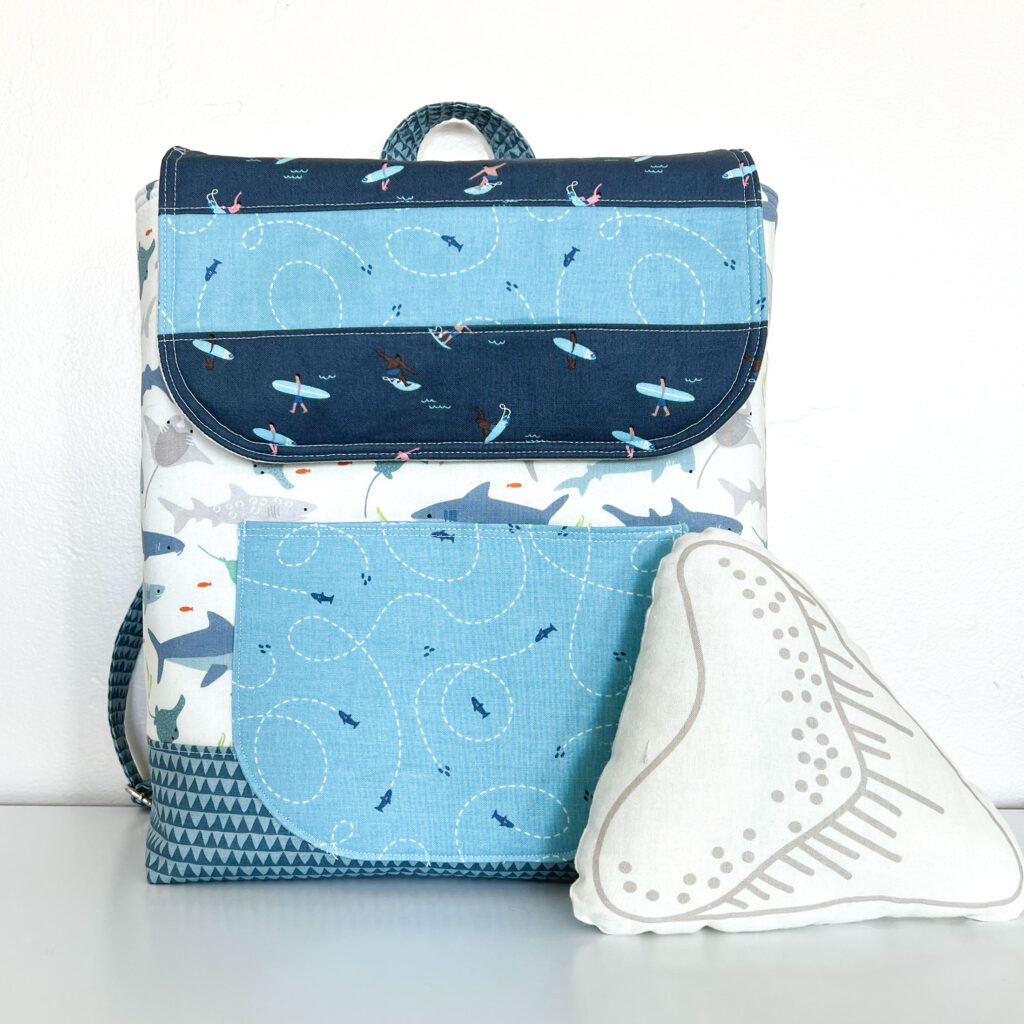
Adding a little extra interest to a project is always fun. Today I am going to share how to customize your Child Sized Backpack pattern to include an accent panel on the flap and a second fabric for the base of the backpack to help with durability and dirt. You can do one, or both to add a little extra something to your project. This tutorial is a long time coming, I promised it clear back when I made a unicorn version of this backpack last year.
I have been sewing this pattern for lots of years and have shared many versions, you can find them here:
- Unicorn Kingdom version, where I first added the bottom panel
- In the Forest version with fox stuffie
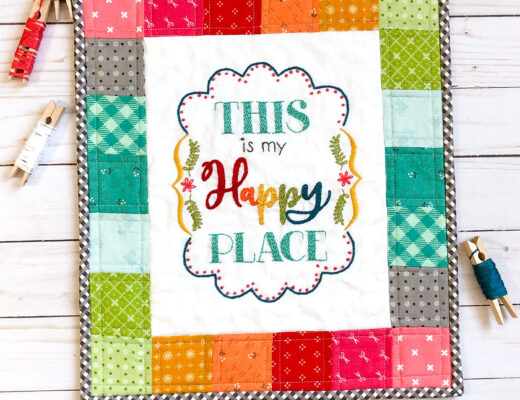
- Derby Days version
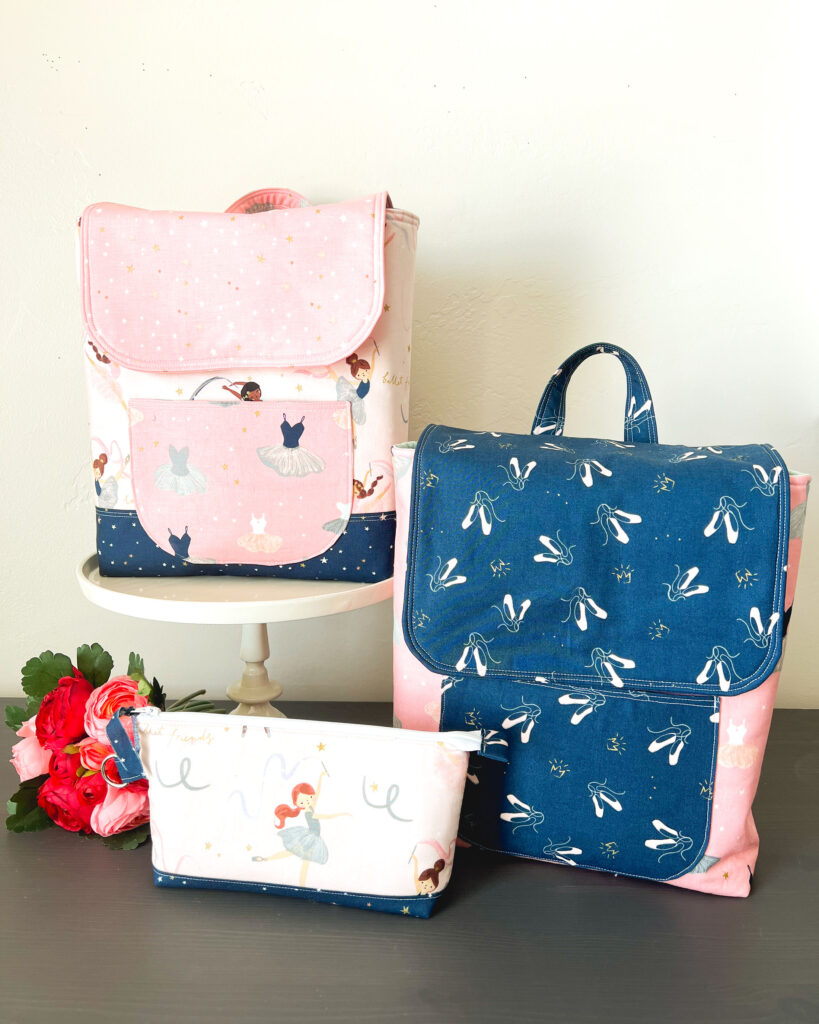
- And a couple other versions I made last month I have not yet shared on the blog using Spin and Twirl fabric and Enchanted Meadow:
This is such a fun project and my children still use the backpacks I made them years ago, so I can vouch for how durable and useful they are. So go buy the pattern (which was recently updated to include printable pattern pieces for those who prefer that method to a measure and cut version) and let’s get sewing!
How to add a bottom panel to your Child Sized Backpack
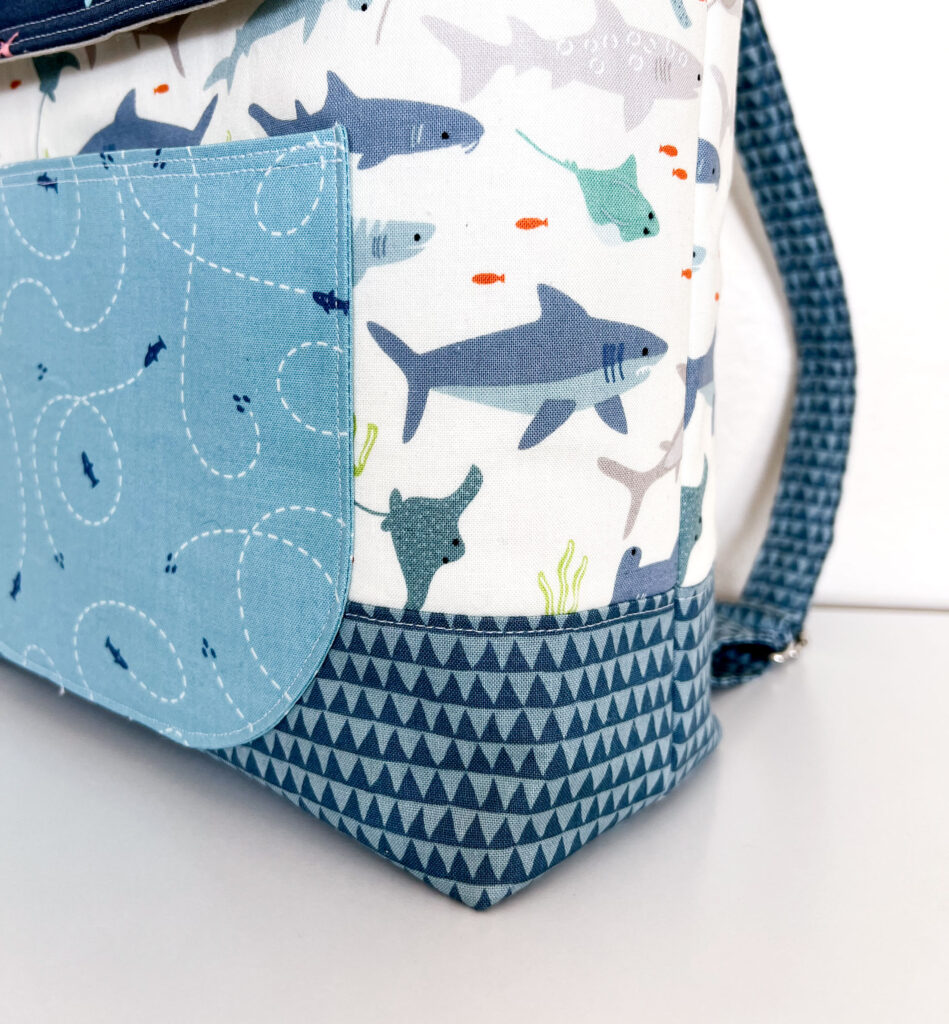
Sometimes you want to use a fabric for your Child Sized Backpack that is lighter in color. It has just the right feel, but you worry about dirt and wear. The solution is to add an accent to the bottom of the backpack in a darker color. This will both provide a second layer of fabric to add stability to the bag, and add a way to disguise any dirt that your backpack might pick up through (hopefully) lots of loving use.
Prepare your fabric accent strips
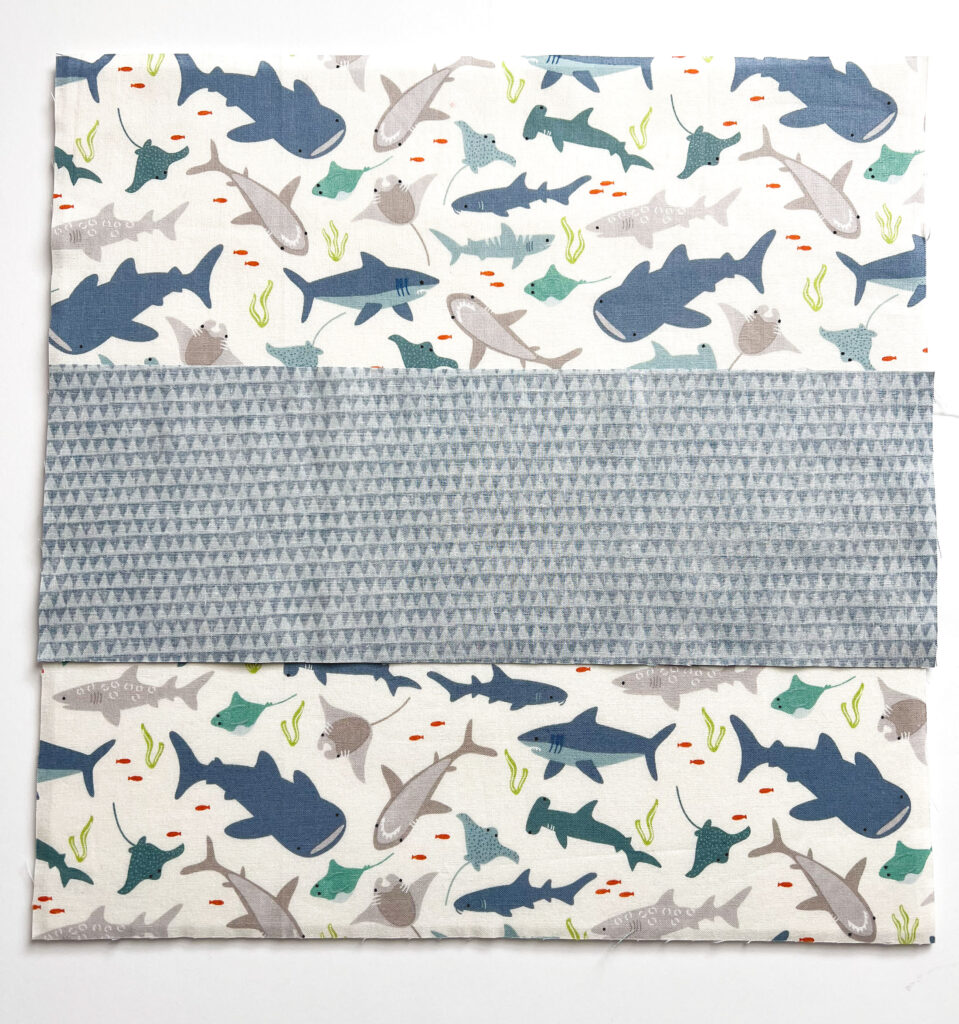
- First, cut 2 strips of fabric 5 1/4″ high by the width of the backpack body pieces (15″).
- Next you will measure up 4 3/4″ from the BOTTOM of the backpack body piece that already has the fusible fleece attached to the wrong side.
- Now, position the TOP of the accent strip with this measured line (4 3/4″ from the bottom), Right Sides Together (RST).
- Pin the accent strip in place.
Finish adding the bottom accent strips to the child sized backpack
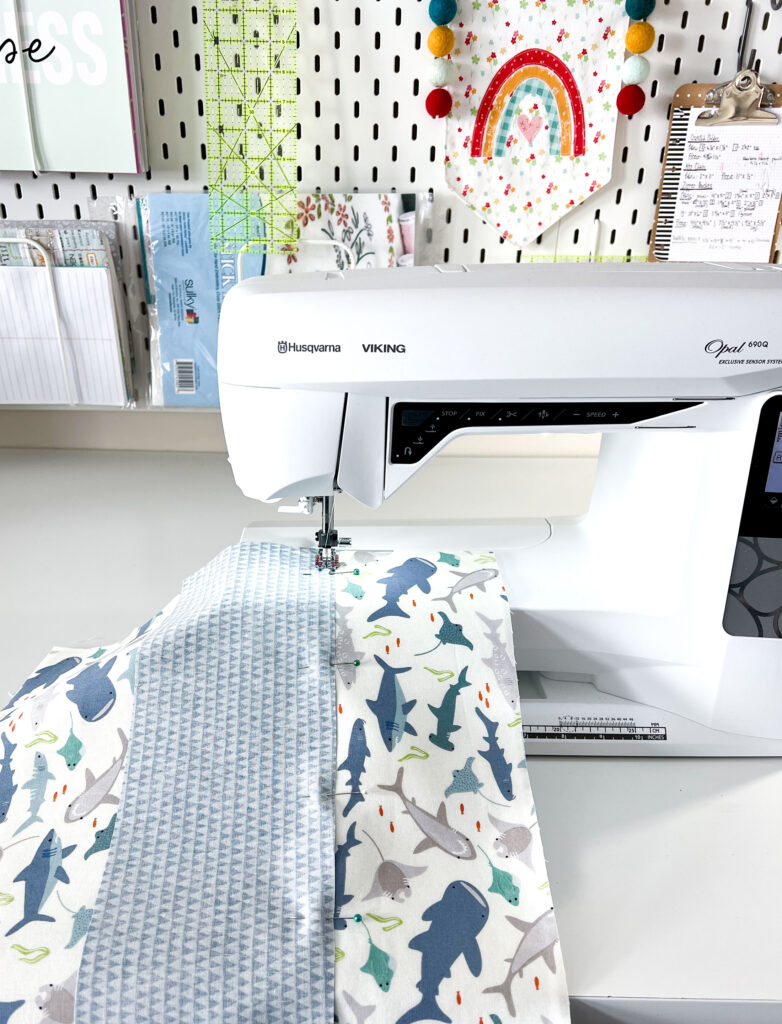
- Sew along the pinned edge of your accent strip using a 1/4″ seam allowance. The 1/4″ presser foot of my HUSQVARNA VIKING Opal 690Q machine makes this super easy.
- Press the accent strip so it is now right side up.
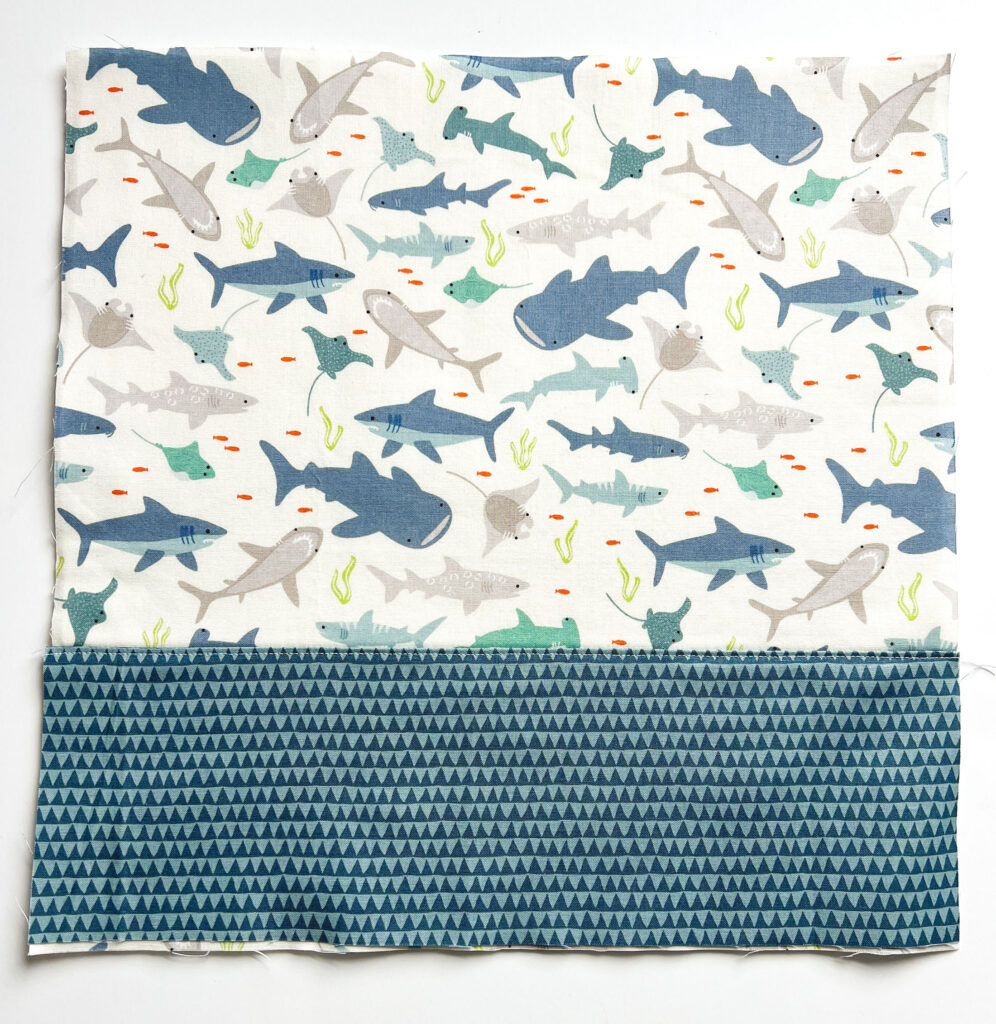
- Top stitch along the edge of the accent strip.
- Repeat for the second accent strip and backpack body piece.
- Continue assembling the backpack as instructed in the pattern with one note:
- When you are sewing the front and back of the backpack body pieces together, be sure to pay attention to the accent strips and ensure they match up. This will give your backpack a much more polished look.
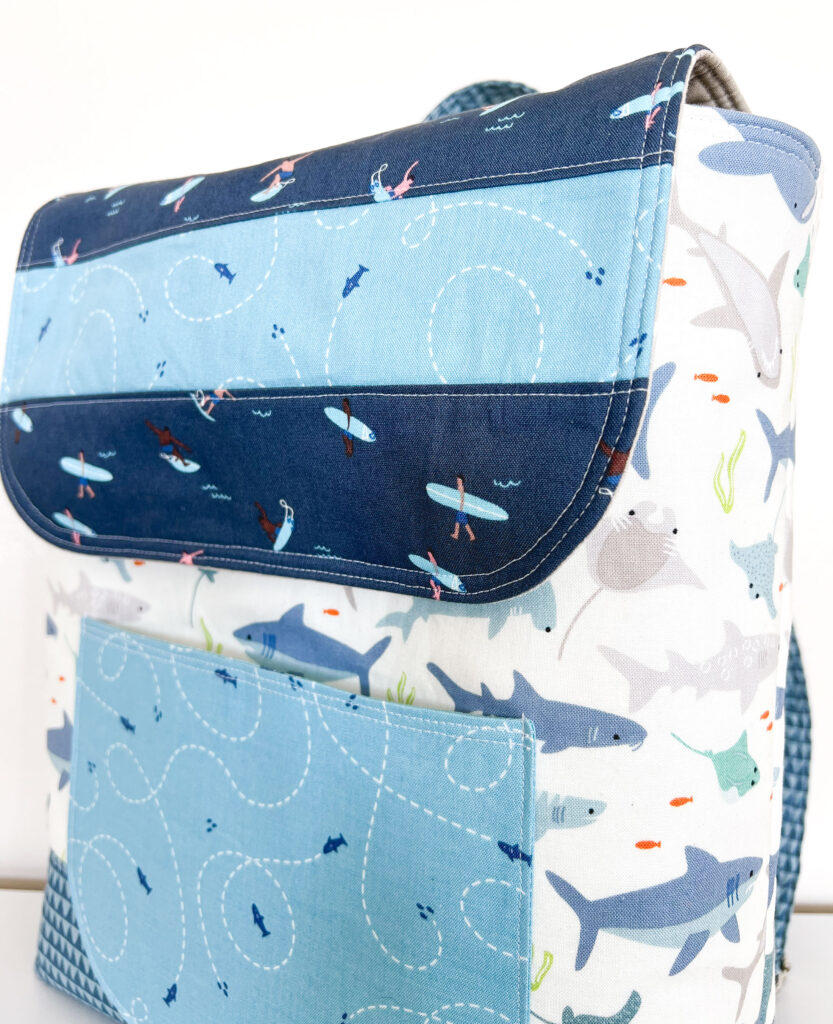
Customizing your Child Backpack Flap
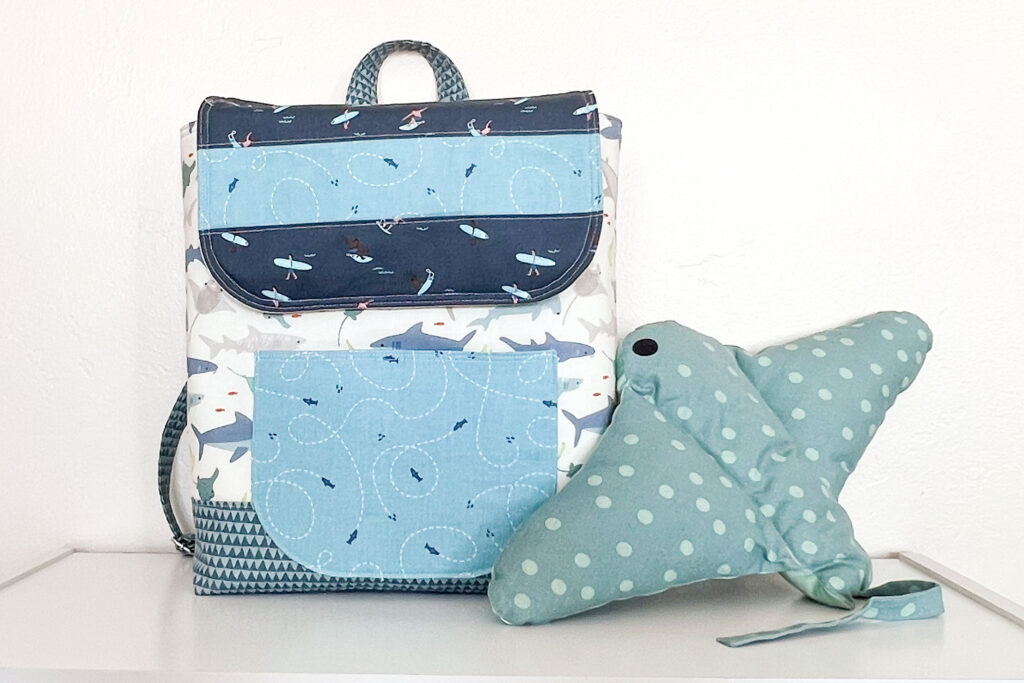
Another way to add a bit of interest to your Child Sized backpack is to add an accent strip to the flap. In my case, I wanted to use this navy fabric, but the piece was not big enough. This is a quick and easy way to make your backpack a bit more fun.
Prepare Flap Pieces
- To begin, cut ONE each of your front flap pieces as follows:
- 6 1/2″(h) X 11″ (w) piece from main flap fabric
- 3″ (h) X 11″ (w) piece from main flap fabric
- 2 1/2″ (h) X 11″ (w) piece from flap accent fabric
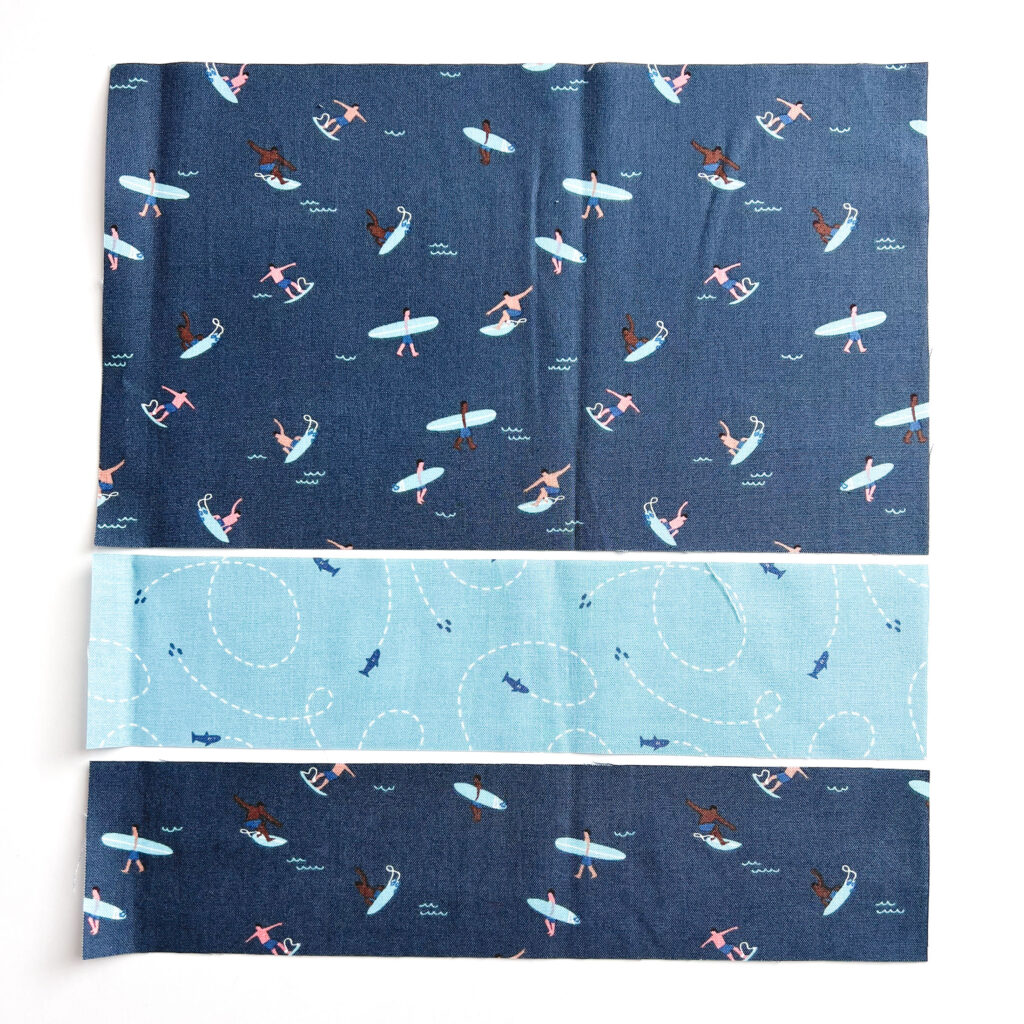
- Next, arrange the exterior flap pieces as shown: 6 1/2″ strip, accent strip, 3″ strip.
- Then, sew the strips together using a 1/4″ seam allowance. Press the seam allowances toward the darker fabric.
- Add the fusible fleece to the wrong side of the front flap piece.
Finish the flap
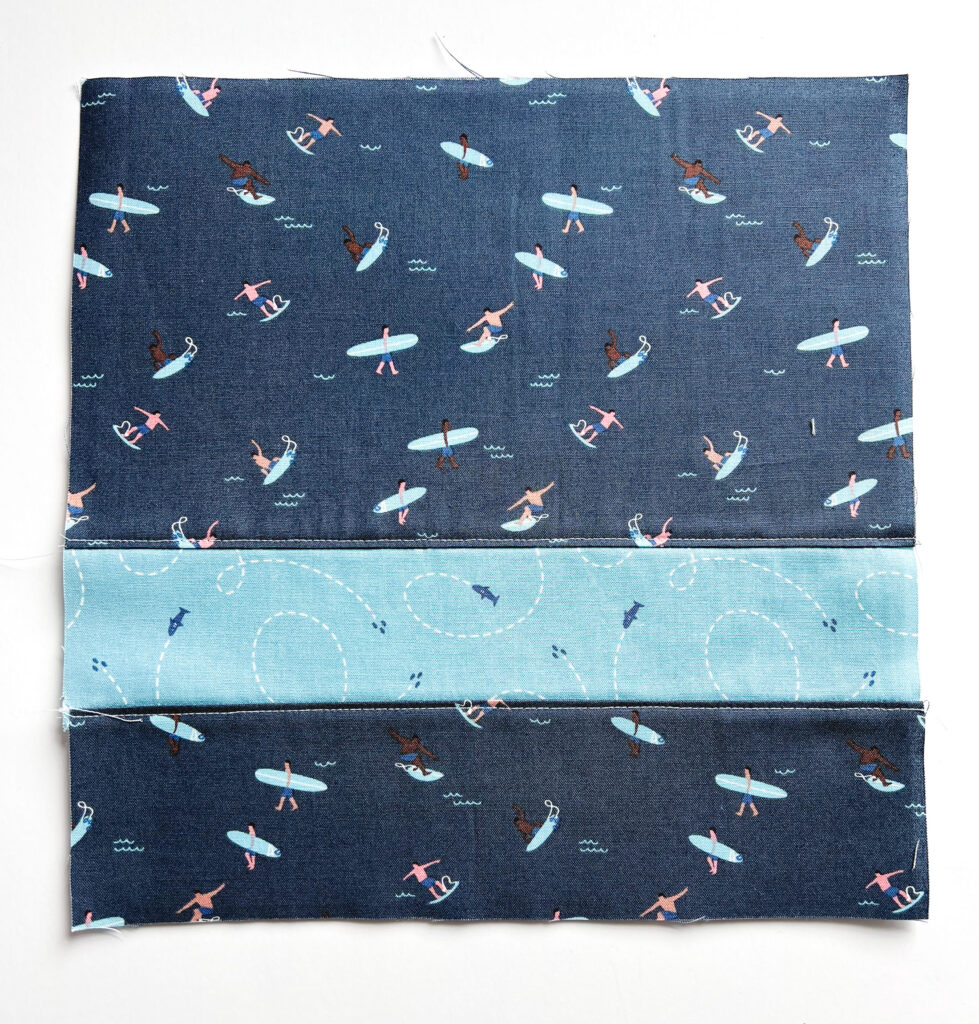
- Top stitch along the top and bottom of the accent strip. I typically do this on whatever side the seam allowance was pressed toward, you may choose to top stitch on both sides of the seams.
- Finally, use the pattern piece to round the corners of the front flap piece and proceed with assembling the flap and backpack as indicated in the pattern
Whether you are making a practical decision to hide dirt, or just want to add more interest and fun- knowing how to customize your child sized backpack pattern gives you so many options! So now I want to know, which one will you do- or both?
If you love tips like these and want to be the first to hear about new blog posts and patterns, sign up for my email list! I send them out once a week and share my thoughts, tips and often offer free patterns just for subscribers. I hope you’ll fill out the form below and join in the fun!
Happy Sewing friends! Amy