*This project first appeared on Jen Allyson’s blog last year. She provided her beautiful fabrics and I created a project to help showcase it.
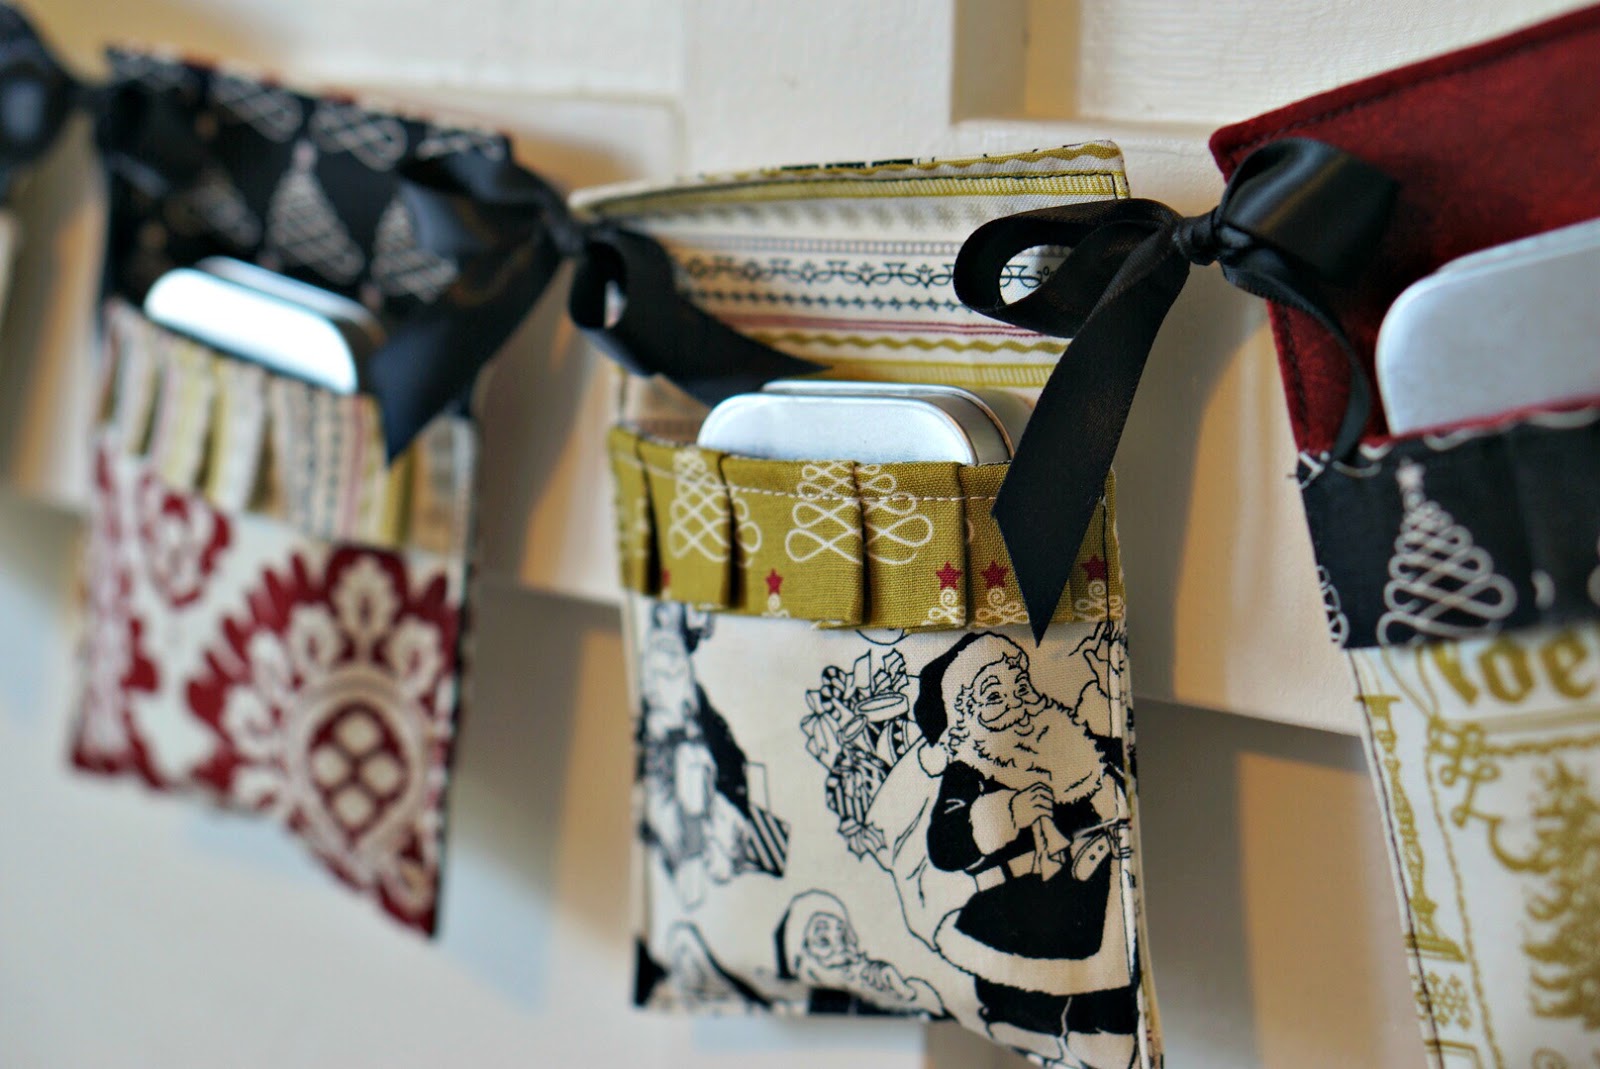
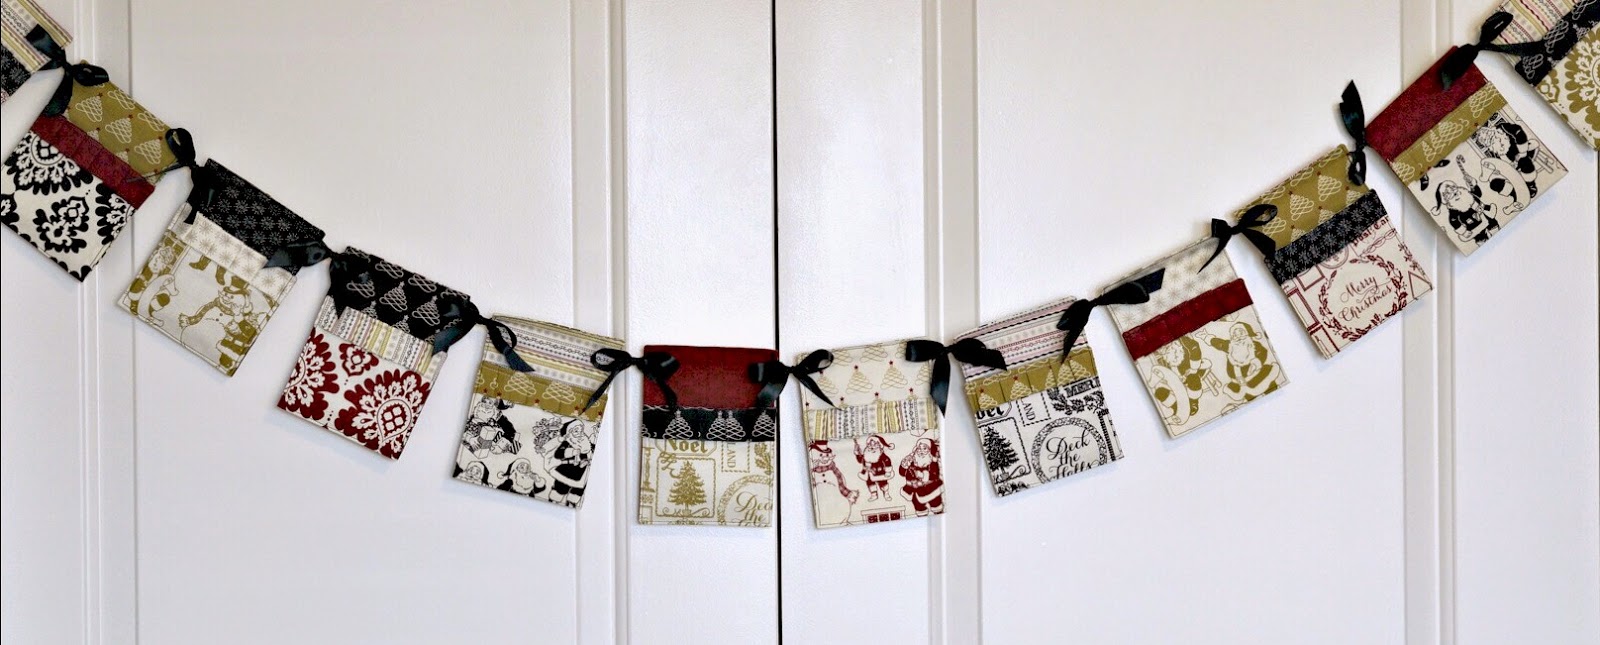
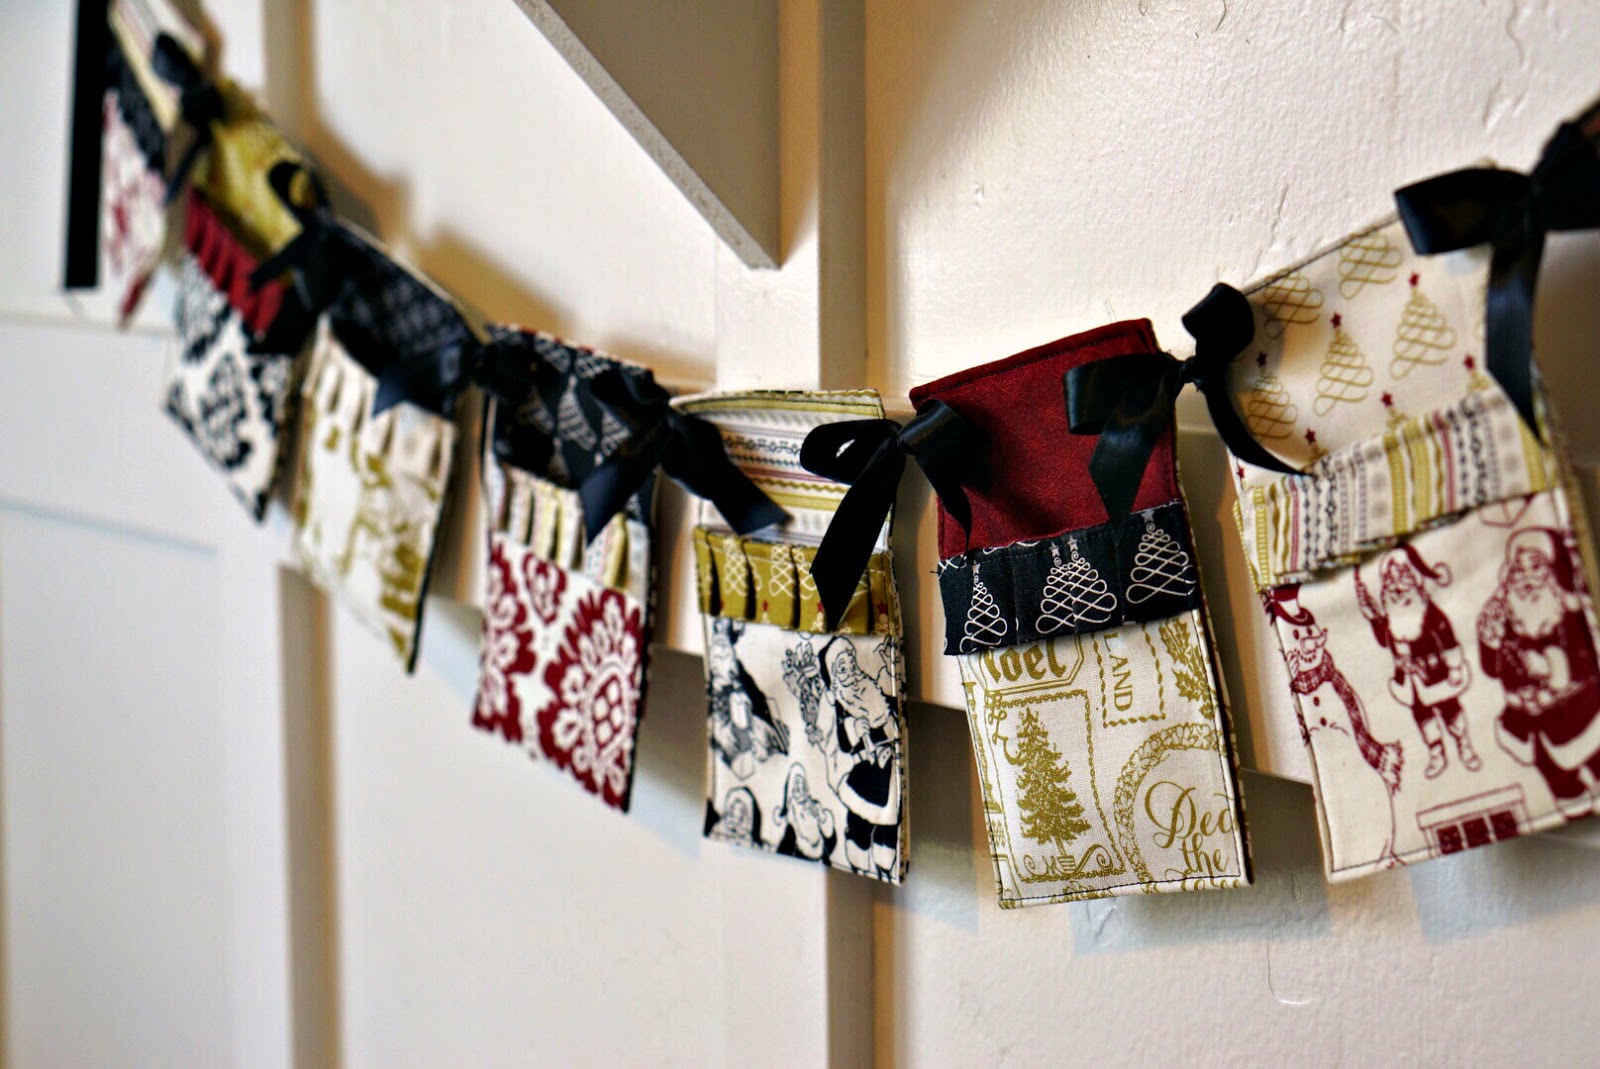
I love finding fun ways to add to the anticipation of Christmas. This advent is something even a beginning sewist could create- and yet it looks fancy and complicated. And as a bonus, even when the treats are gone from inside- you still have a beautiful banner to display!
Here’s how to create your own.
Advent Garland
Materials:
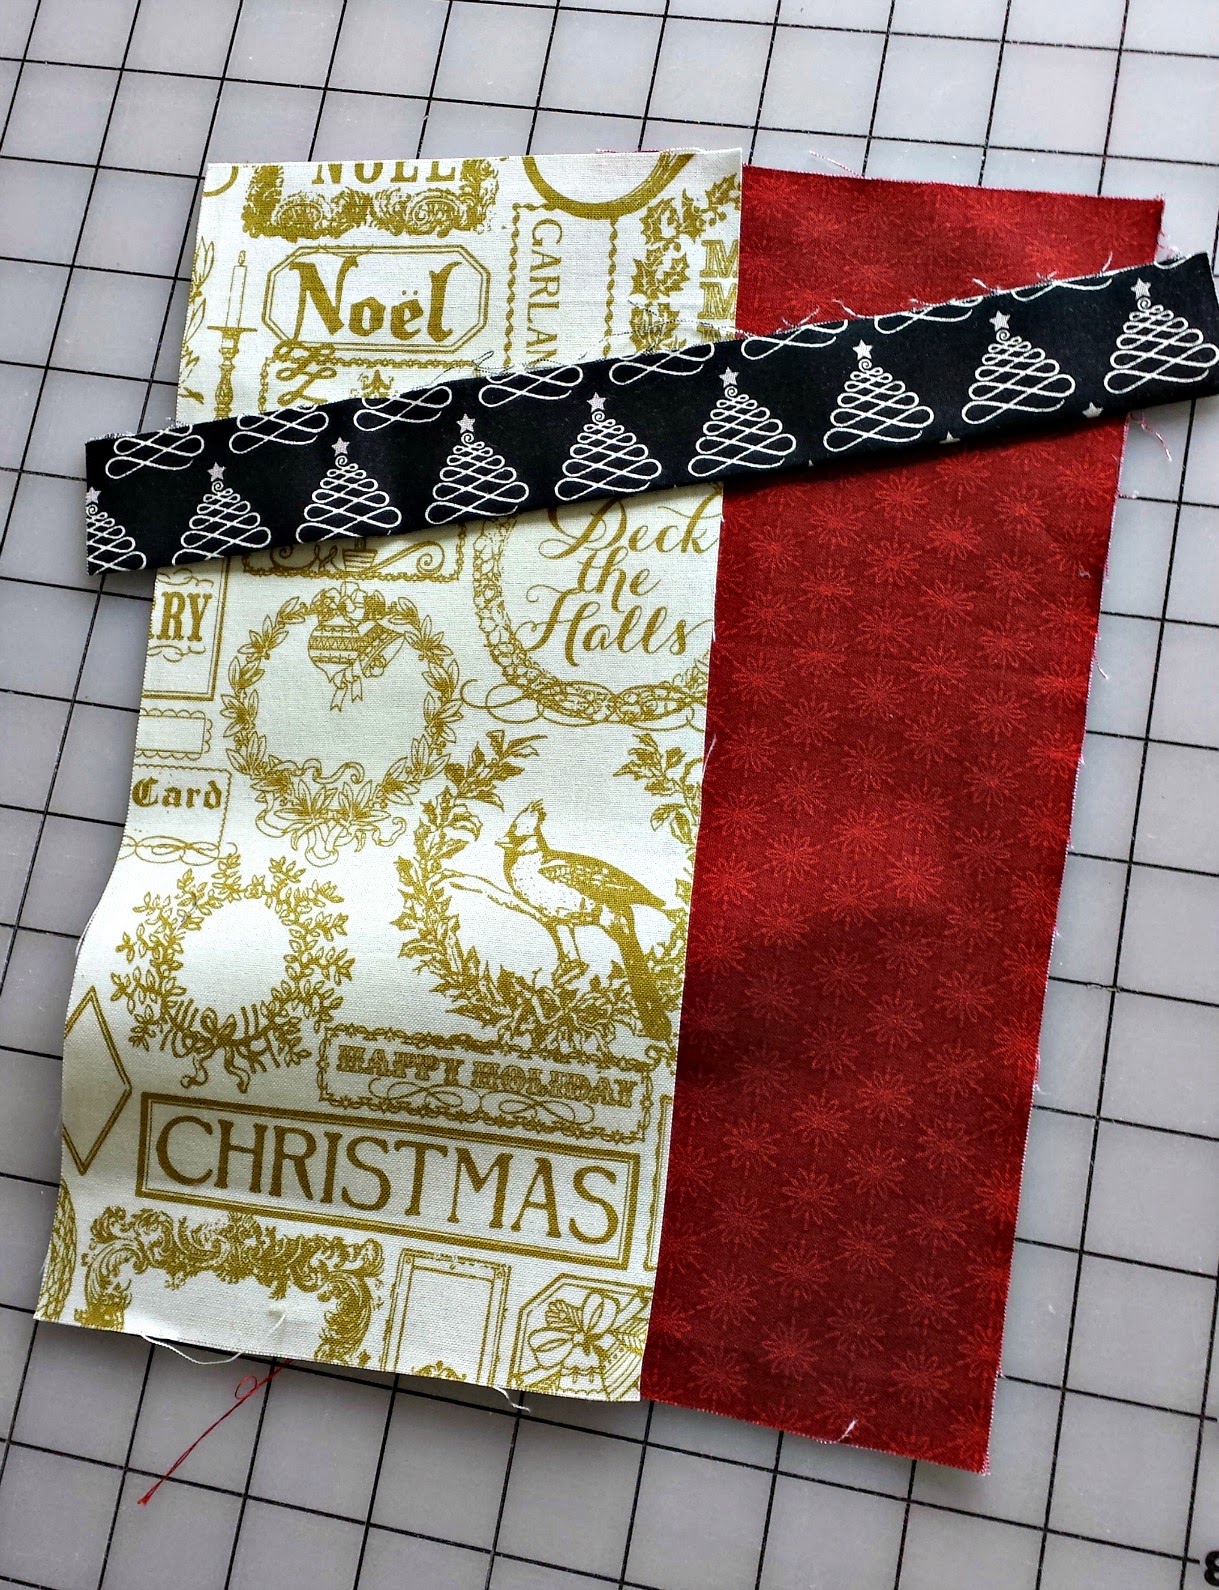
You will need 1 yard of fabric total. I suggest using at least three different fabrics. I used a fat quarter bundle so I could get a variety of different fabrics to use.
Ribbon- at least 8 yards
light weight interfacing (optional)
sewing tools
Cutting Fabric:
24- 5″ X 10 1/2″ rectangles, 12 for outside of pockets and 12 for lining of pockets
12- 3″ X 10″ strips for pleated ruffle on top of pocket
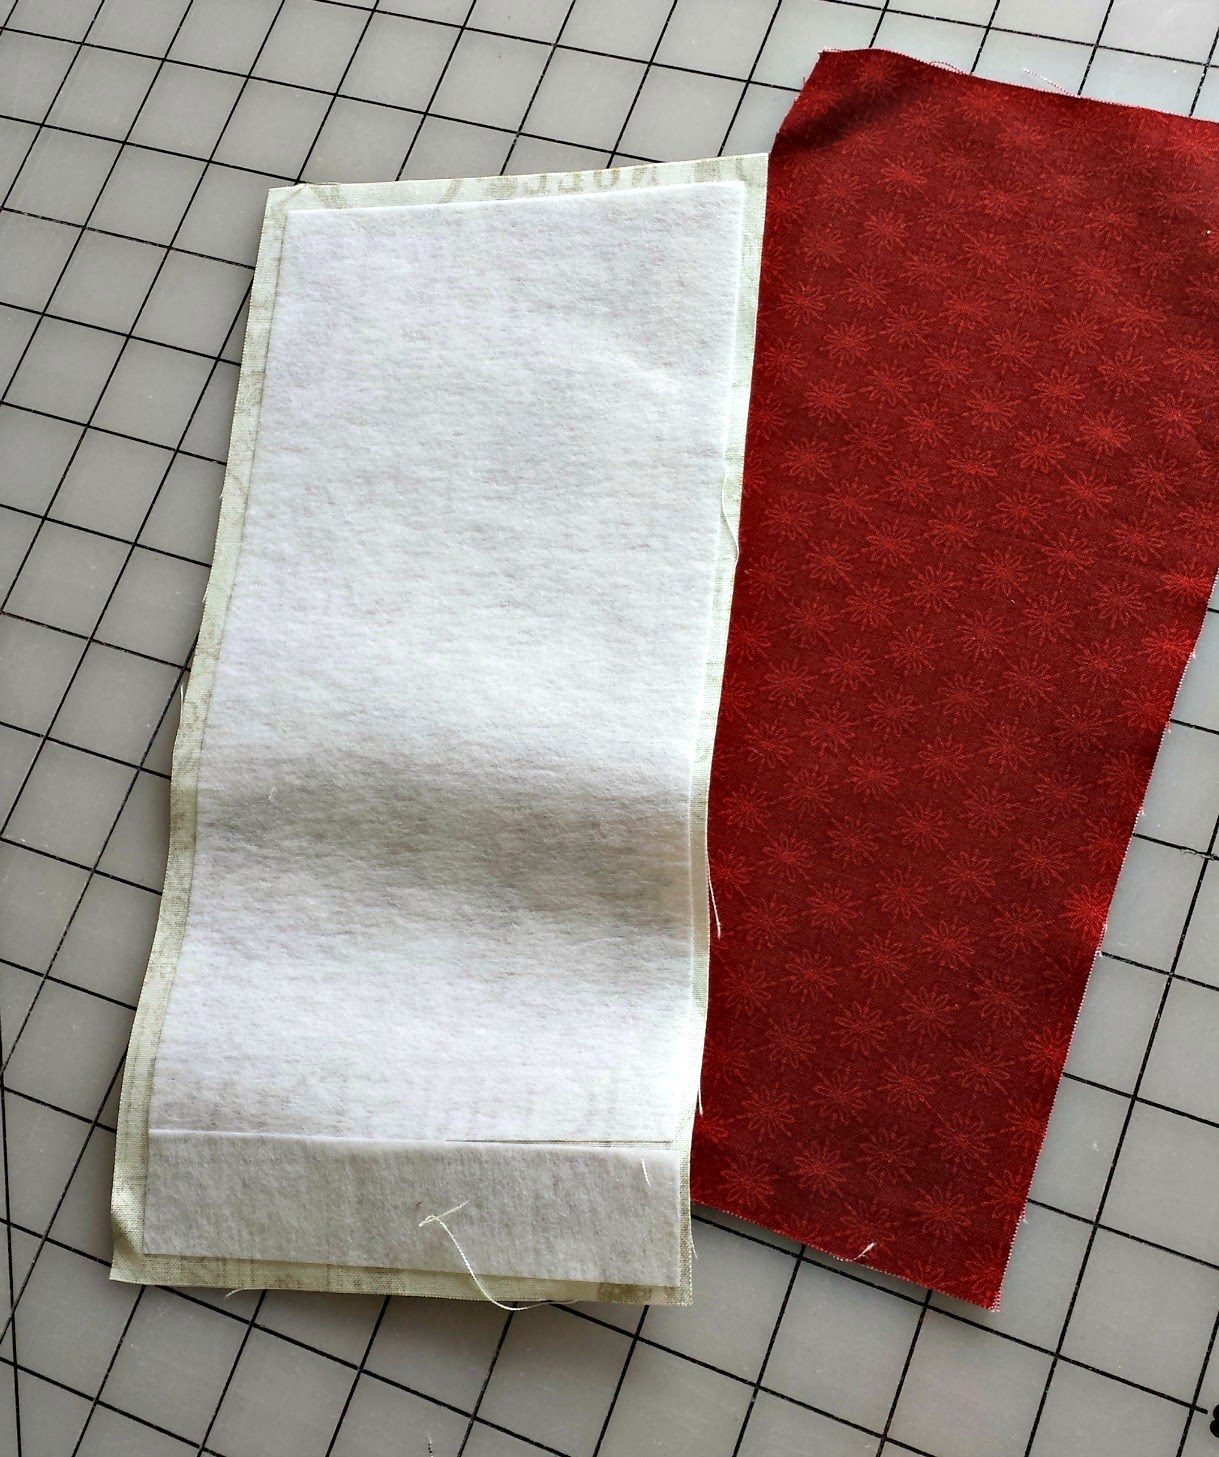
12- 4 1/2″ X 10″ rectangles of lightweight interfacing, this is optional, but I love the added weight and stability it gives the banner. If using interfacing, fuse it to the fabric that will be the outside of the pocket (or the pocket front).
Assembly:
Iron the strips for the pleated ruffle in half along the length.
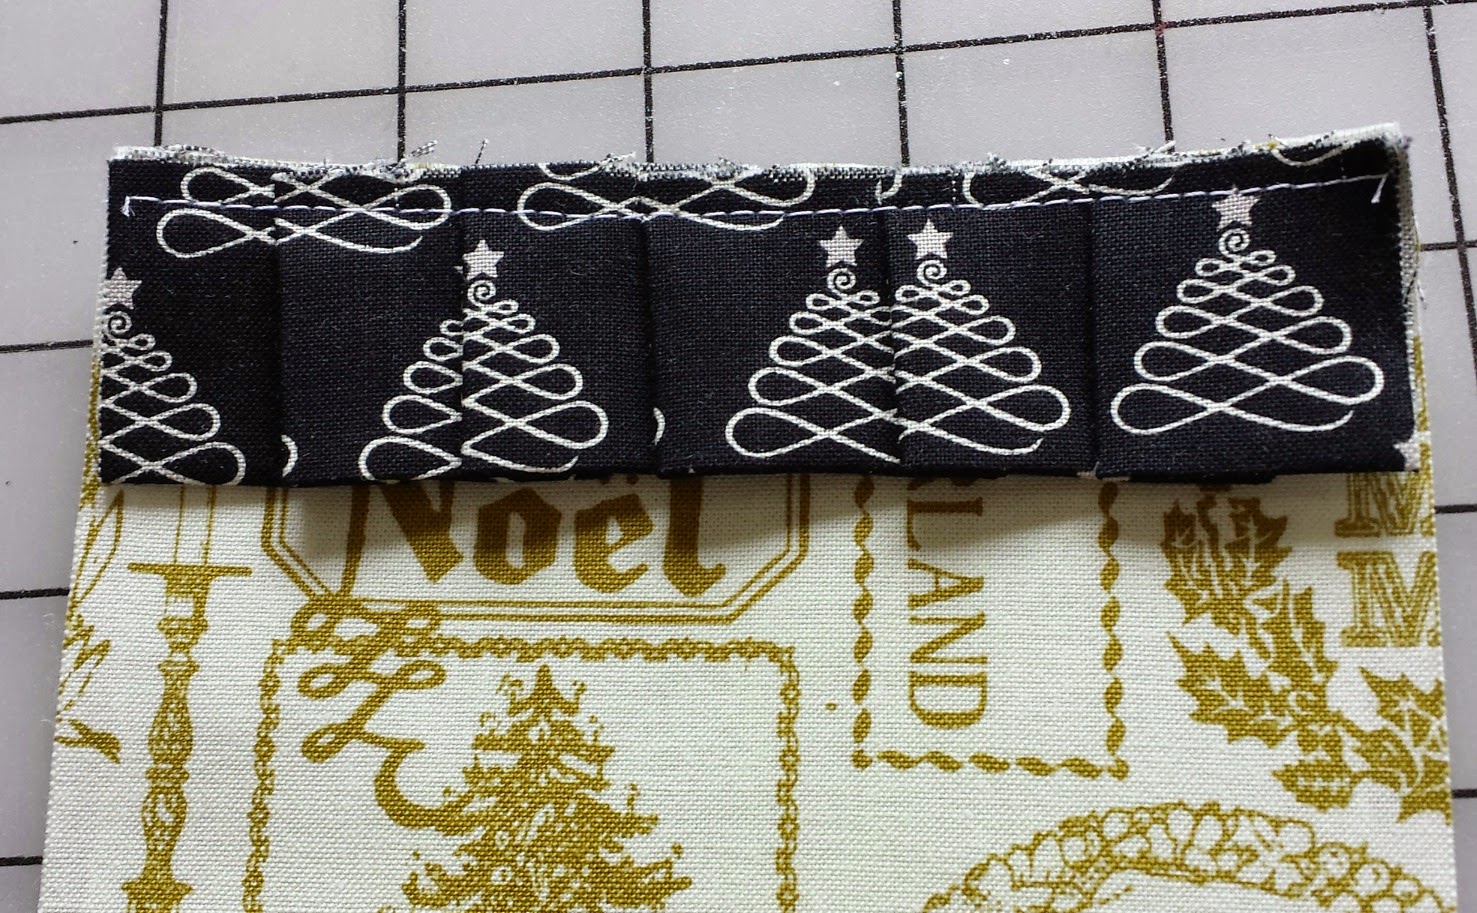
Line the ruffle piece up with the top of the pocket front. Add in folds to create pleats so the the short ends line up with the edges of the pocket piece. Sew down using a scant 1/4″ seam allowance. Press the pleats flat.
Cut ribbon into 10″ lengths- you will need 24 total.
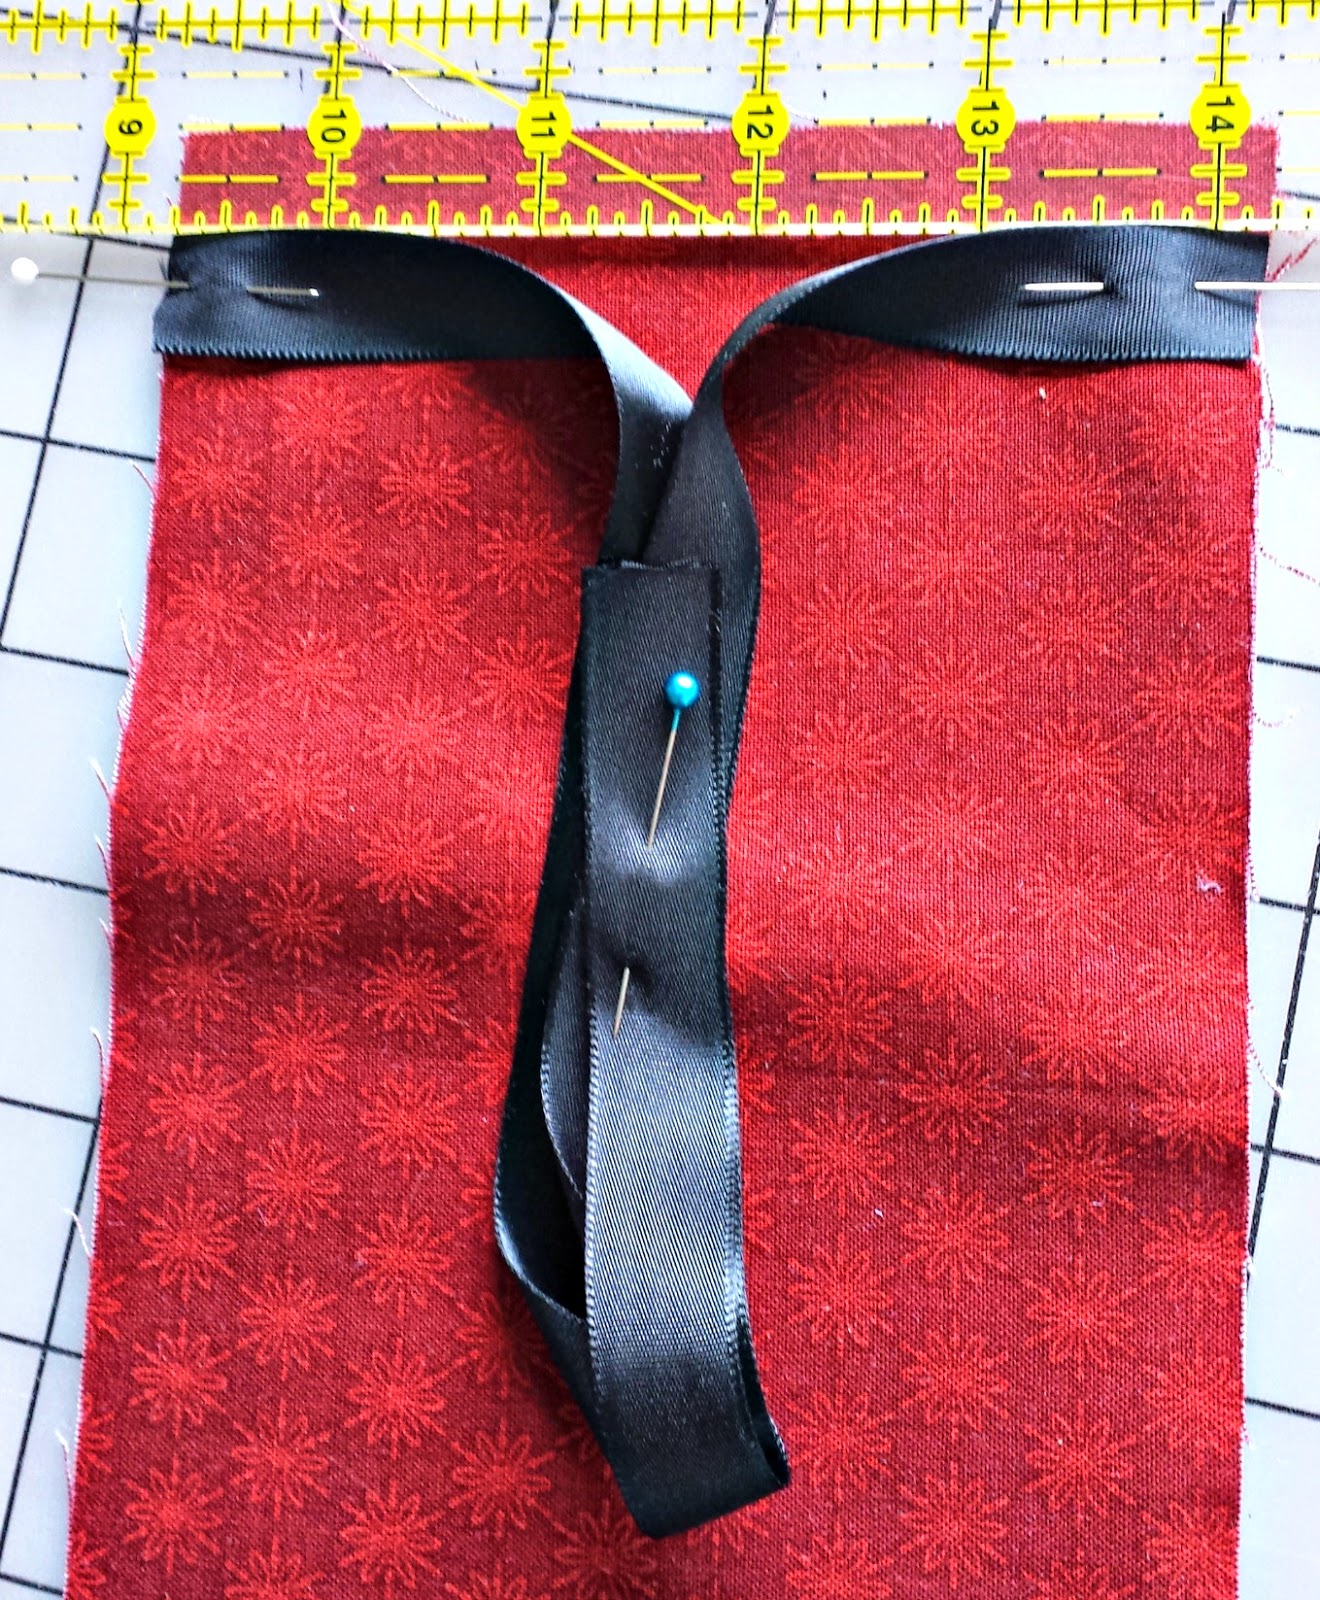
On the lining fabric, pin the ribbons to the sides, 1/2″ down from the top. Fold up the loose ribbon ends and pin to center of fabric to make sure they don’t get caught in the side seams in the next step. If your ribbon has a right side, make sure the right side is facing down toward the right side of the fabric.
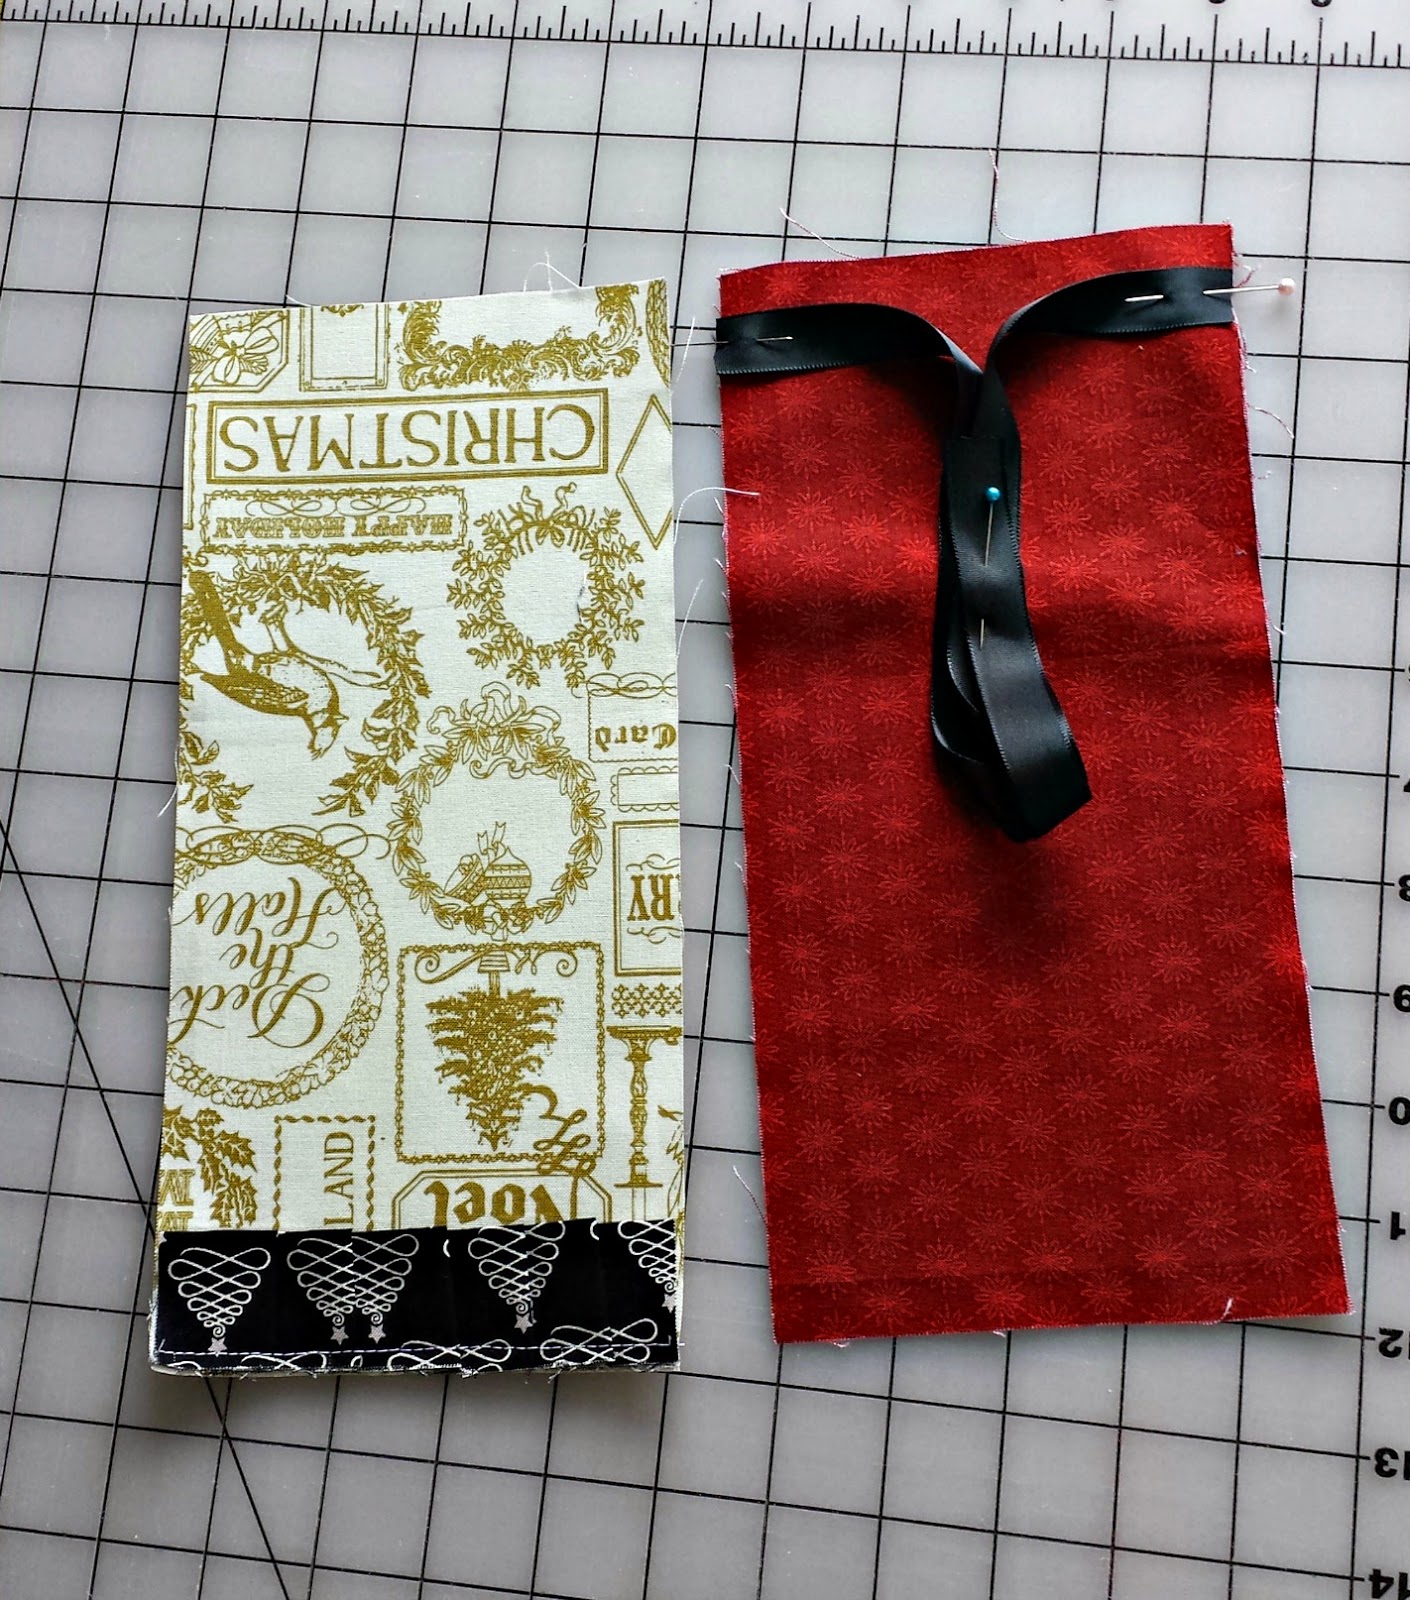
We are going to put the pocket front and lining together now. The pleated top of the pocket should be opposite of the ribbons.
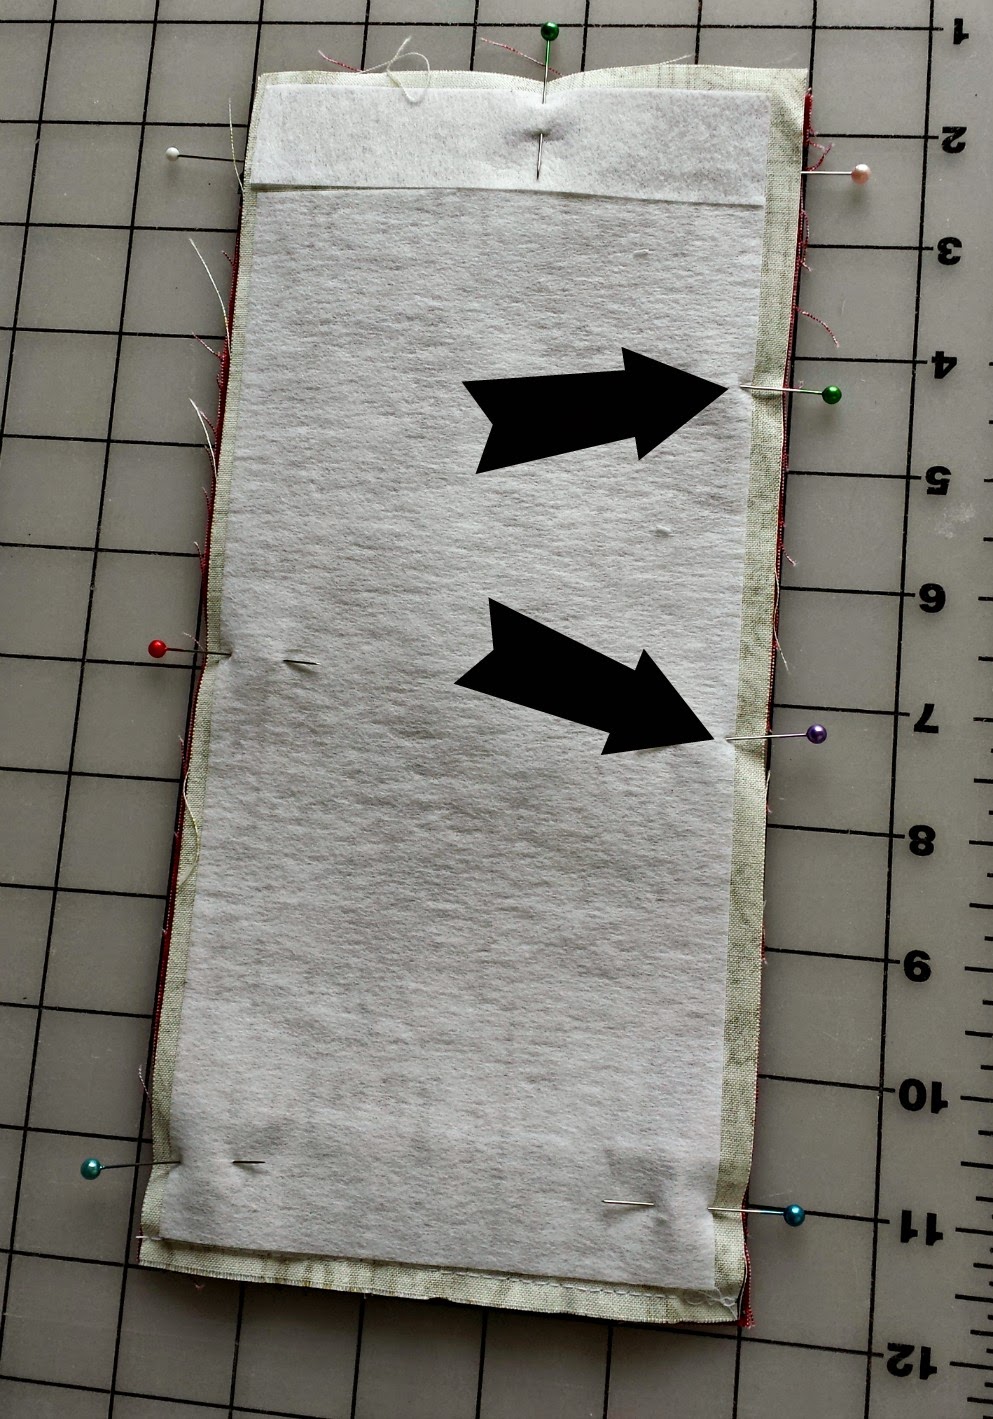
Place the two pocket pieces right sides together and pin. Leave a 2 1/2 opening for turning, 4 1/2″ up from the pleated end. The arrows in the picture show where the opening should be.
Sew around all 4 sides with a 1/4″ seam allowance. Back stitch at the beginning and end of the opening. Turn piece right side out and press.
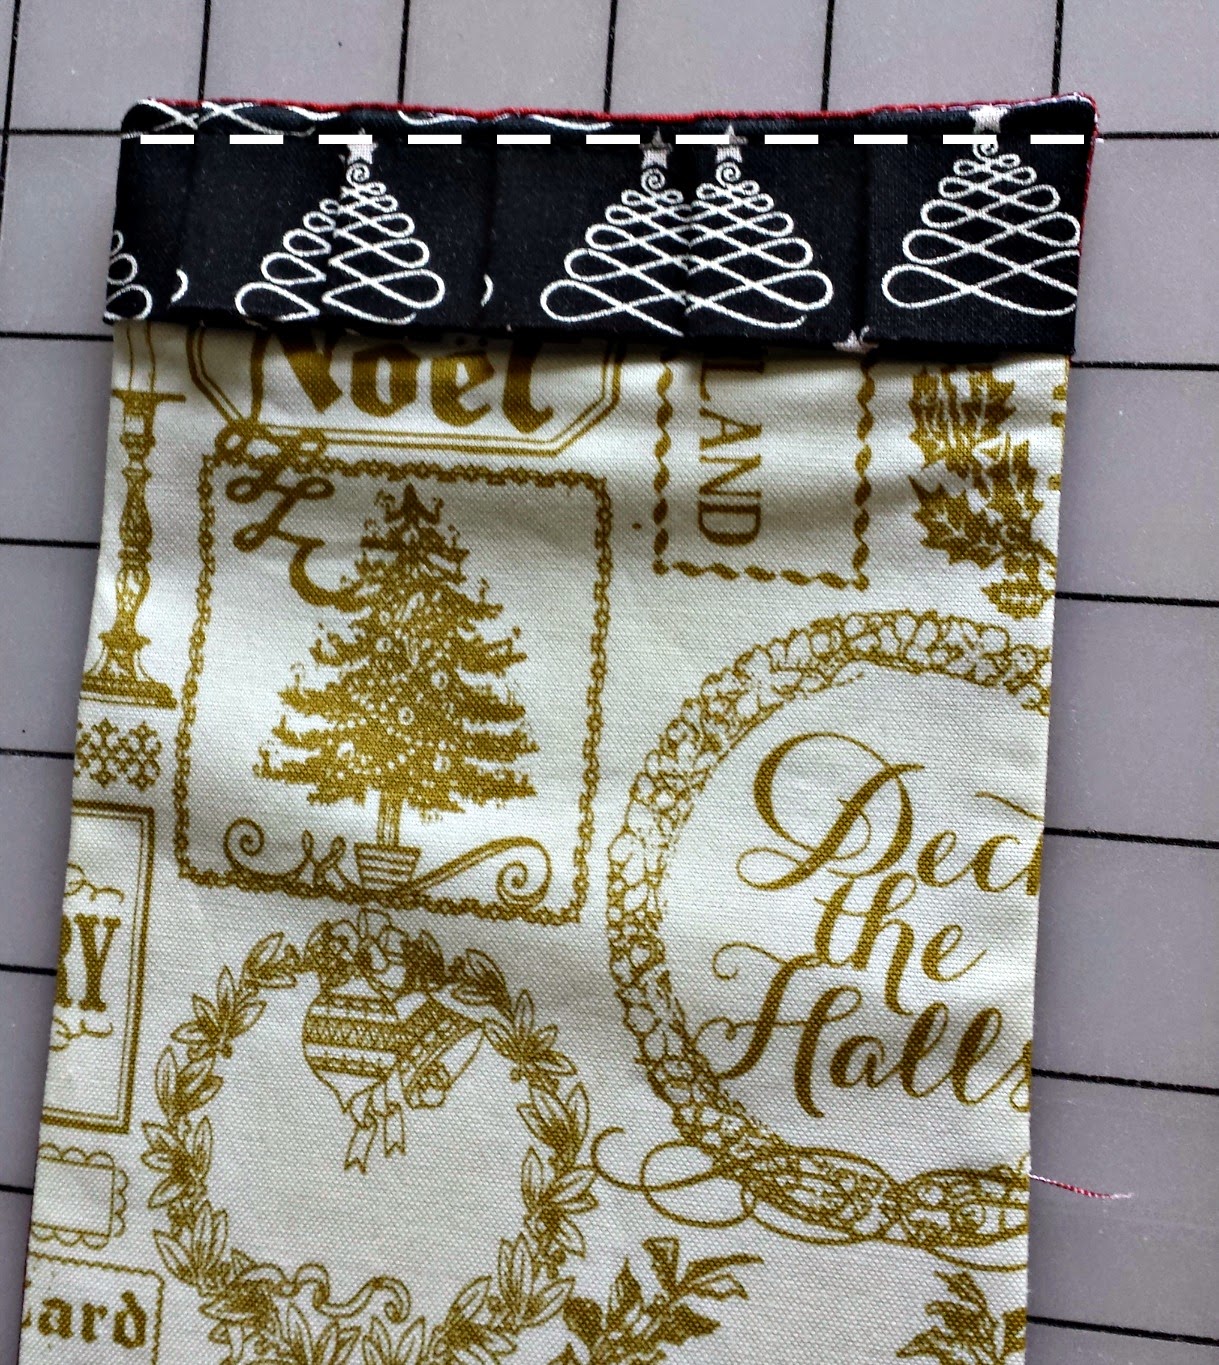
Top stitch along the top of the pleated ruffle using a generous 1/8 seam allowance.

Fold the ruffle end of the pocket up toward the ribbon end 4 inches. Pin in place. Start at the bottom of the pocket, sew up across the top and down the other side. Back stitch at the beginning and end.

The final step is to tie the pockets together to form a banner. Another idea I had was to use them to deliver the twelve days of Christmas to a friend- just tie the two ribbons on one pocket together and hang it over the handle of a door to deliver the day’s treat. Then the lucky recipient can tie them together as they come and end up with a beautiful banner too!
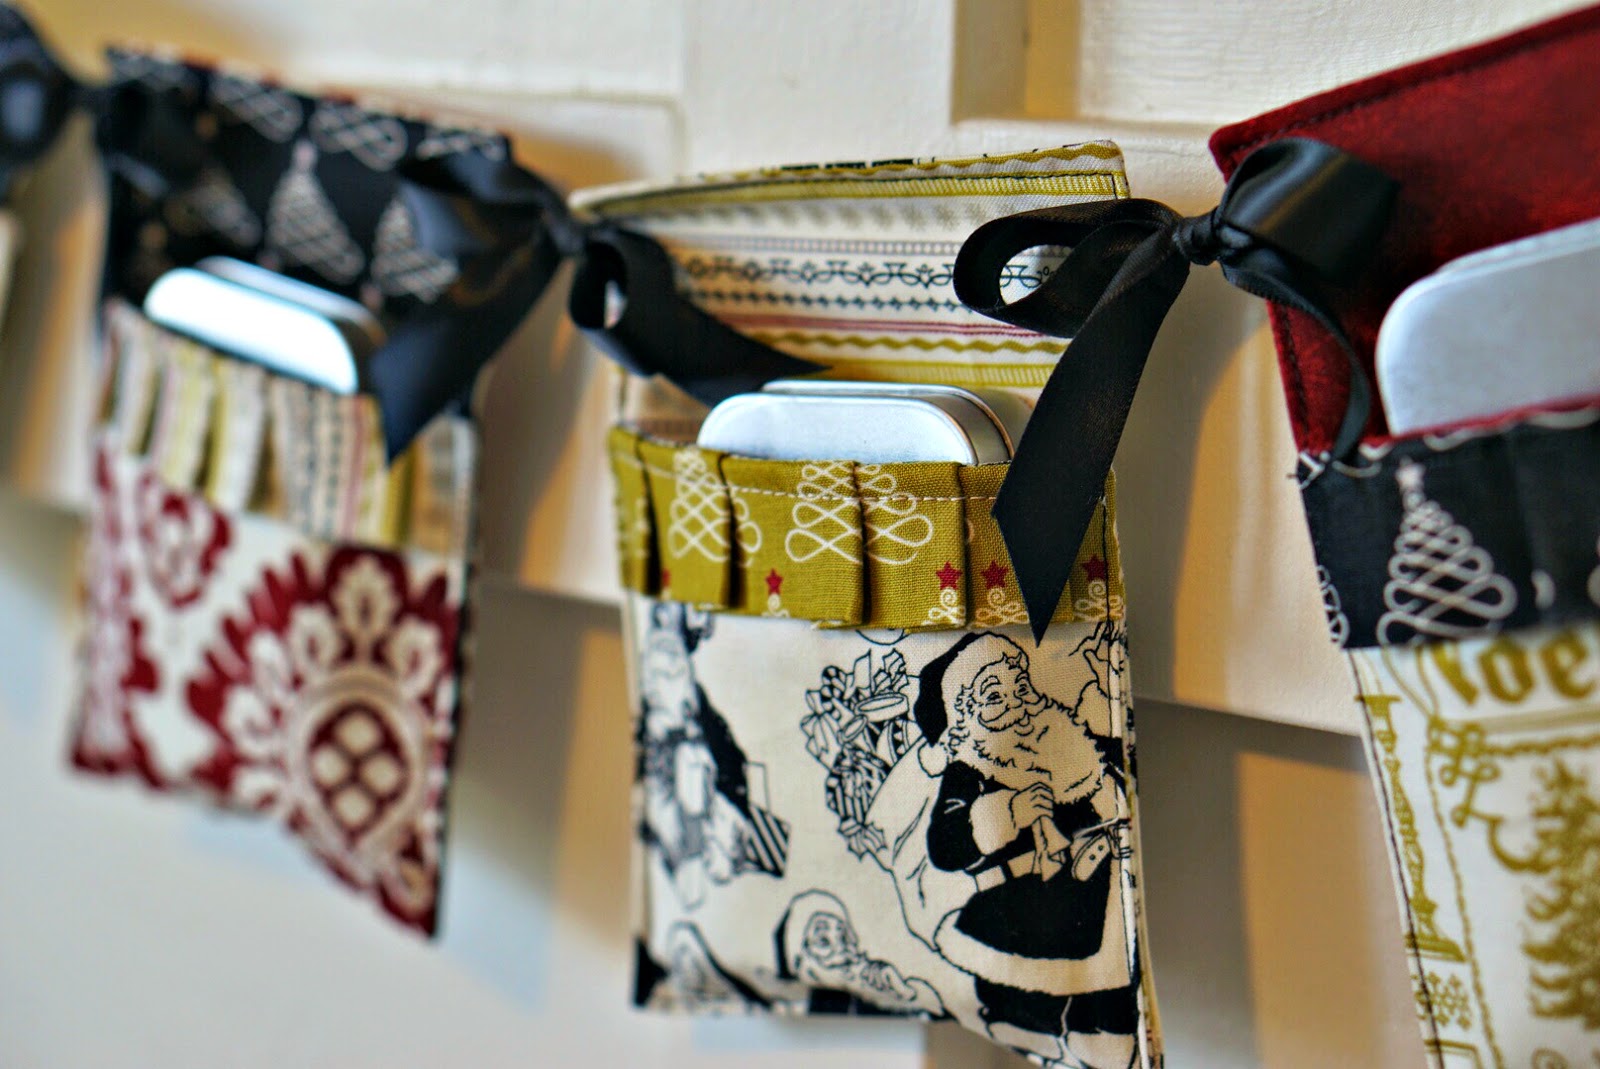
Fill the pockets with small gifts, treats or tags with activities to do written on them.
Hope you have a very happy holiday season!
xoxo,
Amy


Daryl @ Patchouli Moon Studio
December 11, 2015 at 12:25 amThat is the cutest advent garland I have ever seen. So classy and fun! Thanks for the tutorial!!!