

I first made this skirt for Riley Blake’s Cutting Corners College. I was so excited to be a part of their great site- they have some amazing tutorials over there. I am thrilled to share the how-to on my own blog today. (the measurements listed are for a skirt sized 3T-4T .)
Materials:
Main fabric (waist band and overskirt) 3/4 yard
accent fabric (underskirt) 1/2 yard
scalloped border template
3/4″ elastic
optional embellishments- in this case velvet ric rac
Cutting measurements:
From Main Fabric:
waistband 32″ X 5″
overskirt (cut 2) 27 1/2″ X 9 1/2″
From Accent Fabric:
scalloped edge and connector piece (cut 3) 6″ X 42″
Elastic: cut to measurement of waist + 1″
To get template:
Click here and print it out (make sure it’s not scaled to fit). Either print it on cardstock or cut it out of paper and trace it onto a stiffer material like a cereal box. Note: The scallop should measure approx 2.75″ in diameter. If the scaling is off, or you don’t want to print it out- you can make your own template using any size circle- to adjust the measurements just divide 42″ by the diameter of the circle you are using. This will let you know if you need to add some length to the strips you are cutting (of the accent fabric) so you will have complete scallops all the way around the skirt. When adjusting the length of the strips, make sure you include a 1/2″ seam allowance. If you have any questions about this, feel free to leave a comment or send me an e-mail and I’ll do my best to help you.
Now we’re all ready to go:
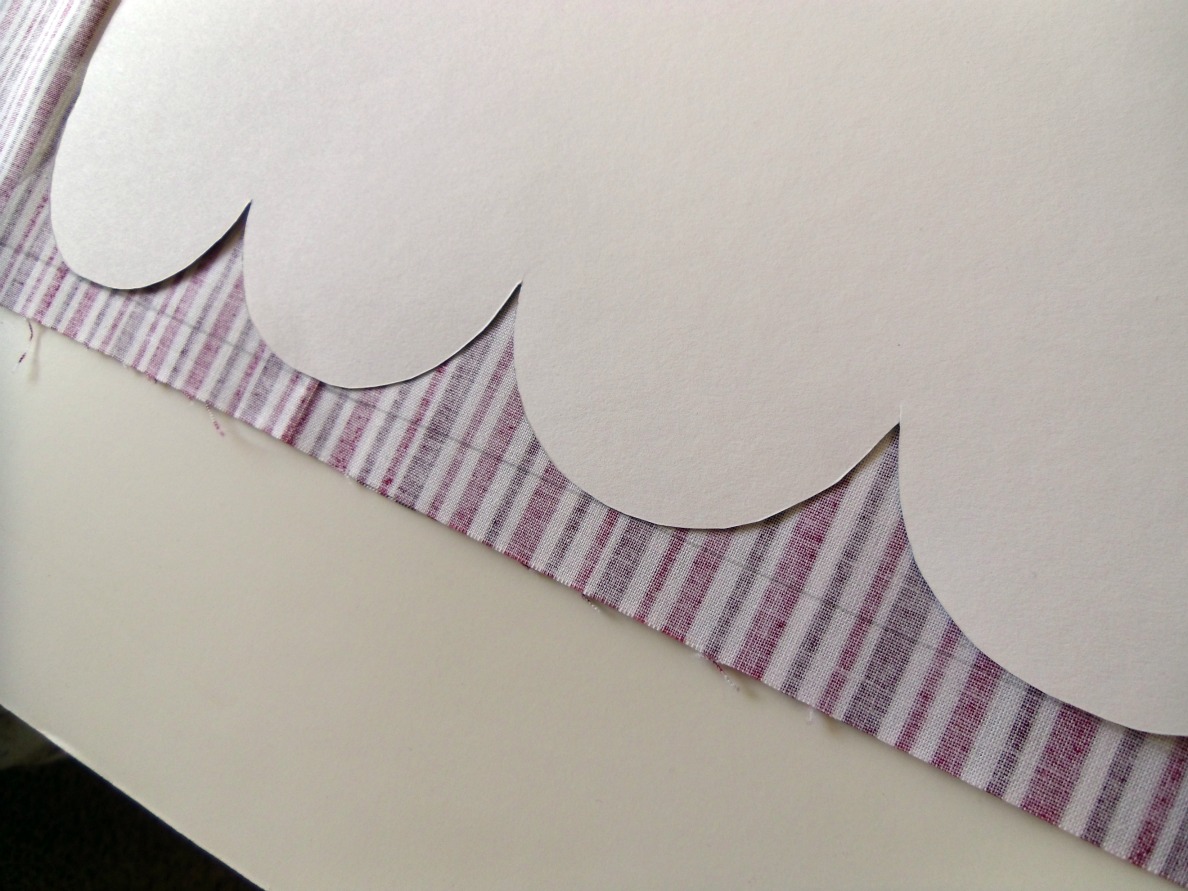
Take one of your underskirt pieces and draw a line 1/2″ from one long edge, and one short edge. Line up the scallop template with those two lines and trace.
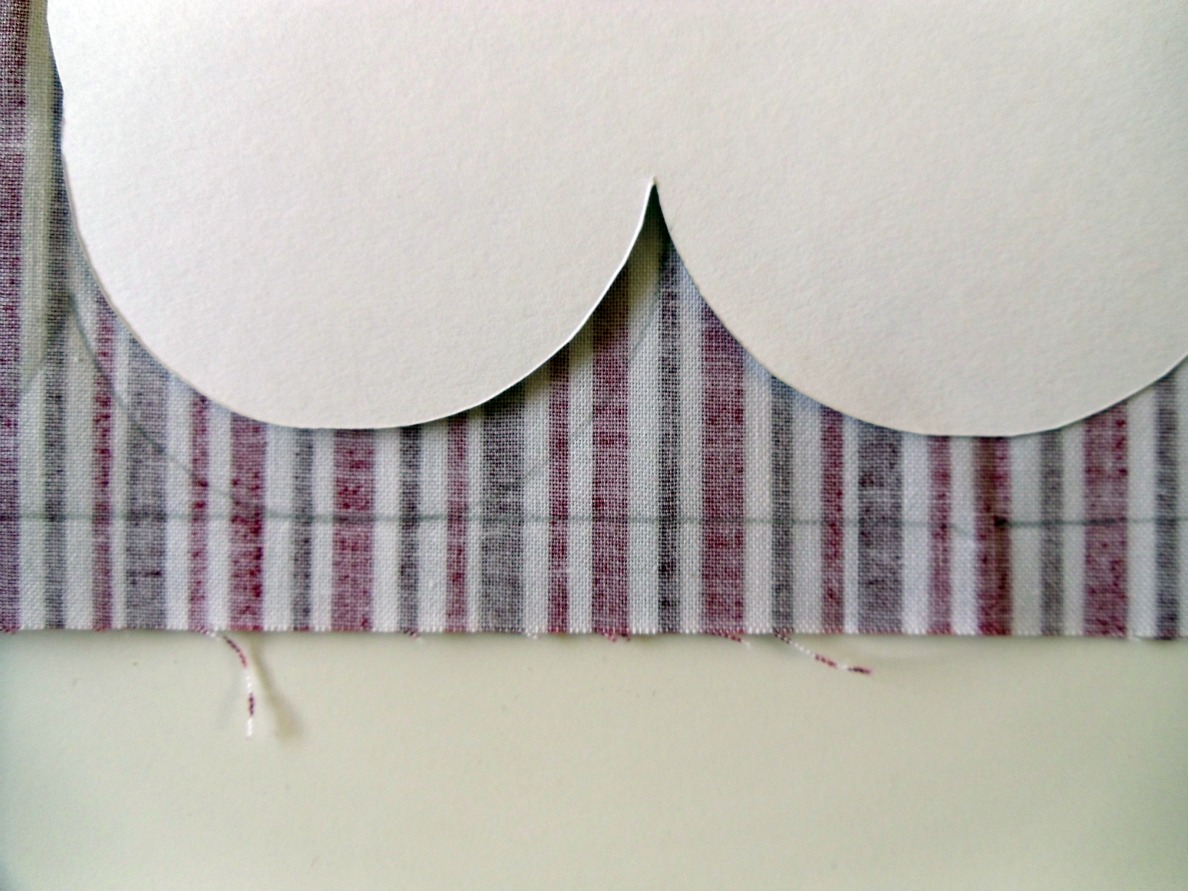
Move the template down the strip of fabric, lining up the first scallop of the template with the last traced scallop to make sure the spacing stays even. When you finish the strip there should be 1/2″ of fabric at the end.
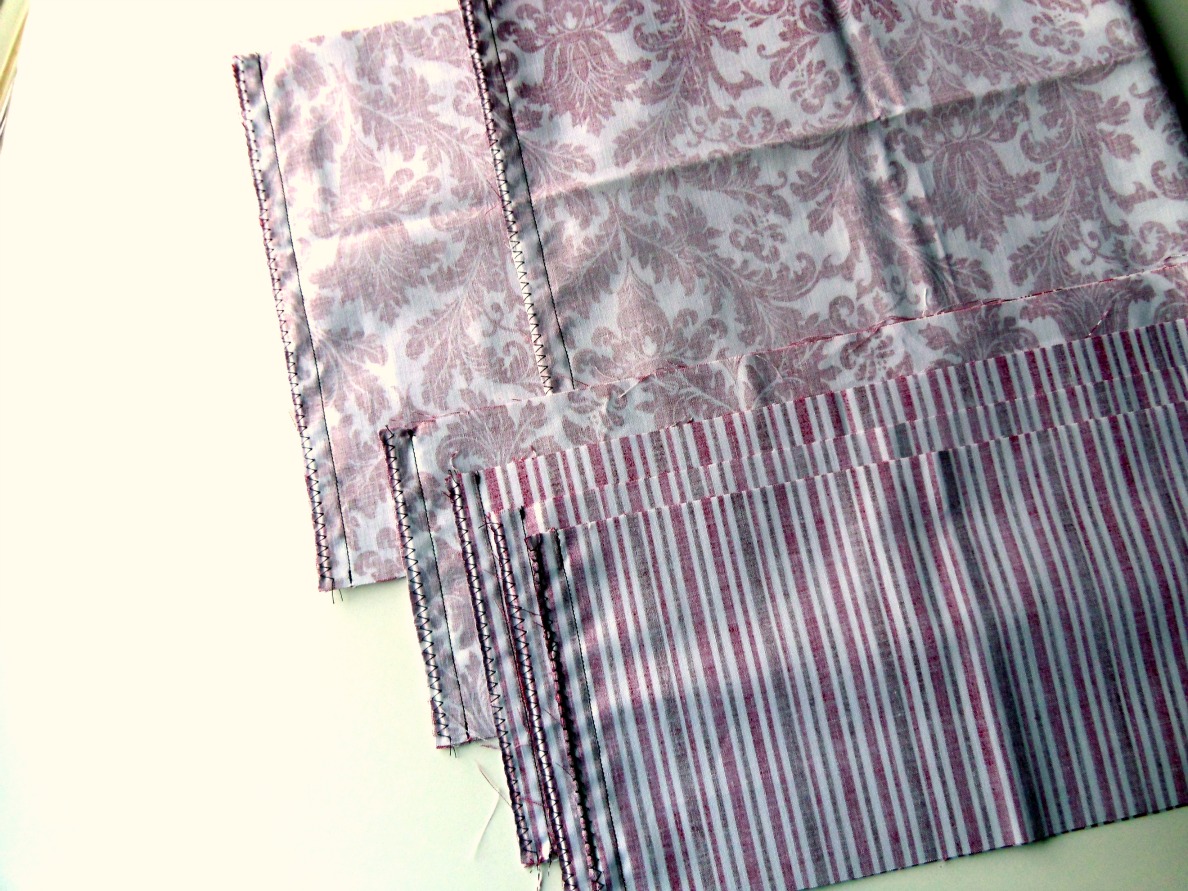
Take all four of your short strips of fabric and sew the short ends together to make loops. On the long overskirt pieces, sew both short sides (right sides together) to make one large loop. Sew over these seams with a zig zag stitch (or serge). Press the seams to the side. (if you have directional fabric you will want to alternate the direction of the seam on the underskirt pieces)

While we’re at the iron, let’s press our hems into place. For the waistband fold over the top edge (check the direction of your fabric if necessary) 1/2″ and press. Then fold over another 1″ and press.
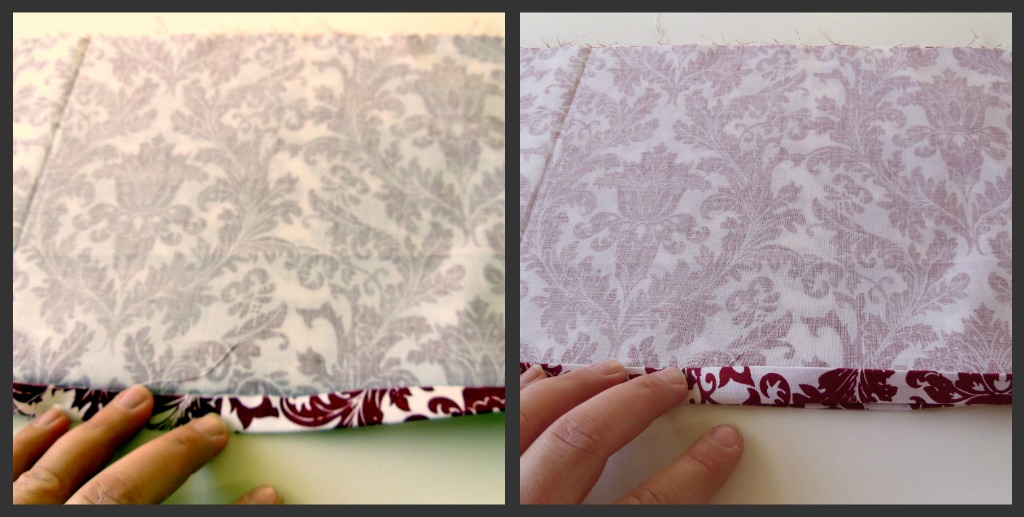
For the overskirt hem, fold the bottom of the fabric up 1/2″ (press) and then again another 1/2″. Press.
Now, back to the sewing machine:
Sew down the hems we have just created using a scant 1/2″ seam allowance for the skirt hem and a scant 1″ s.a. for the elastic casing- making sure on the casing to leave an opening to thread the elastic through. (approx 1″)
Ready to make scallops? Here we go:
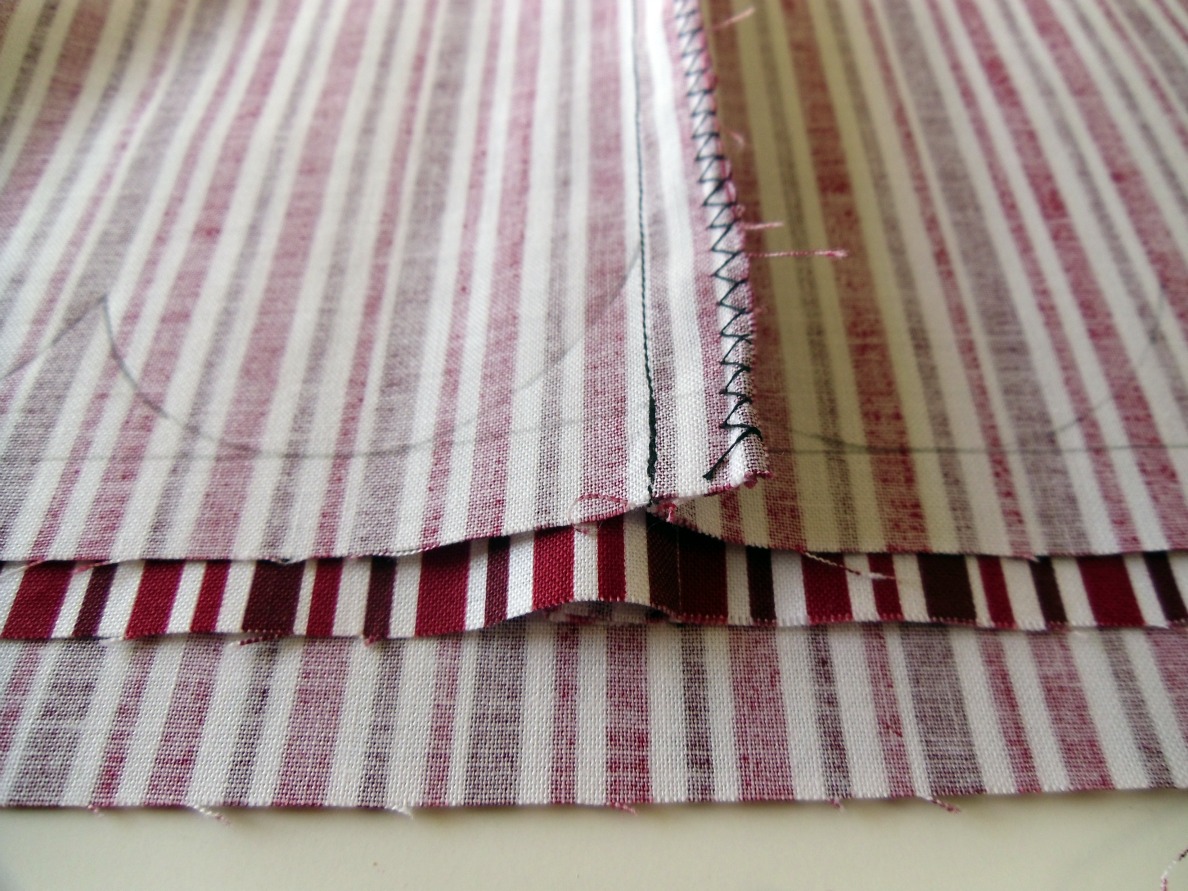
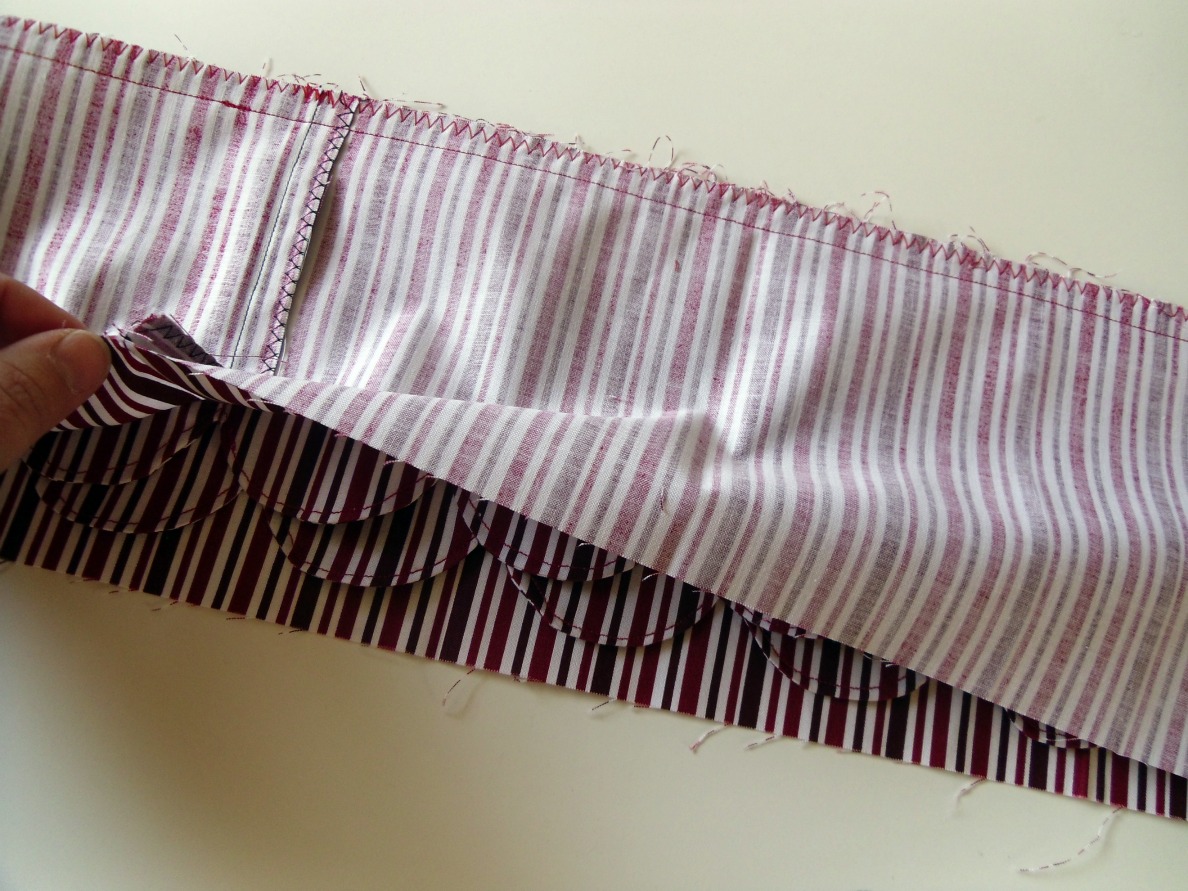
Take your piece with the scallop tracing and leave it wrong side out. Take another underskirt piece and turn it right side out. Slide the second loop inside the first loop, lining up the seams so they “nest” together as shown in the picture. Line up the edges of the two pieces and pin in place. (it is helpful to pin in the “ditches” of the scallops so the pins are not in the way when you go to sew along the traced line)
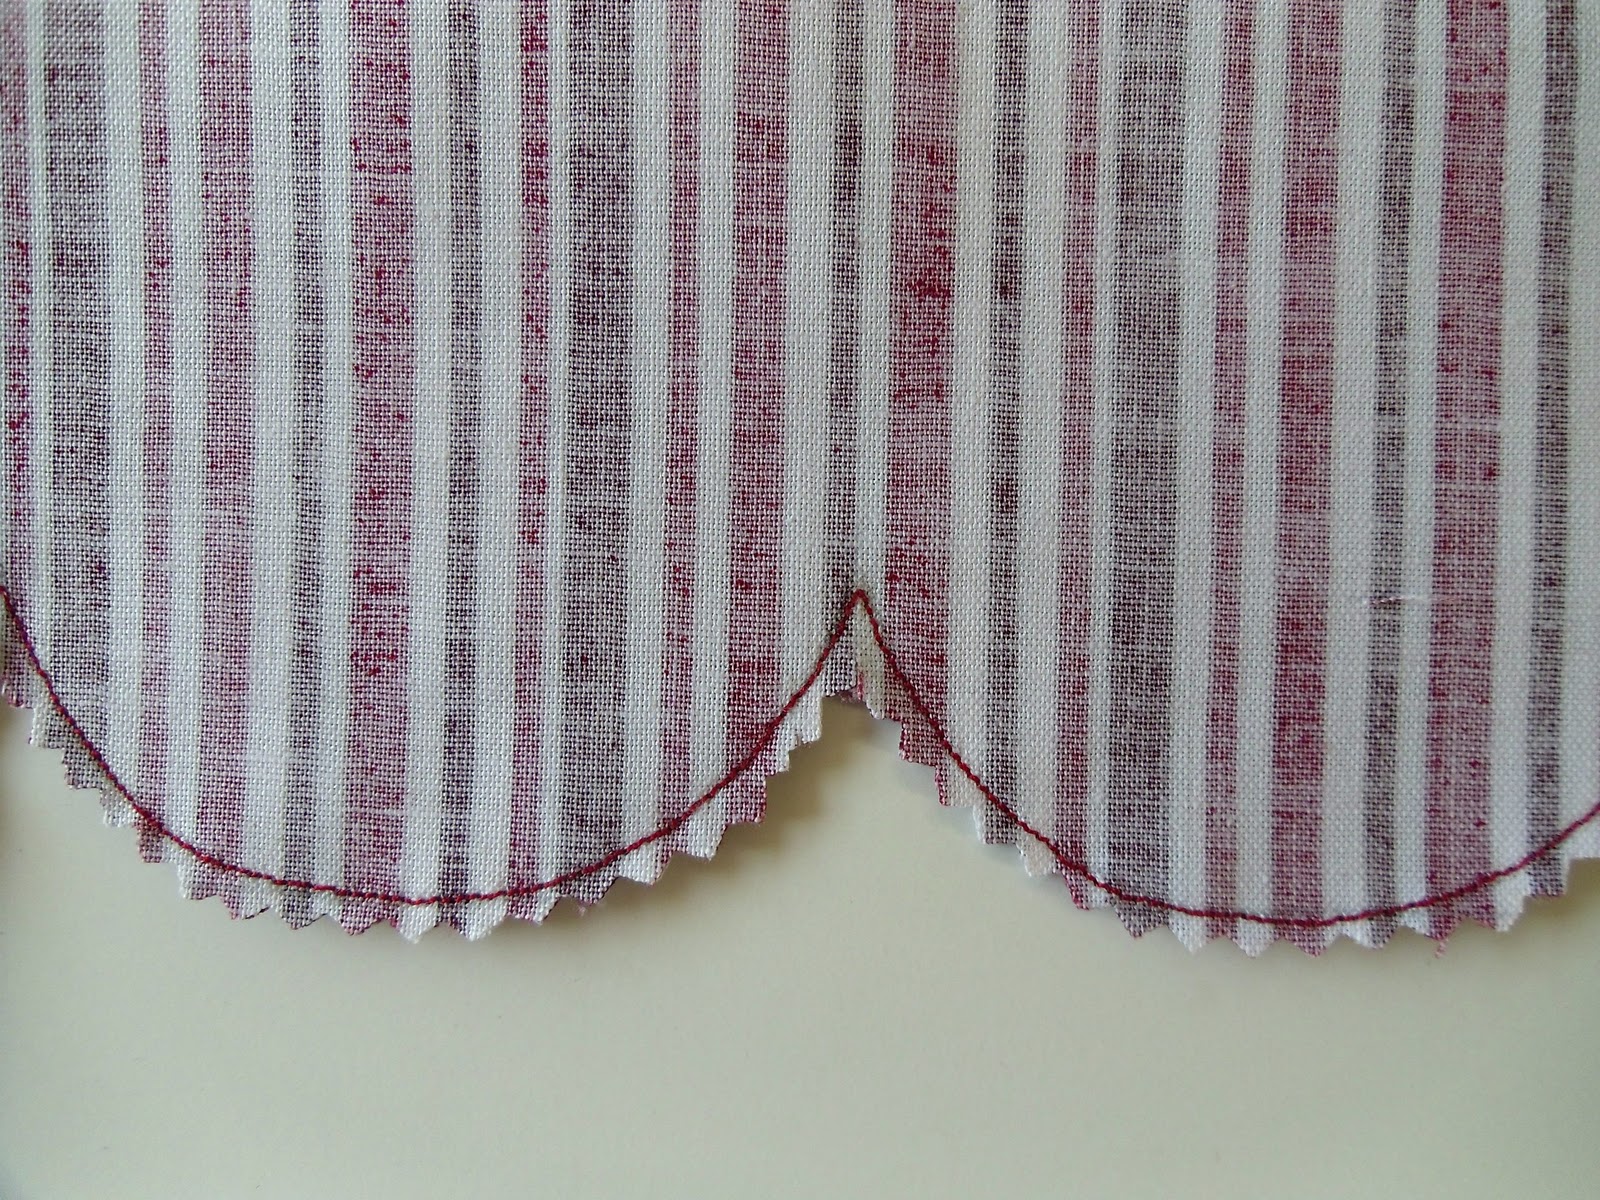
Shorten your stitch length to a fairly small stitch and sew along the scalloped line. Pivot at the “ditches”. Then cut out the bottom hem. I use pinking shears so I don’t have to cut the wedges into the curves, but if they aren’t available to you you can cut out the scallops leaving a 1/4″ seam and notch the curves so they lay flat.
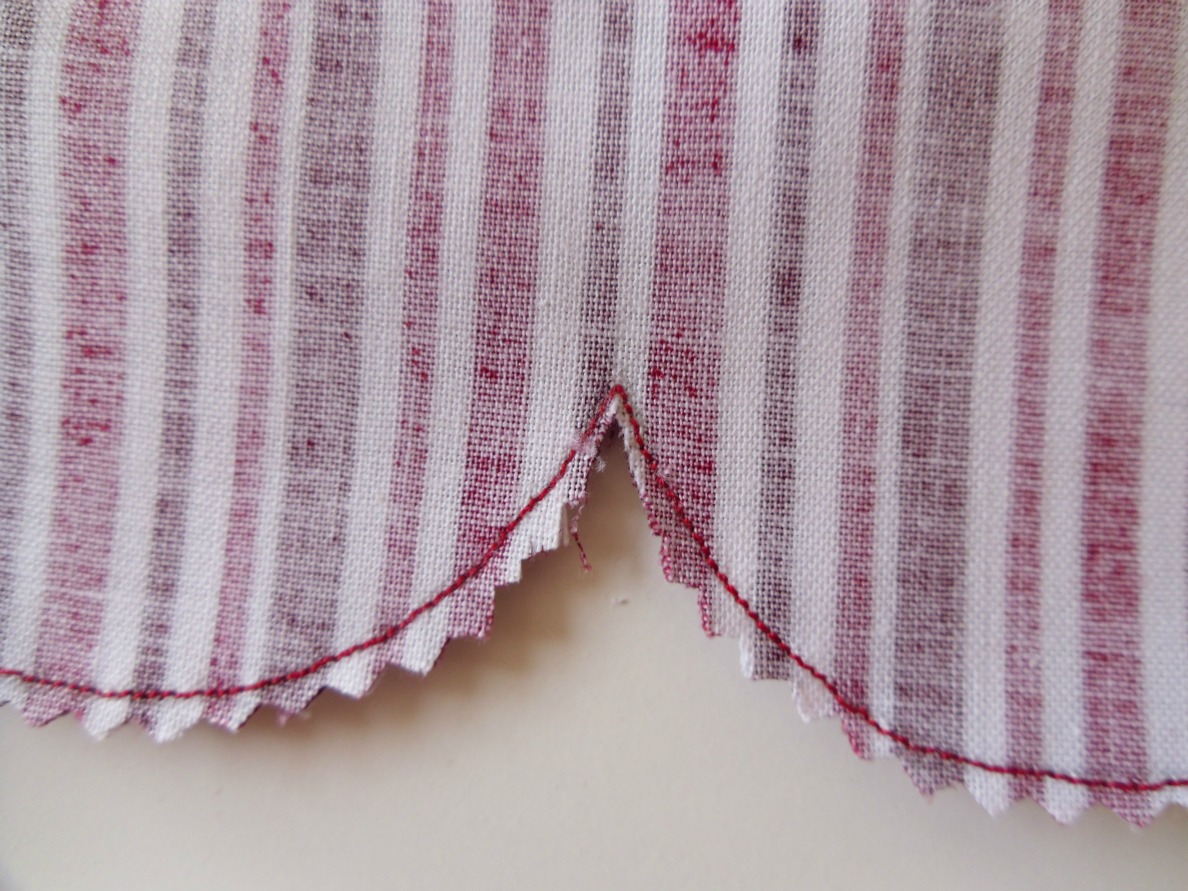
Next you will want to go into each of the ditches and notch them out as close as you can to the stitch line without actually cutting the threads. The closer you get, the better your scallops will lay flat so take your time.

Turn the scallops right side out. Don’t worry if they look like this at first, once you push out the seams they will even out. 🙂 Using a dull, slender tool (I use a blunt turning tool) slide along each of the scallop seams using your hand to pinch press the seams flat and even. I usually do this at the ironing board, flattening a few scallops at a time and pressing them down.
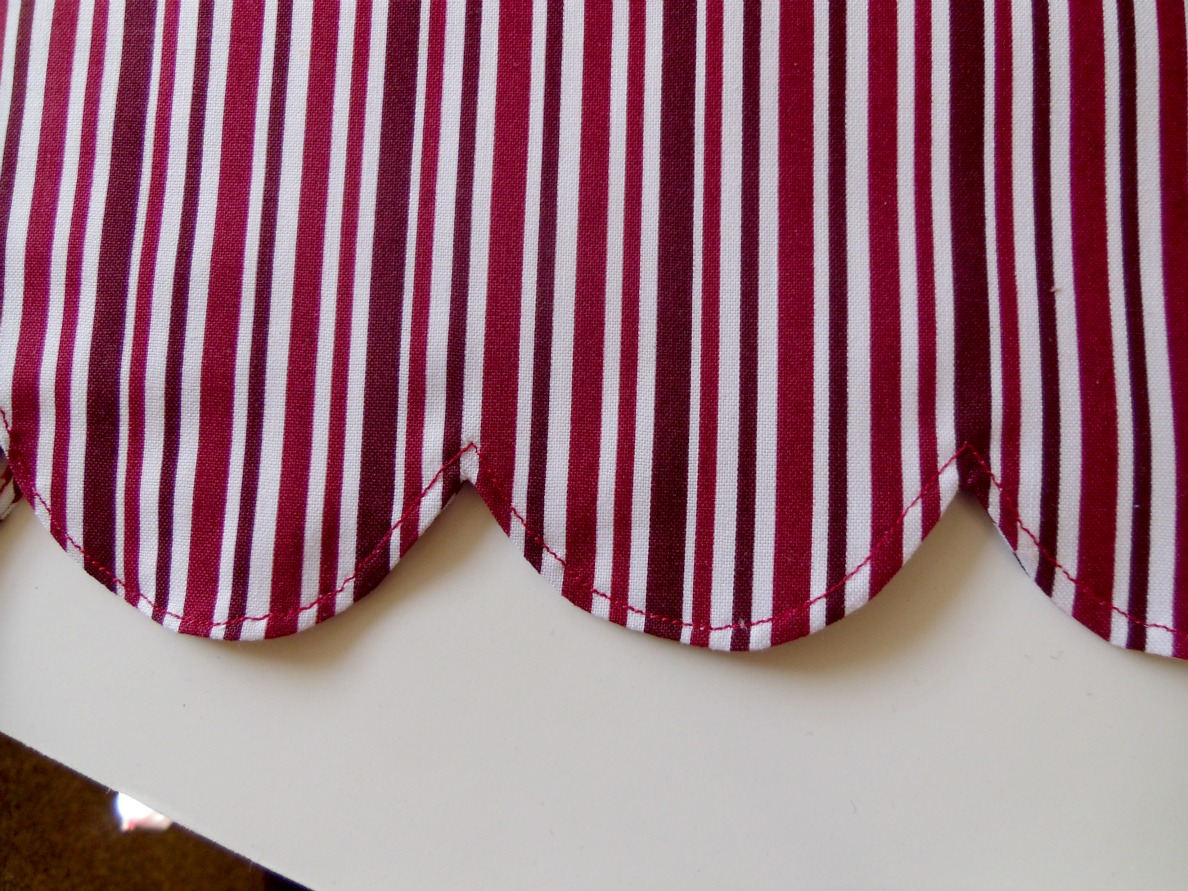
When you are done, topstitch the scallops to finish them off. We’re almost done now!
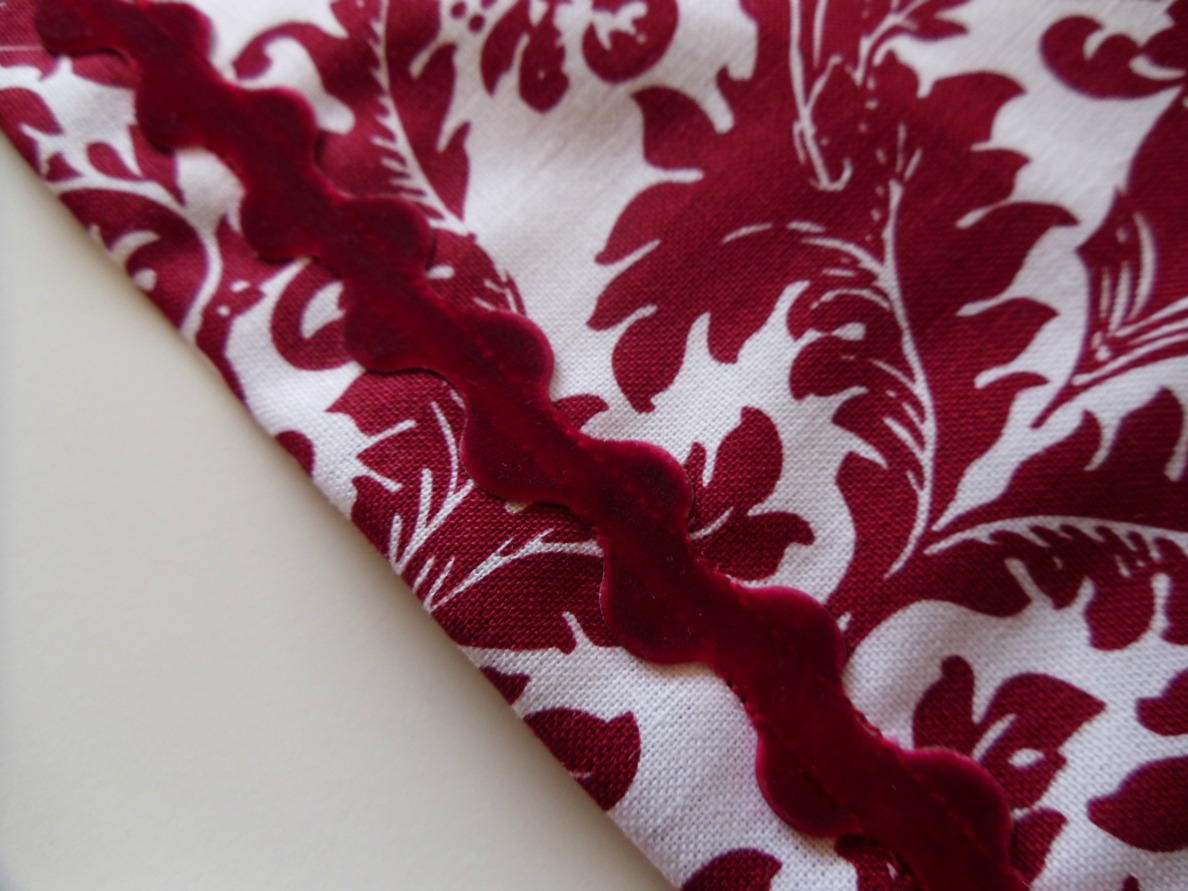
If you are embellishing your top skirt, now is a good time to do it. I wanted to cover my hem stitch line with the ric-rac so I did it at this stage, but you could also do it before you even sew the loops together in the first step. I ran two lines of stitching through the middle of the ric rac as close to the top of the valley as I could without sewing off the ric rac. You could also sew along the curves (I’m too lazy) or use some fabric glue (I’ve never used it so I have no promises to make 🙂 ), or skip ric rac altogether. 🙂
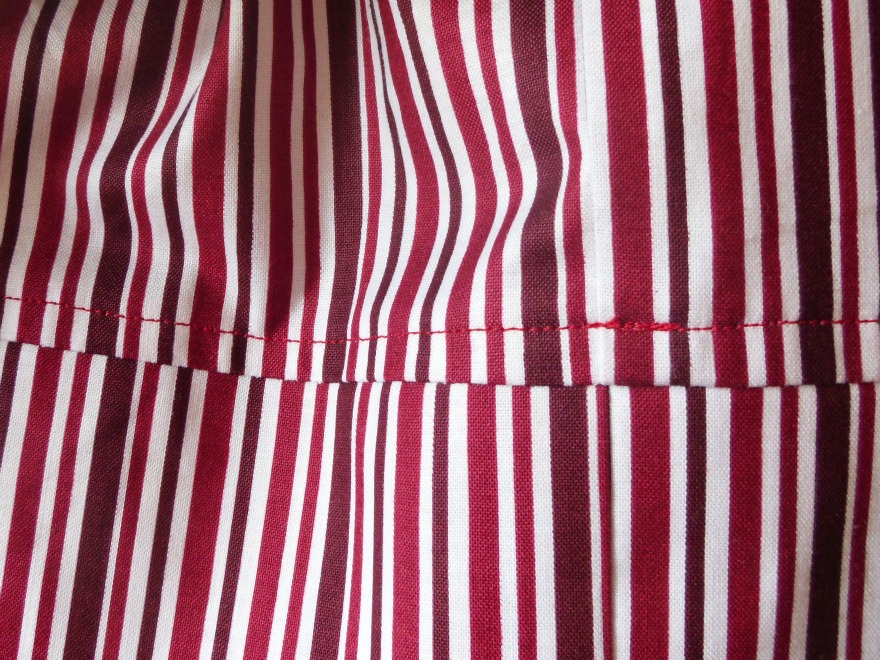
Let’s make a skirt! Take your scalloped piece and slide inside your final underskirt loop matching the side seams. Line up the top edges, pin in place and sew using a 1/2″ s.a. Zig zag the seam. Press the seam up toward the single layer and topstitch in place.
Now you should have three loops: The waistband, the over skirt and the under skirt.
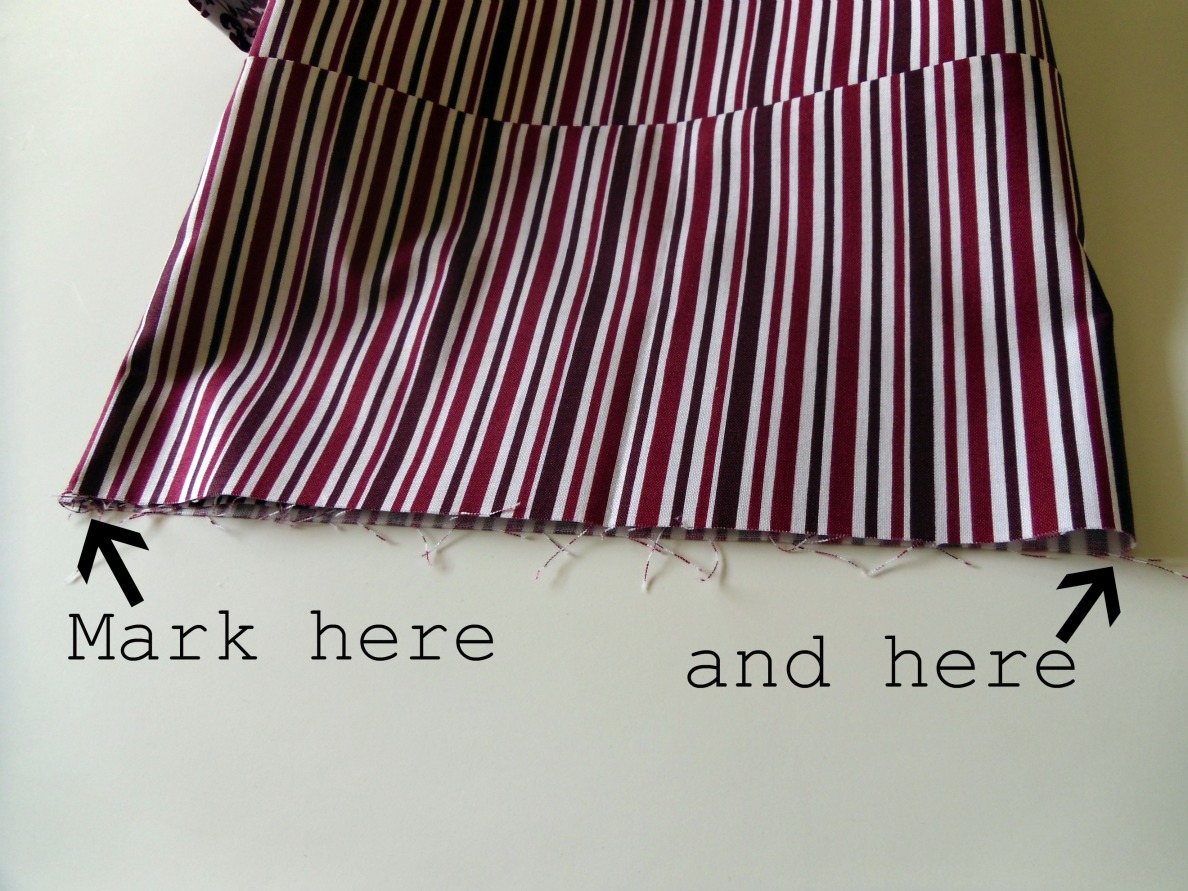
Take each loop and fold it in half, lining up the side seams. Mark each of the folds with a disappearing ink pen or chalk. (at each of the sides there should be two layers of fabric for a total of 4 marked points- make sense?) This will help with lining up our gathers. Make sure you mark all three loops. Now take the two skirt pieces (over and under) and run a gathering stitch along the top, unfinished edge. (So very sorry about the lack of pics for this part- I always get a little over-excited to finish) If you need some visual instruction I have the same steps in another tutorial I did on my blog. Take the waistband piece and turn it right side out. Line up the bottom unfinished edge with the top of the over skirt (right sides together) matching up the four marks (making sure the seams line up), gathering as needed to fit them together. Pin. Now slide the underskirt over the over skirt (right side of underskirt will be facing the wrong side of the over skirt. Repeat matching up marks and gathering. I re-use the pins so there aren’t a million of them in the seam. Sew down using a 1/2″ s.a. Zig zag the seam.
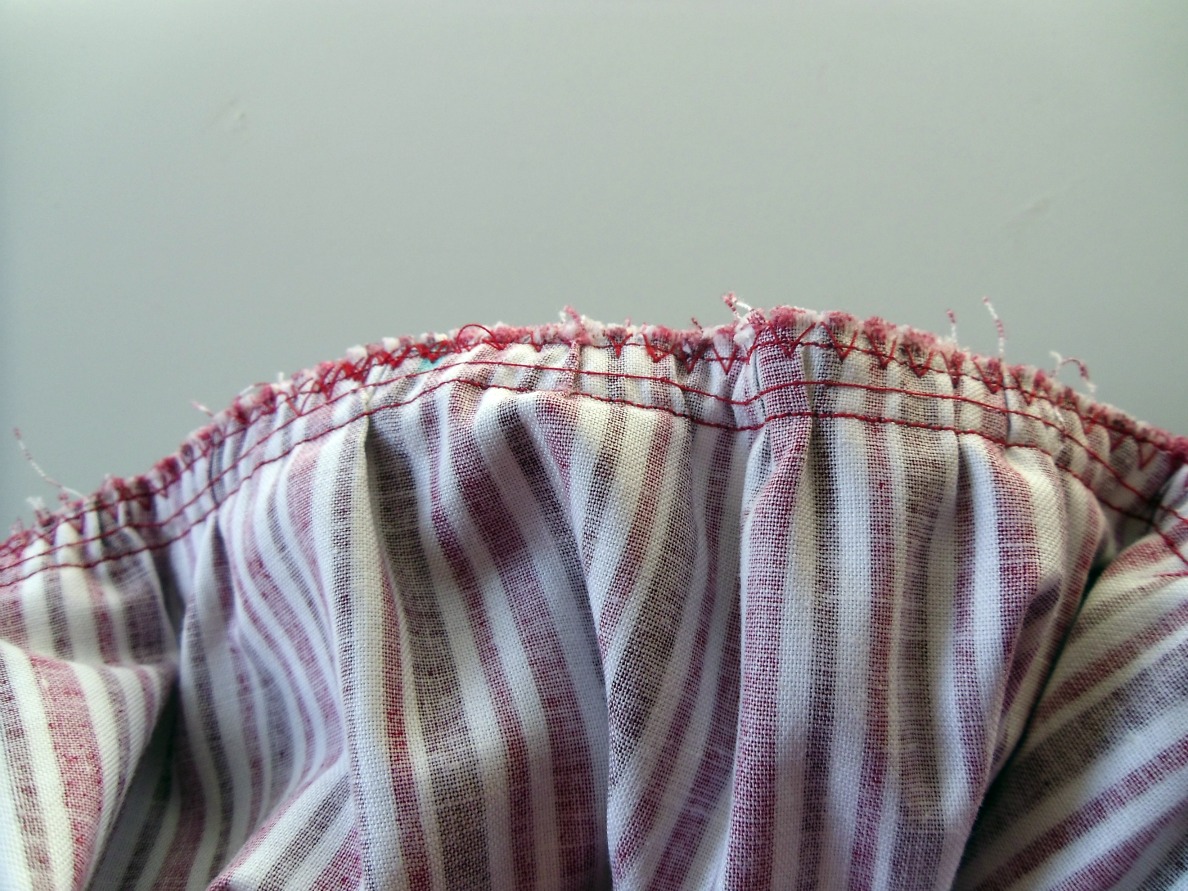
Now you will press the seam allowance toward the waistband and topstitch it down. The last step is threading the elastic in the casing, stitching the ends together and closing up the opening.
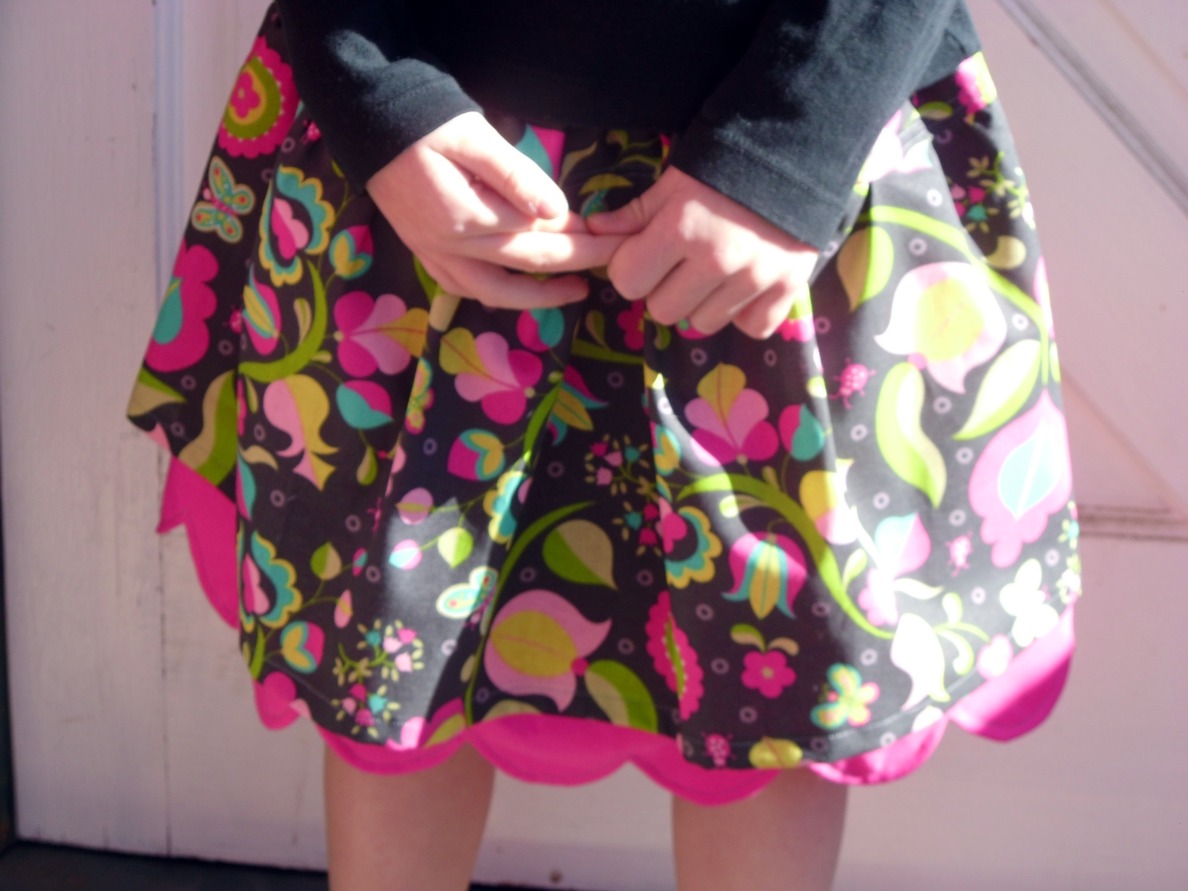
And here’s another version I did for my cute niece. 🙂 Enjoy your new skirt! And as always, if you have any questions, please leave a comment or send me an e-mail and I will fix the tutorial. 🙂
I appreciate Riley Blake Designs for the opportunity to contribute to the Cutting Corners College and also for the AMAZING goodies in my giveaway! If you are looking for some awesome fabric, click over to see what’s available. 🙂
XOXO,
Amy
Linked up to EBCE link party at Every Creative Endeavor, I’m lovin’ it at Tidy Mom, Weekend Wrap up Party at Tatertots and Jello


Kara
February 17, 2012 at 3:13 pmOh my gosh, so adorable Amy!
Lorene (just Lu)
February 17, 2012 at 8:39 pmAmy, this is so cute! I'm glad I have a little girl now for an excuse to make cute skirts like this 🙂
Anonymous
February 17, 2012 at 9:25 pmVery cute, Amy!!
Jacki O.
February 18, 2012 at 2:24 amThis is an adorable skirt!
Lindsi B
February 19, 2012 at 3:57 pmOh that is quite honestly the most adorable skirt! Where did you find the ric rack that is velvet??? I'd love to have you share this with our readers for our Fun Stuff Fridays link up! http://www.toysinthedryer.com/2012/02/fun-stuff-fridays-11.html
Gwen @ Gwenny Penny
February 19, 2012 at 10:07 pmAdorable, Amy. I love the ric rac… perfect addition. Great tute!