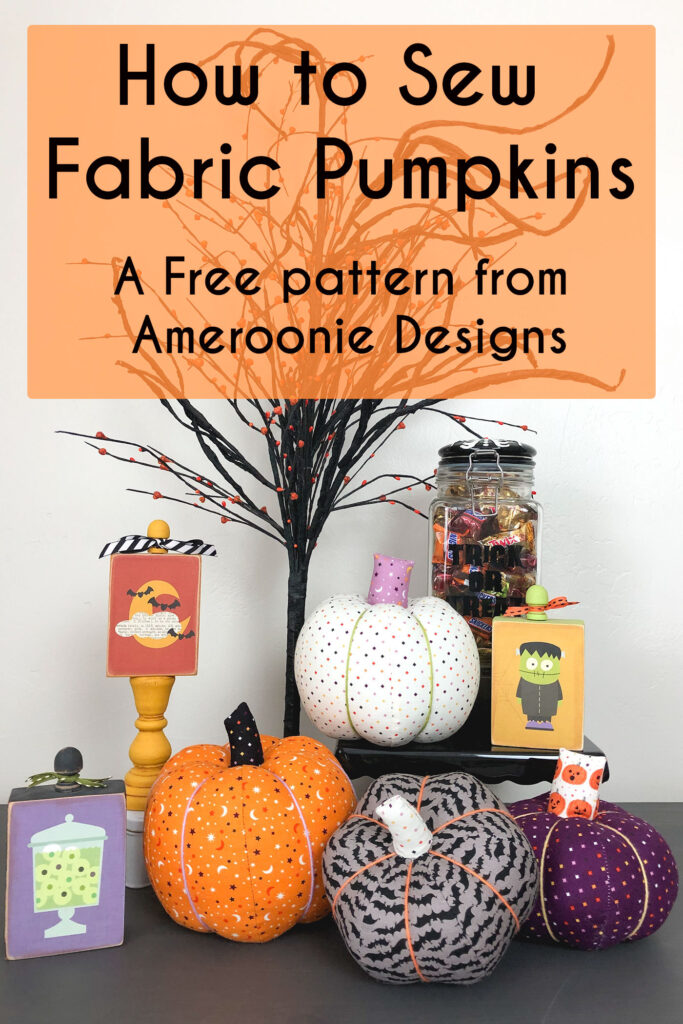
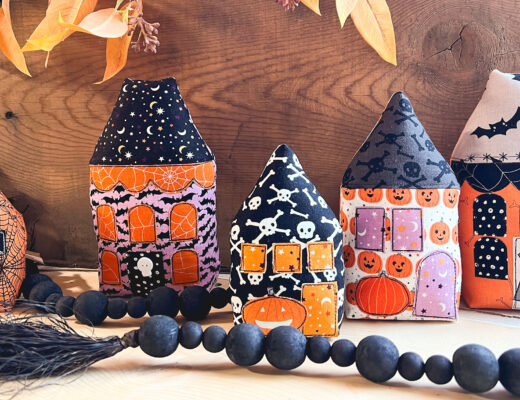
Fabric pumpkins are such fun way to add a bit of whimsy to your decorations. Whether you are making them for Halloween, or just for fall, these quick to sew pumpkins are an easy way to highlight your favorite fabric, or just add some color and texture to your home.
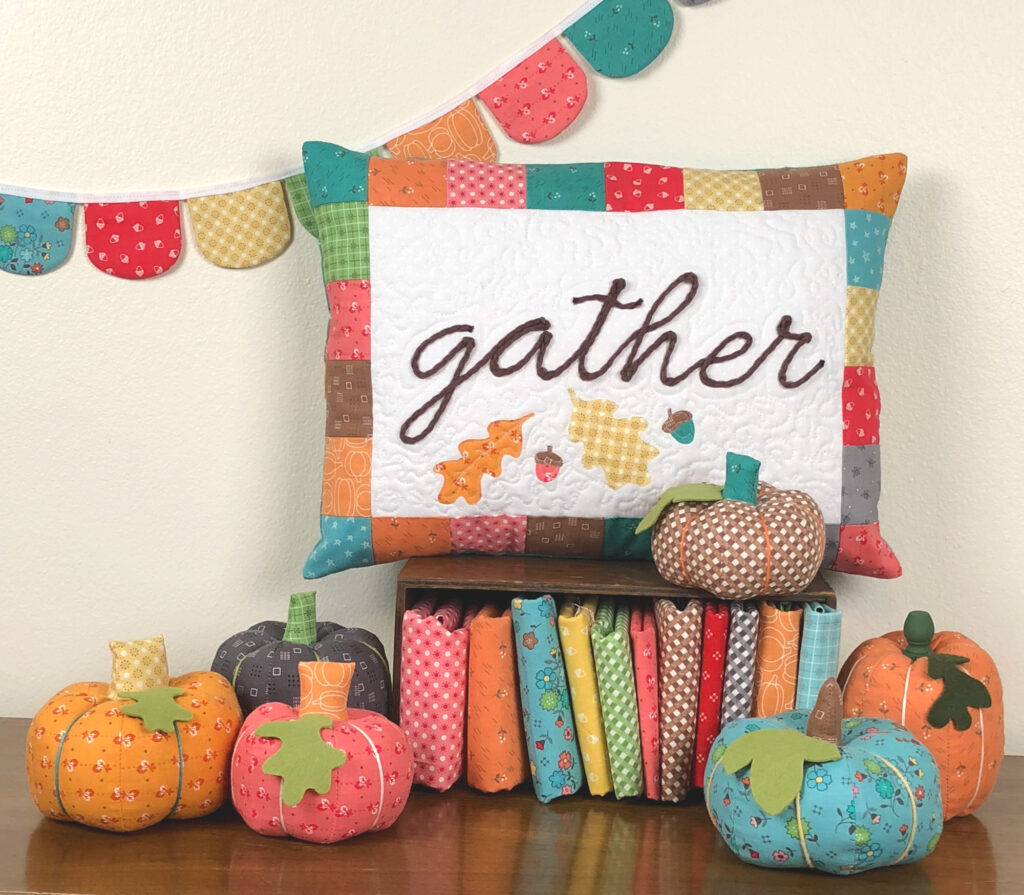
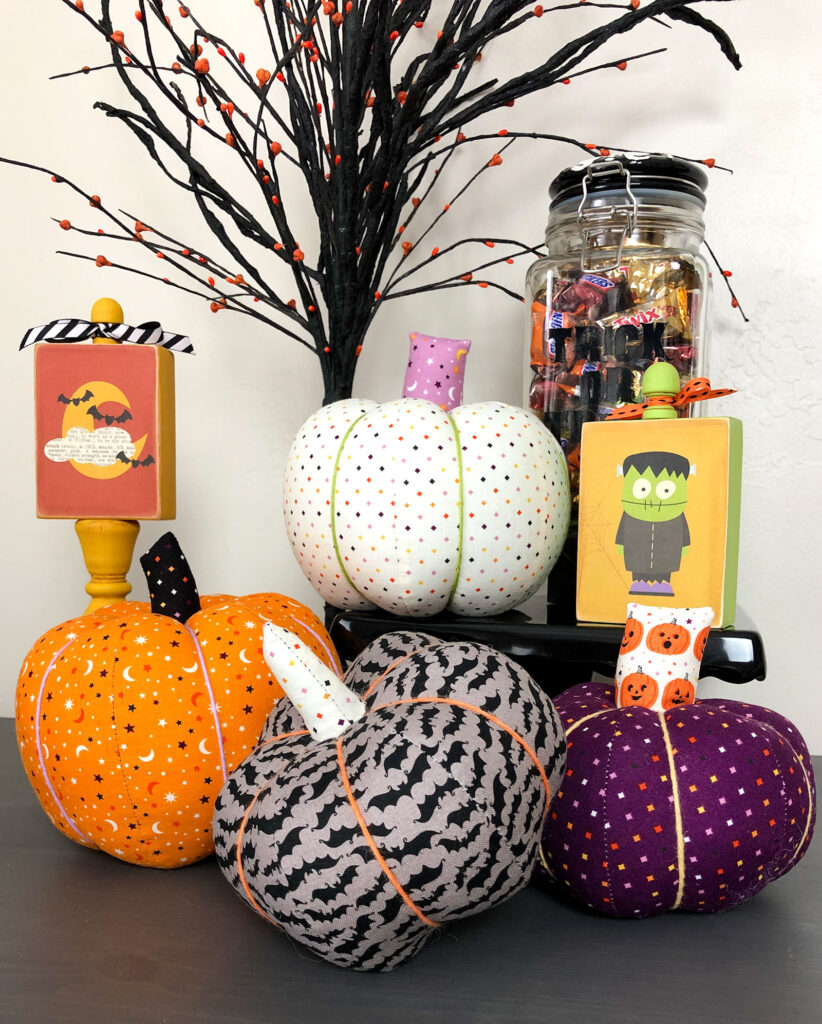
I first showed you these pumpkins in this post from last year using the Cricut Maker. I’m so excited to share that I now have a printable pattern you can purchase and use to make FIVE different sizes of pumpkins with two different stem options. (The tutorial for the Gather Pillow can be found on the ThermO Web blog here.)
If you are a more visual learner, I have a full video tutorial on my YouTube channel as well.
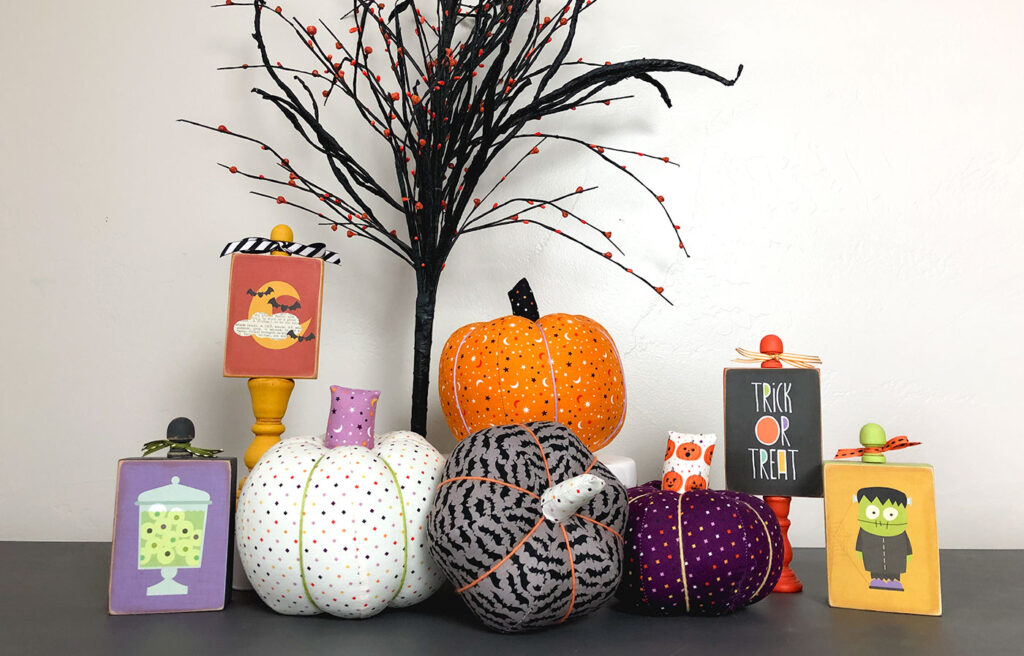
Don’t they look so cute in this fab-BOO-lous fabric by Riley Blake Designs?
How to Sew a Fabric Pumpkin Tutorial
Supplies:
- Fabric- you will need 1/4 yard for a medium pumpkin (will make 2) or 1/3 yard for a large (will just make 1 large with fabric left over) OR a fat quarter. Plus scraps for the stems.
- Fabric Pumpkin Pattern
- Fiber fil or stuffing
- Yarn or twine for tufting the pumpkin, with large doll making or tufting needle.
- Sewing supplies- sewing machine, needle and thread.
Making the Fabric Pumpkins:
All seam allowances are 1/4″. Please be sure to read through all directions before beginning.
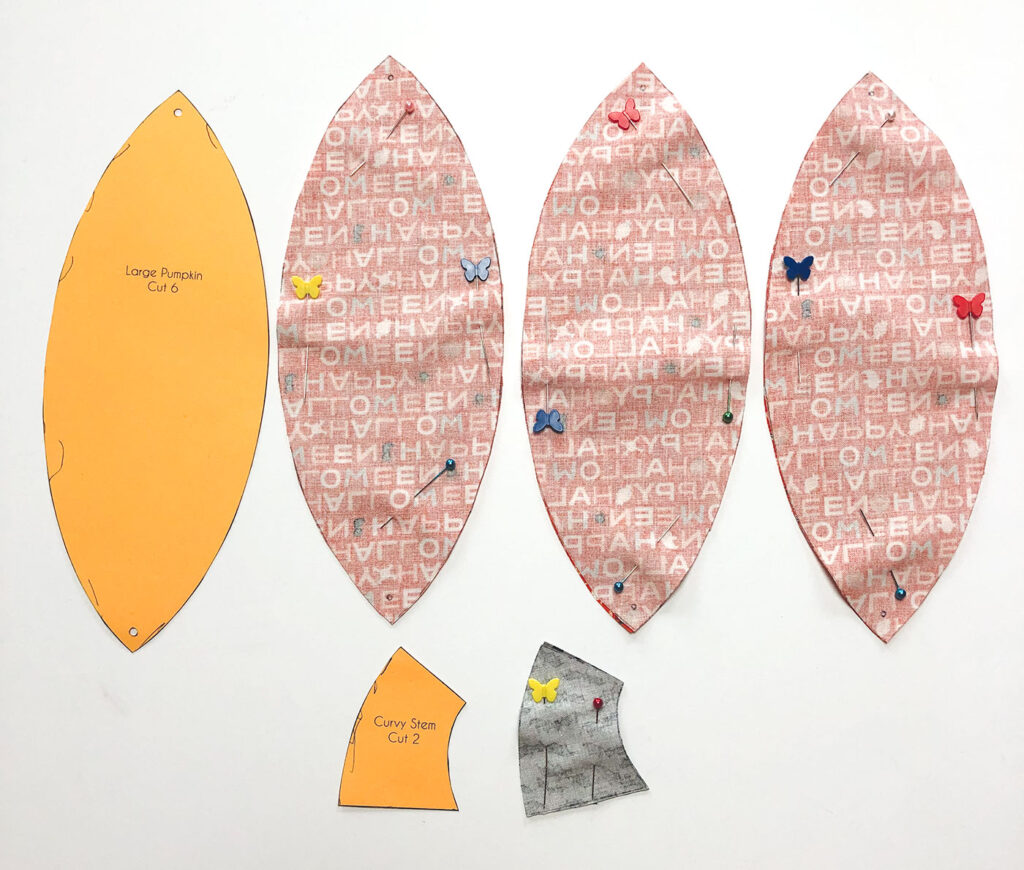
Print off your pattern onto paper or cardstock. I prefer to use cardstock so I can re-use my pattern pieces. Trace your pattern onto the wrong side of your fabric. Cut out as many layers as you feel comfortable with. I usually just cut out two layers at a time- so I trace and cut 3 double layers of the pumpkin pieces and one double layer of the stem. Be sure to mark the dots at both ends of your pumpkin pieces so you know where to start and stop sewing.
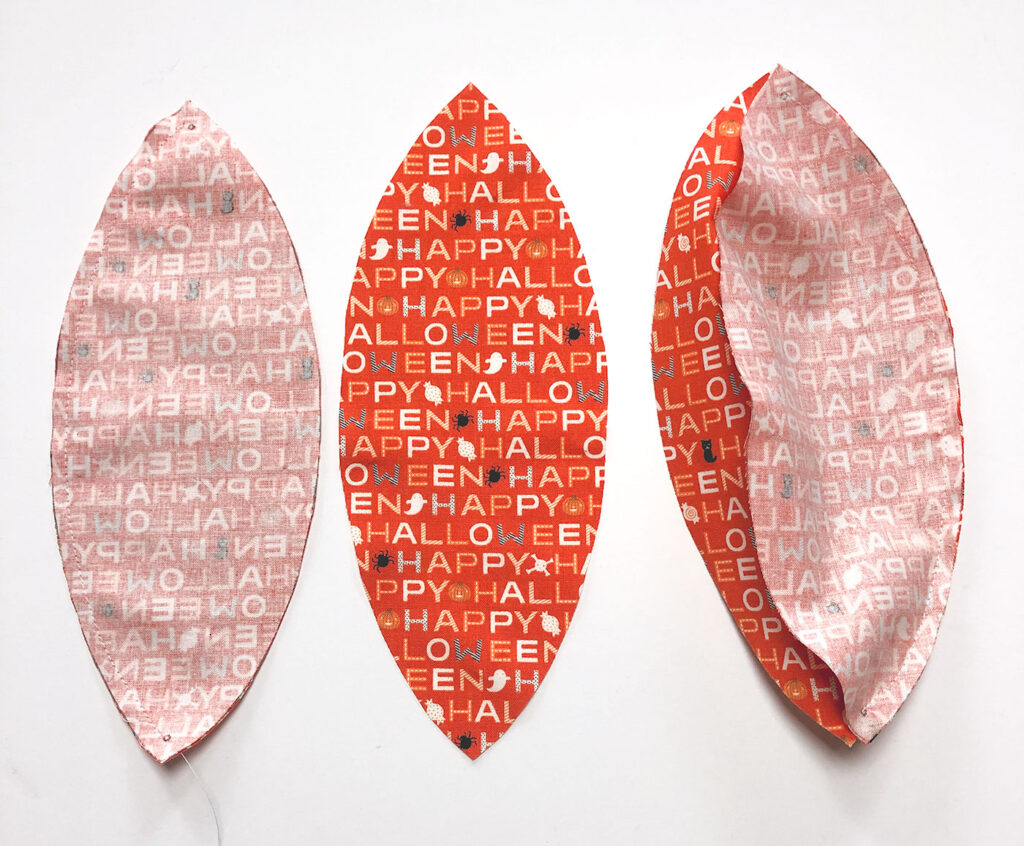
- Take two sets of pumpkin pieces and sew along one side of each set. Start and stop at the marked dots, back stitching as you begin and end each seam.
- Add a third pumpkin piece to each set, lining up the points of the piece and pinning well.
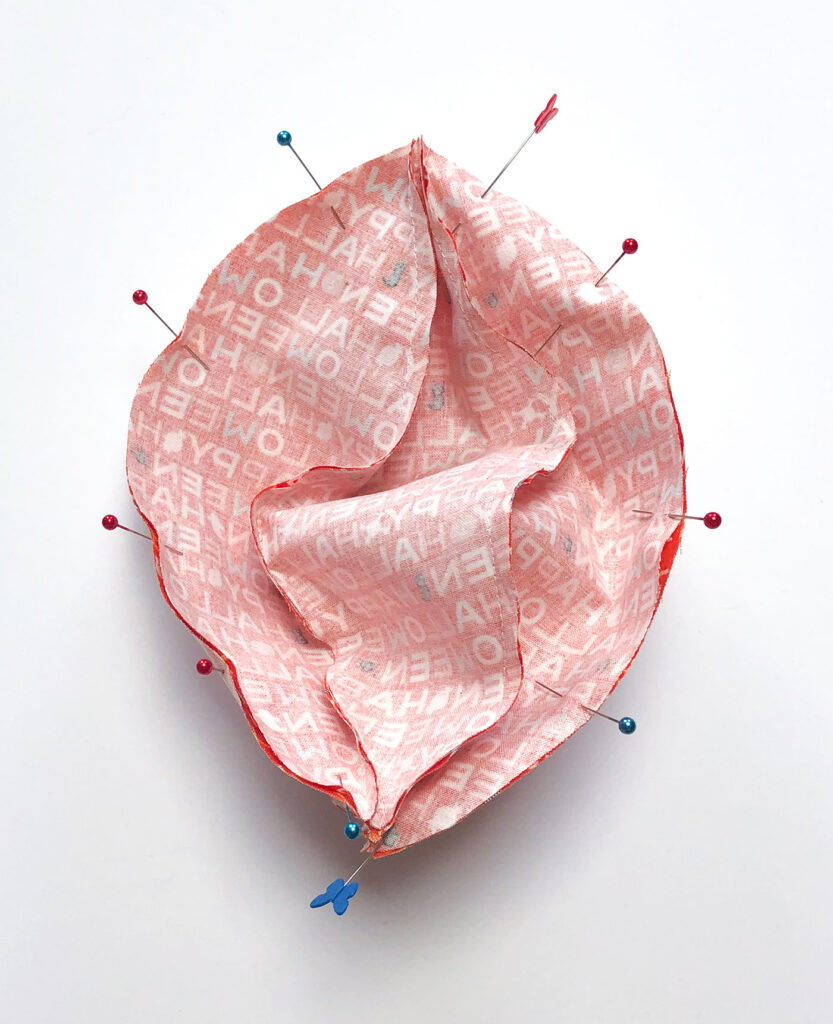
Take the two halves of your fabric pumpkin and line them up together. Again match up points on your panels an pin well. Sew one side at a time. On the final side, leave a 1 1/2″ to 2″ opening for turning and stuffing your pumpkin.
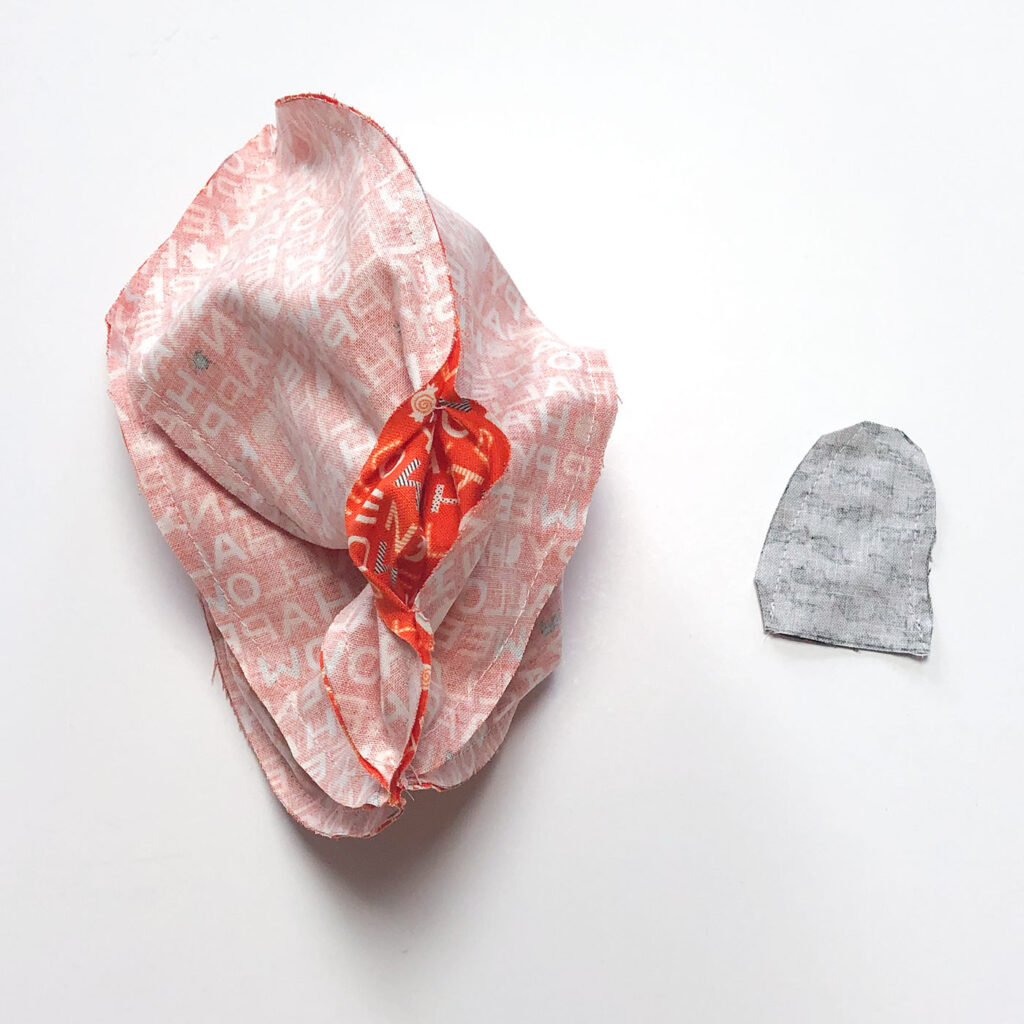
Sew your two stem pieces together and then clip all your corners. Turn both the pumpkin and stem right sides out.
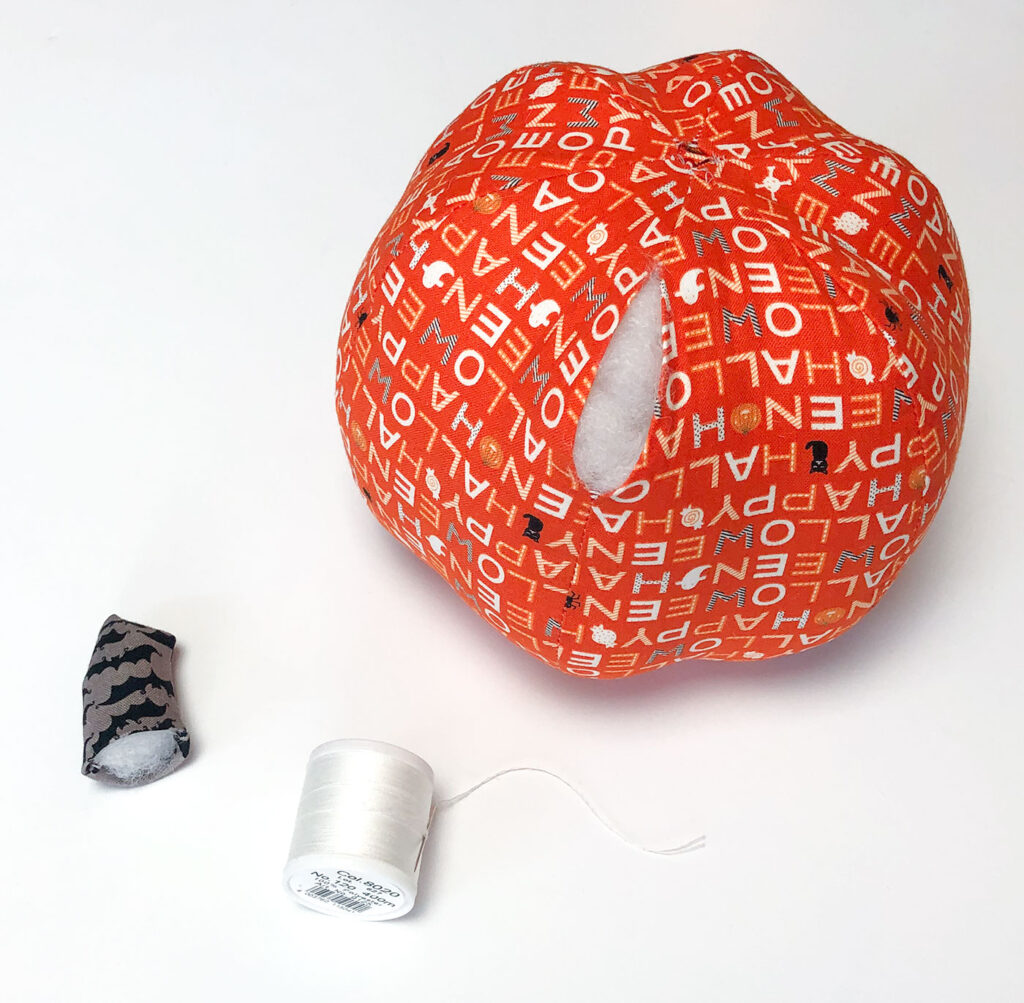
Stuff your pumpkin firmly with fiber fil. Next, use a needle and thread to sew the opening in your pumpkin shut. Before stuffing the stem, turn under the bottom edge under a scant 1/4″ to give you a hem for attaching to the pumpkin.
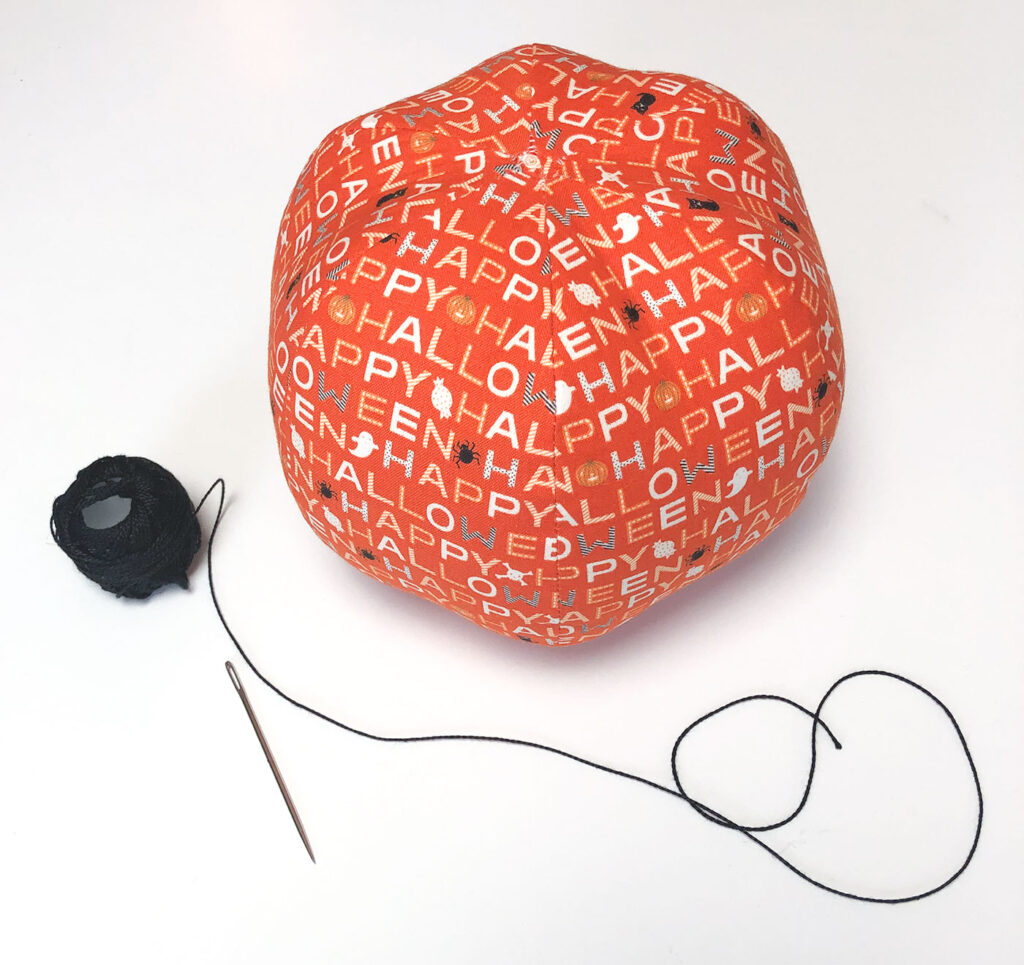
Take your large needle and your yarn or twine and tuft your pumpkin. If you want more definition in your pumpkin segments, pull your yarn tighter to create a more tufted look. Tie off your yarn and bury your thread in the pumpkin.
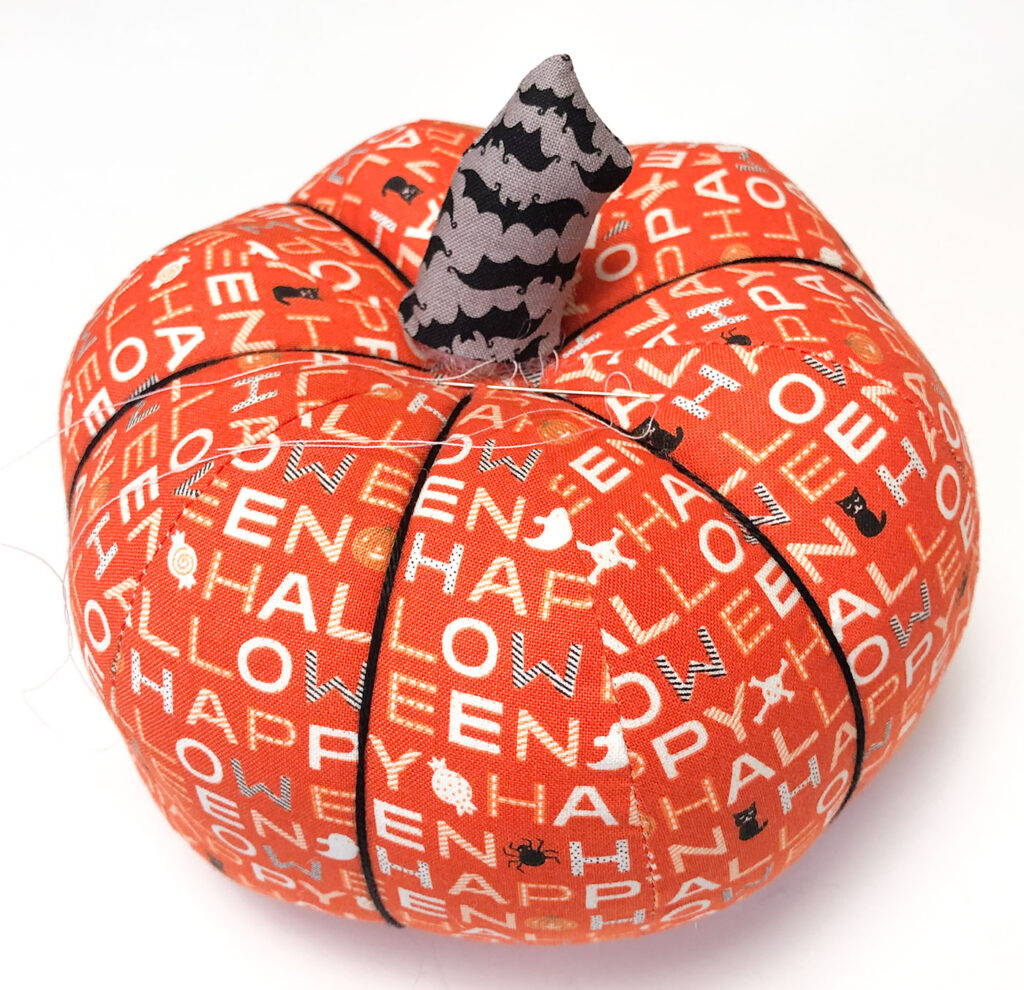
Finally, take your small needle and thread and attach your stem to your pumpkin. In the picture, I left the stitches loose so you can see how I sew it on. Add a few stitches at a time and then pull them taut.
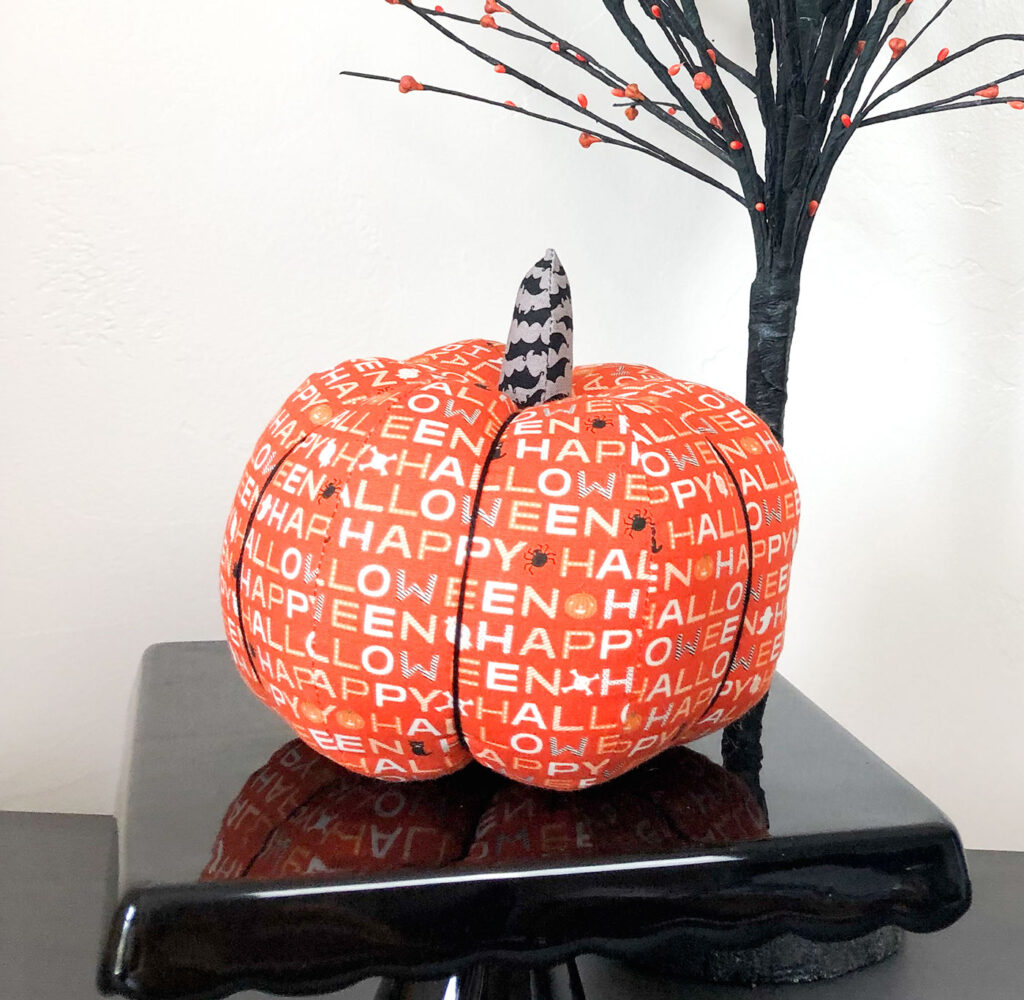
Your Fabric Pumpkin is done!
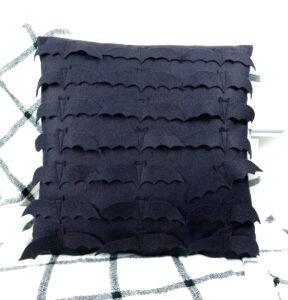
Wanting to add even more to your seasonal décor? I have a darling Batty Felt Pillow that is super fun to sew!
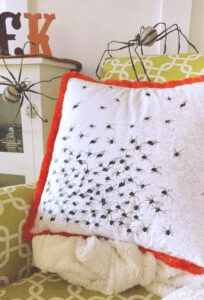
Or this Spider Swarm Pillow if you’re looking for something a bit more creepy!
What are you sewing up this season? xoxo, Amy


Fabric Jack O Lantern with Cricut Easy Press Mini | amerooniedesigns.com
October 7, 2019 at 2:08 pm[…] You can find the tutorial for the Fabric Pumpkins in this blog post Here. […]
How to Sew Simple Fabric Treat Bags | amerooniedesigns.com
October 17, 2019 at 9:25 pm[…] Fabric Pumpkins are a fun project to […]
Fall Leaf Applique Mini Quilt - Therm O Web
October 31, 2019 at 7:01 am[…] you would like to make matching fabric pumpkins, you can find the free pattern on my blog. They are super fun to […]