This is a sponsored conversation written by me on behalf of Cricut. The opinions and text are all mine. This post also contains affiliate links which may provide a small amount of compensation for me if purchases are made through them at no additional cost to you.
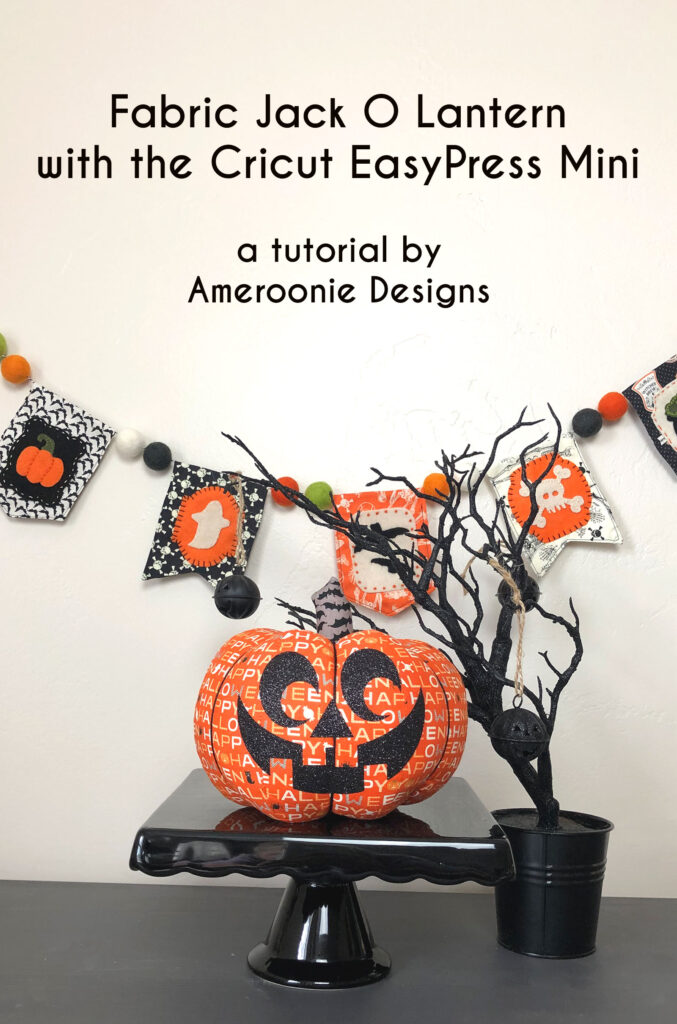
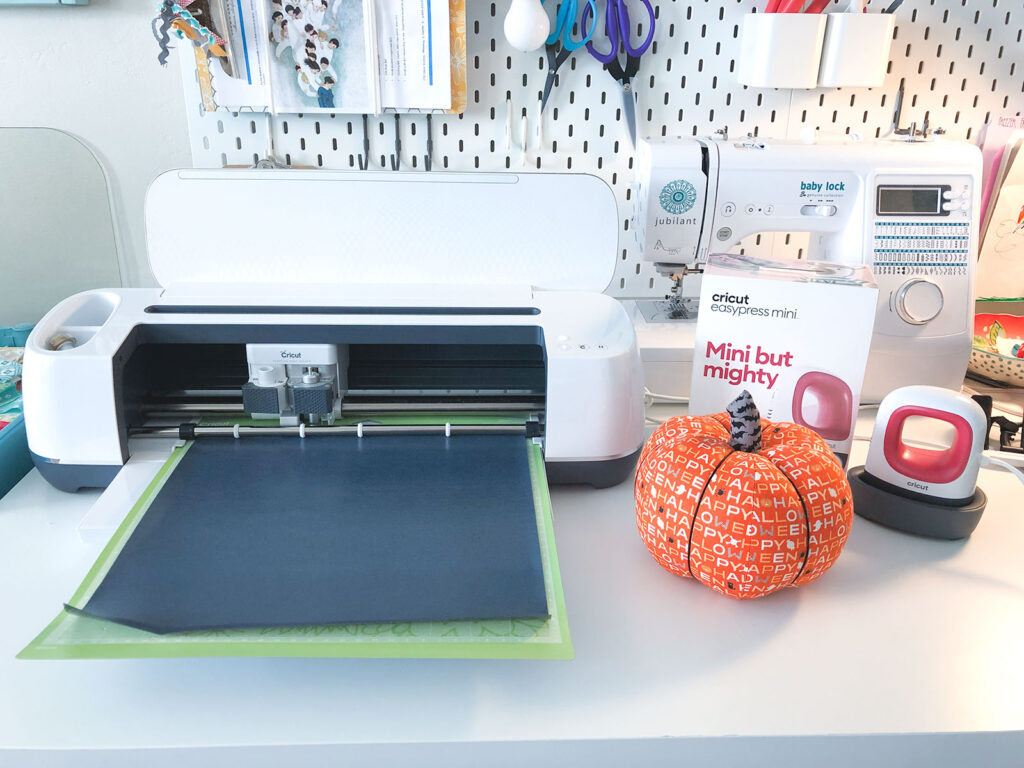
I had the opportunity to try out the new Cricut EasyPress Mini. Its super small size makes it a great companion to any other EasyPress you may own. The powerful heat plate, which utilizes the same technology as the larger EasyPress creates a uniform solid heating surface. Because it is so easy to use, this little tool just might become your new craft room hero. I decided to use mine to turn the fabric pumpkins I made into Fabric Jack O Lanterns.
You can find the tutorial for the Fabric Pumpkins in this blog post Here.
Make a Fabric Jack O Lantern
Supplies:
- Fabric Pumpkin
- Glitter Iron On in Black
- Cricut EasyPress Mini
- Cricut Cutting Machine- I am using my Maker
Create Fabric Jack O Lantern face
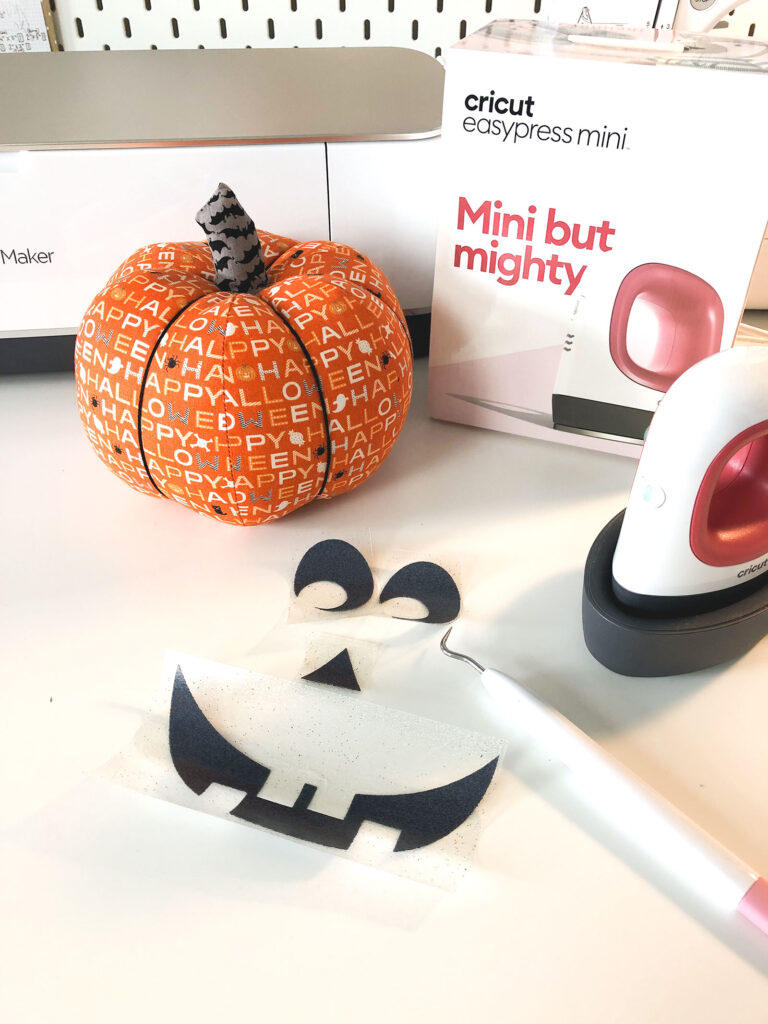
You can find the Cricut file for the Jack O Lantern face I made here. Or you can make your own using simple shapes and the Slice/ Weld functions in Design Space.
Once you have your face pieces cut out, weed away the excess glitter vinyl. Pre heat your EasyPress Mini to prepare to adhere the glitter Iron On to your fabric pumpkin.
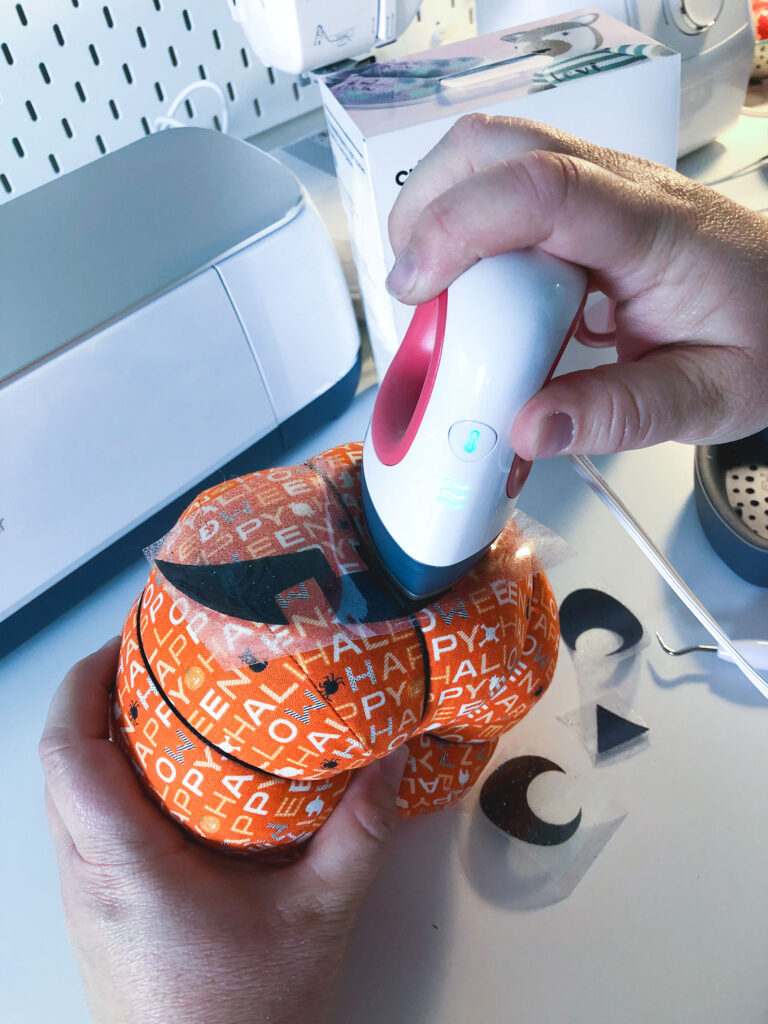
One section at a time, use your Cricut EasyPress Mini to adhere the glitter iron on to the fabric pumpkin. TIP** I find that it’s best to heat one section and then use a solid surface or tool to hold the iron on in place as it cools to ensure it bonds well to the surface. Once the bonded surface is mostly cool, peel away the protective lining. The EasyPress Mini is perfect for getting your pieces into the crease between the sections of the pumpkin.

Once you have the mouth fused in place, lift up a section of the protective cover and place the next face piece in place. Return the protective cover to the mouth piece to ensure you don’t melt or burn the glitter iron on while adhering the additional face pieces.
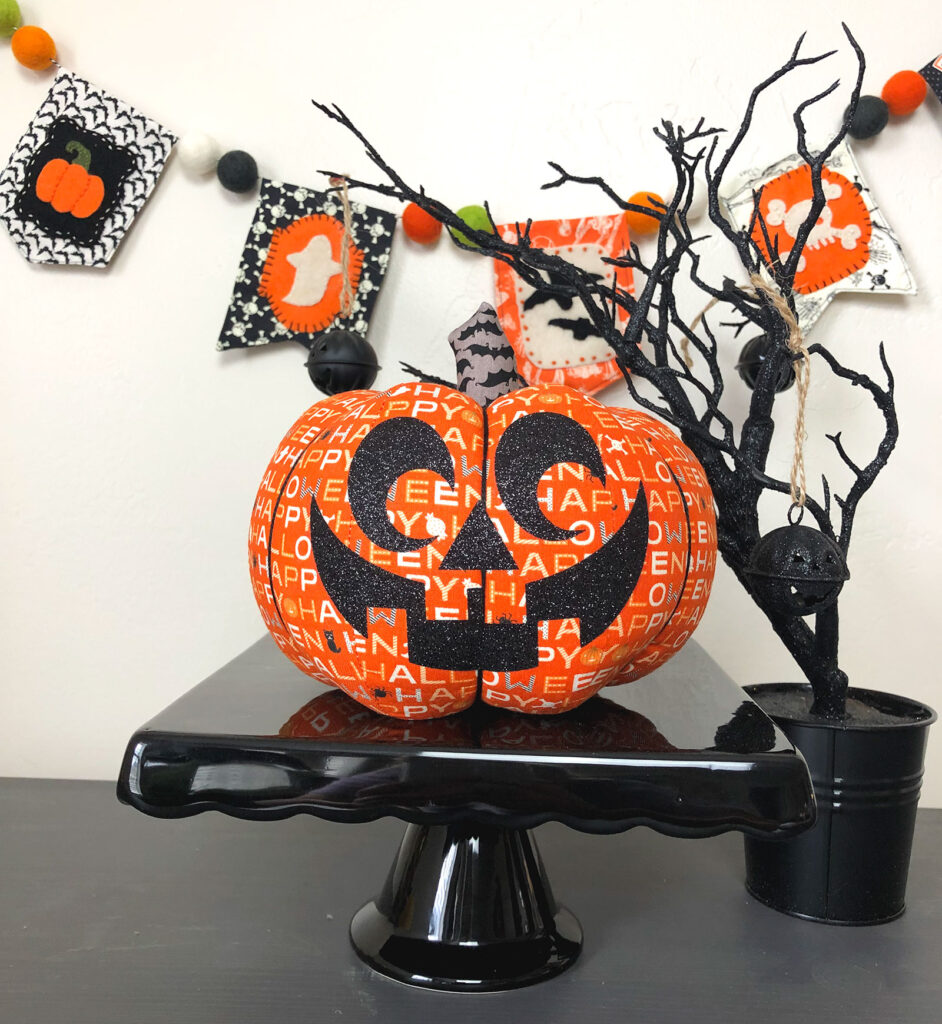
Once all the face pieces have been fused and allowed to cool slightly remove the protective linings. Now, enjoy your darling Fabric Jack O Lantern!
I had a lot of fun using my Cricut EasyPress Mini and I’m looking forward to trying it out in my sewing projects as a convenient addition to my sewing set up. What new and unusual projects are you looking forward to making with your EasyPress Mini?
My Spider Swarm Pillow is another fun project to make using your larger scale EasyPress 2.
Another fun Cricut project is this Word Art using cereal boxes and scrapbook paper.
Happy Halloween Crafting friends! XOXO, Amy