
The fabric for this post was provided by Riley Blake Designs, the project and opinions are my own.
I absolutely loved this fabric and the message the ladies from Simple Simon and Company incorporated into it. They dedicated this line to their daughters and wanted them to know what they hope for and think of the sweet girls in their lives. I want my girls to know that I think the same things about them, so I knew I wanted to make something they would see and use often. I decided on a tote bag that they could use to hold their coloring supplies, or even use for library books if they want. It’s a simple bag, made a bit more fun with the addition of a pleated ruffle on the front.

I made two totes for a couple of my daughters, so in the tutorial I will be alternating between them.

This pattern is fat quarter friendly. You will need one for the exterior and one for the lining. If you want to add additional interest or colors, you will want a few more fabrics.
- from lining fabric cut 2- 11″ X 13″ rectangles
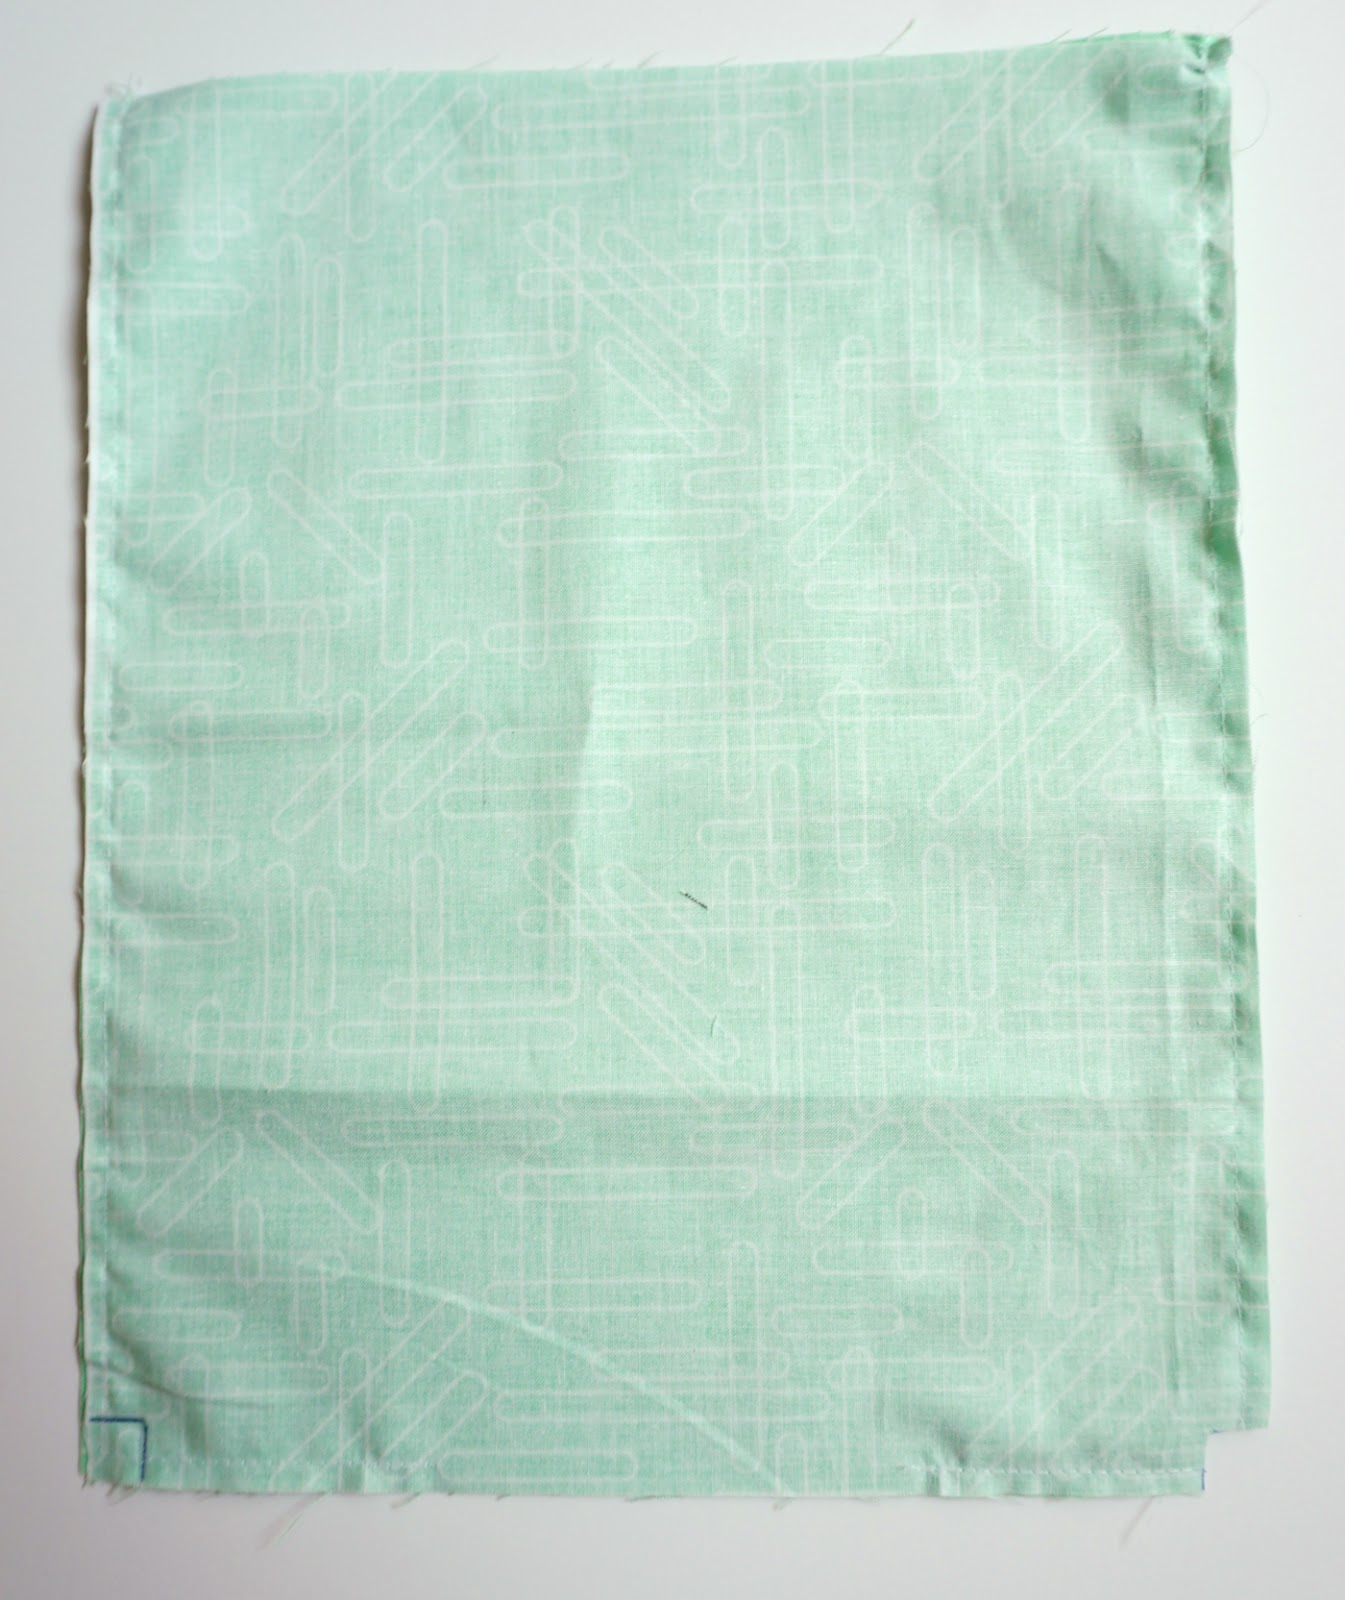
- from exterior fabric cut 1- 11″ X 13″ rectangle
- from exterior fabric cut 1- 3″ X 11″ rectangle
- from exterior fabric cut 1- 10 1/2″ X 11″ rectangle
- cut one 3 1/2″ X 20″ strip for ruffle
- cut one 4″ X WOF strip for handles (if using Fat Quarters, cut 2 4″X 21″ strips)
- Cut 2- 3 1/2″ X 11″ strips for accent pieces on bottom of tote (optional- skip if using a dark color for main exterior fabric)
- From Fusible Fleece cut 2- 10 1/2″ X 12 1/2″ rectangles
- from Fusible Fleece cut 1- 7/8″ X 42″ strip (or 2- 7/8″ X 21″ strips if using fat quarters)
Assembly:

Take the 3 1/2″ X 20″ ruffle piece and press in half along the length.
Attach strip to the top of the 10 1/2″ X 11″ main exterior piece, creating pleats as you go. Use a scant 1/4″ seam allowance. *tip: if you are concerned about the pleats being evenly distributed along the tote, use pins to put the pleats in first.
Then add the 3″ X 11″ piece on top of the ruffle- this time use a full 1/4″ seam allowance.
Press small piece up and away from ruffle.

Fuse the fleece to the exterior front and back pieces.
Measure 3″ up from bottom of each of the exterior pieces and pin the 3 1/2″ X 11″ accent piece in place.
Stitch down using 1/4″ s.a.
Press the accent piece down toward the bottom of the exterior pieces.

Add top stitching above the ruffle, at the top of the ruffle and on the top of both bottom accent pieces.
Take the lining pieces and place them right sides together.
Sew around the two sides and bottom using 1/4″ s.a.- Leave a 3-4″ opening on bottom seam!!
Mark a 3/4″ square on the two bottom corners and cut out using scissors.
Repeat all steps for the exterior of the bag except DO NOT leave an opening on the bottom seam.

Line up the side and bottom seams, pulling the cut out square into a straight line. Pin the seams together.
Sew along the straight line you created using a 1/4″ s.a.
Repeat for both lining and exterior of the bag.
Turn the exterior of the bag right side out.
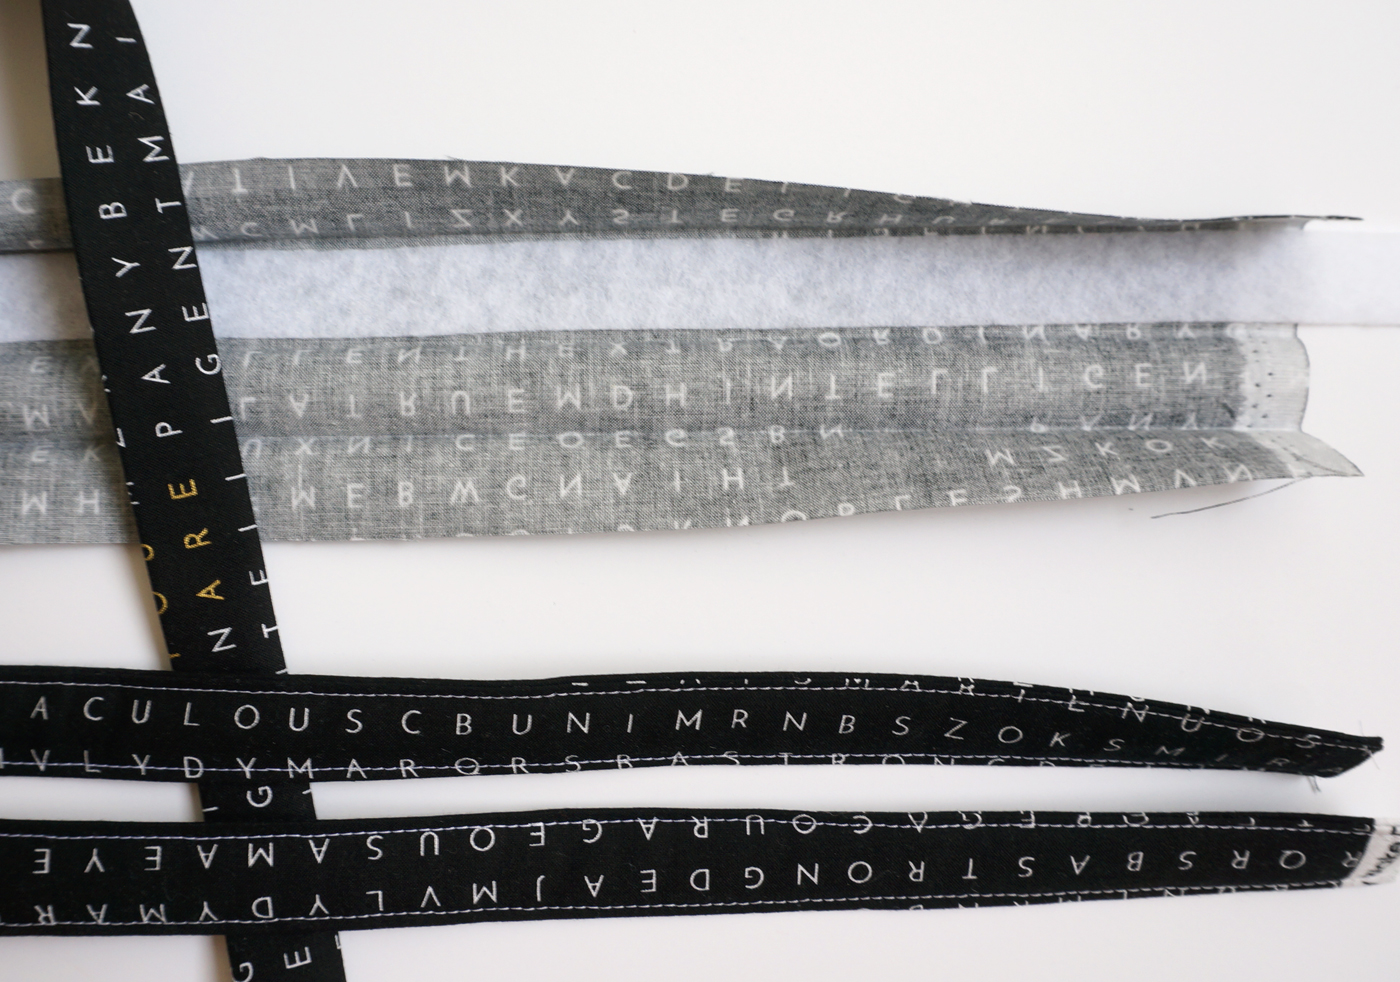
Take your handle strip and press in half along the length.
Open up that seam and press the outer edges of the strip so they line up with the center pressed line.
Place the fusible fleece along the center pressed line to one side or the other.
Fold the outsides back into the center and then fold again along the center fold- this should capture the long raw edges inside the strap.
Press to fuse the fleece to the fabric.
Top stitch along both sides of the strip to create the handles
Cut long strip in half (if using a WOF cut)
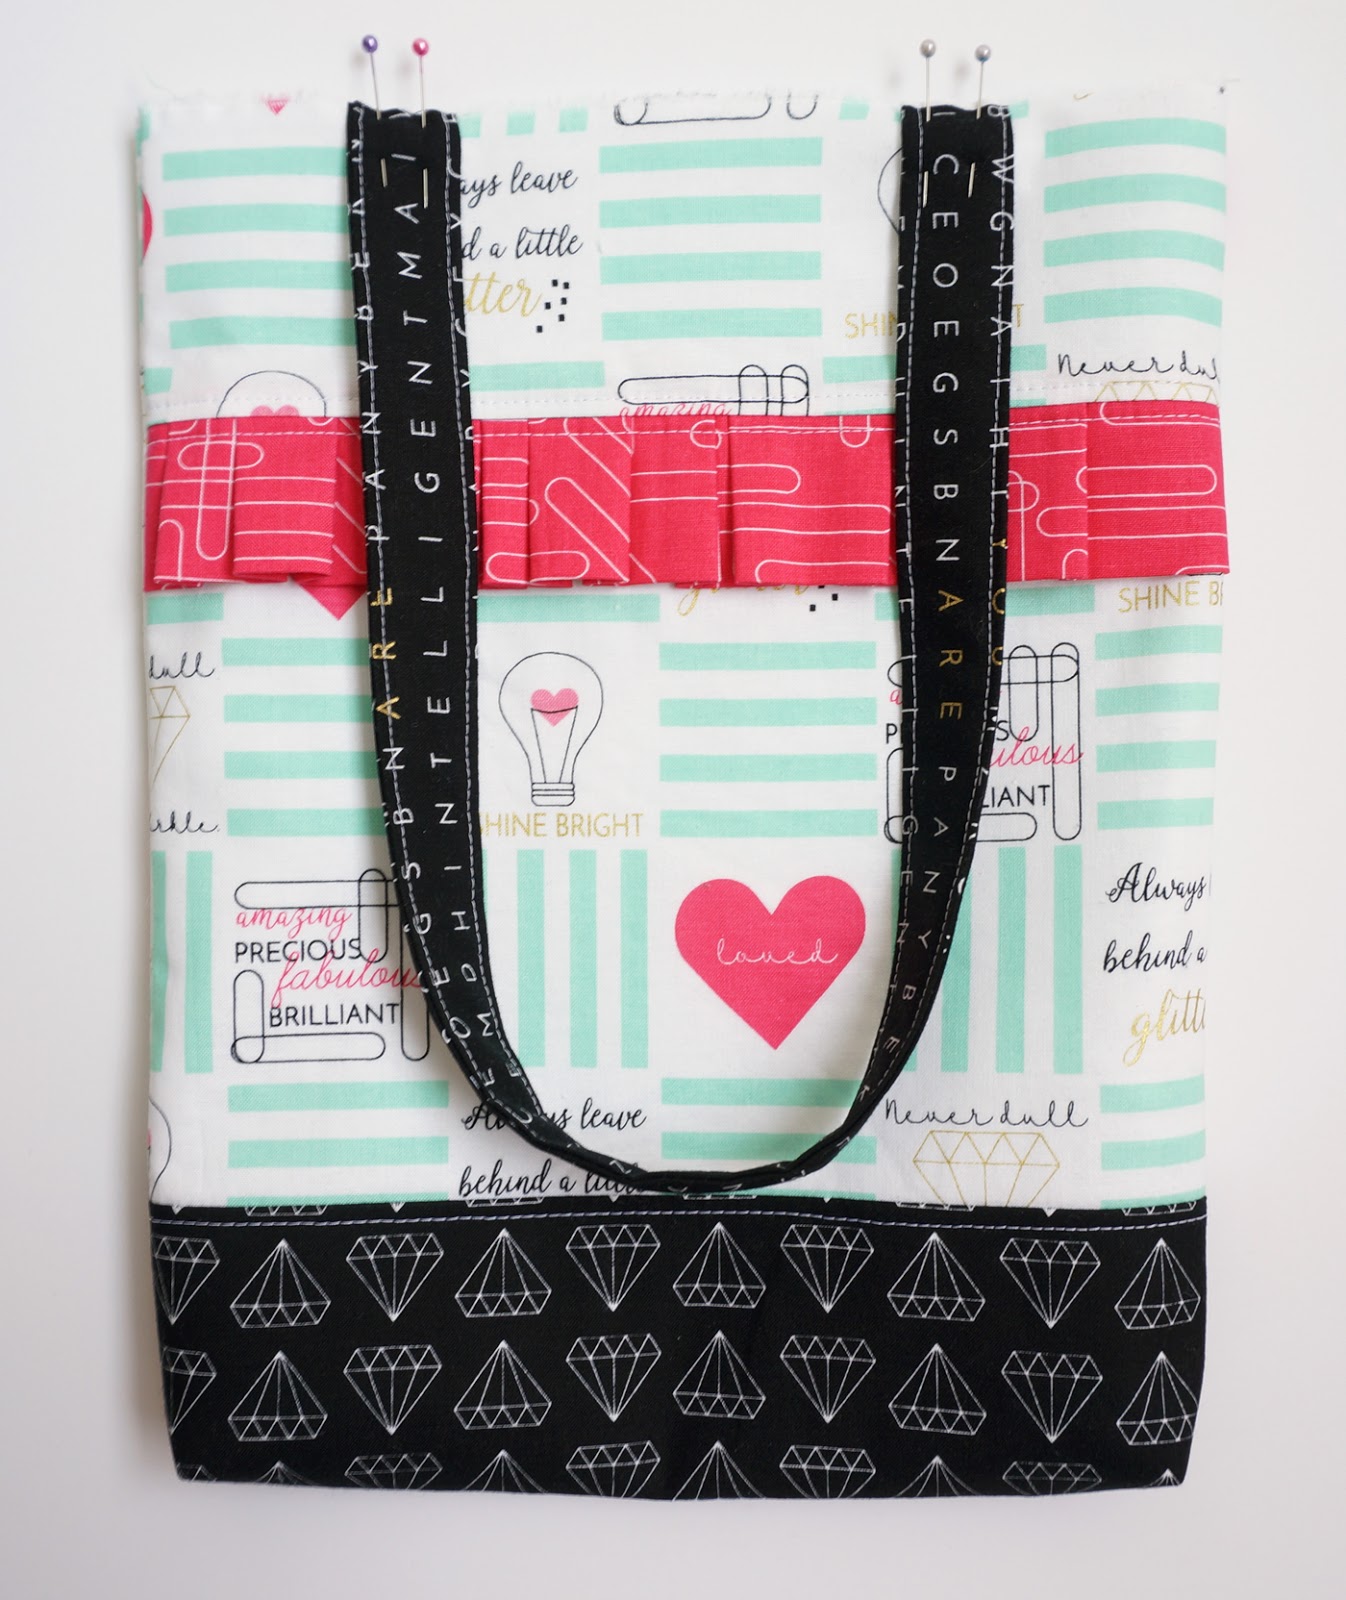
Pin handles to front and back of bag exterior.
Line up the outer edge of the handles 2 1/4″ in from the side seams.
Pin or baste in place

Slide the exterior of the bag inside of the lining.
Make sure side seams nestle- that they are going in opposite directions.
Line up the side seams and top raw edge of the lining and exterior of bag.
Pin around the entire top opening of bag.
Sew around top of bag using 1/4″ seam allowance.
Pull the exterior of the bag through the opening in the bottom of the lining, turn entire bag right side out.
Stitch the opening of lining closed.
Push the lining into the exterior of the bag.
Press the top seam and top stitch around the opening of the tote.
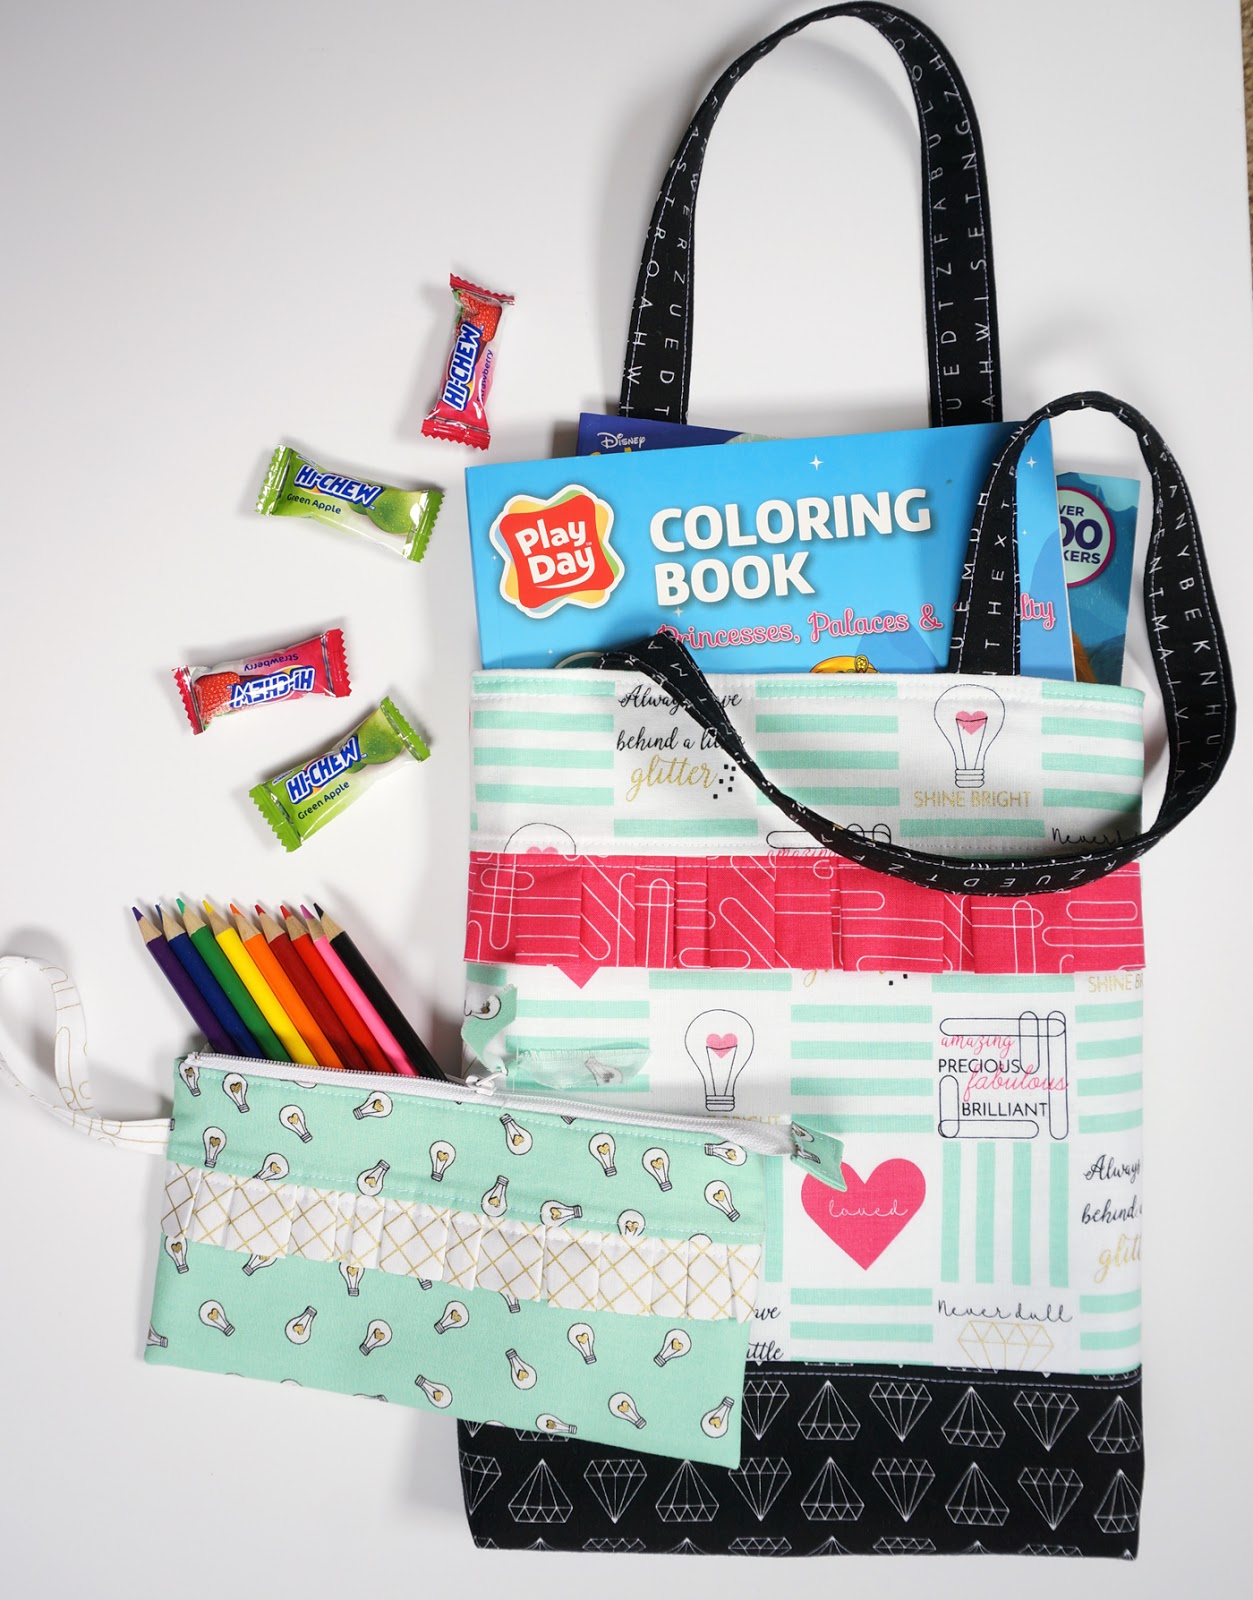
Now your tote is finished! All that is left is to fill it with goodies- like coloring books, pencils and a matching zipper pouch and you have a delightful gift perfect for birthdays, Christmas or any occasion!
As always, if you have any questions, don’t hesitate to ask!
xoxo,
Amy

