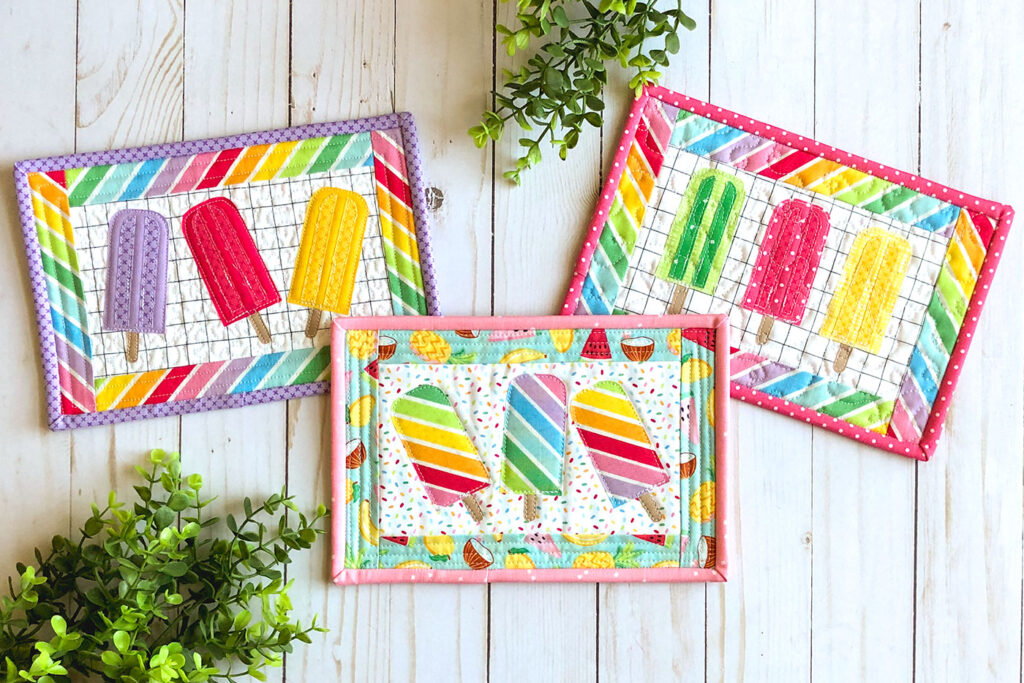
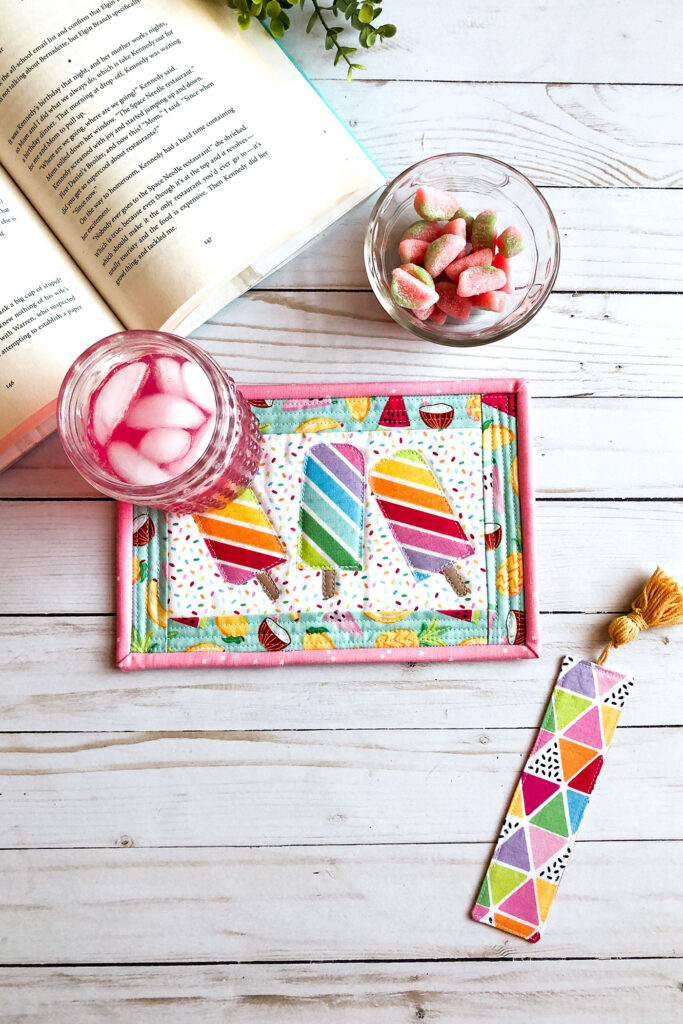
In the summertime there is nothing better than a cold, delicious popsicle. Well, maybe a nice cold drink, a book and a spot in the shade to read might come close. This deliciously fun and free popsicle mug rug sewing tutorial marries the two leaving you with a delightful place to stash your cold drink while reading in the shade without the fear of a drippy popsicle stain.
This pattern is free for newsletter subscribers as part of the Summer Sewing series. Enter your email address in the box below to get this and all the other free patterns as part of this series, as well as weekly updates, new release information and occasional discount codes! You can find out more about the summer sewing series in the post here.
Popsicle Mug Rug Tutorial
If you would like the full video for this free popsicle mug rug sewing tutorial, you can find it on my YouTube channel here.
Supplies and Cutting Instructions
- Batting- cut to 7″ X 10″
- Sewable Fusible Adhesive- such as HeatnBond
- Basting spray.
- Fabric:
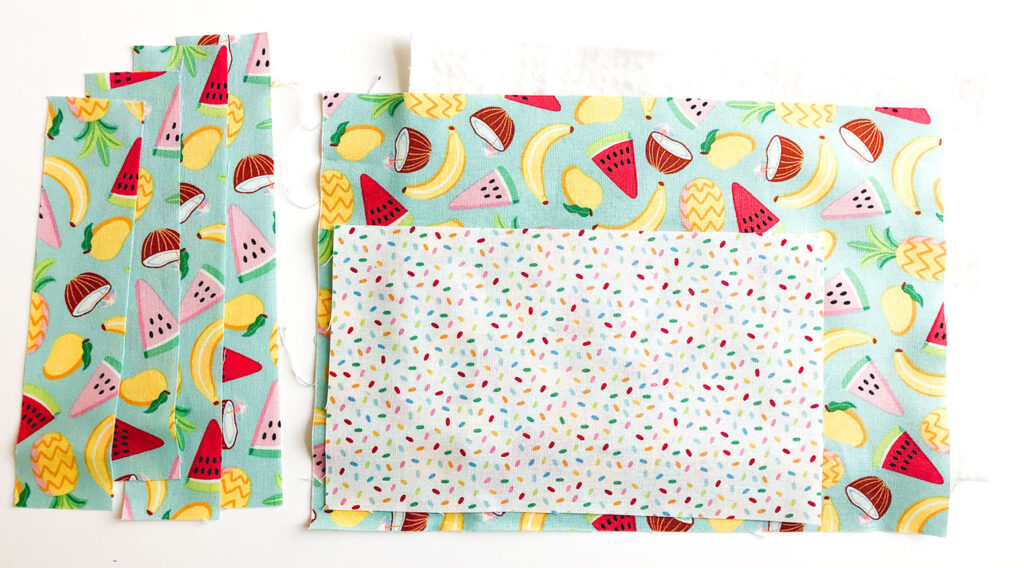
- 1- 7″ (h) X 10″ (w) piece for back of mug rug
- 1- 4 1/2″ (h) X 7 1/2″ (w) piece as backing for applique in center of mug rug
- 2- 1 1/2″ (h) X 7 1/2″ (w) pieces for top and bottom border
- 2- 6 1/2″ (h) X 1 1/2″ (w) pieces for side borders
- 1- 2 1/4″ X width of fabric for binding
Applique Preparation and Fusing
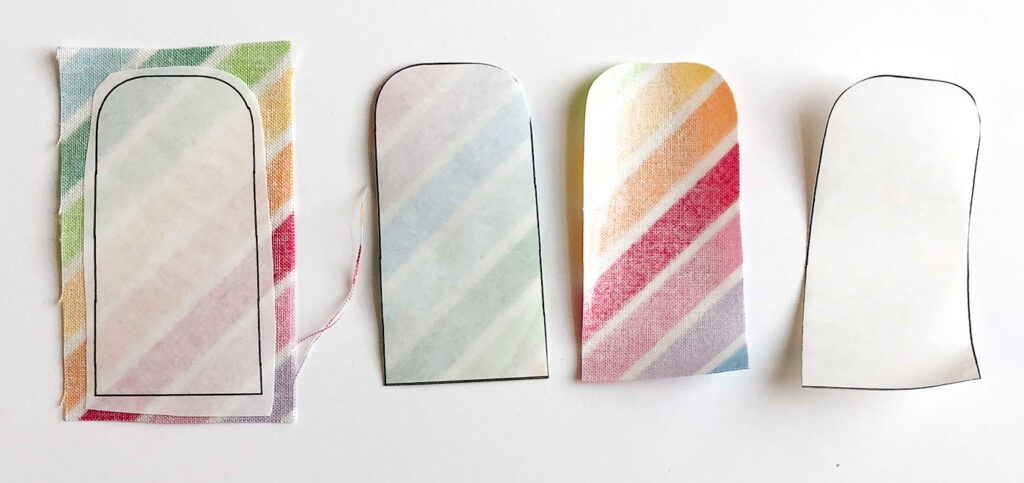
- Begin by tracing the popsicle pattern pieces onto the paper side of your fusible adhesive. You should have three copies of each piece- popsicle, shadows and stick.
- Next, cut out each pattern piece, leaving a slight margin of adhesive around each one. NOTE: groups of pieces that will be the same color can be kept together.
- Now, fuse the pattern pieces onto the WRONG side of the fabric chosen for each piece. NOTE: be sure to follow the manufacturers instructions as you do this.
- Cut out each pattern piece along the drawn line.
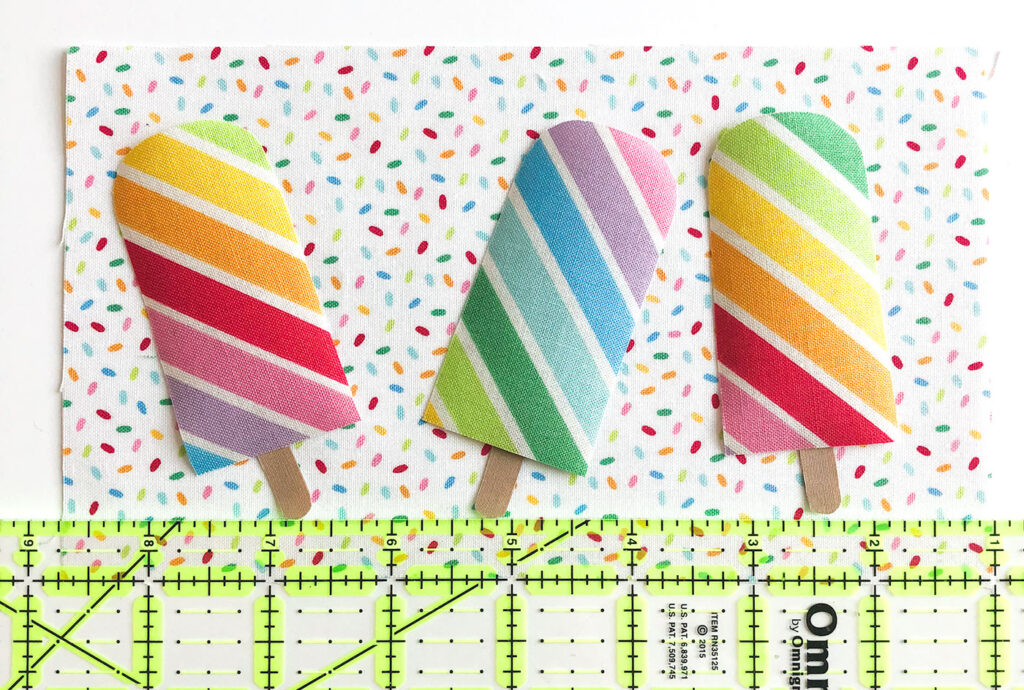
- Next, remove the paper backing and position the applique pieces onto the applique background piece. NOTE: be sure to leave a 1/2″ border around all sides of the fabric piece to account for seam allowances. If evenly distributing the popsicles, first position the sticks- center the first one 3 3/4″ from one side and 1/2″ up from bottom. Place the next two sticks 1 3/4″ in from each side- again 1/2″ from the bottom. Fuse into place. Then, position the popsicles to be centered over the popsicle sticks with the tops measuring 1/2″ from the top. Add the shadows last.
- Fuse all pieces in place according to manufacturers instructions.
- Finally- decide if you are going to sew around all the applique pieces at this point, or wait until the quilting step. Both are fine, they just give a slightly different look so it’s really a matter of preference. If sewing now- sew around each applique piece with a straight stitch or a narrow zig zag stitch.
Finish Popsicle Mug Rug
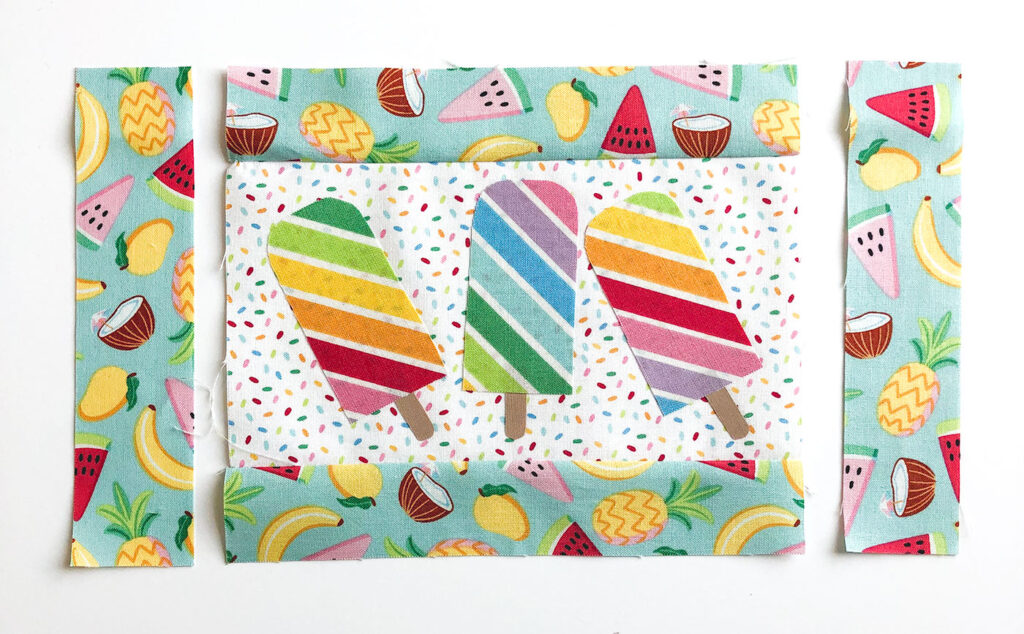
- Using a 1/4″ seam allowance, sew the top and bottom border pieces to the center appliqued fabric piece. (the border pieces measure 1 1/2″ (h) X 7 1/2″ (w) Press the seam allowance toward the darker fabrics.
- Proceed with adding the final side borders, again using a 1/4″ seam allowance and pressing toward the darker fabrics.
- Make a quilt sandwich by placing the backing fabric wrong side up and lightly spraying with basting spray. Place the batting on top and then lightly spray the batting with the basting spray. Center the mug rug top on the batting. NOTE: you can make the sandwich and baste the layers using your favorite method if you prefer.
- Quilt the mug rug as desired. NOTE: if you did not previously sew around the applique pieces, now is the time to do so.
- Finally, trim the quilt sandwich to 6″ (h) X 9″ (w). I do this by measuring 1″ from the bottom seam where the bottom border meets the center applique piece and trimming. Then measure 6″ from the side you just cut and make another cut. Center your side seams across a 9″ measurement (I use my cutting mat for this) and trim both sides. Make sure you are cutting lines that are parallel and perpendicular so your mug rug comes out with square corners.
- Add your binding. NOTE: if you have not done binding before, or if you would like to see my tips and tricks, I have a full binding series of video tutorials on my YouTube channel you can find here.
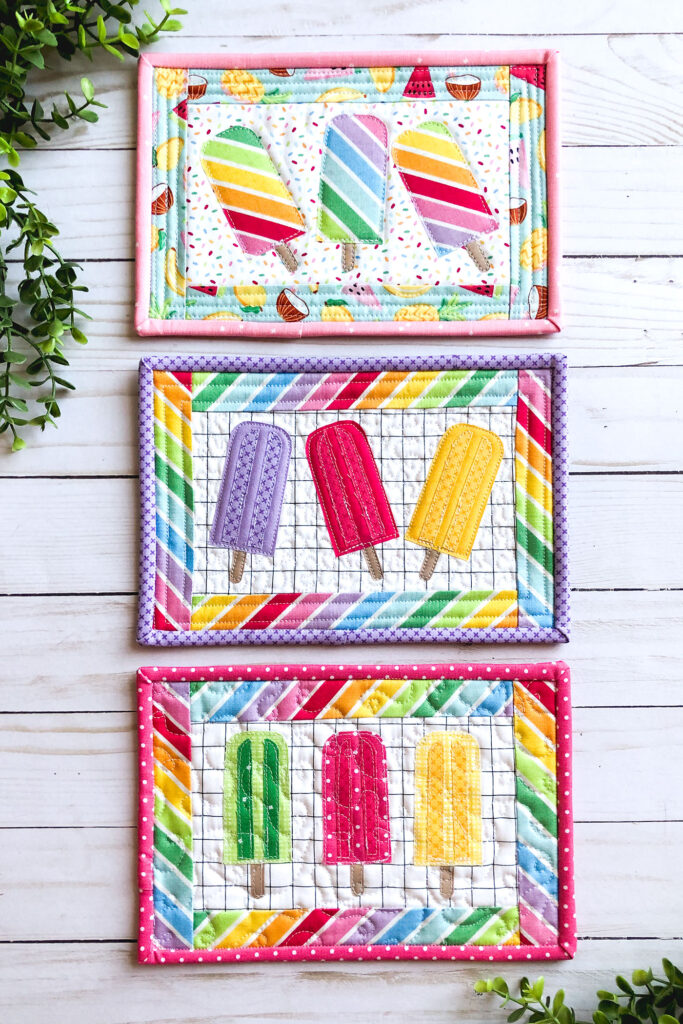
If you enjoyed making this project, and are looking for more raw edge applique projects to try, you might love this Rainbow Sunshine mini quilt or this Be Kind mini quilt– both of which are gorgeous project you will enjoy for years!
Stay cool and creative this summer my friends! Happy sewing! Amy


Rainbowfruit – Popsicle Mug Rug + Tutorial! – Riley Blake Designs
June 17, 2021 at 11:04 am[…] visiting AMEROONIE DESIGNS today, where Amy is sharing the cutest every Popsicle Mug Rugs featuring fabric from the […]
Join the free Let's SEW Summer sewing series and boost your creativity
July 1, 2021 at 4:01 pm[…] 3- Popsicle Mug Rug. Sew a mug rug and practice applique, quilting and […]
Five for Friday – Summer Inspired Sewing – auribuzz
July 2, 2021 at 3:54 pm[…] 4 – Popsicle Mug Rug Tutorial […]