The fabric for this project was provided by Riley Blake Designs for participation in the Oh Holy Night blog tour. The project and opinions are all mine.
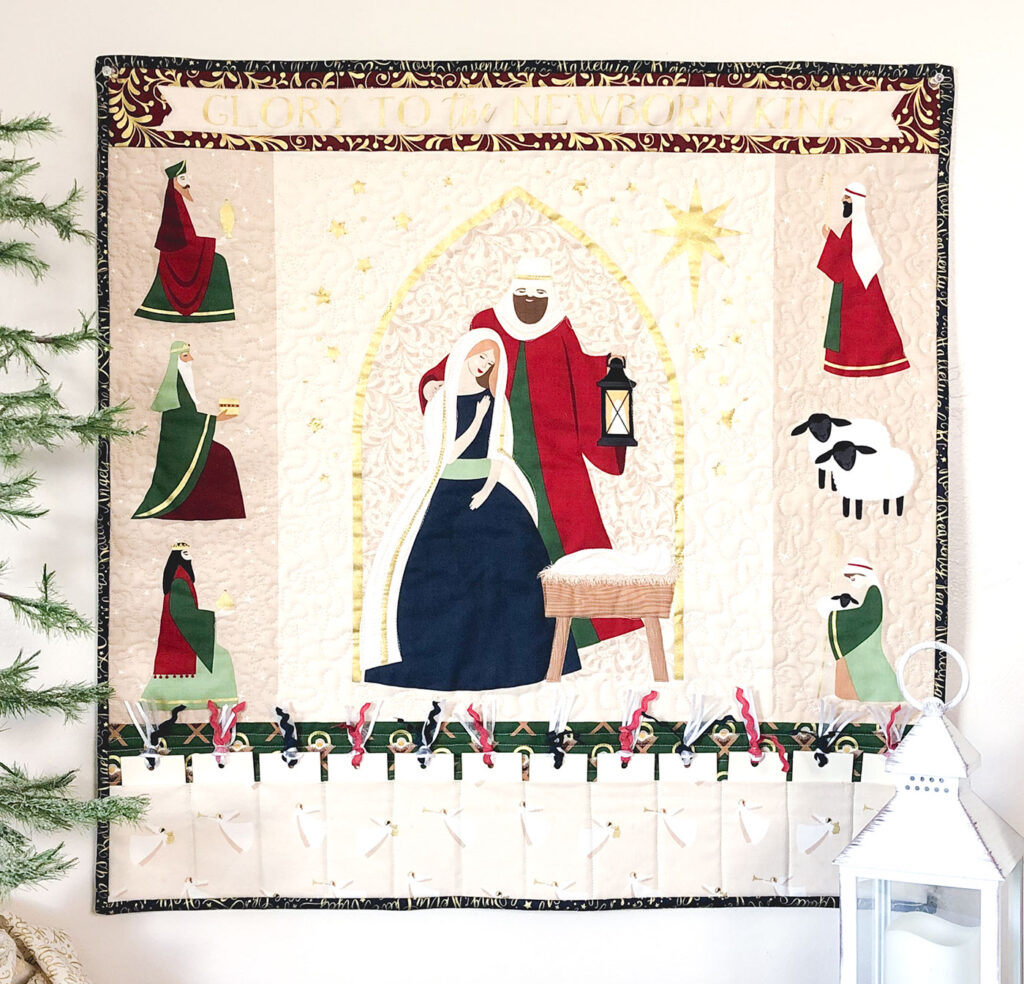
Christmas is such a special time of year. I love the traditions and the feelings that come with this season. When I saw the Panel in the Oh Holy Night fabric line, I knew I wanted to make an advent mini quilt to help my family create a tradition of incorporating acts of service, scriptures and songs that will help us reflect on this Holy season.
Another of my favorite Christmas projects for reminding me of the real focus of the holiday season is The Best Gift Mini Quilt Pattern in my shop.
Oh Holy Night Fabric

This Oh Holy Night fabric not only has gorgeous panels, but sparkle added to the gold that makes such a great shine! The text print is gorgeous and the angel print is one of my favorites. And of course, I love that navy is added in an unexpected but delightful twist to the more traditional burgundy, green and cream Christmas colors.
Advent Mini Quilt Tutorial
Supplies
- One Panel of Oh Holy Night fabric
- Bottom border fabric (green sparkle Manger fabric): 1/4 yard
- Pocket fabric (angels in cream sparkle) 1/4 yard
- 1/4 yard fabric for binding (text in navy sparkle)
- 2/3 yard fabric for backing of quilt
- 2/3 yard batting
- paper and ribbons for tags (optional)
Prepare Advent Mini Quilt Front
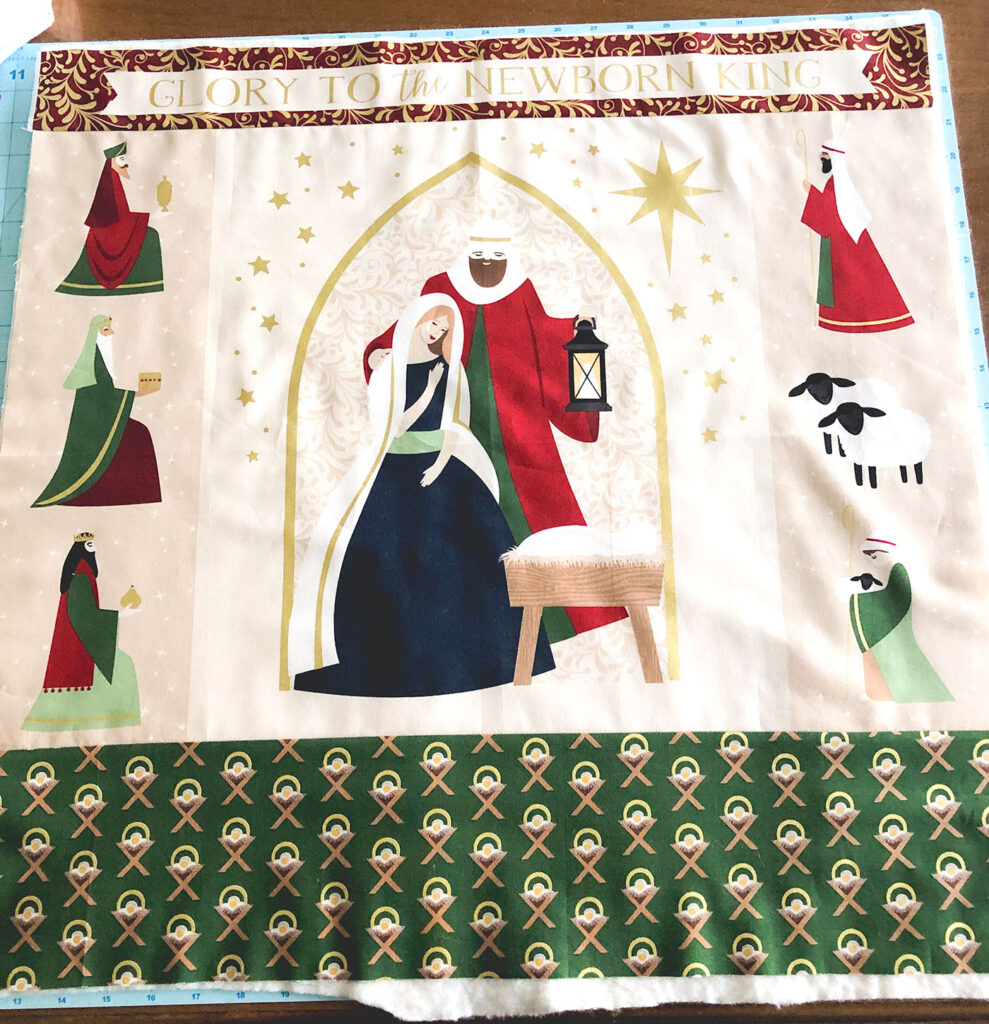
- Begin by cutting apart the panel to include just the center image and sides.
- Then, separate the “Glory to the Newborn King” section from the panel.
- Cut a piece of your bottom border fabric to 5 1/2″ X 24 1/4″.
- First, sew the “Glory” strip to the top of the center image, use a 1/4″ seam allowance.
- Next, sew the bottom border to the bottom of the center image, use a 1/4″ seam allowance.
- Finally, press seams away from the center image.
Add pocket and finish mini quilt
- From the backing fabric and batting, cut a piece 24 1/2″ X 24 1/2″.
- Next, create a quilt sandwich with the backing, batting and quilt front, baste using method of choice.
- Now, quilt the mini quilt as desired.
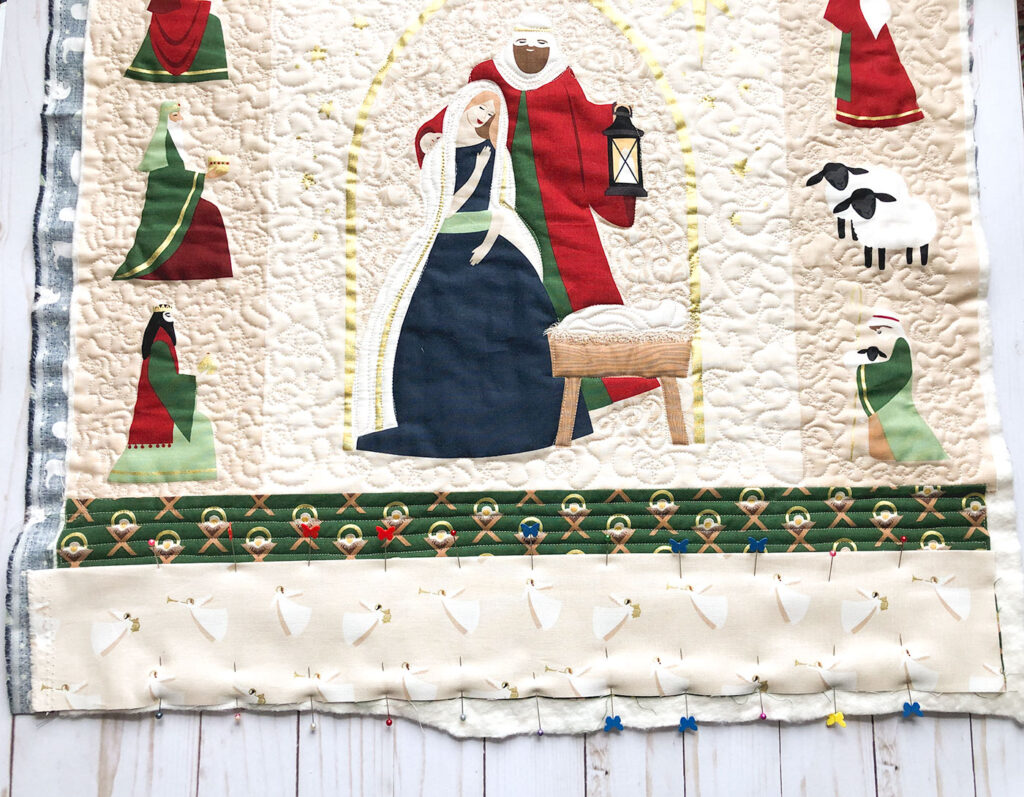
- From the fabric for the pocket, cut a piece that measures 7″ X 24 1/4″.
- Press the fabric along the long side, wrong sides together.
- Line your folded fabric up with the bottom of your mini quilt- the raw edges should be lined up.
- Measure 2 1/4″ away from the left edge of the mini quilt and mark the pocket fabric.
- Continue measuring along the pocket fabric at 1 7/8″ intervals to mark the stitching lines to create the 12 tag pockets. The final pocket should also measure approx. 2 1/4″ if it doesn’t you may need to adjust the width of your pockets to create even openings.
- Stitch along the marked lines, being sure to back stitch at the beginning and ending of the stitching.
- Trim the advent mini quilt to 24″ X 24″.
- Finally, add binding to the mini quilt.
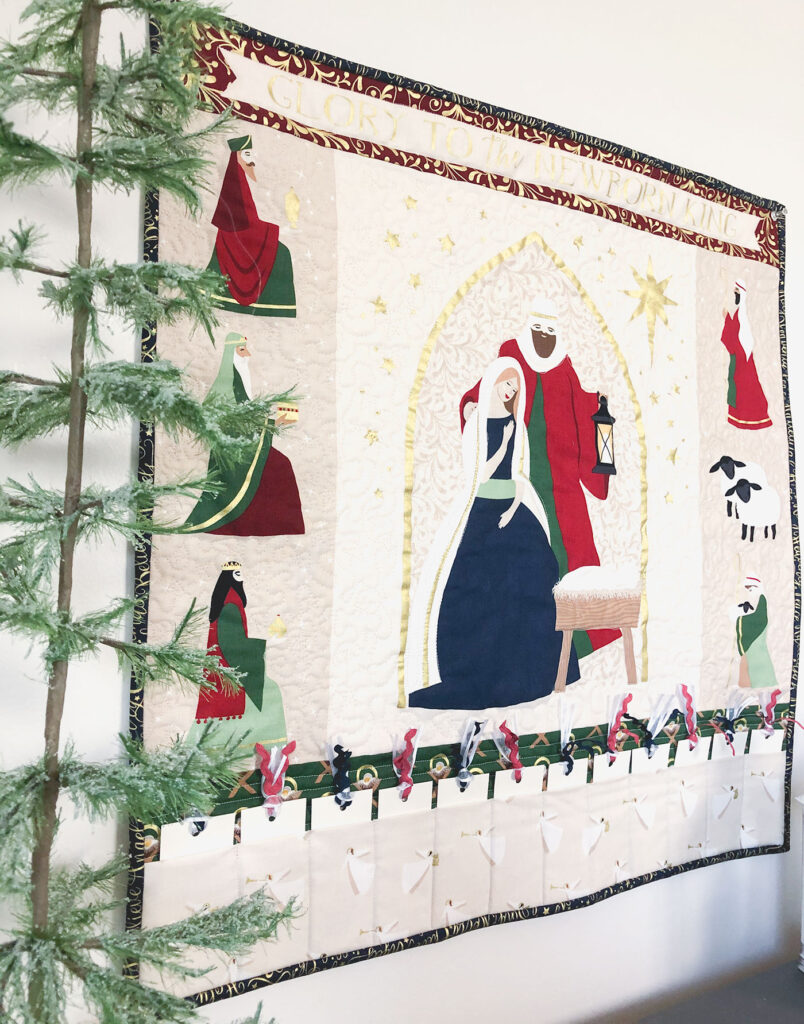
- The pockets will fit tags that measure 1 5/8″ X 4″- write on the tags, scriptures, songs or activities for your family.
If you are looking for some other fantastic projects to coordinate with your new Advent Mini Quilt, these Jelly Roll Stockings would look stunning in this fabric. And this pleated ruffle advent banner, would be a fantastic compliment to the mini quilt, allowing you to add small gifts or treats to your daily tradition!
Make your holiday season the best ever by sewing these up now and having them all ready to go!
Happy Sewing my friends! xoxo, Amy


Oh Holy Night – Advent Mini Quilt + Tutorial! – Riley Blake Designs
June 19, 2020 at 9:16 am[…] visiting AMEROONIE DESIGNS today, for a look at Amy’s beautiful Advent Mini Quilt, featuring fabric from Dani […]