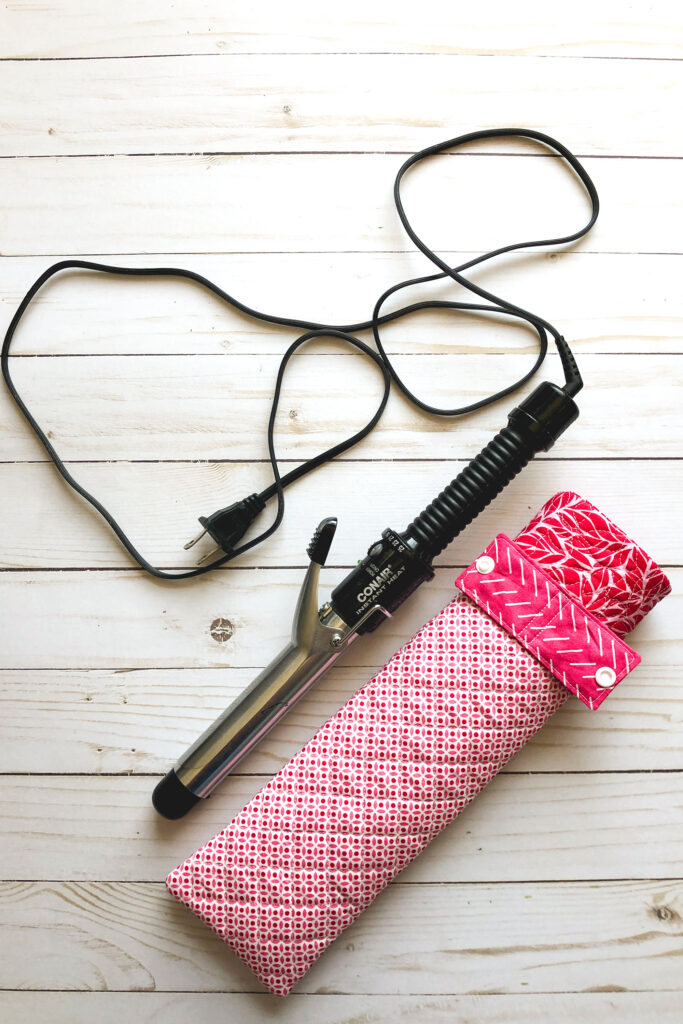
Want to curl your hair but you’re not sure it will cool enough to pack up in your suitcase? This Curling Iron Travel Case sewing pattern will help answer your problem! Layers of cotton batting and Insulbrite help protect your belongings from the residual heat from your cooling curling iron. *note: do not put a hot curling iron into the sleeve, allow it to cool as long as possible before putting the sleeve on.
And if you’re buying Insulbrite already, you may want to make yourself a beautiful new set of hot pads too!
Curling Iron Travel Sleeve Sewing Pattern
Supplies:
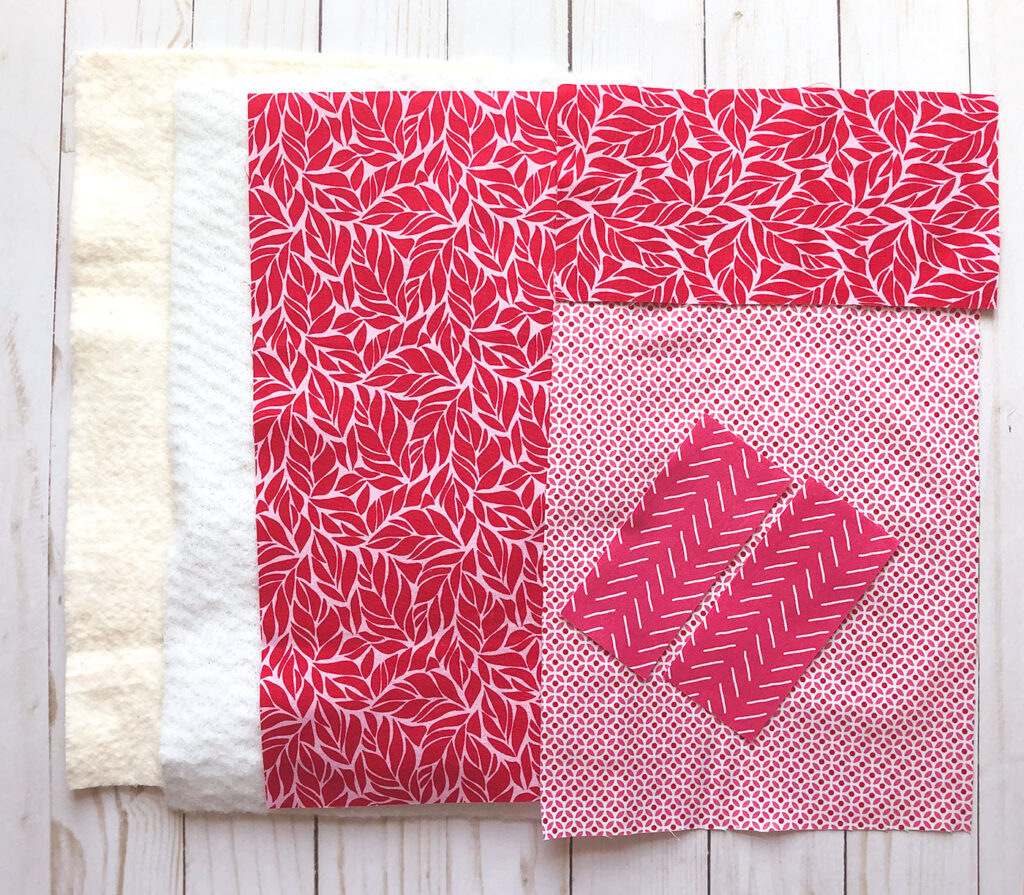
- Fabric for exterior, lining and strap
- Out of main exterior fabric cut a piece 8 1/2″ wide by 9 1/2″ tall (if you do not want an accent strip, cut your main exterior fabric to 8 1/2″ wide by 13 1/2″ tall)
- Cut exterior accent fabric to 8 1/2″ wide by 4 1/2″ tall
- From lining fabric, cut a piece 8″ wide by 13″ tall
- For your strap, cut 2 pieces 2″ X 4 1/2″
- Cotton Batting, cut to 8 1/2″ X 13 1/2″
- Insulbrite (or a second layer of cotton batting) cut to 8 1/2″ X 13 1/2″
- Snaps or Hook and Loop tape for closure on strap
Assemble Exterior of Case
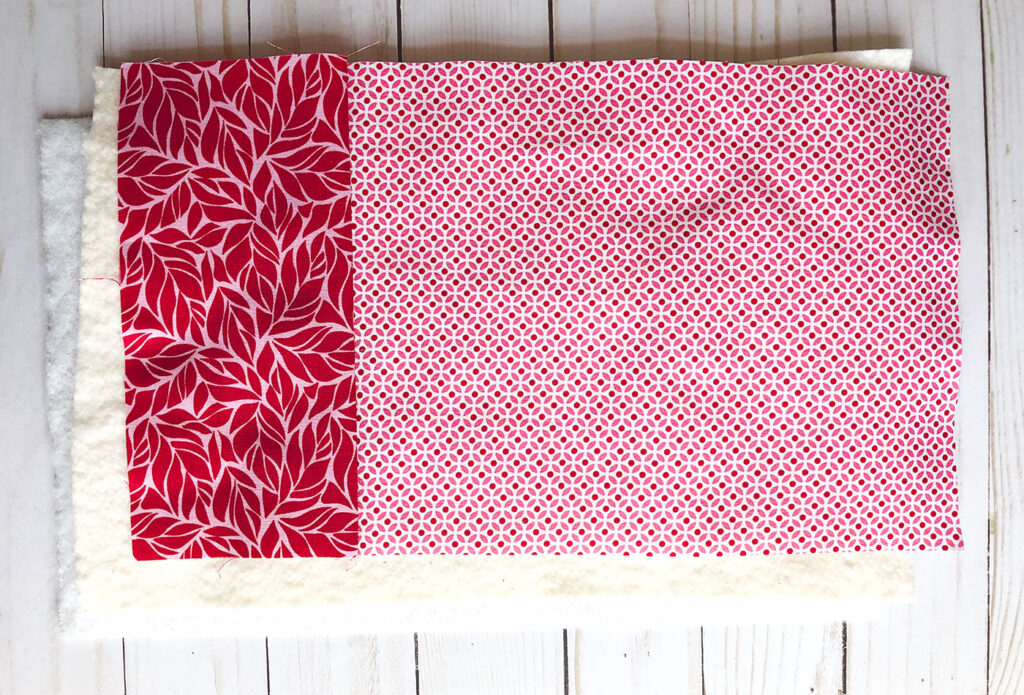
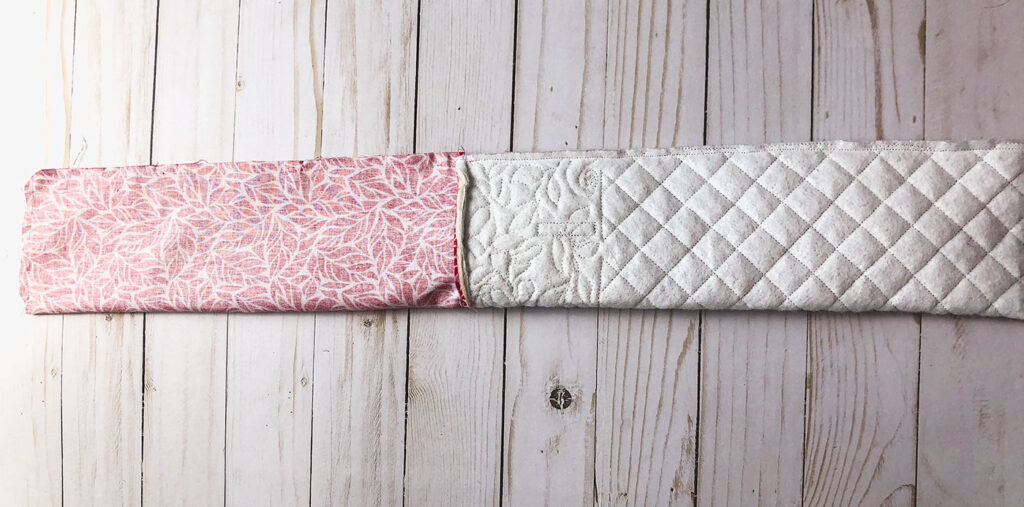
- First, sew your accent strip to the main exterior fabric on the 8 1/2″ side. Press the seam allowance toward the accent strip.
- Next, use basting spray to layer the insulbrite, batting and your pieced exterior fabric together as shown.
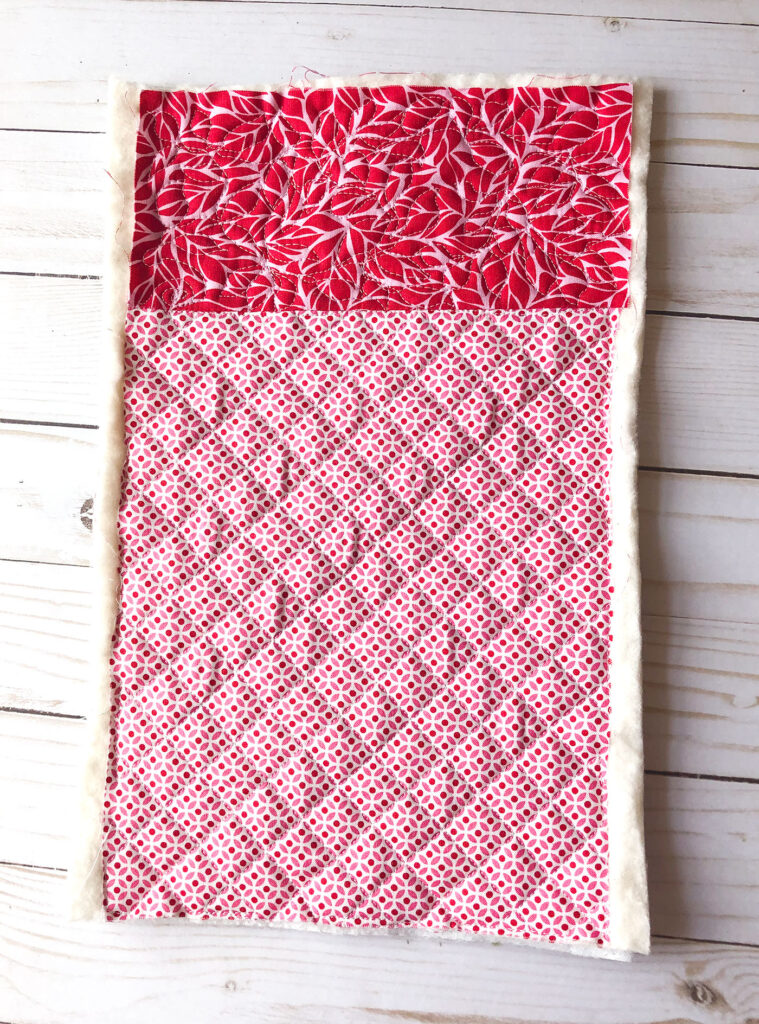
- Quilt the three layers together.
- Finally, trim your exterior piece to 8″ X 13″
Create strap for curling iron travel case
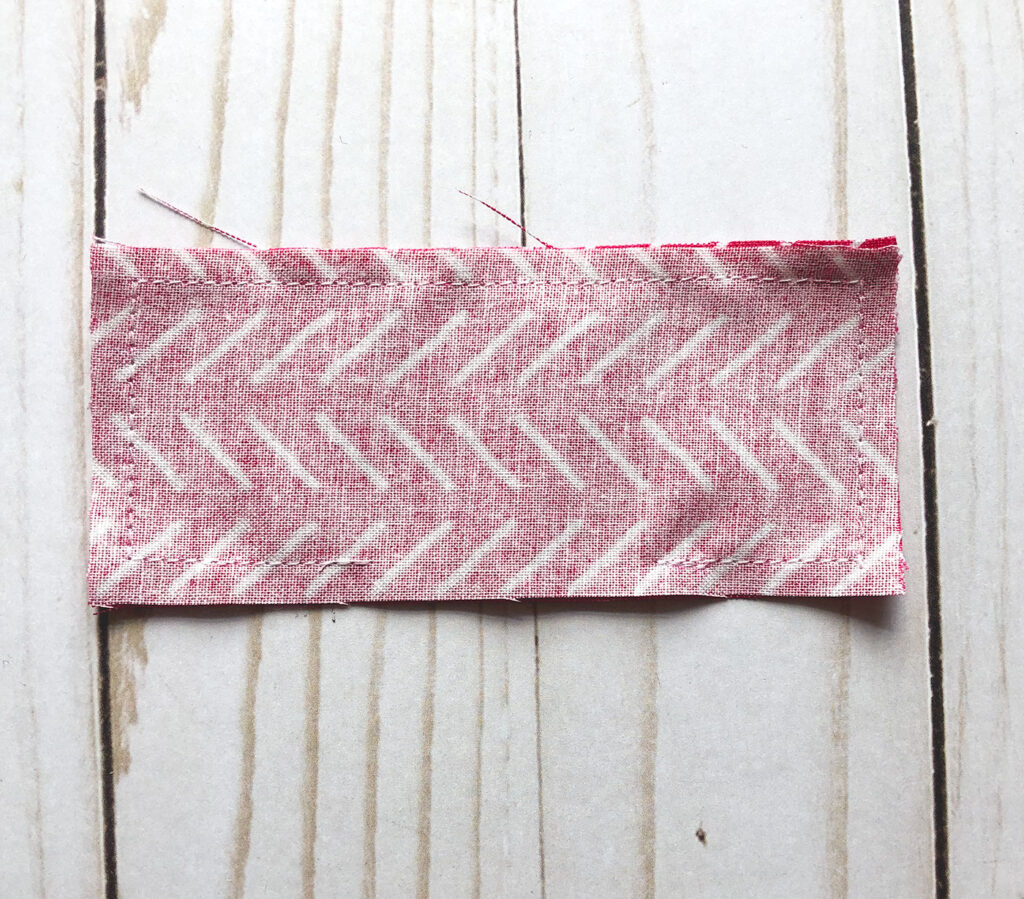
- Begin by placing the two strap fabric pieces right sides together.
- Now, sew around all four sides of the fabric pieces, leaving an opening for turning on one long side. Back stitch at the beginning and ending of your stitching.
- Next, clip the corners.
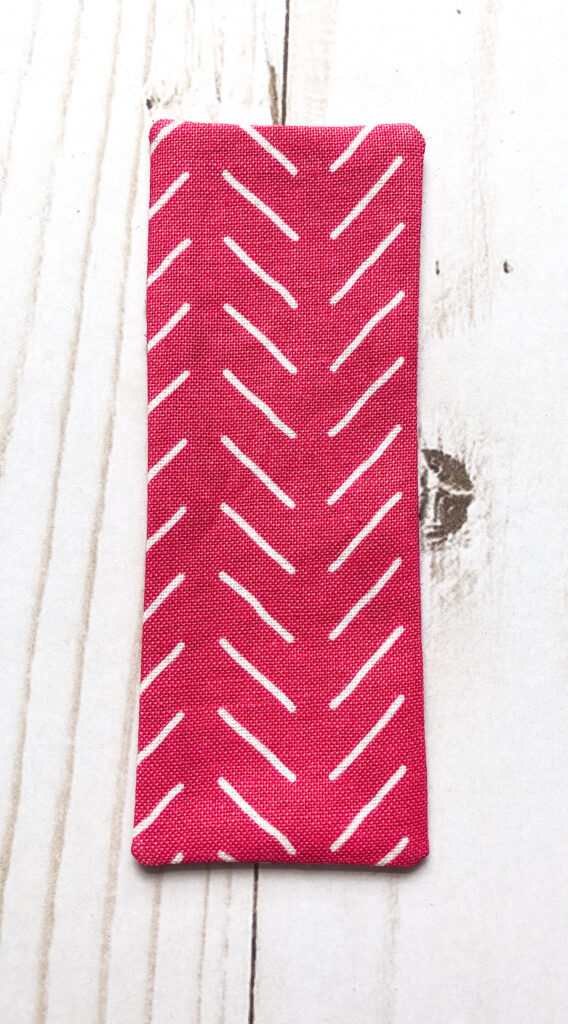
- Turn the strap right side out.
- Press well, turning the seam allowance of the opening under.
- Finish by sewing around the strap with a top stitch.
- Now, add your closure:
- If using snaps, center your snaps 1/4″ in from either side, the male and female sides of the snap should be on the same side.
- If using hook and loop tape, sew the loop side at one short end, then sew the hook side on the opposite side of the strap, at the opposite end.
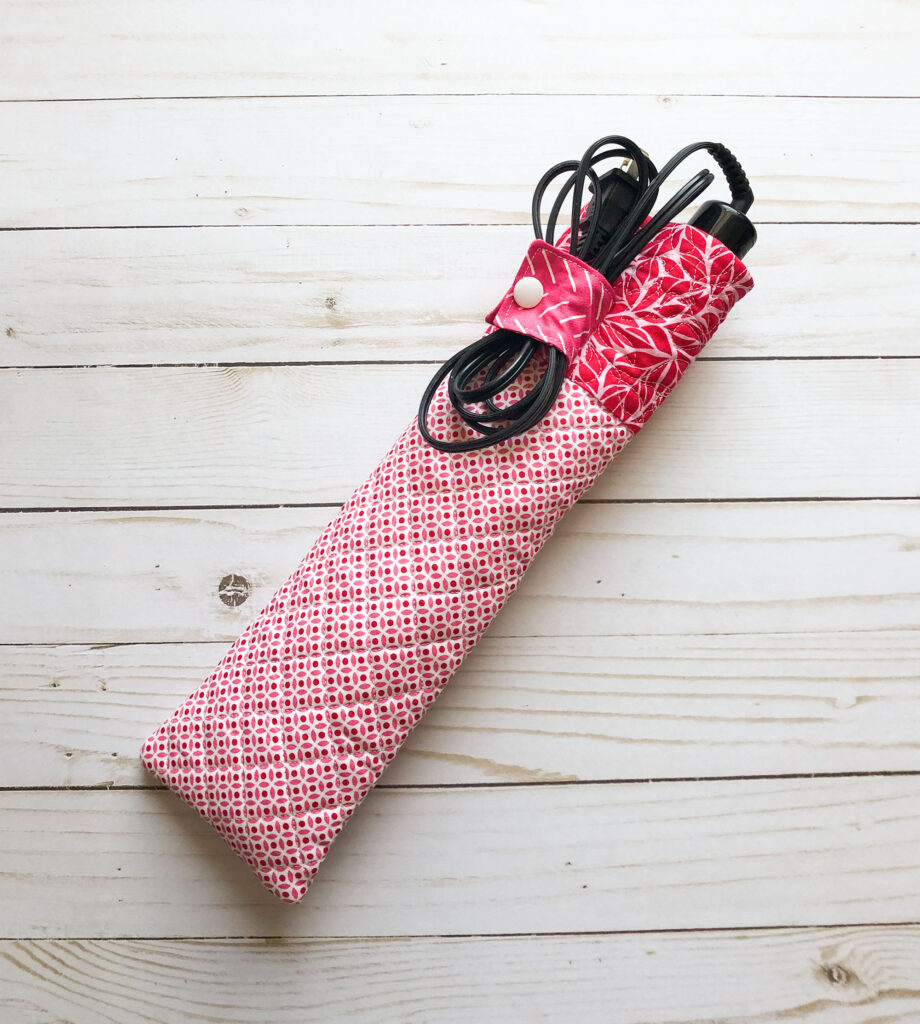
Assemble the curling iron travel case
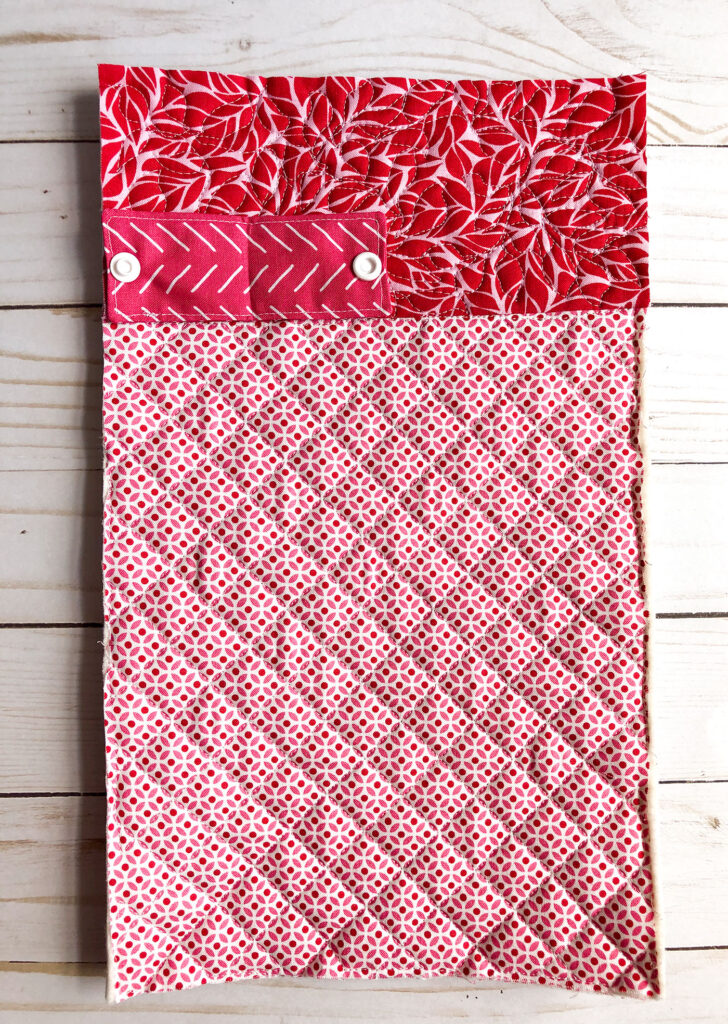
- Position the strap 2″ down from the top of the exterior piece. If using snaps, the male and female ends of the snaps should be facing up, if using hook and loop tape, the side with the hook tape should be facing up.
- Then, sew down the strap at the center of the strap. I like to sew a small rectangle on the side of the center mark of the strap, toward the center of the travel case.
- Place the lining fabric right side down on top of the exterior fabric.
- Sew across the top edge using a 1/4″ seam allowance.
- Press the seam allowance toward the exterior.
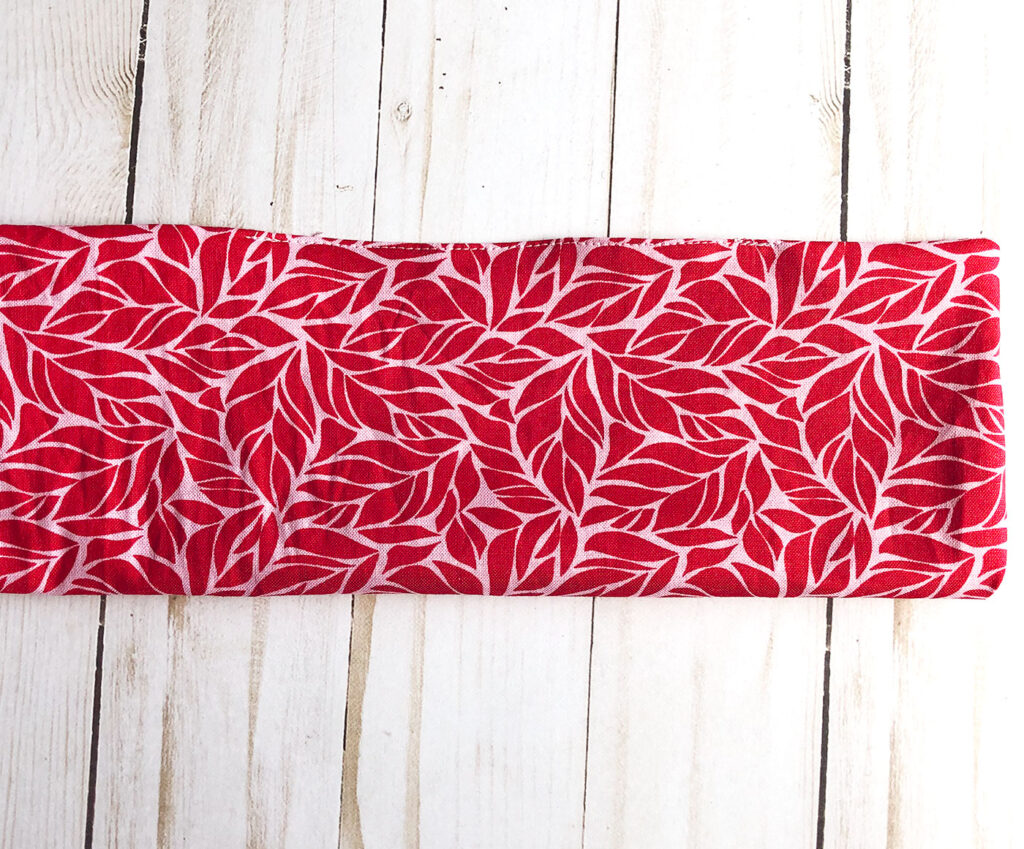
- Next, fold the case in half along the length.
- Starting at one short end sew around the three raw sides of the travel case, leaving a 3-4″ opening in the lining fabric for turning.
- Now, turn the curling iron travel case right side out.
- Fold under the seam allowance of the opening in the lining and sew closed using a top stitch.
- Push the lining inside the exterior of the curling iron travel case. I find it helpful to use a long blunt tool to get the lining all the way into the bottom of the case, like a dowel or chopstick.
- Give your curling iron travel case one last press, and you are finished!
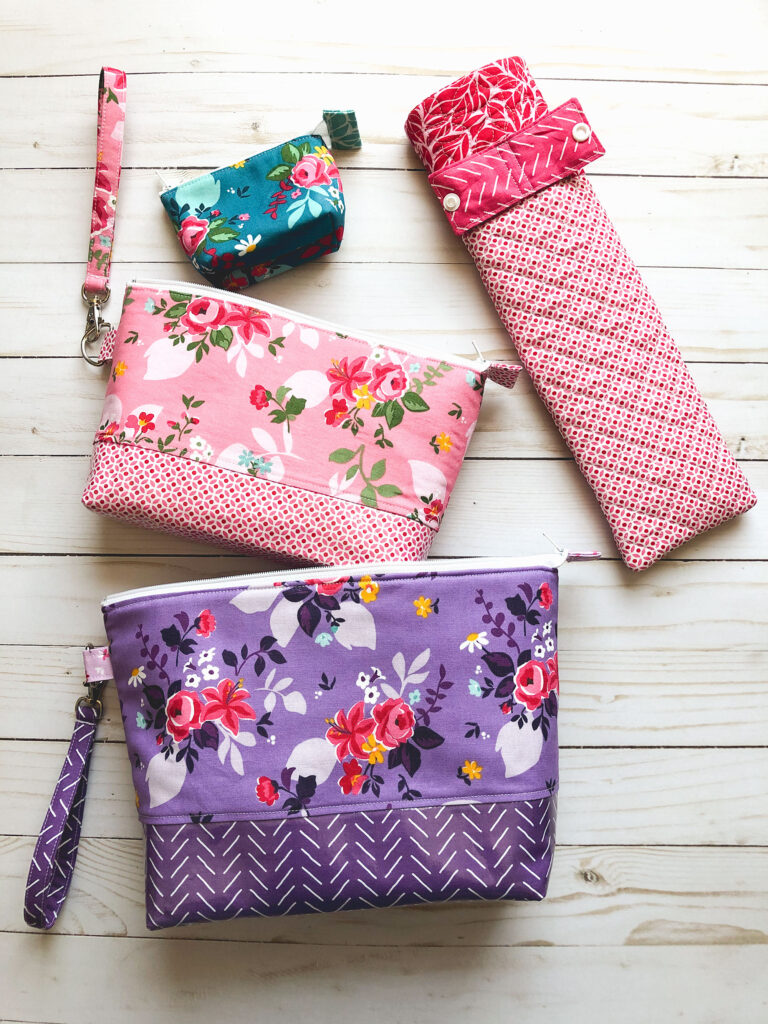
Sew it up with a set of Nesting Travel Pouches and you are set to go anywhere in style!


Handmade Travel Accessories | Ameroonie Designs
August 11, 2020 at 4:00 pm[…] Curling iron travel case is the perfect addition to your handmade travel accessories. It allows you to pack your still warm […]