This post was originally published Feb 16, 2019. It was updated on April 13, 2022. This post contains affiliate links which provide income to me at no cost to you. For full affiliate policies, please see our full terms of use.
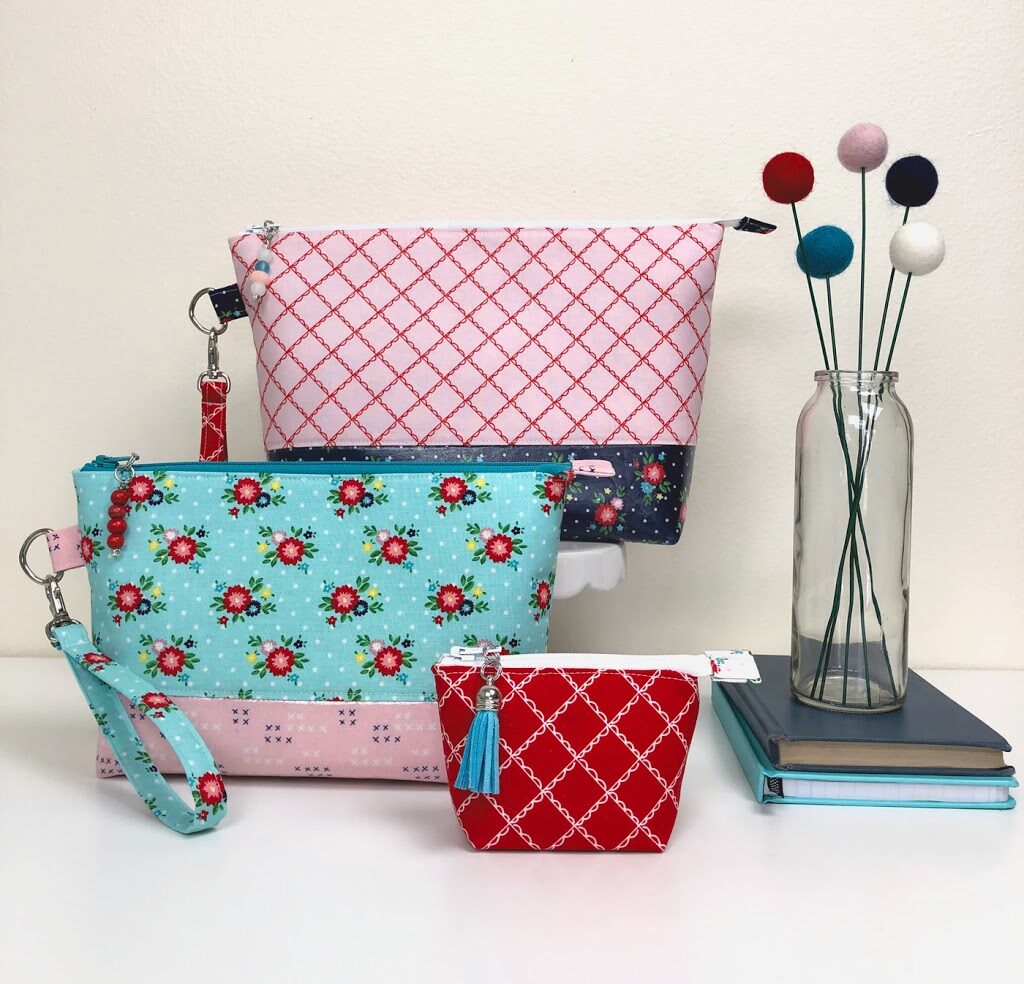
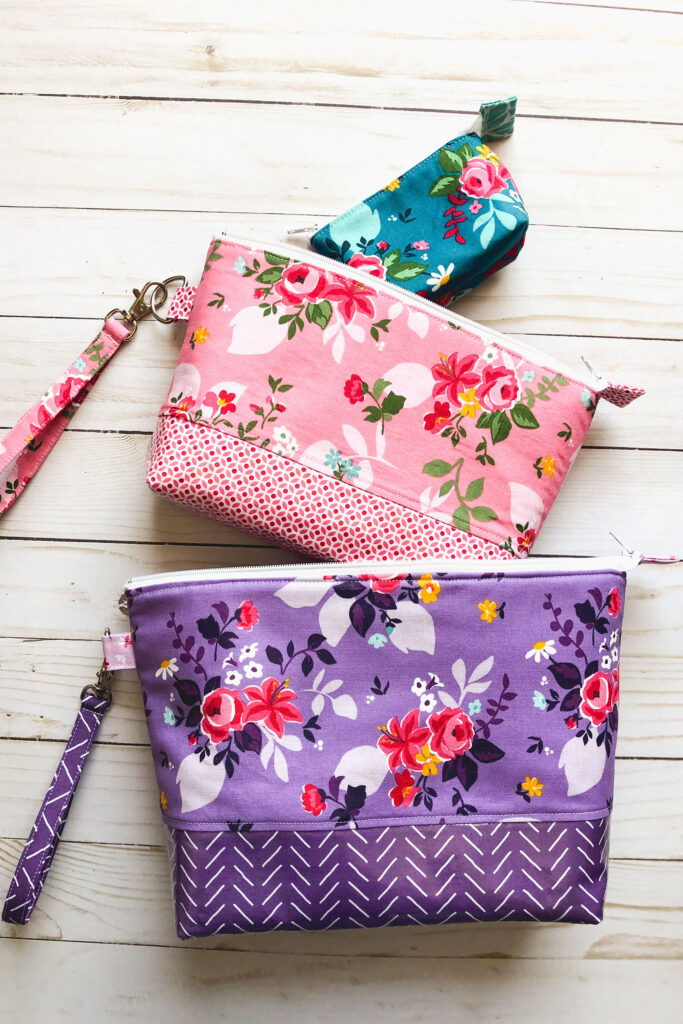
Last year I sewed up a set of pouches I could use when traveling. I shared pictures of them as part of the Vintage Adventure blog tour, but didn’t have a zipper pouch pattern to share at the time. After many requests and finally setting aside the time, I’m happy to report that I finally have the zipper pouch pattern and sewing instructions for this set of zipper pouches that nest, have vinyl coated fabric for the bottom and the lining and are perfect for travel or organizing your life around your house.
Finding or Making Laminated Cotton for your Travel Pouches
If you can purchase laminated cotton fabric, that is the easiest way to go about it, but if you can’t find it it’s pretty easy to make your own. ThermOWeb has an Iron On vinyl product as well as a liquid vinyl product. Creating your own laminated fabrics are a great way to customize your pouch instead of being limited to the laminated fabrics your store may have on hand.
If you are new to working with laminated cotton, I have some tips and tricks for you in this blog post. Be sure to read them so you don’t end up making the same mistakes I did. 😉
Travel Pouch Sizes
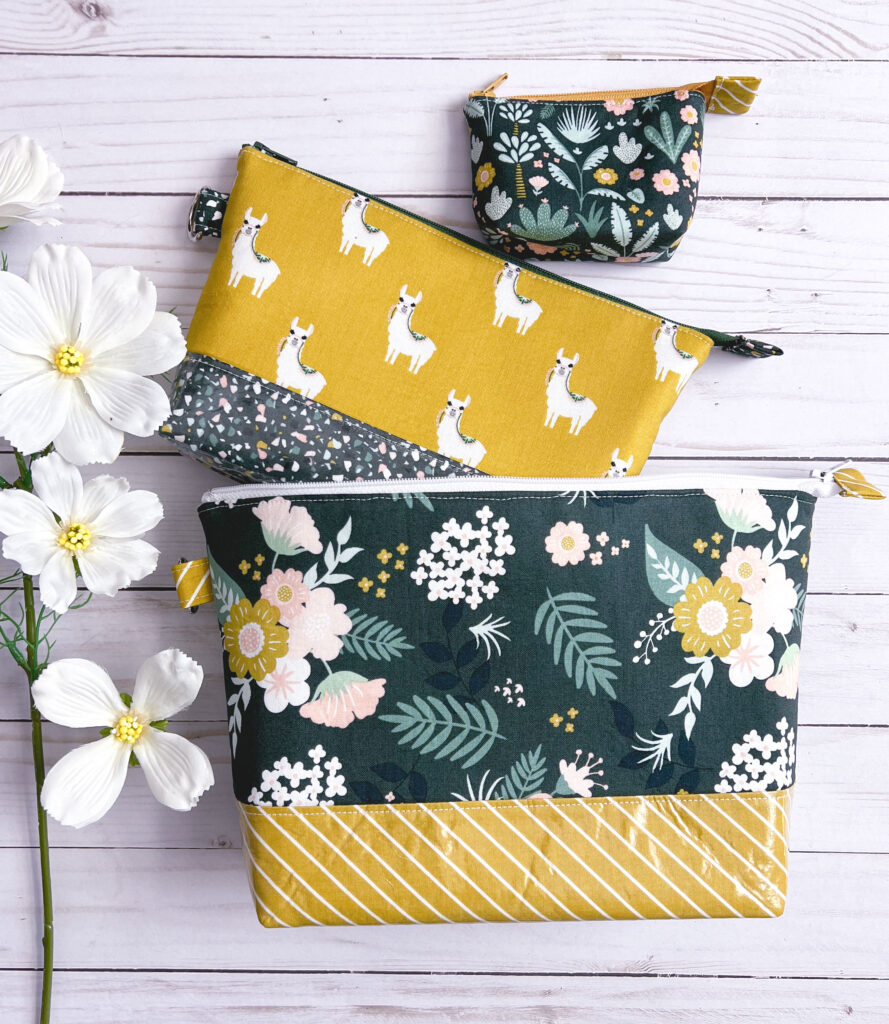
The finished pouch sizes are: Toiletry Pouch- 8 1/2″ (w) X 7″ (h) X 3″ (d); Make Up Pouch- 7 1/2″ (w) X 5 1/2″ (h) X 2″ (d); Mini Pouch- 3″ (w) X 2 1/2″ (h) X 1 1/2″ (d). The Extra Tall bonus pouch measures 8 1/2″ (w) X 9 1/2″ (h) X 3″ (d). Note that the Toiletry pouch does NOT fit inside the Extra Tall pouch. A Toiletry pouch is big enough to hold a full sized bottle of contact solution, deodorant, moisturizer and more. Keep all your shadows and brushes in the generously sized Make up Pouch. Hair ties, bobby pins and more fit perfectly in the Mini pouch.
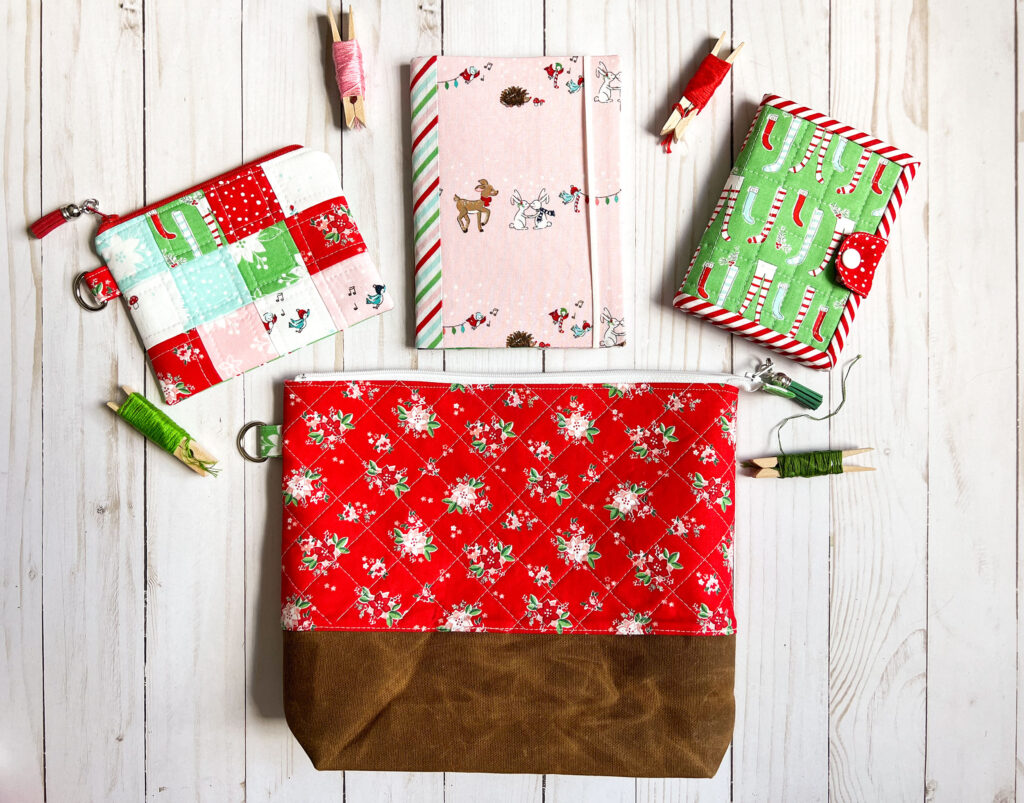
Make the Extra Tall pouch as a companion to your Toiletry pouch or use it as a project bag for your hand work. There is plenty of room for a hoop as well as my Needle Book, which is a free pattern for newsletter subscribers. Sign up below to have the needle book pattern sent right to your email inbox. And if you are interested in the small zipper pouch, the tutorial can be found on my blog here. I also have instructions for making your own mini composition notebook fabric cover on my blog– perfect for list making!
There are so many ways to use these travel pouches. I can’t wait to see yours! If you do make them, I would love to see- tag me on Facebook or Instagram @amerooniedesigns
Happy sewing!!


DIY Travel Pouch Tutorial with Vintage Adventure Fabric | amerooniedesigns.com
May 30, 2019 at 9:20 am[…] now have the DIY travel pouch pattern available in this post, click here for all the […]