From keychains, to badge holders to straps for purses and wallets lanyards are useful and can be super cute too, if you know how to make them for yourself. This fabric lanyard tutorial will walk you through sewing two different styles of lanyards, one with a safety clasp and the other without.
This quick and easy tutorial will get you stitching up lanyards for every person and event in your life. If you want a shorter keychain, I have my wrist strap tutorial which includes fusible fleece to add a little padding to make it a bit more comfortable on your wrist.
Fabric Lanyard Tutorial
Supplies:
- Lobster clasp- I like to use a 1/2″ lobster clasp, but you could use a 3/4″ or even 1″ if you prefer.
- Safety Clasp- If you are making a lanyard for a badge holder, or for children, I strongly recommend using the breakaway clasp. You will want one that is as wide as your lobster clasp. Again, I am using a 1/2″ clasp.
- Fabric- Take the width of your lobster clasp and multiply it by 4, this will be the width of your fabric. In my case I am using a 1/2″ lobster clasp so I need a 2″ wide piece of fabric. The length of your fabric will depend on who the lanyard is for. For adults I like to use the WOF, for my tween, I use a 36″ length of fabric. So I am cutting a 2″ X WOF strip for my lanyards.
Preparing the Fabric:
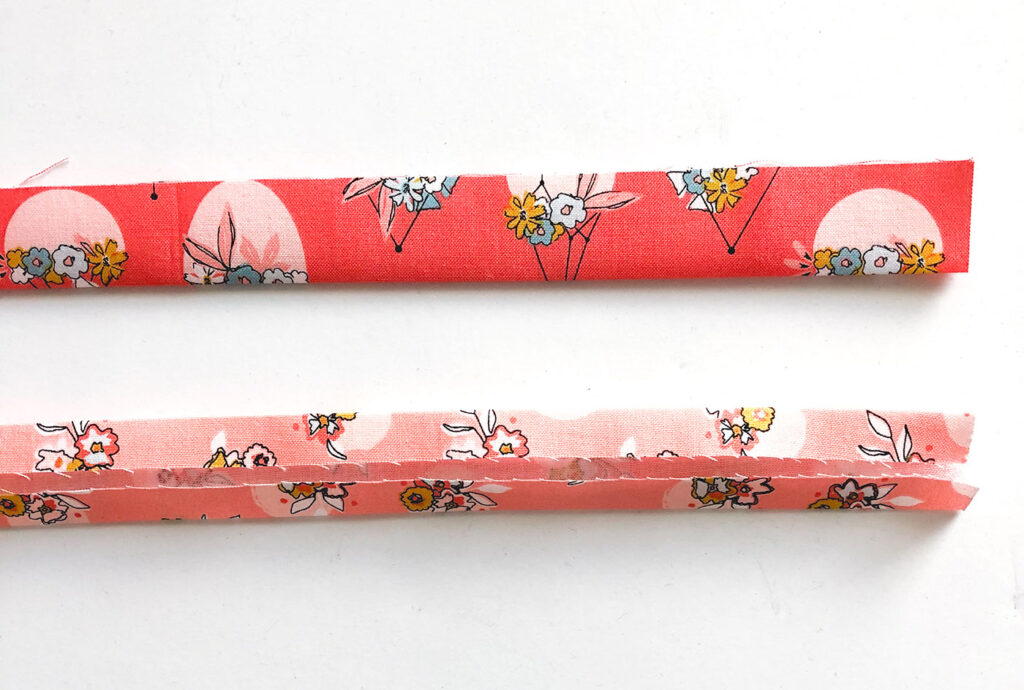
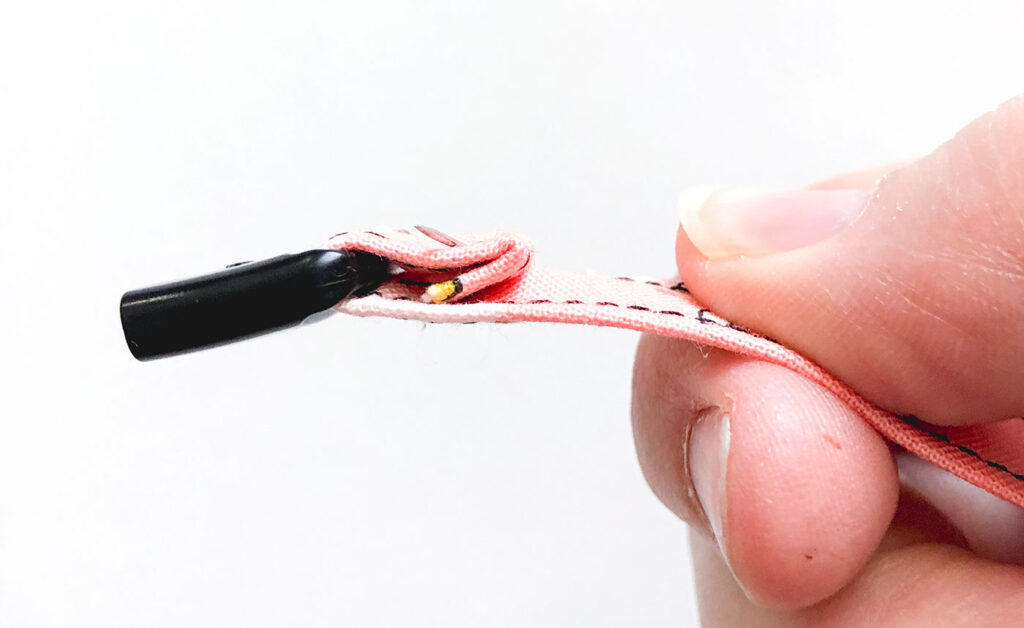
- Press the strip of fabric in half along the length.
- Open up this fold and bring the raw edges in to the center crease- press.
- Re-fold the original fold and press again to enclose the raw edges in the middle of your strip of fabric.
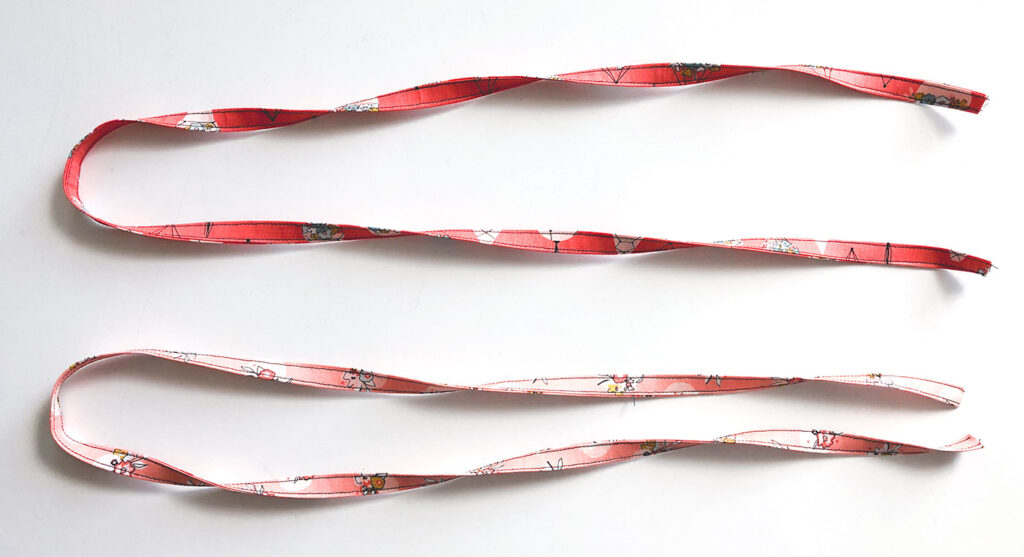
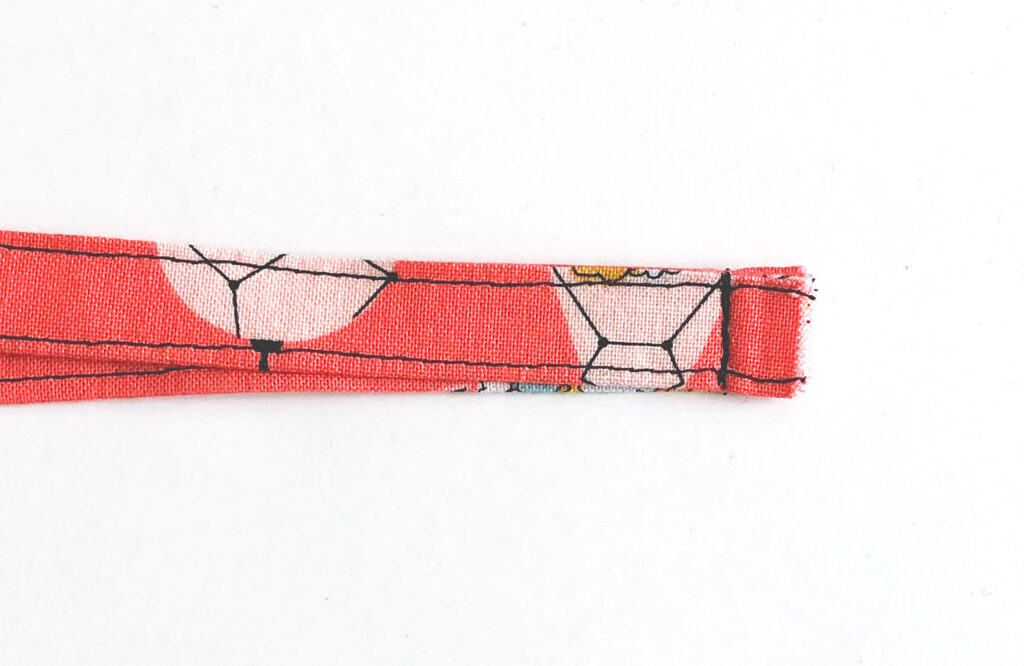
- Top stitch along both sides of your pressed strip of fabric.
- Thread the lobster clasp onto your fabric strip.
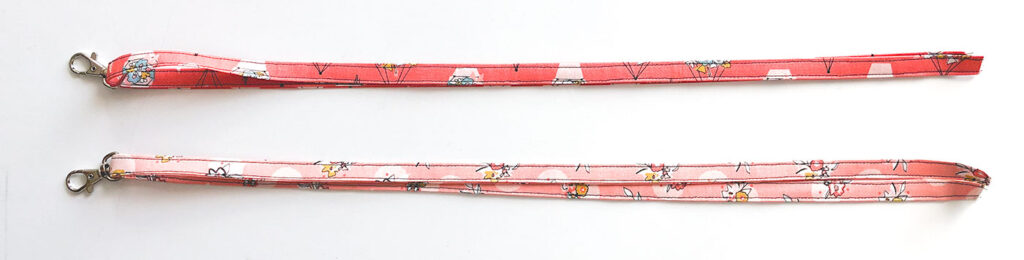
- Now, we are going to finish our lanyard two different ways, first without the safety clasp.
Finish Fabric Lanyard without a safety clasp:
- Bring the two raw edges of your fabric strip together, making sure your fabric strip isn’t twisted.
- I like to have the two “right” sides up to create a flattened loop instead of having the “wrong sides together to create an upright loop, but you can play with the style that lays best on you.
- Sew the two raw edges together using a 1/4″ seam allowance, back stitch 2-3 times across the fabric strip.
- Open up the seam allowance you just sewed.
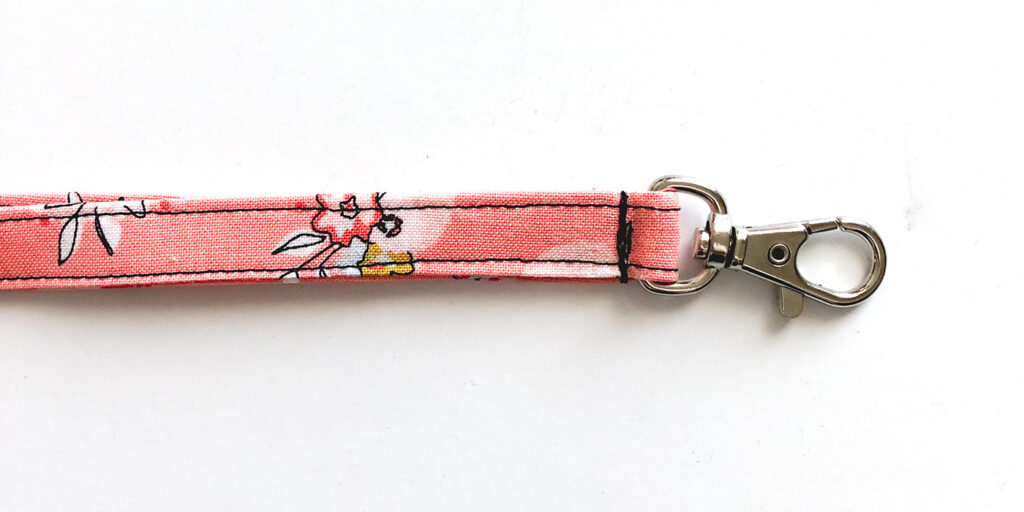
- Bring the flat end of your lobster clasp in between both sides of the seam allowance.
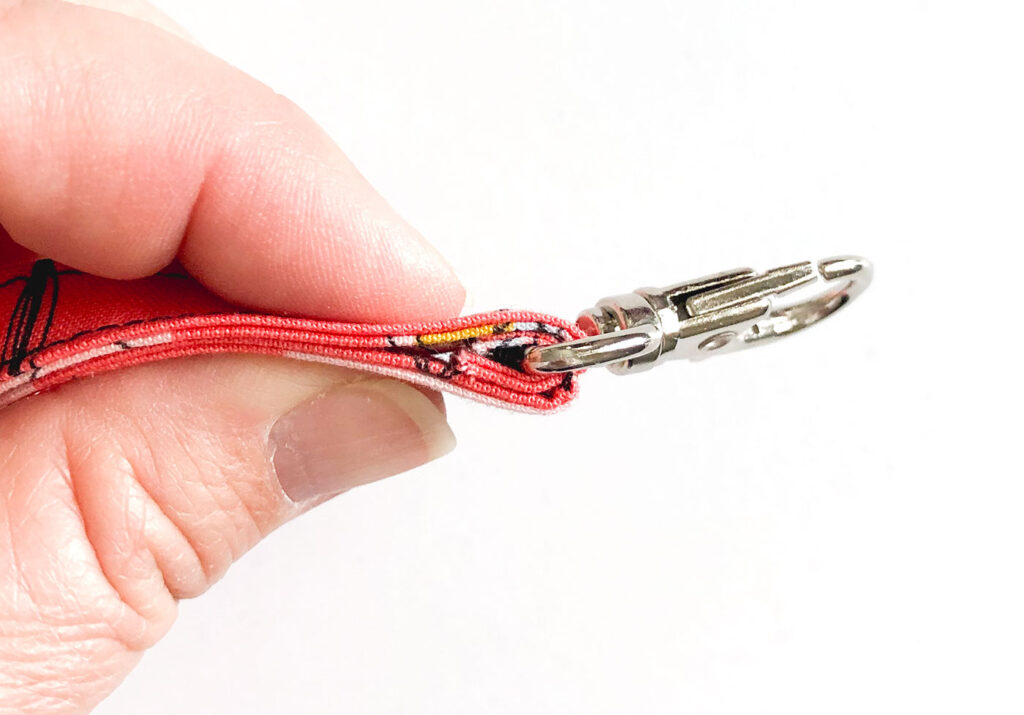
- Line up the edges of the seam allowance with the edges of the fabric strap with the lobster clasp positioned in between the seam allowance.
- I prefer to replace my regular presser foot with a zipper foot, AND move my needle to the far left position for this final top stitching.
- Top stitch as close as you can to the lobster clasp, back stitching a couple of times to secure the stitches.
Finishing Fabric Lanyard with safety clasp:
- Bring the lobster clasp to the center of the fabric strip.
- Use your zipper foot and move the needle to top stitch as close as possible to the lobster clasp. Back stitch along this line.
- Lay out the lanyard as you would like it to lay when worn.
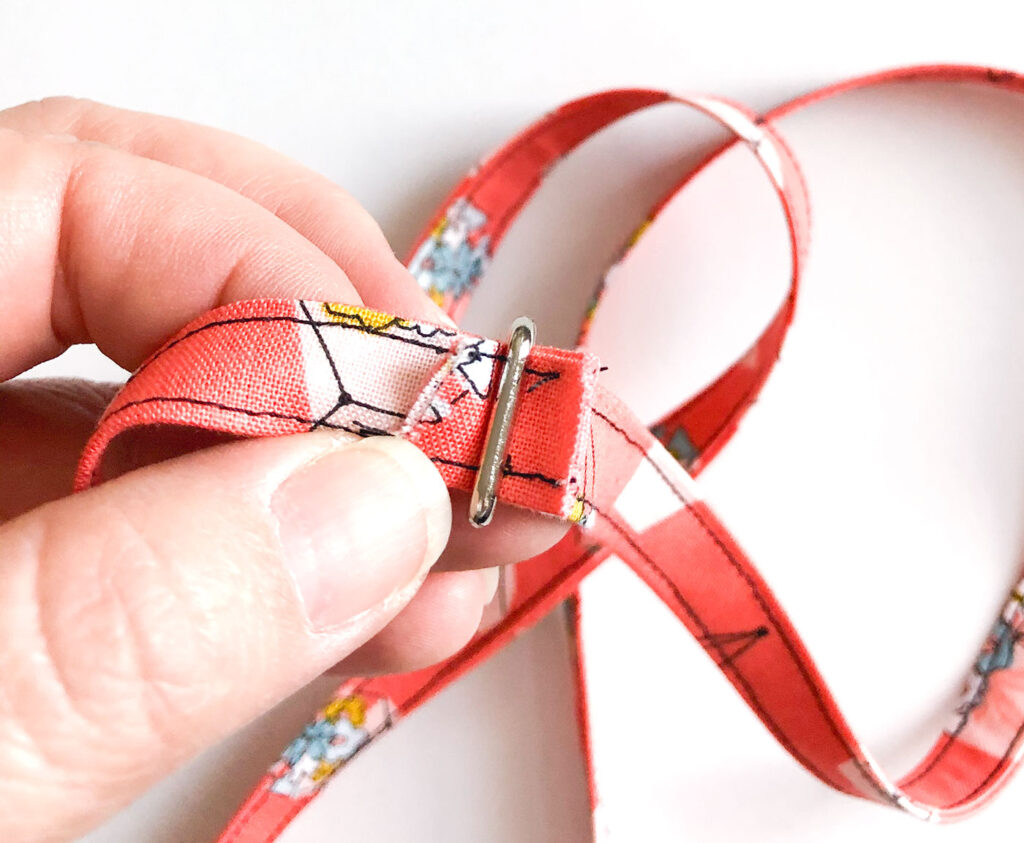
- Slide one raw edge through one side of your safety clasp. Fold over the raw edge 1/4″ and line up the raw edge just past the safety clasp.
- Top stitch over the folded over edge, back stitching a couple of times to secure.
- Repeat for the second side.
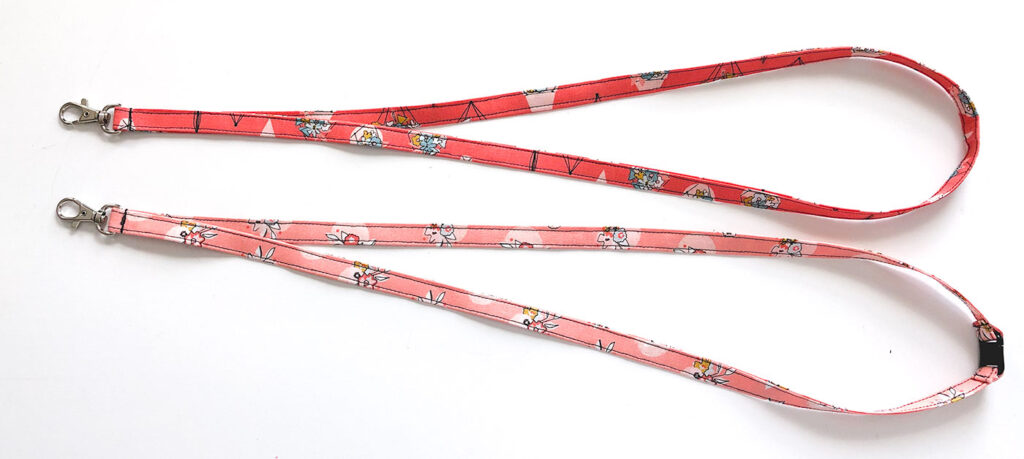
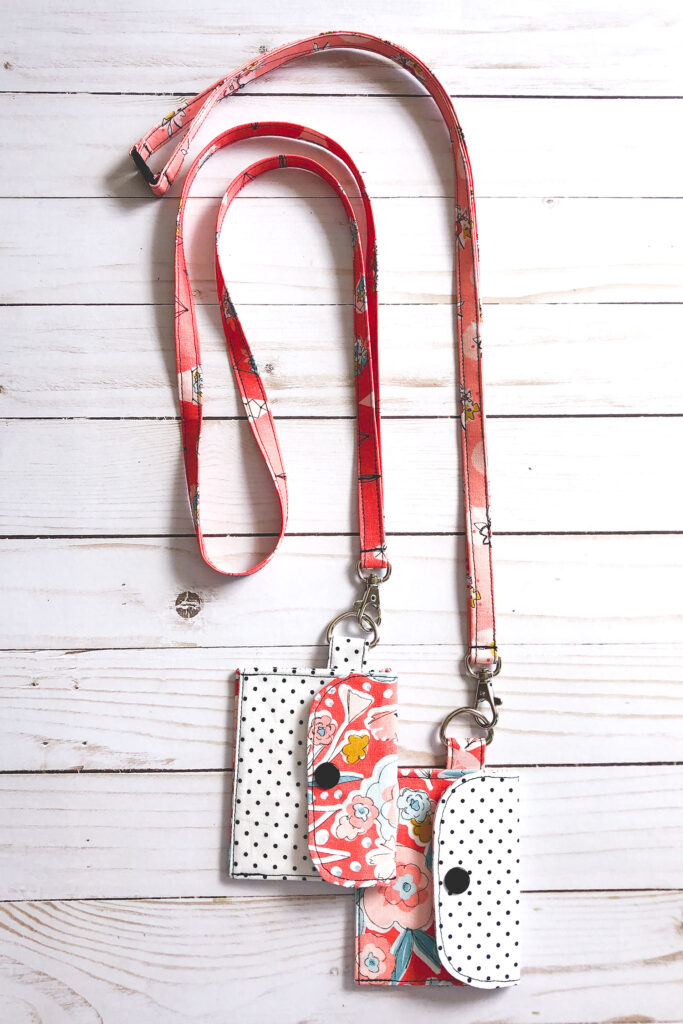
Enjoy your gorgeous new lanyard! Make them in colors to match your school spirit, your favorite team or your favorite new fabric you just want to have with you all the time.
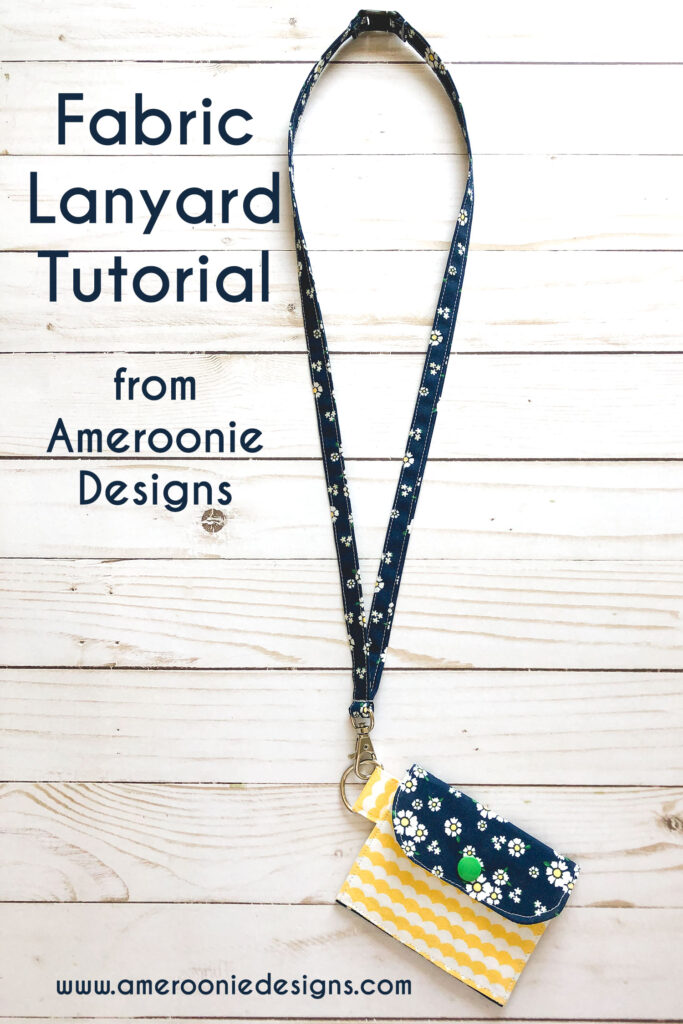
This mini wallet is such a fun way to use your lanyard. I have a version you can make using your Cricut Maker or a Mini Wallet tutorial with a PDF pattern you can print to help you cut and sew. (note: that post will be updated 5/5/2020) This combination makes a great way for your younger kiddos to take their money with them on their summer adventures!
What will you use your new lanyard for?
Happy Sewing! xoxo, Amy