The fabric for this post was provided by Riley Blake Designs for participation in the Holly Holiday project tour. The project and opinions are my own.
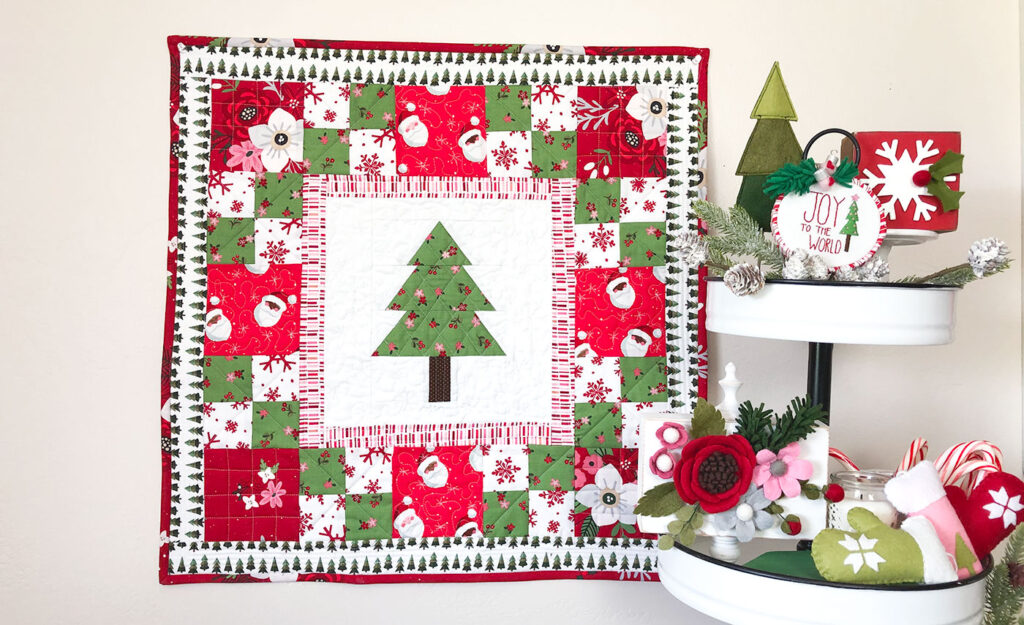
From gifts to decorations to food, there is always so much going on around the holiday season. It’s not hard to add some personal handmade touches if you find ways to keep them simple. I am going to share how to sew a delightful mini quilt for the holidays with this free tutorial. Show off stunning fabric, add a touch of handmade beauty and have fun sewing all in one project!
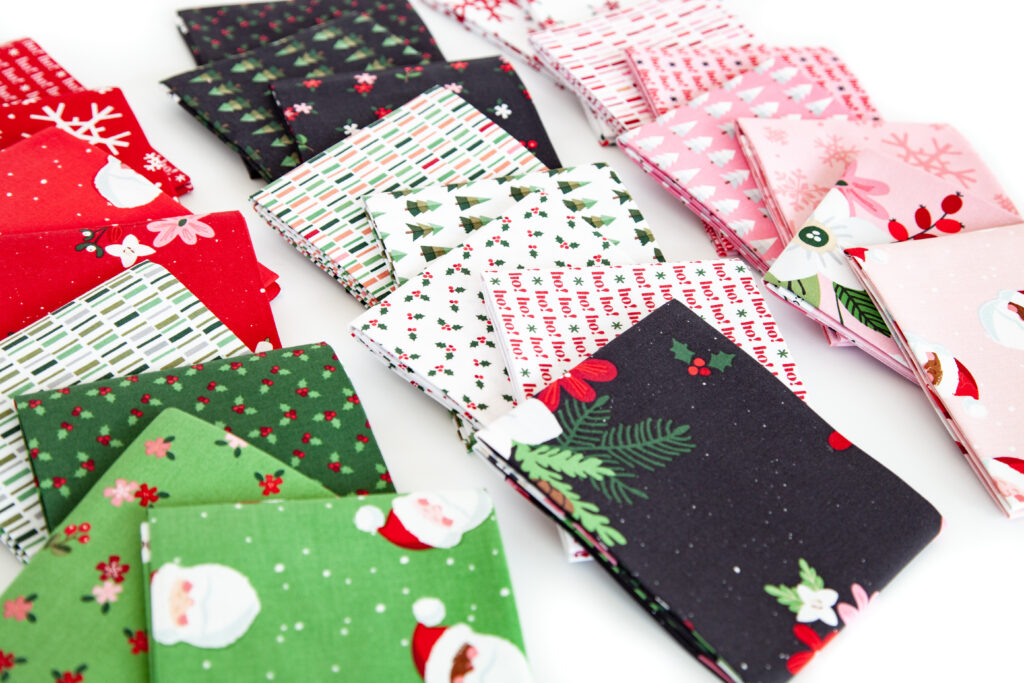
Holly Holiday is a delightful line with true reds and greens but with the added colors of pink and black. I love that the Santa faces have many skin tones and the main print has a glorious floral that is so fun to play with! The blender prints are all so good and the text print is one of my favorites! I think you will absolutely love the fabrics in this line!
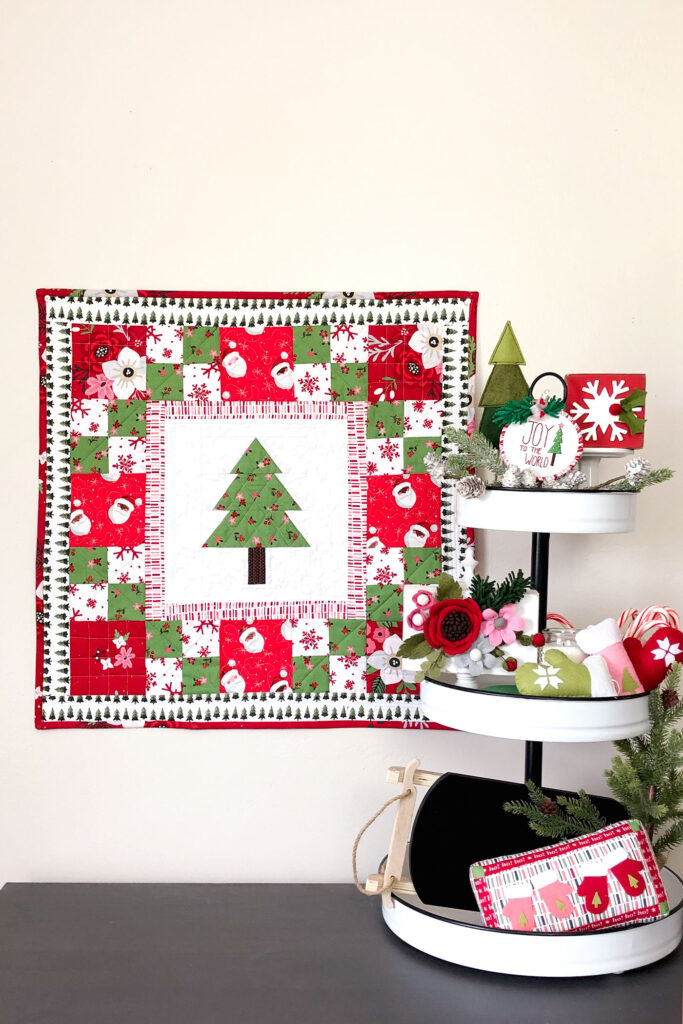
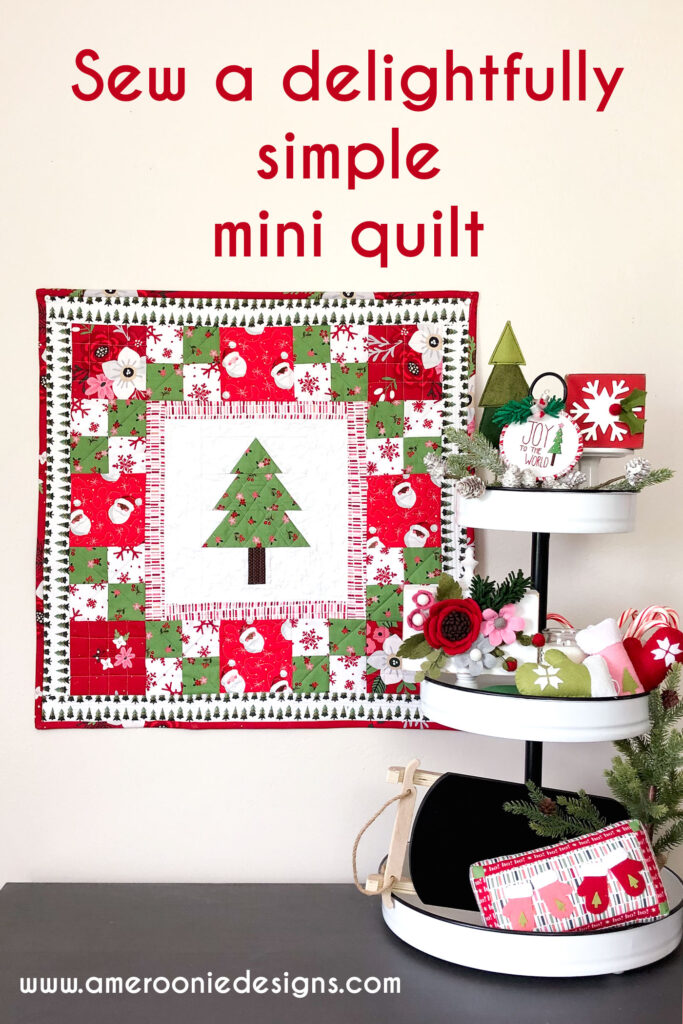
I decided to make a simple mini quilt to showcase the fun prints in this line. Then I added in a few other projects using both fabric and felt to create this fun scene. I am so excited about how the whole thing came together!
I will be sharing tutorials and patterns for the mini pillow with mittens, the felt tree and the FPP tree that is the center block of this mini quilt in future weeks. For today, I am going to share the free tutorial on how to sew this quick and delightful holiday mini quilt.
Edited to add: The Tree pattern originally was FPP, but I decided to create a traditional pieced mini quilt/ quilt block instead with a few added details. You can find the pattern here. Also, the Mini Pillow is part of a set of seasonal mini pillows perfect for tiered trays. That pattern is also available in my Etsy shop. Finally, the felt trees are a free pattern for newsletter subscribers to my blog. You can find the link to the templates in this post. (note: if you are already signed up to get my newsletter, but did not get this pattern, if you fill out the form on that post, the pattern will be sent, but you will not be added to the subscriber list again.)
How to Sew a delightful holiday Mini Quilt
This mini quilt finishes at 24″ square. It is a great way to use up leftover 2 1/2″ precut strips and 5″ squares if you have them from other sewing projects, like these Jelly Roll Stockings.
Fabric Requirements and cutting:
- 1- 10 1/2″ square of fabric for center. If you are going to make a table topper, I suggest just using a fun print to keep it simple. This is also a great place to use a fabric panel if you are making a mini quilt or pillow. I made a 10 1/2″ block using an FPP tree block I designed ( it will be available in my Etsy shop soon)
- 2- contrasting 2 1/2″ X WOF strips- this is a great place to use a couple of spare precut strips.
- 4- 4 1/2″ squares of accent fabric 1- (for the corner blocks), again, this is a wonderful place to use up some spare precut squares.
- 4- 4 1/2″ squares of accent fabric 2 (for the blocks in the center of the pieced border)
- Fat quarter of fabric for inner border- cut to 2- 1 1/2″ X 10 1/2″ strips AND 2- 1 1/2″ X 12 1/2″ strips
- 1/4 yard of outer border- cut to 2- 2″ X 20 1/2″ strips AND 2- 2″ X 24″ strips- ALSO a great place to use leftover 2 1/2″ strips
- 3/4 yard fabric for backing
- 1/4 yard fabric for binding
- batting cut to 26″ square
Sew front of holiday mini quilt
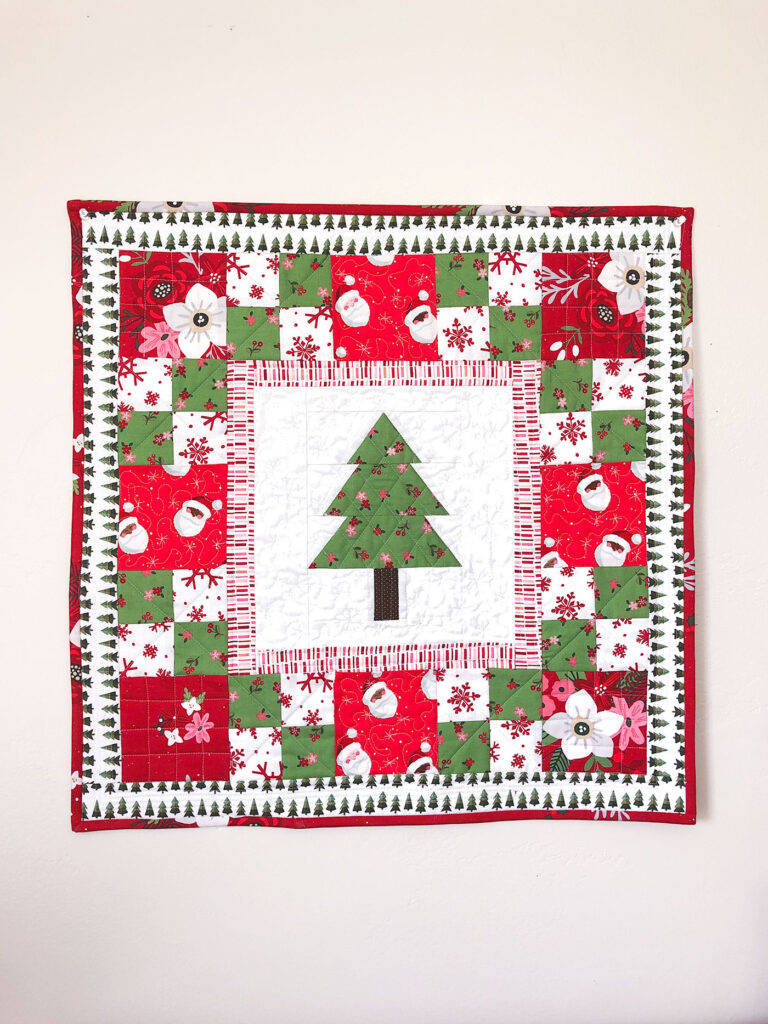
This is a pretty straightforward quilt, with minimal piecing which helps it come together quickly.
- Begin by sewing the inner 1 1/2″ border strips to the center 10 1/2″ block. Add the 1 1/2″ X 10 1/2″ to the top and bottom of the center square, and then add the 1 1/2″ X 12 1/2″ strips to the sides. Press seam allowance toward the border.
- Next, take the two contrasting 2 1/2″ X WOF strips of fabric and sew them together along one long side. Press open with the seam allowance toward the darker fabric.
- Cut the sewn strip into 16- 2 1/2″ X 4 1/2″ segments.
- Sew the segments together in groups of two, alternating direction of the colored squares to create 8- 4 patch blocks.
- On either side of the 4 1/2″ square accent blocks for the center of each border, sew a 4 patch. Note the direction of the darker squares to create the pattern shown in the picture to create the top, bottom and side segments of the patchwork border.
- Take top and bottom border segments and add the second group of 4 1/2″ accent squares to either side.
- Add the patchwork border to the center square by first sewing the side segments to the quilt, and then adding the top and bottom.
- Finally, add the outer border by sewing on the side 2″ X 20 1/2″ strips and then the top and bottom 2″ X 24″ strips.
Finishing the delightful holiday mini quilt
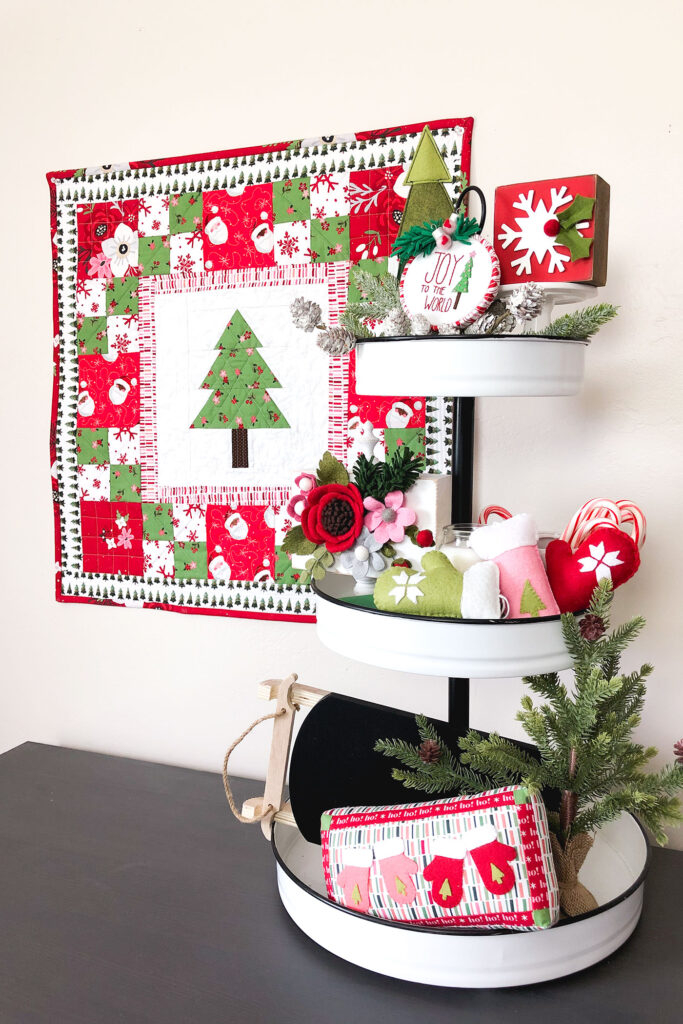
Baste the backing fabric, batting and quilt top together. Quilt as desired and then bind. If you are new to quilting, or just want to see how I do my binding- I have a whole playlist on my YouTube channel with all of the steps for binding starting with how to prepare the binding all the way to joining the ends.
Now all that is left is to decorate! I have been having so much fun with tiered trays lately. They are just darling all decked out with tiny decor. It’s a great way to use all those tiny pieces from the dollar spot too, right?
I can’t wait to see how you deck your halls with this beautiful Holly Holiday fabric line! Happy Sewing! Amy



Holly Holiday – Holiday Mini Quilt + Tutorial! – Riley Blake Designs
June 2, 2021 at 2:02 pm[…] stop on our Holly Holiday Project Tour takes us to AMEROONIE DESIGNS, where Amy is sharing a tutorial for this cute Holiday Mini Quilt featuring fabric from the Holly […]