The fabric for this post was provided by Riley Blake Designs for participating in their Make It Modern blog tour. The project and opinions are my own.
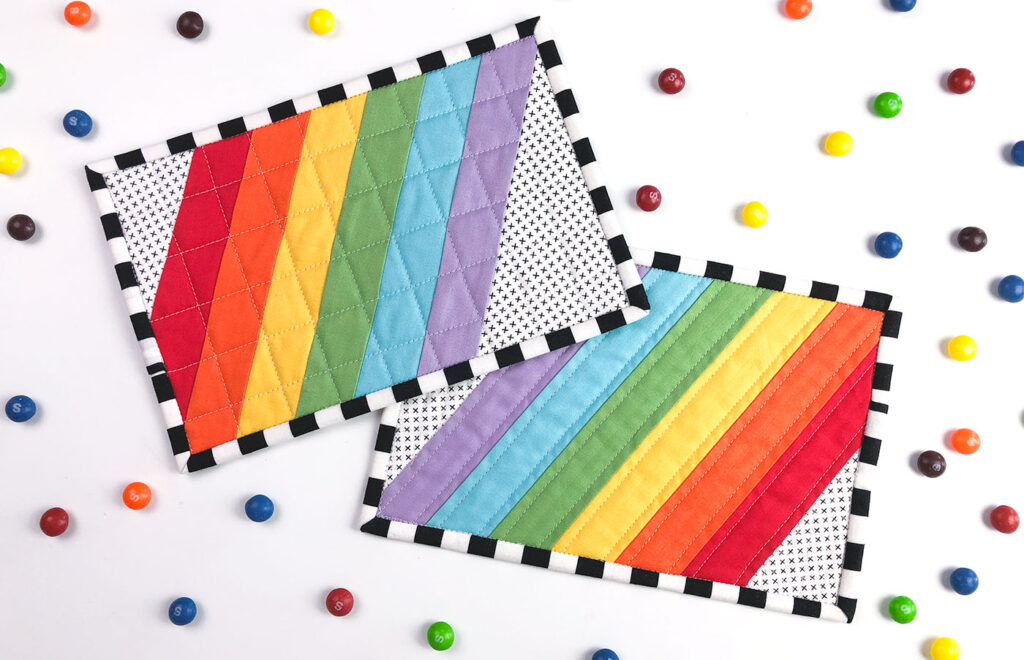
Rainbows speak of promise, renewal and hope. Plus, they are bright, colorful and happy! What better way to bring some color to your life than a rainbow, right? If you need to add some happy color to your life- sew up a Wide Stripe Modern Rainbow mug rug and your life will instantly have LOTS more color!
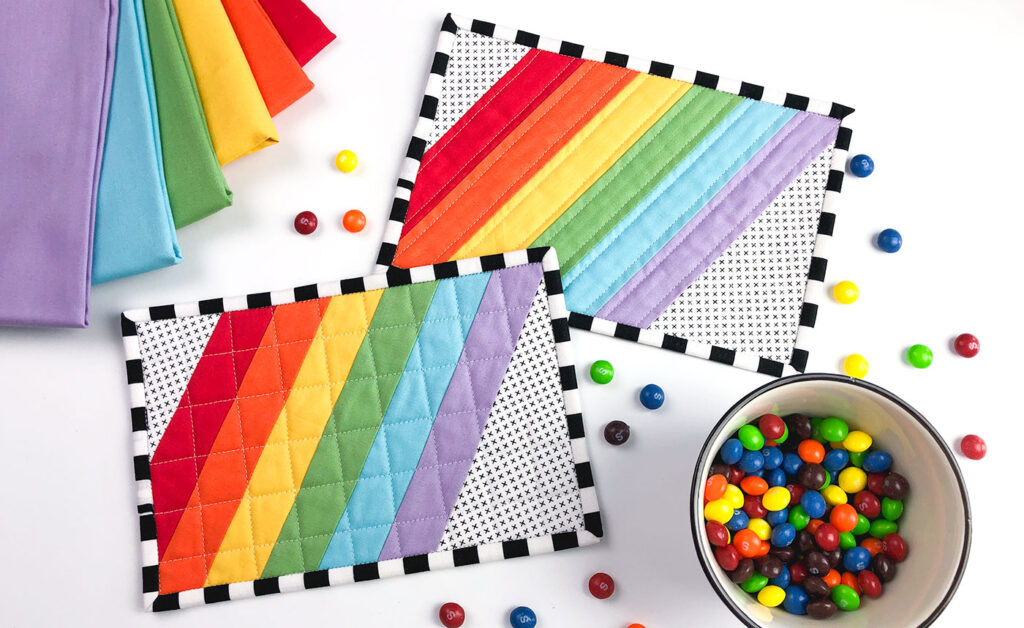
Simple stripes, NOT sewn on the bias, make this project come together easily and quickly. Watch the YouTube video below for the full tutorial, or scroll down for the written instructions.
More Rainbow Mug Rug goodness from me:
- Sunset Rainbow mug rug tutorial is here
- Mini rainbow applique pattern on Quilt as you go mug rug background
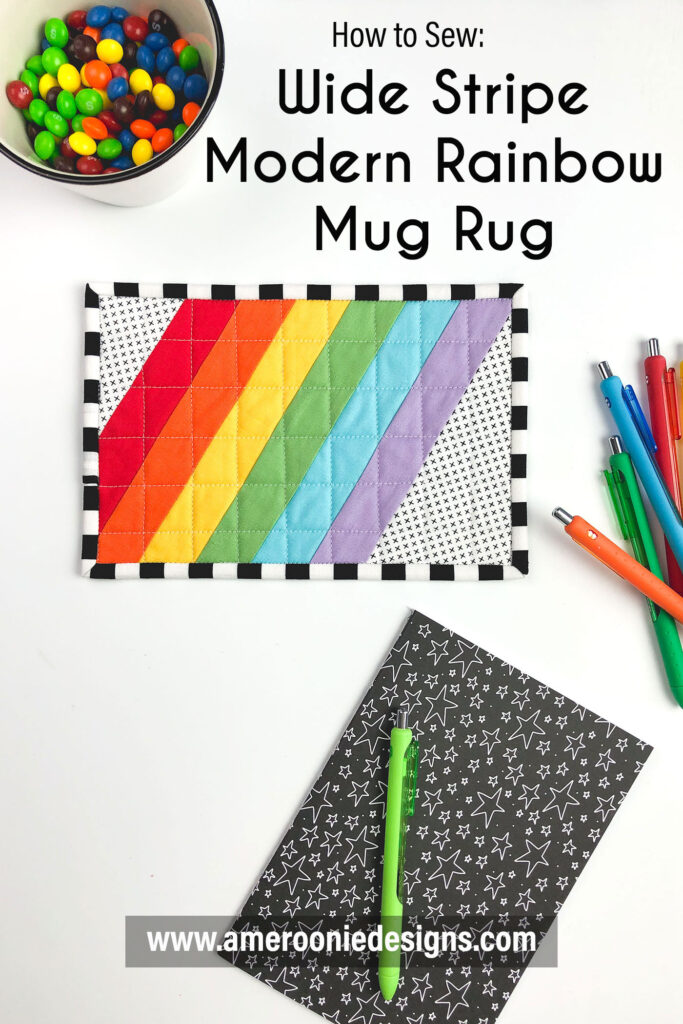
How to Sew a Wide Stripe Modern Rainbow mug rug
Cutting Directions/ Supplies:
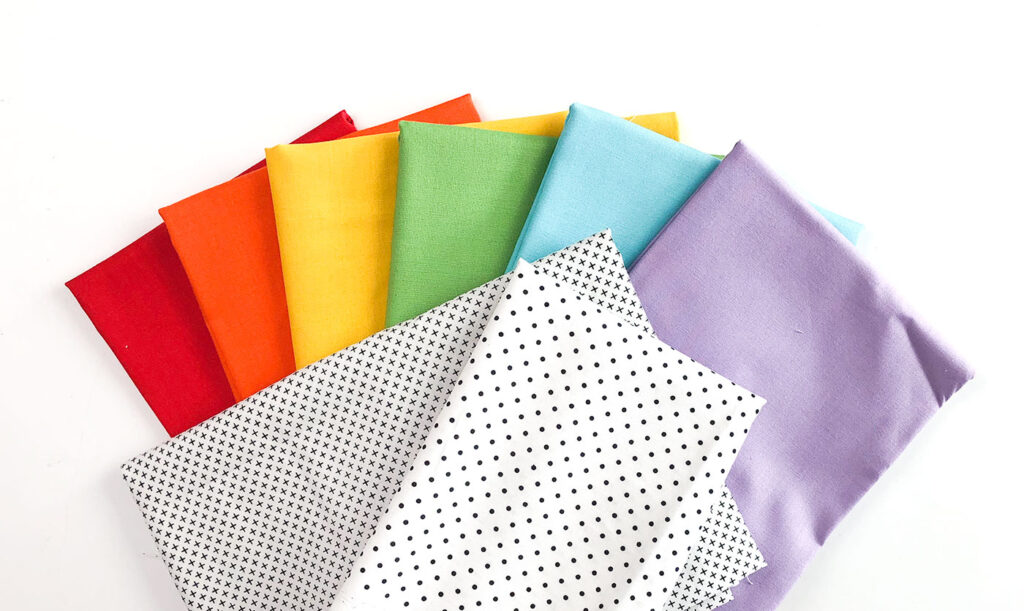
- Background fabric (black and white plus fabric from Simple Simon and Company)
- 2 1/2″ (w) X 4 1/2″ (h)
- 4″ (w) X 7 1/2″ (h)
- Stripes- six different colors. I am using Riley Blake Confetti cotton in a rainbow of colors
- 1 1/2″ (w) X 9″ (h)
- Batting and Backing fabric-
- 9 1/2″ (w) X 6 1/2″ (h)
- Binding Fabric
- 2 1/4″ X WOF (width of fabric- approx. 42″)
Sew the Wide Stripe Modern Rainbow mug rug front:
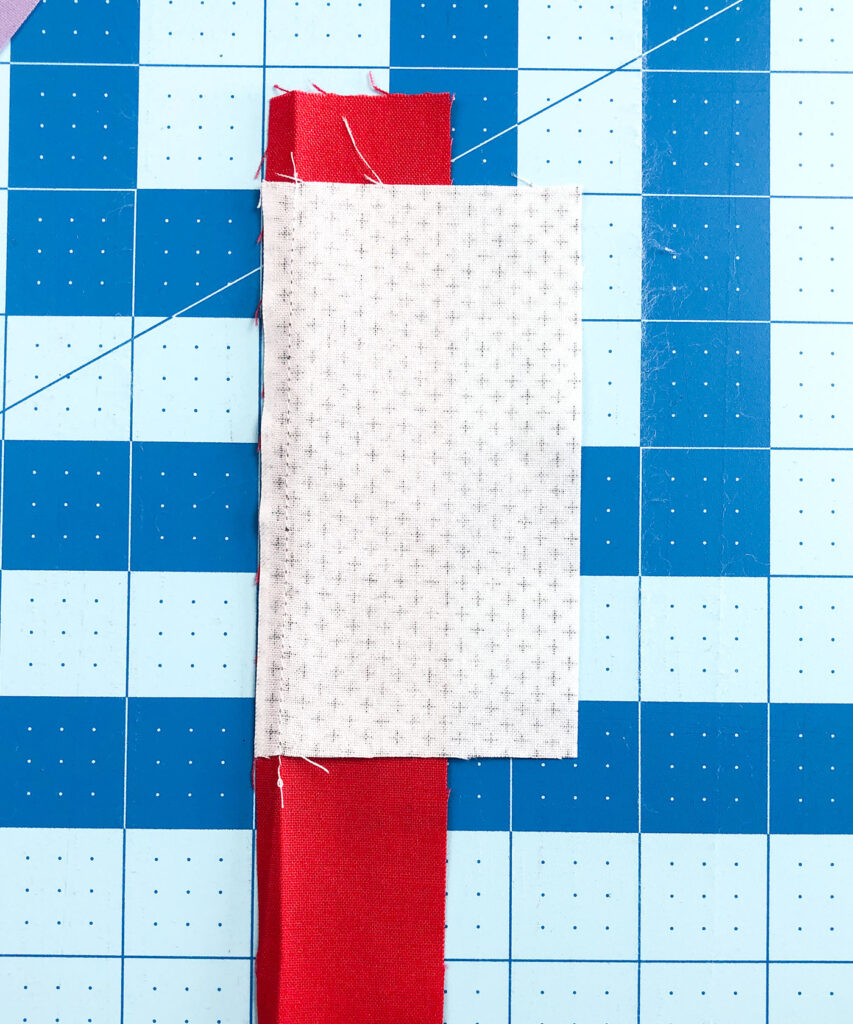
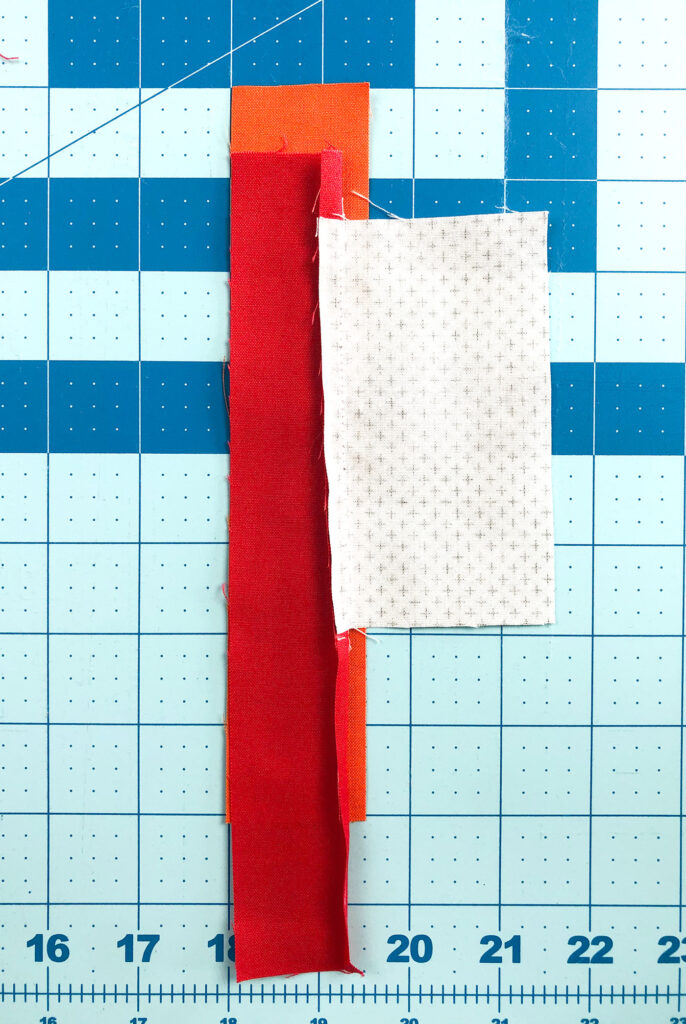
- Begin by placing the first stripe right side up on your table.
- Next, line up the SMALLER (2 1/2″ X 4 1/2″) background fabric piece 3/4″ from the top of the stripe. You will be lining up the 4 1/2″ side of the background fabric with the 9″ side of the red stripe.
- Sew down the 4 1/2″ side of the background fabric using a 1/4″ seam allowance.
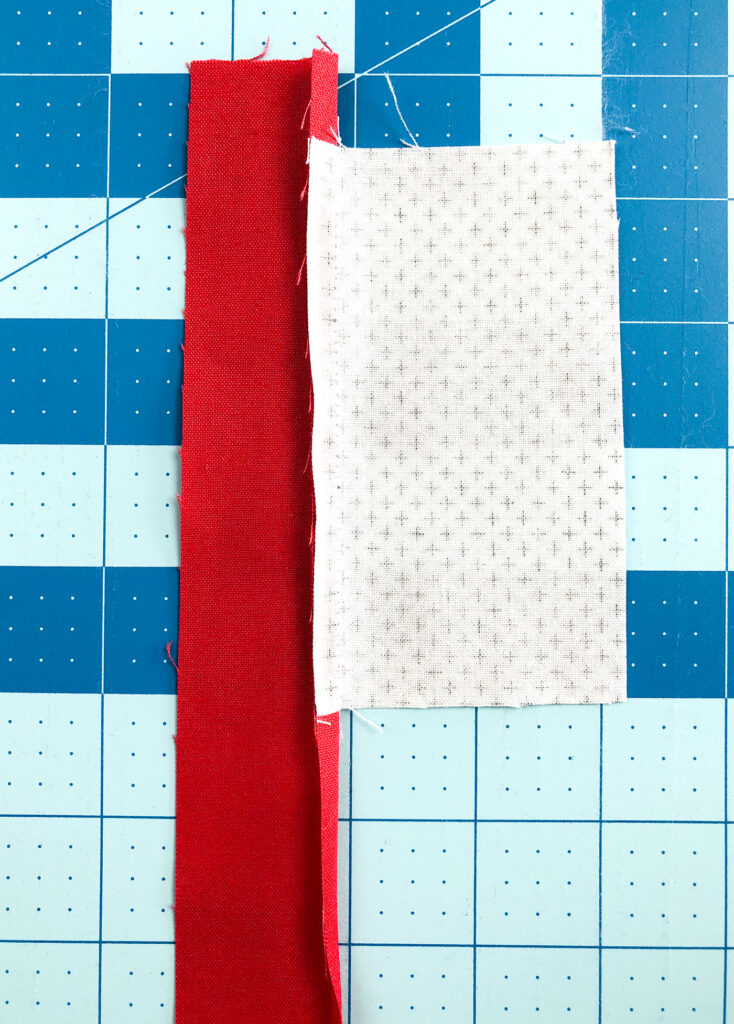
- Now, press the seam allowance toward the darker fabric.
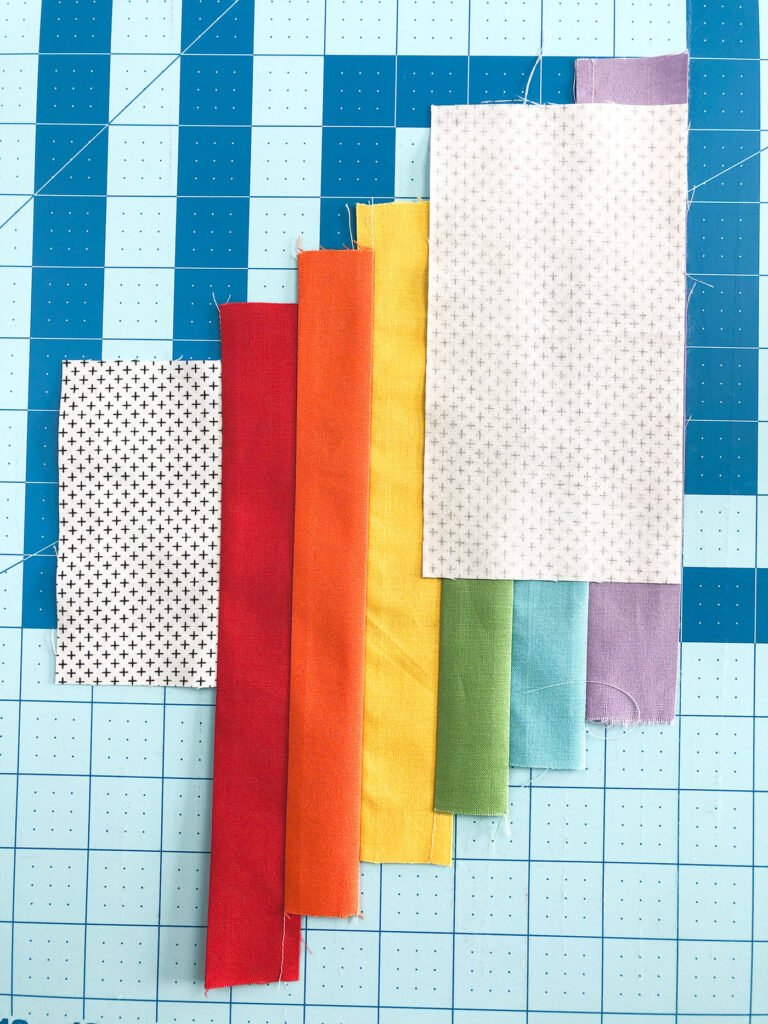
- Continue to build your rainbow by placing the orange stripe on your table. (right side up)
- Then, place your red stripe, (right side down) 3/4″ down from the top of the orange stripe.
- Sew along the length of the orange strip. Press seam allowance toward one side.
- Finally, sew remaining rainbow strips together- each should be 3/4″ higher at the top the the previous one. Always be sure to press the seam allowance toward the darker fabric.
- To finish the mug rug top, place the sewn strip piece right side up on your table.
- Place the large background piece 3/4″ DOWN from the top of the purple strip, lining up the 7 1/2″ side with the long side of the purple strip.
- Sew down the 7 1/2″ side and press the seam allowance toward the purple fabric.
Trim Mug Rug front:
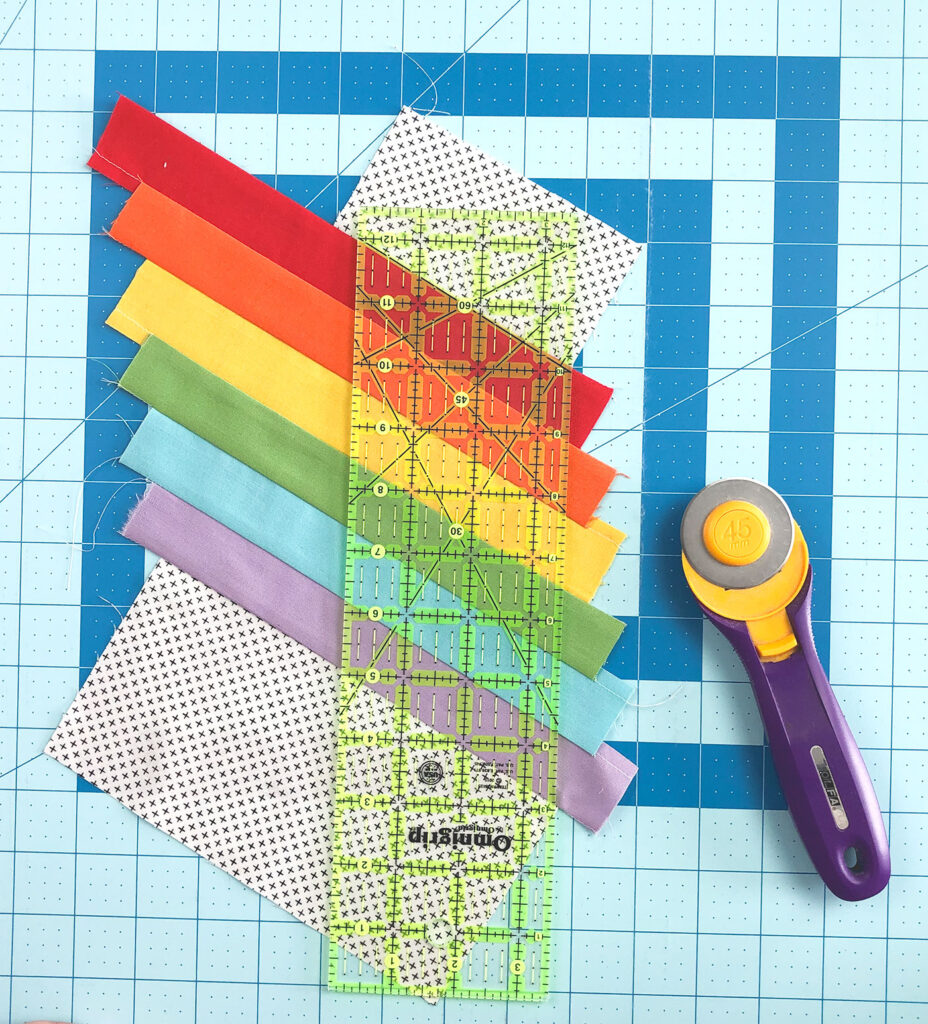
- Line up your ruler with the intersections of the background pieces and the strips next to them at the top of your sewn piece. (the side where the stripes are moving up)
- Cut off the top of the strips.
- Next, measure 6 1/2″ from the side you just cut to square up the bottom side of the mug rug top.
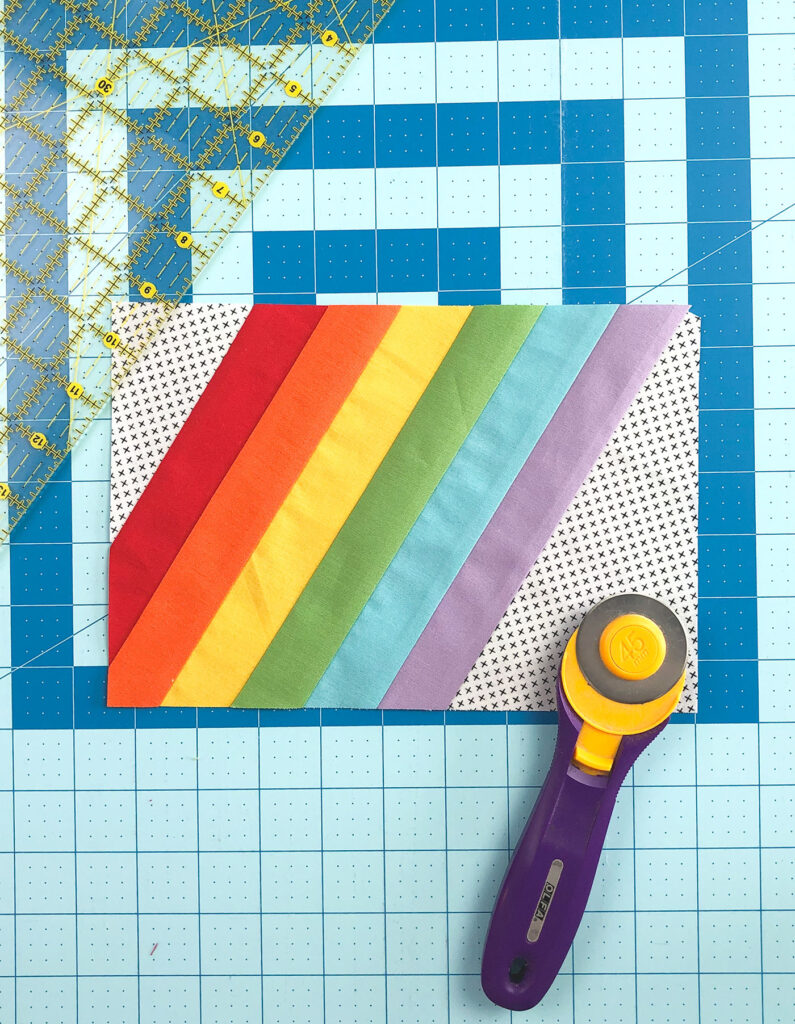
- With the red stripe on the left side, line up your ruler with the bottom intersection of the red strip and the small background square, cut along this line. (be sure your cut is perpendicular to the sides you have already cut)
- Finally, measure 9 1/2″ from the side you just cut to square up the final side of your mug rug top.
- *NOTE: the mug rug at this point is 1/2″ bigger than the final mug rug will be, so you can square it up once it is quilted.
Finish Wide Stripe Modern Rainbow mug rug
- Create your quilt sandwich using your backing fabric, batting and mug rug front. I prefer to use basting adhesive on small projects like this, but baste using your favorite method.
- Quilt as desired.
- Trim your mug rug to 6″ (h) X 9″ (W).
- Add binding using your favorite method. I have a series of videos on adding binding to projects on my YouTube channel here if you want to see how I do it.
Later this week I will be sharing how to turn your Wide Stripe Modern Rainbow mug rug into a cute and happy zipper pouch- so stay tuned. Or better yet, sign up for my Newsletter and get all the new projects and patterns straight to your inbox! Happy Sewing, Amy!


Make it Modern – Rainbow Mug Rug + Tutorial! – Riley Blake Designs
February 22, 2021 at 2:04 pm[…] stop on our Make it Modern Project Tour takes us to AMEROONIE DESIGNS, where Amy is sharing the cutest ever Rainbow Mug Rugs featuring Riley Blake Designs Confetti […]