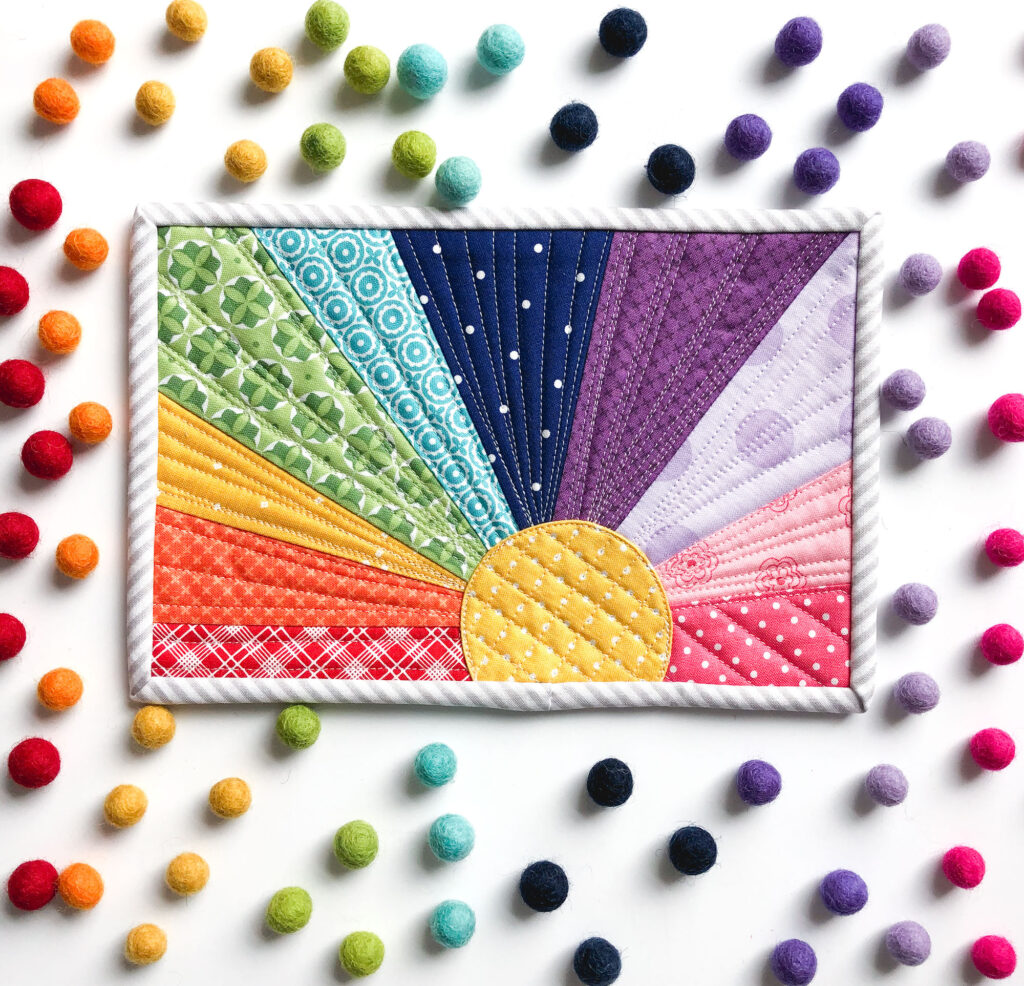
This fun quilt as you go mug rug is a great way to use up scraps and make something useful in the process. Mug rugs are great for keeping those condensation rings off your furniture and allow you to practice quilting techniques on a very small scale. This Rainbow Sunset Mug Rug is a simple, straightforward project that will bring lots of joy as you use it.
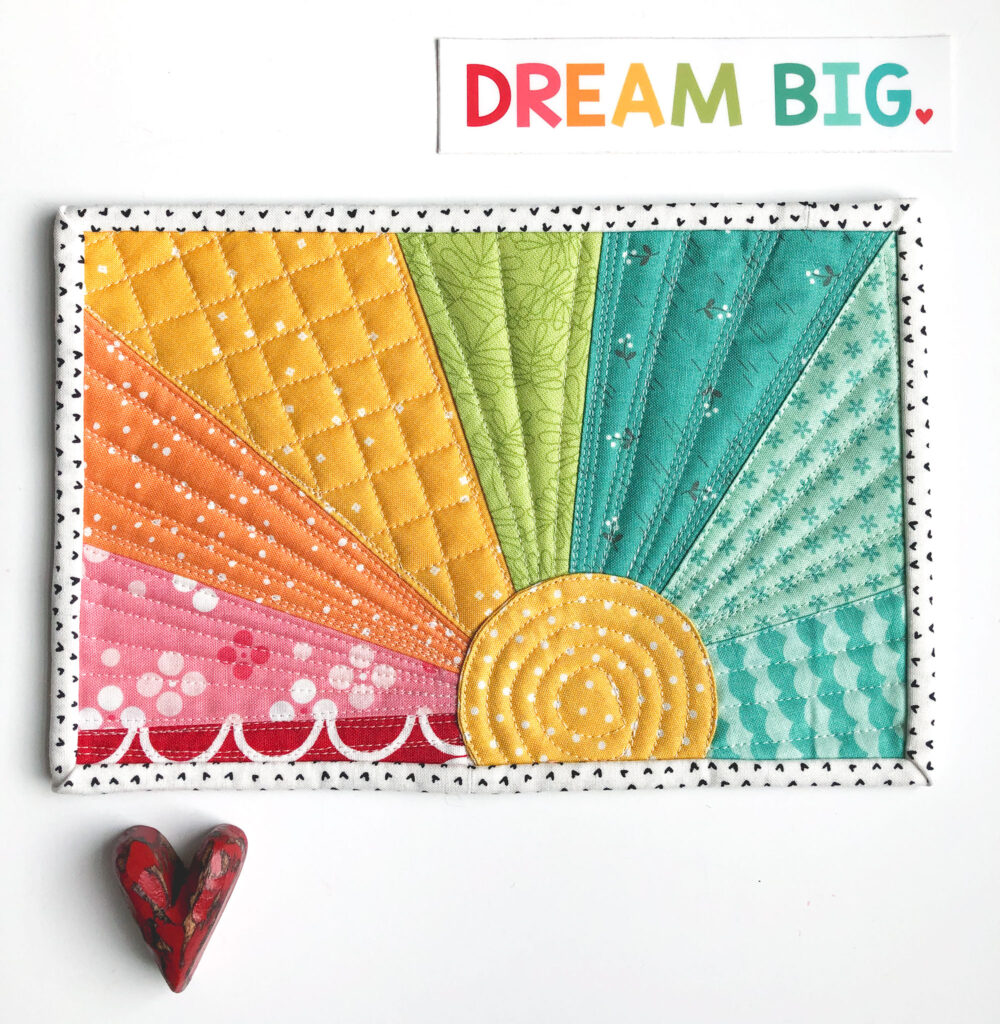
And if you love the look of this mug rug, but want to challenge yourself to try something a little bigger, you will really love my Rainbow Sunshine Mini Quilt. I have created a free PDF pattern for this project for newsletter subscribers as part of my Summer Sewing Series. You can join in the fun by signing up below:
Rainbow Sunset Mug Rug Tutorial
Please read through all the directions before beginning. There are lots of tips and tricks that will help you be successful. If you are a more visual learner, I have a video tutorial on my YouTube channel.
Supplies:
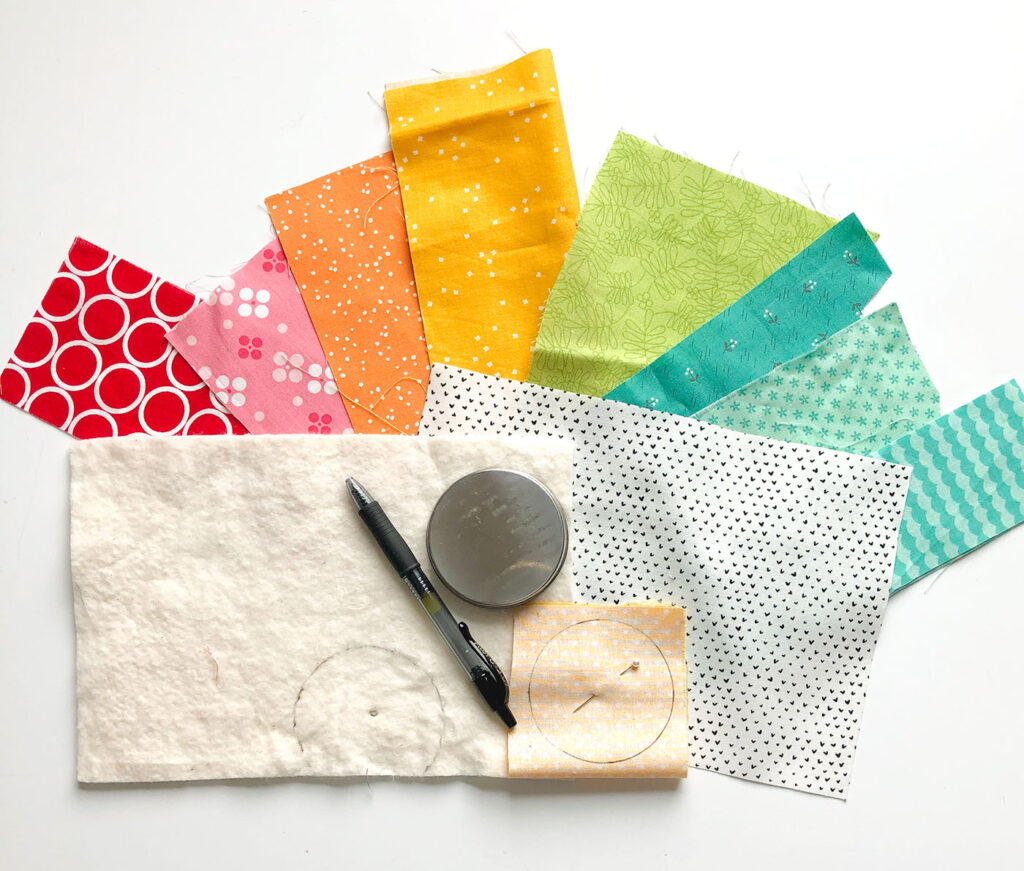
- 6 1/2″ X 9 1/2″ piece of batting. I recommend a natural fiber batting so you don’t have to worry about it melting as you press during the quilt-as-you-go process.
- Strips of fabric for the rays- these can vary in width, just make sure you have enough to cover the whole piece of batting.
- 6 1/2″ X 9 1/2″ piece of fabric for backing of mug rug.
- 2- 3 1/2″ squares for the Sun.
- 3″ circle for sun pattern- I am using a lid.
- Fabric for binding- it will require about 31″ of binding. I prefer a more narrow binding on my mug rugs, so I cut my binding 2″ wide instead of the traditional 2 1/2″.
Prepare batting for sewing:
- Position the backing fabric with the wrong side toward the batting. You may want to baste this backing fabric in place.
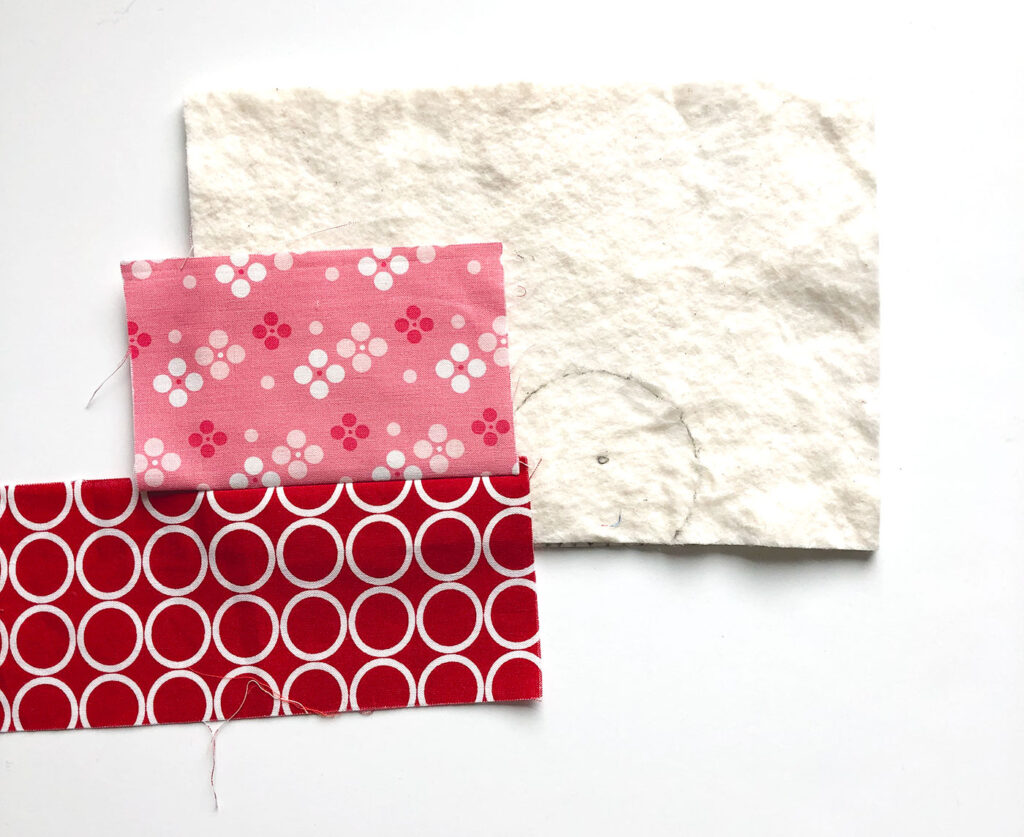
- Use your 3″ circle to mark a circle on the batting. I like to position my circle just right of center and have the bottom of the circle going off of the mug rug.
Create Quilt-As-You-Go rays
Positioning Fabric Strips:
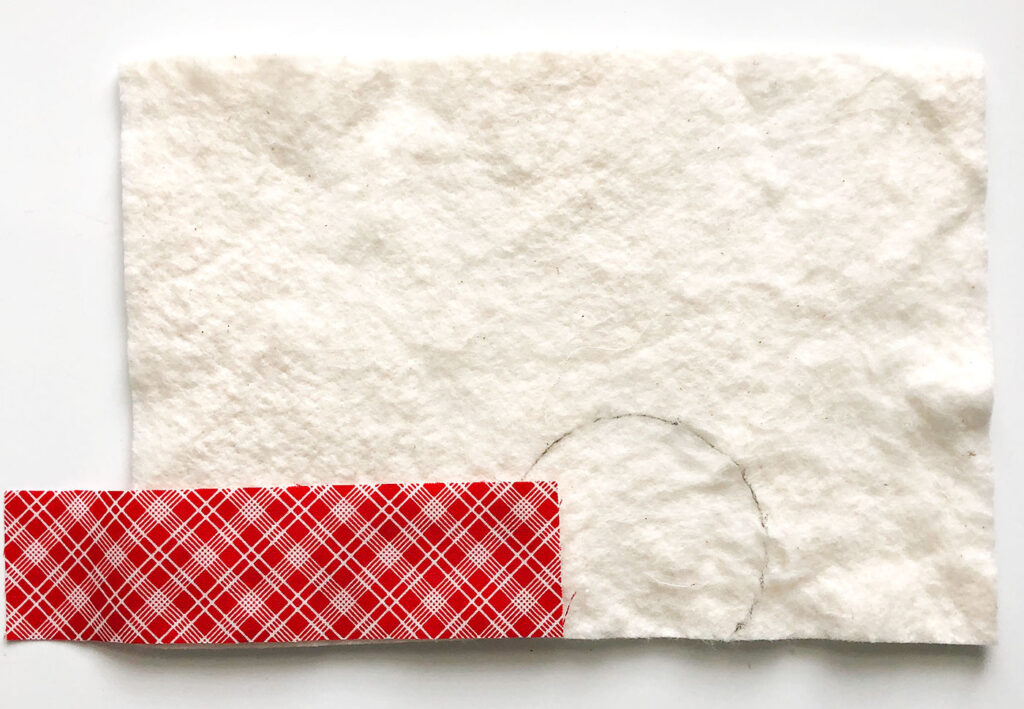
- Position your first fabric strip on the batting. Be sure the fabric overlaps the circle by at least 1/4″.
- If you have a walking foot for your sewing machine, I recommend using it.
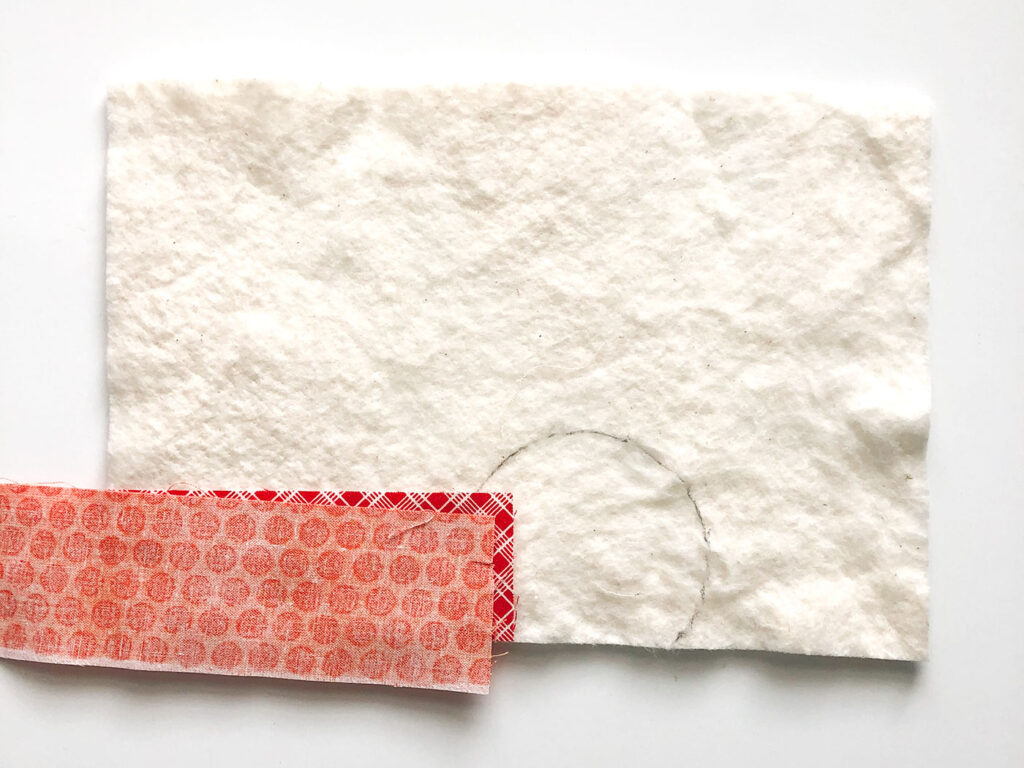
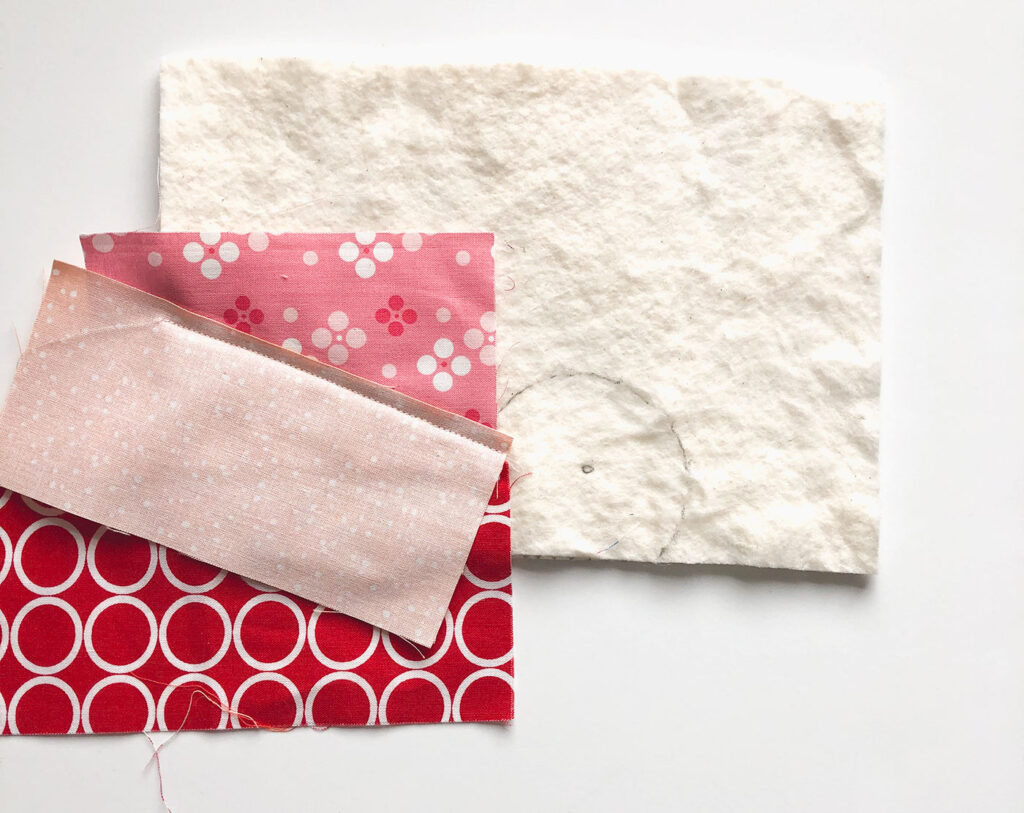
- Place the second strip of fabric right side down onto the first strip of fabric.
- Determine where you want your strips to point as you do this.
- You may find it helpful to mark this point- you will see I have done this in other pictures.
- You will also want to make sure the second strip also overlaps the circle by 1/4″.
- One final piece to pay attention to as you position your strips- you want to make sure there is a full 1/4″ seam allowance between the strips, that means that your second strip needs to be at least touching the edge of the first strip as you place it.
- Determine where you want your strips to point as you do this.
- Sew down the second strip using a 1/4″ seam allowance.
- Trim away any fabric from the previous strip that extends beyond the seam allowance.
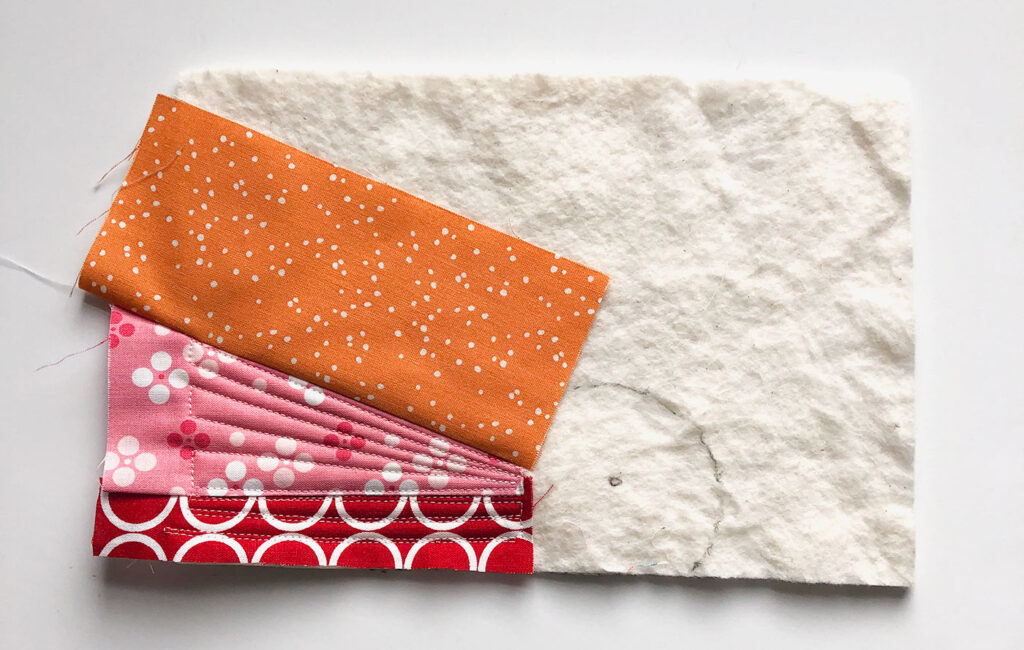
- Press the second strip of fabric away from the first strip.
- Add quilting to the first strip. (you will notice that I didn’t do this until after I added the third strip, but there’s no reason to not do it now.)
- Position your third strip of fabric. You will see that I have added a small dot in the center of my large circle. This is where I point my rays as I am positioning them on the mug rug.
- Next, sew down the third strip.
- Then, trim away extra fabric beyond the seam allowance.
- Finally, press the strip away from the previous strip.
Add quilting and fill the batting piece:
- Add quilting lines to the first two rays.
- Repeat the steps for adding strips of fabric, quilting the ray once the second side is sewn down.
- As you add strips, be aware that because you are creating angles with the strips, you may need a longer strip of fabric than you think to make sure it will cover all of the batting once it is turned right side up. You may want to fold it up before stitching it down to make sure it is long and wide enough to cover the batting.
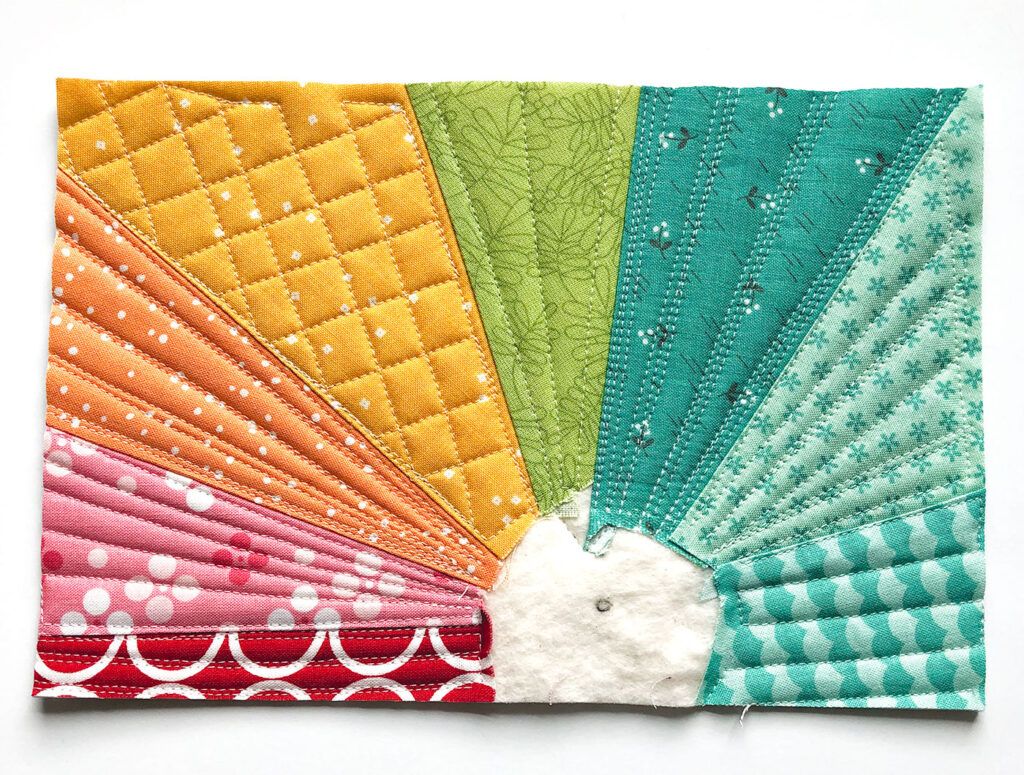
- Keep adding rays until the entire piece of batting is covered with fabric. (except for the area underneath the sun of course)
- Trim away any extra fabric strips that extend beyond the batting.
Add the Sun to the Mug Rug
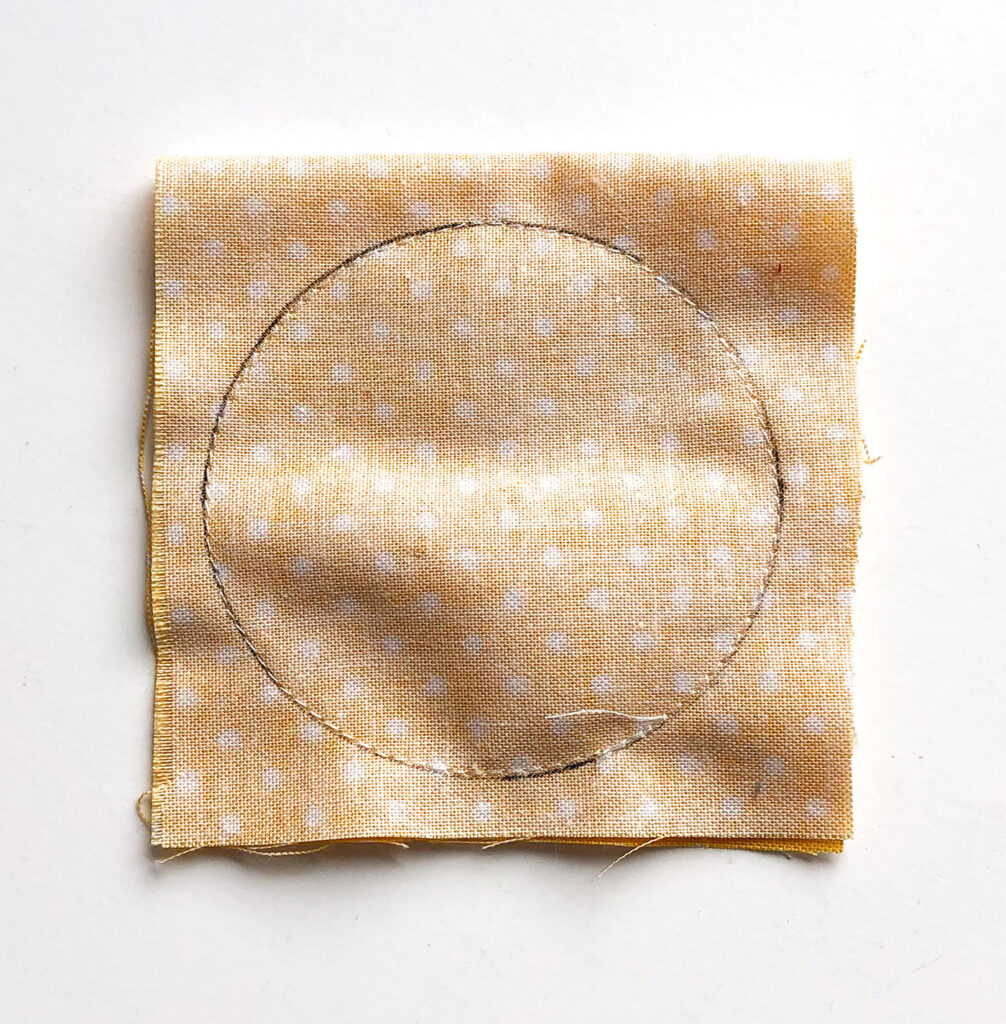
- Trace your circle onto the wrong side of one of your yellow squares.
- Sew around the entire circle right on the traced line.
- Back stitch once you have reached the beginning of the stitching.
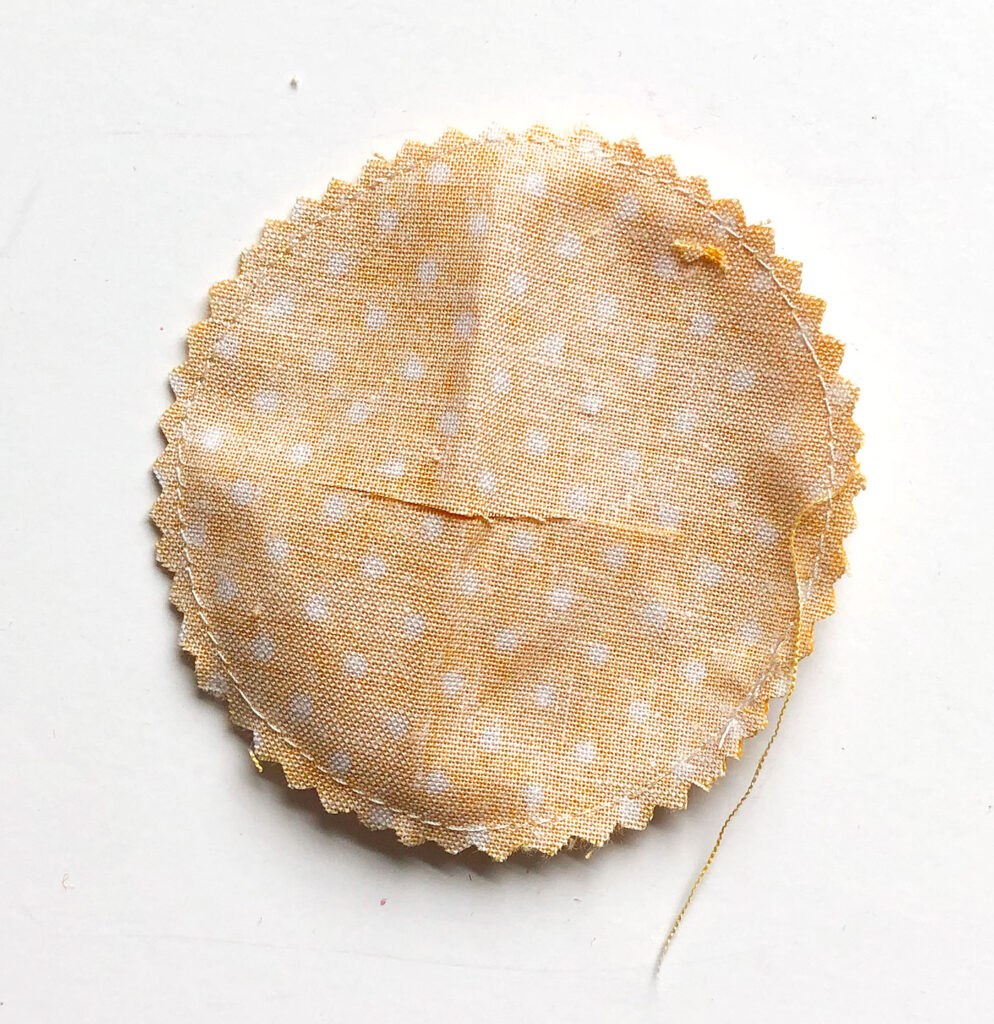
- Clip notches around the entire circle. I find it is easiest to do this with pinking shears. Be careful to not clip through the thread.
- Cut a slit in ONE of the circles. Pinch the circle to pull one side away from the other and then use scissors to cut a slit.
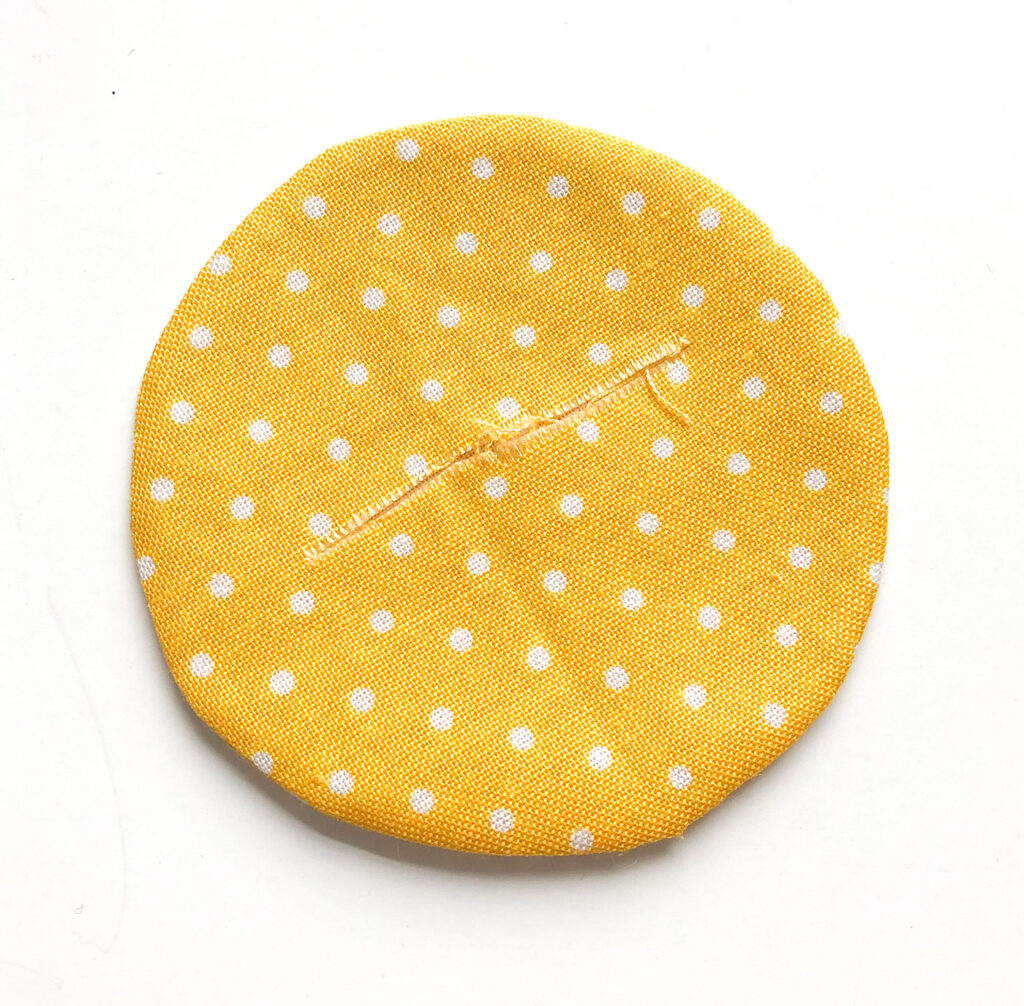
- Turn the circle right side out. If needed, enlarge the slit.
- Push out the seam allowance to get a crisp edge.
- Press your sun well.
Finishing the Rainbow Sunset Mug Rug

- Position the sun on the mug rug.
- Be sure it covers all of the raw edges from the rays.
- Pin in place.
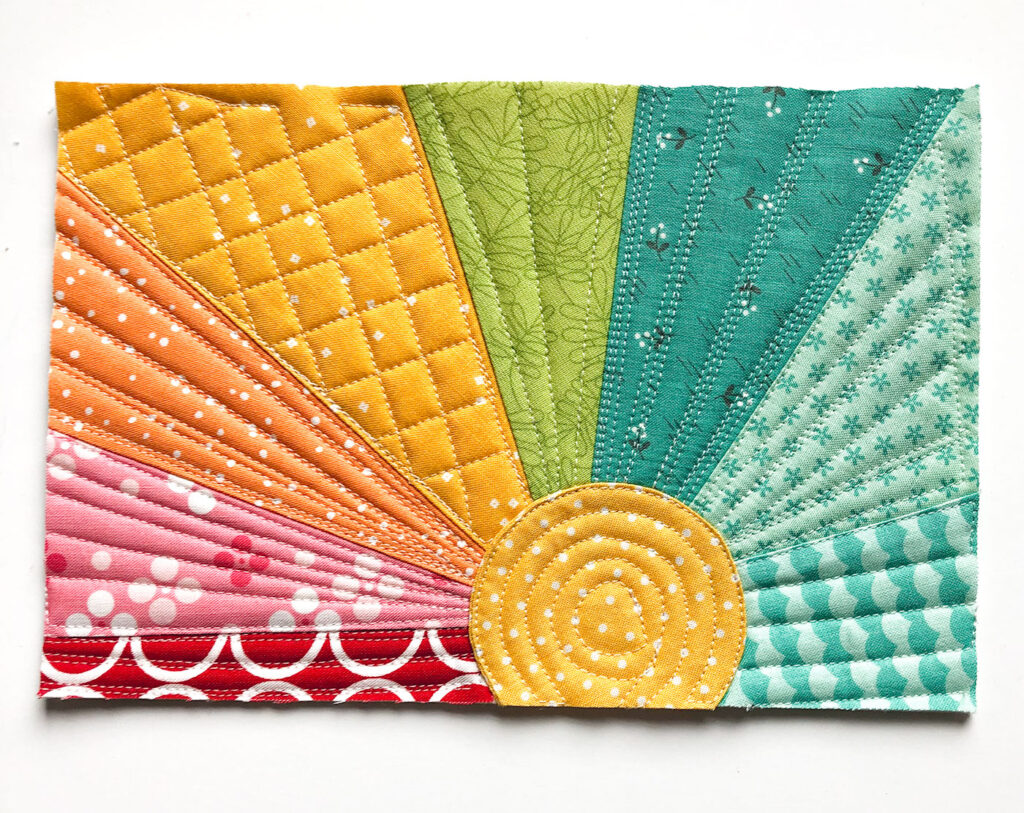
- Sew down the sun, getting your stitches as close to the edge as possible.
- If desired, add additional quilting lines to the sun.
- Trim the mug rug to 6″ X 9″.
- Add binding using your favorite method.
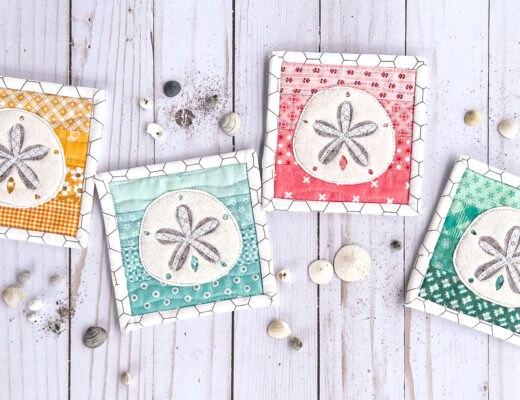
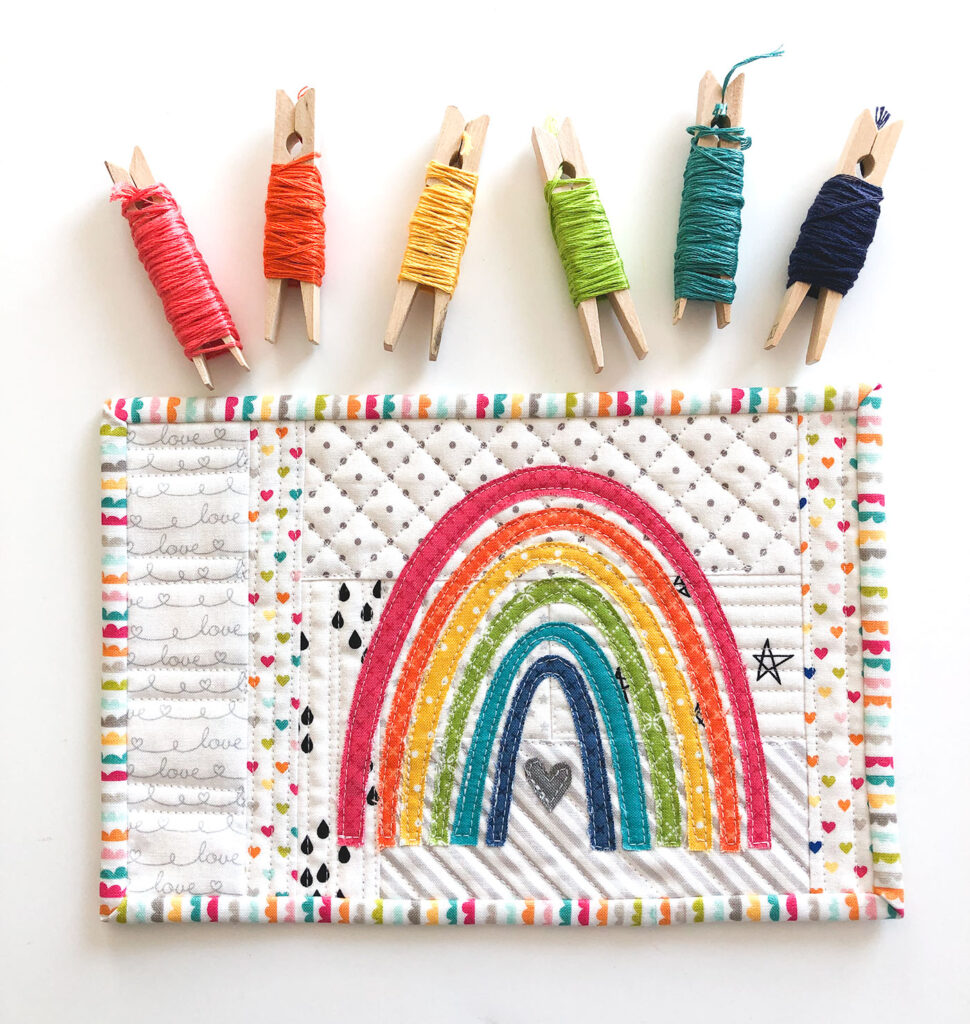
If you are loving rainbows and mug rugs together, you may want to check out my mini rainbow mug rug.
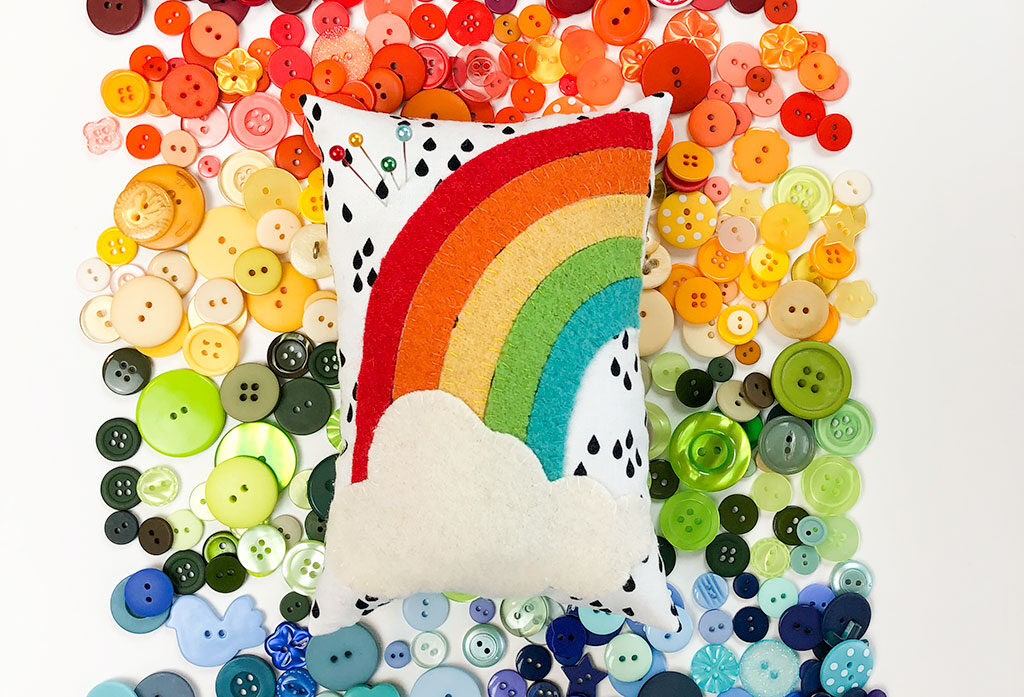
And for more rainbow fun, check out my Rainbow Wool Applique Pincushion!